Coffe Cup Drawing
Coffe Cup Drawing - Web in this step by step lesson, we will discover how to draw coffee cup with basic drawing tools. Connect the edges of the ovals with a slightly curved line. Be sure to leave a bit of room at the top of your drawing area for the steam. Be sure to observe the different sizes and shapes contained in the example drawing of the coffee cup. Ensure that the base is wider than the top opening. Finally, connect these using a curved line. Next draw a pair of horizontal lines, one for the top of the cup and one for. Connect the oval shape to the horizontal line by drawing two straight lines that curve slightly outward. Then, draw a curved line at the bottom of the oval shape to create the base of the cup. Draw an oval for the top and the bottom of the mug.
From one side of the oval, begin drawing a curved line roughly parallel to the shape of the oval. Be sure to leave a bit of room at the top of your drawing area for the steam. Coffee cup top and bottom drawing. Connect the oval shape to the horizontal line by drawing two straight lines that curve slightly outward. Add another line, and a rim and table line. Ensure that the base is wider than the top opening. Web add an outline of the label on the cup. When drawing the curve of the rim keep a bit of space between it and each of the sides. The pencil lines in each step is drawn in blue so you can plainly see the most recent shapes that you will be drawing. Begin by outlining the main shape of the coffee cup.
From one side of the oval, begin drawing a curved line roughly parallel to the shape of the oval. Connect the oval shape to the horizontal line by drawing two straight lines that curve slightly outward. Add a matching half oval. The pencil lines in each step is drawn in blue so you can plainly see the most recent shapes that you will be drawing. Next draw a pair of horizontal lines, one for the top of the cup and one for. Coffee cup top and bottom drawing. Finally, color the coffee beans with a dark brown crayon. Draw an oval for the top and the bottom of the mug. Follow along this simple step by step tutorial to learn how to draw a cup of coffee. Add a matching left side.

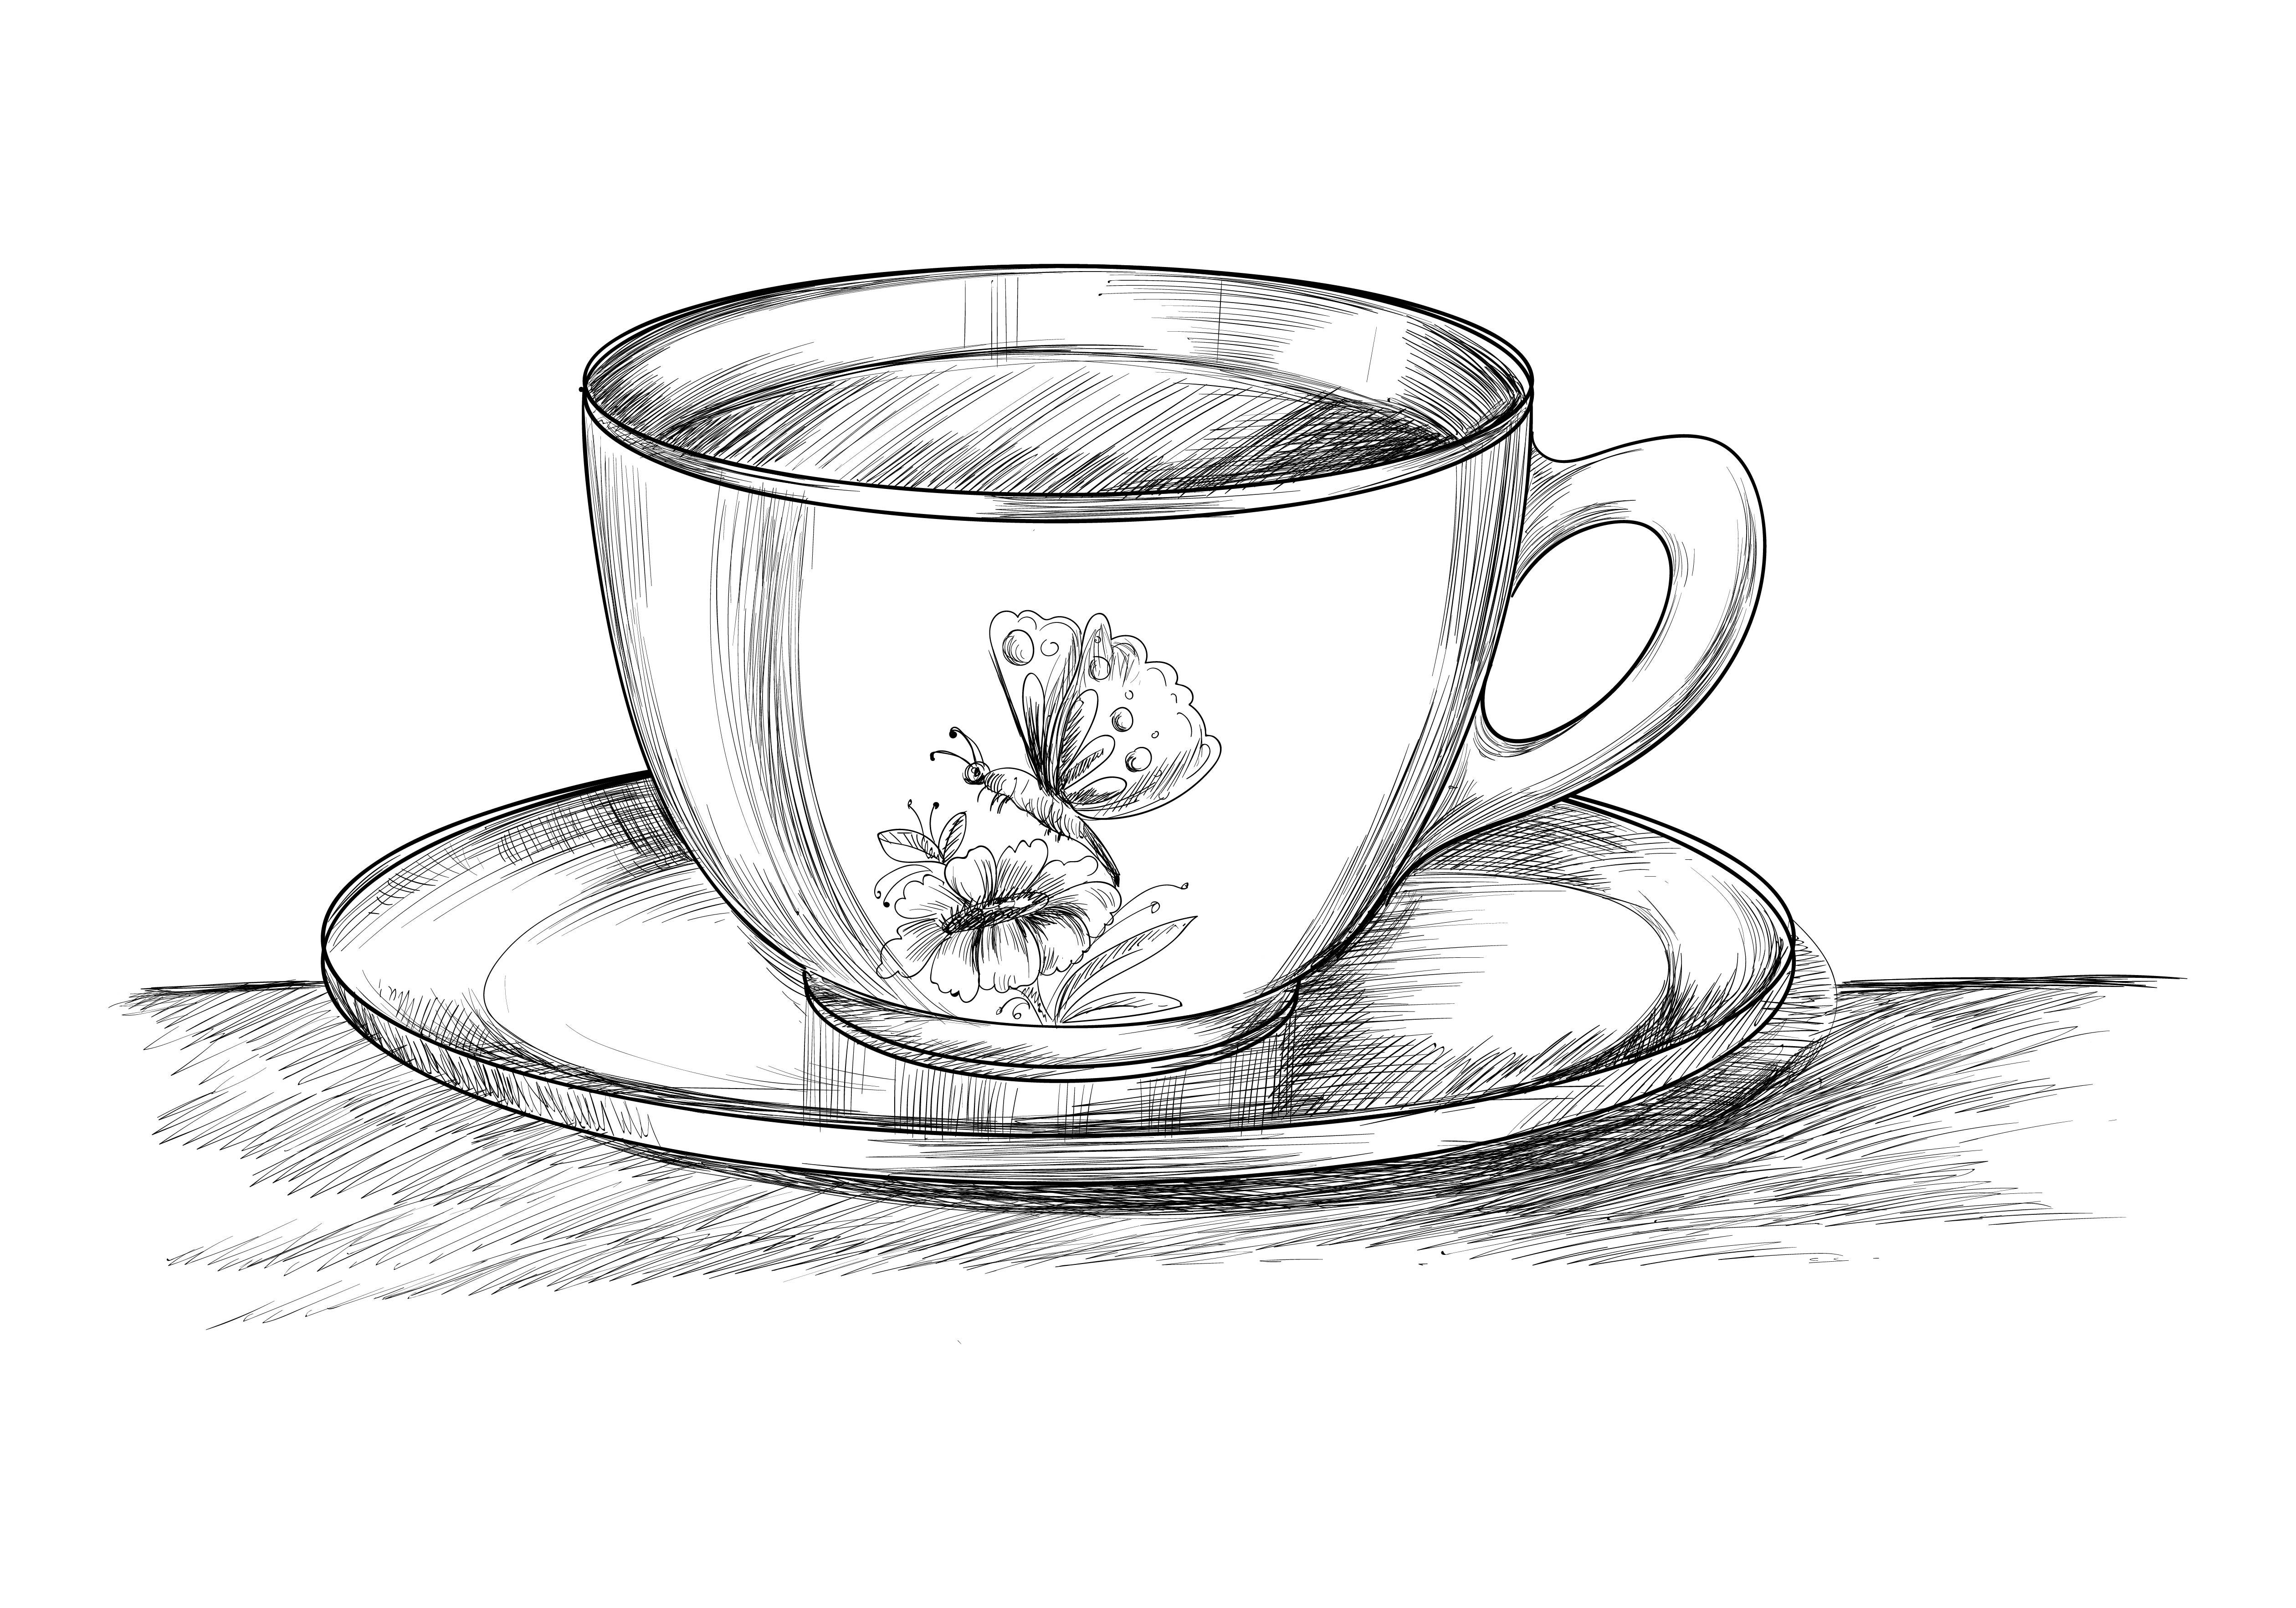
Hand drawn coffee cup sketch Royalty Free Vector Image
Web in this step by step lesson, we will discover how to draw coffee cup with basic drawing tools. Web sketch and shade shadows. Be sure to observe the different sizes and shapes contained in the example drawing of the coffee cup. Draw an oval for the top and the bottom of the mug. This should pretty much look like.

Coffee Cup Drawing How To Draw A Coffee Cup Step By Step
Start by making a vertical line through the middle of your drawing area. Web add an outline of the label on the cup. Next draw a pair of horizontal lines, one for the top of the cup and one for. Be sure to observe the different sizes and shapes contained in the example drawing of the coffee cup. From one.

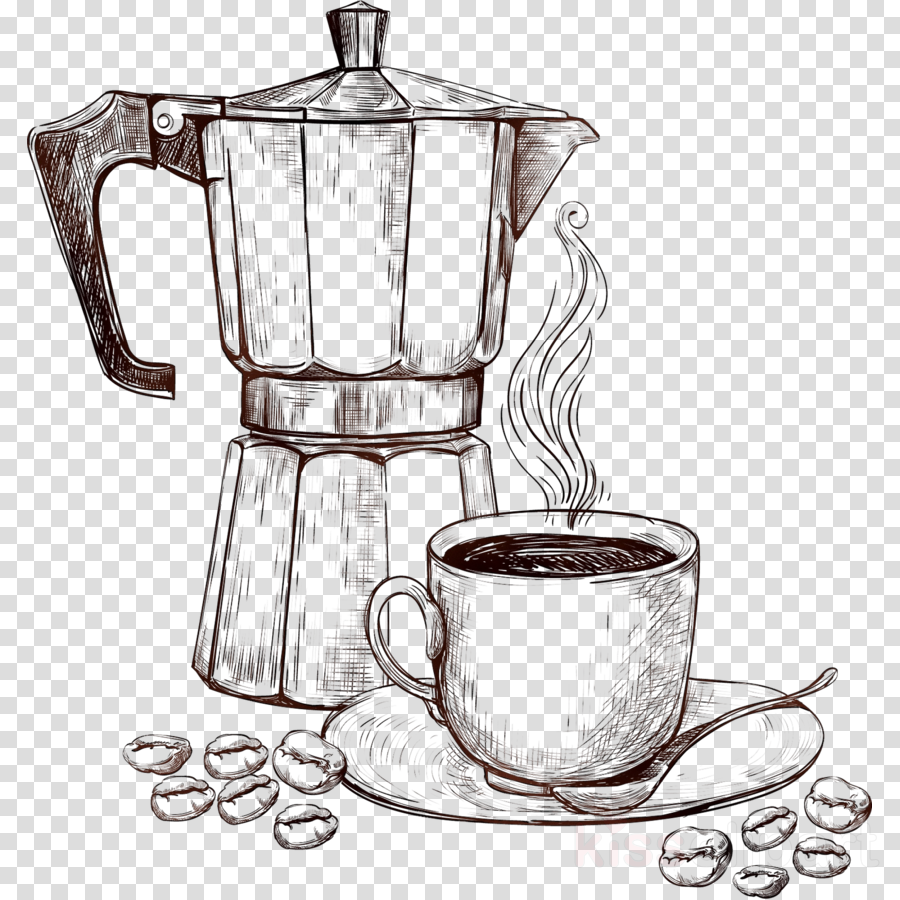
Download premium vector of Hand drawn coffee cup vector 1200218 How
Draw an oval for the top and the bottom of the mug. Use an eraser to remove unnecessary lines from the drawing. Connect the oval shape to the horizontal line by drawing two straight lines that curve slightly outward. This line will be the center of the cup and will help you see if both it’s halves are relatively equal.

Hand Drawn Coffee Cups Vector 180437 Vector Art at Vecteezy
Web in today's video, we're going to be learning how to draw a cup of coffee! Web directions for how to draw a coffee cup step by step. Then, draw two curved lines downward from the sides of the oval, outlining the sides of the cup. Begin by outlining the main shape of the coffee cup. Add a matching left.

How to Draw A Coffee Cup Step by Step
Begin by outlining the main shape of the coffee cup. From one side of the oval, begin drawing a curved line roughly parallel to the shape of the oval. Follow along this simple step by step tutorial to learn how to draw a cup of coffee. Add another line, and a rim and table line. Draw an oval for the.
Coffee Cup Sketch Vector Art, Icons, and Graphics for Free Download
Next, color the body of the cup with an orange crayon. Web in this step by step lesson, we will discover how to draw coffee cup with basic drawing tools. Add another line, and a rim and table line. Use an eraser to remove unnecessary lines from the drawing. Write the word «coffee» on the previously drawn label.
Coffee Cup Drawing Free at Explore collection of
Use an eraser to remove unnecessary lines from the drawing. Finally, connect these using a curved line. The pencil lines in each step is drawn in blue so you can plainly see the most recent shapes that you will be drawing. These lines will form the sides of the cup. This should pretty much look like a little bowl.

Coffee Cup Drawing at GetDrawings Free download
Finally, color the coffee beans with a dark brown crayon. Next, color the body of the cup with an orange crayon. Add another line, and a rim and table line. Add the body of the cup. Start by making a vertical line through the middle of your drawing area.

Colored hand drawing coffee cup Royalty Free Vector Image
Add a matching half oval. Take the line beneath the oval, and connect it on the opposite side. Connect the edges of the ovals with a slightly curved line. Add the body of the cup. Web complete the coffee drawing.

How to Draw a Coffee Cup Really Easy Drawing Tutorial
Web in this step by step lesson, we will discover how to draw coffee cup with basic drawing tools. Add a matching left side. Ensure that the base is wider than the top opening. Write the word «coffee» on the previously drawn label. Draw one half of an oval.
Draw The Right Side Of The Cup.
Web add an outline of the label on the cup. Use an eraser to remove unnecessary lines from the drawing. Coffee cup top and bottom drawing. Draw one half of an oval.
From One Side Of The Oval, Begin Drawing A Curved Line Roughly Parallel To The Shape Of The Oval.
Take the line beneath the oval, and connect it on the opposite side. Begin by outlining the main shape of the coffee cup. This line will be the center of the cup and will help you see if both it’s halves are relatively equal in width. Trace and heavy coloring with a soft edge.
Write The Word «Coffee» On The Previously Drawn Label.
This should pretty much look like a little bowl. Then, draw a curved line at the bottom of the oval shape to create the base of the cup. Ensure that the base is wider than the top opening. Draw a simple oval for the plate.
Draw An Oval For The Top And The Bottom Of The Mug.
Connect the oval shape to the horizontal line by drawing two straight lines that curve slightly outward. Add another line, and a rim and table line. The bottom oval will be slightly smaller (unless your mug has straight sides then the ovals will be the same size). Be sure to leave a bit of room at the top of your drawing area for the steam.