Crossiant Drawing
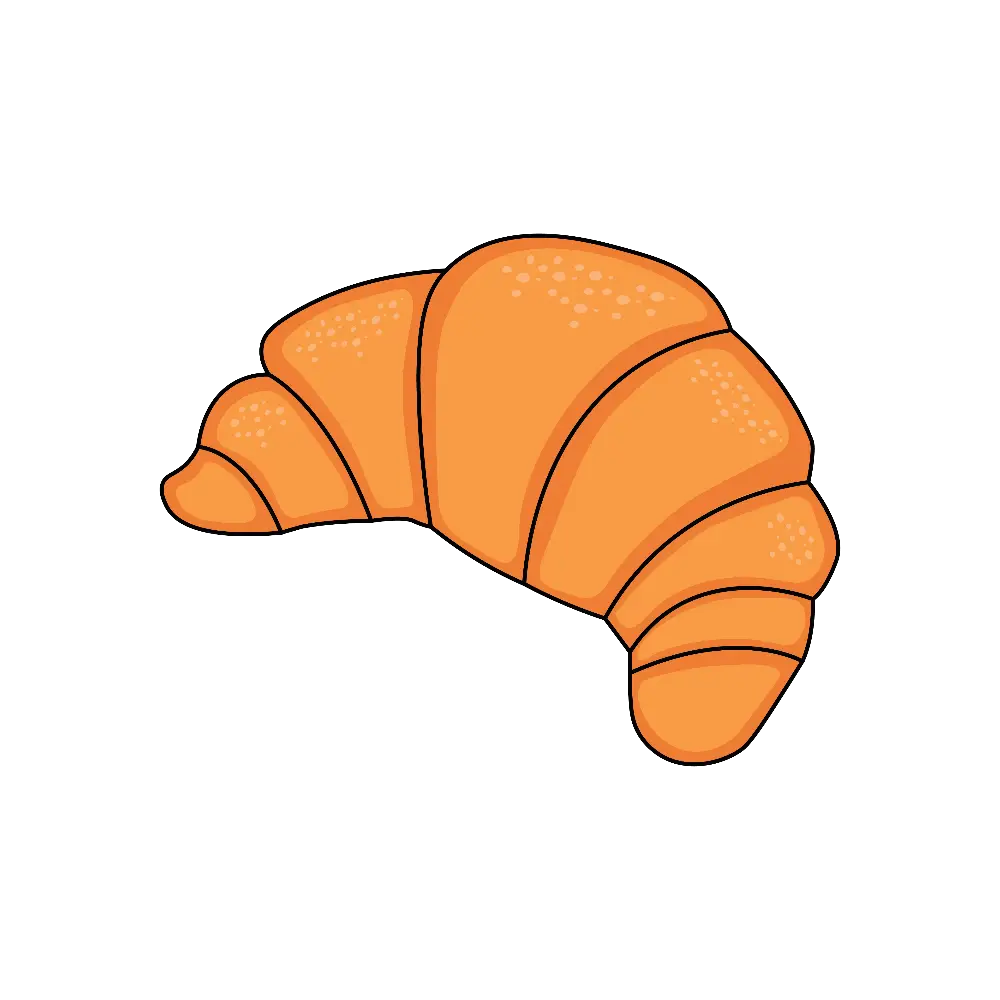
Crossiant Drawing - Begin by outlining the main shape of the croissant without any of the smaller folds and curves. In fact, on the first site, we only draw a curved oval using very light lines. Croissants are a popular pastry that is loved by many peop. Again be sure to do do this outline in pencil and keep the lines fairly light as you will need to erase most of it later on. Draw two elements on the sides. Add these two curved lines to finish forming the croissant. Begin the drawing with a few simple construction lines that define the main shape of the croissant. First, draw a triangle with rounded corners. Then, use a purple crayon to add shadows on the bottom of the croissant. Web in this drawing tutorial, i will show you how to draw a cute croissant step by step for beginners.
Add two smaller triangular shapes to continue forming the croissant. Don’t forget that all the first steps should be done using very light lines. Just like the other side of the croissant drawing, draw another curved line to shape you drew in the previous step. Outline two more croissant parts. Add these two curved lines to finish forming the croissant. Again be sure to do do this outline in pencil and keep the lines fairly light as you will need to erase most of it later on. Web complete the croissant drawing. Learn and teach to properly draw a picture outline of flaky and buttery croissants, and colouring it. Alternatively, you can leave this drawing as a line drawing since it looks just as good. Croissants are a popular pastry that is loved by many peop.
Once you have done this, you can now move on to coloring your croissant drawing. Then, use a purple crayon to add shadows on the bottom of the croissant. Don’t forget that all the first steps should be done using very light lines. First, draw a triangle with rounded corners. Alternatively, you can leave this drawing as a line drawing since it looks just as good. Begin by outlining the main shape of the croissant without any of the smaller folds and curves. Put hints of brown to the edges to add some shadows to the croissant. Draw two elements on the sides. Web in this drawing tutorial, i will show you how to draw a cute croissant step by step for beginners. Add these two curved lines to finish forming the croissant.

Croissant design drawing isolated Royalty Free Vector Image
Depict two same rounded lines on the sides of the croissant. Add these two curved lines to finish forming the croissant. It’s purpose is to act as a guide that will make. Web complete the croissant drawing. In fact, on the first site, we only draw a curved oval using very light lines.
How to Draw A Croissant Step by Step
Again be sure to do do this outline in pencil and keep the lines fairly light as you will need to erase most of it later on. Learn and teach to properly draw a picture outline of flaky and buttery croissants, and colouring it. Add these two curved lines to finish forming the croissant. Web connect the two previously drawn.

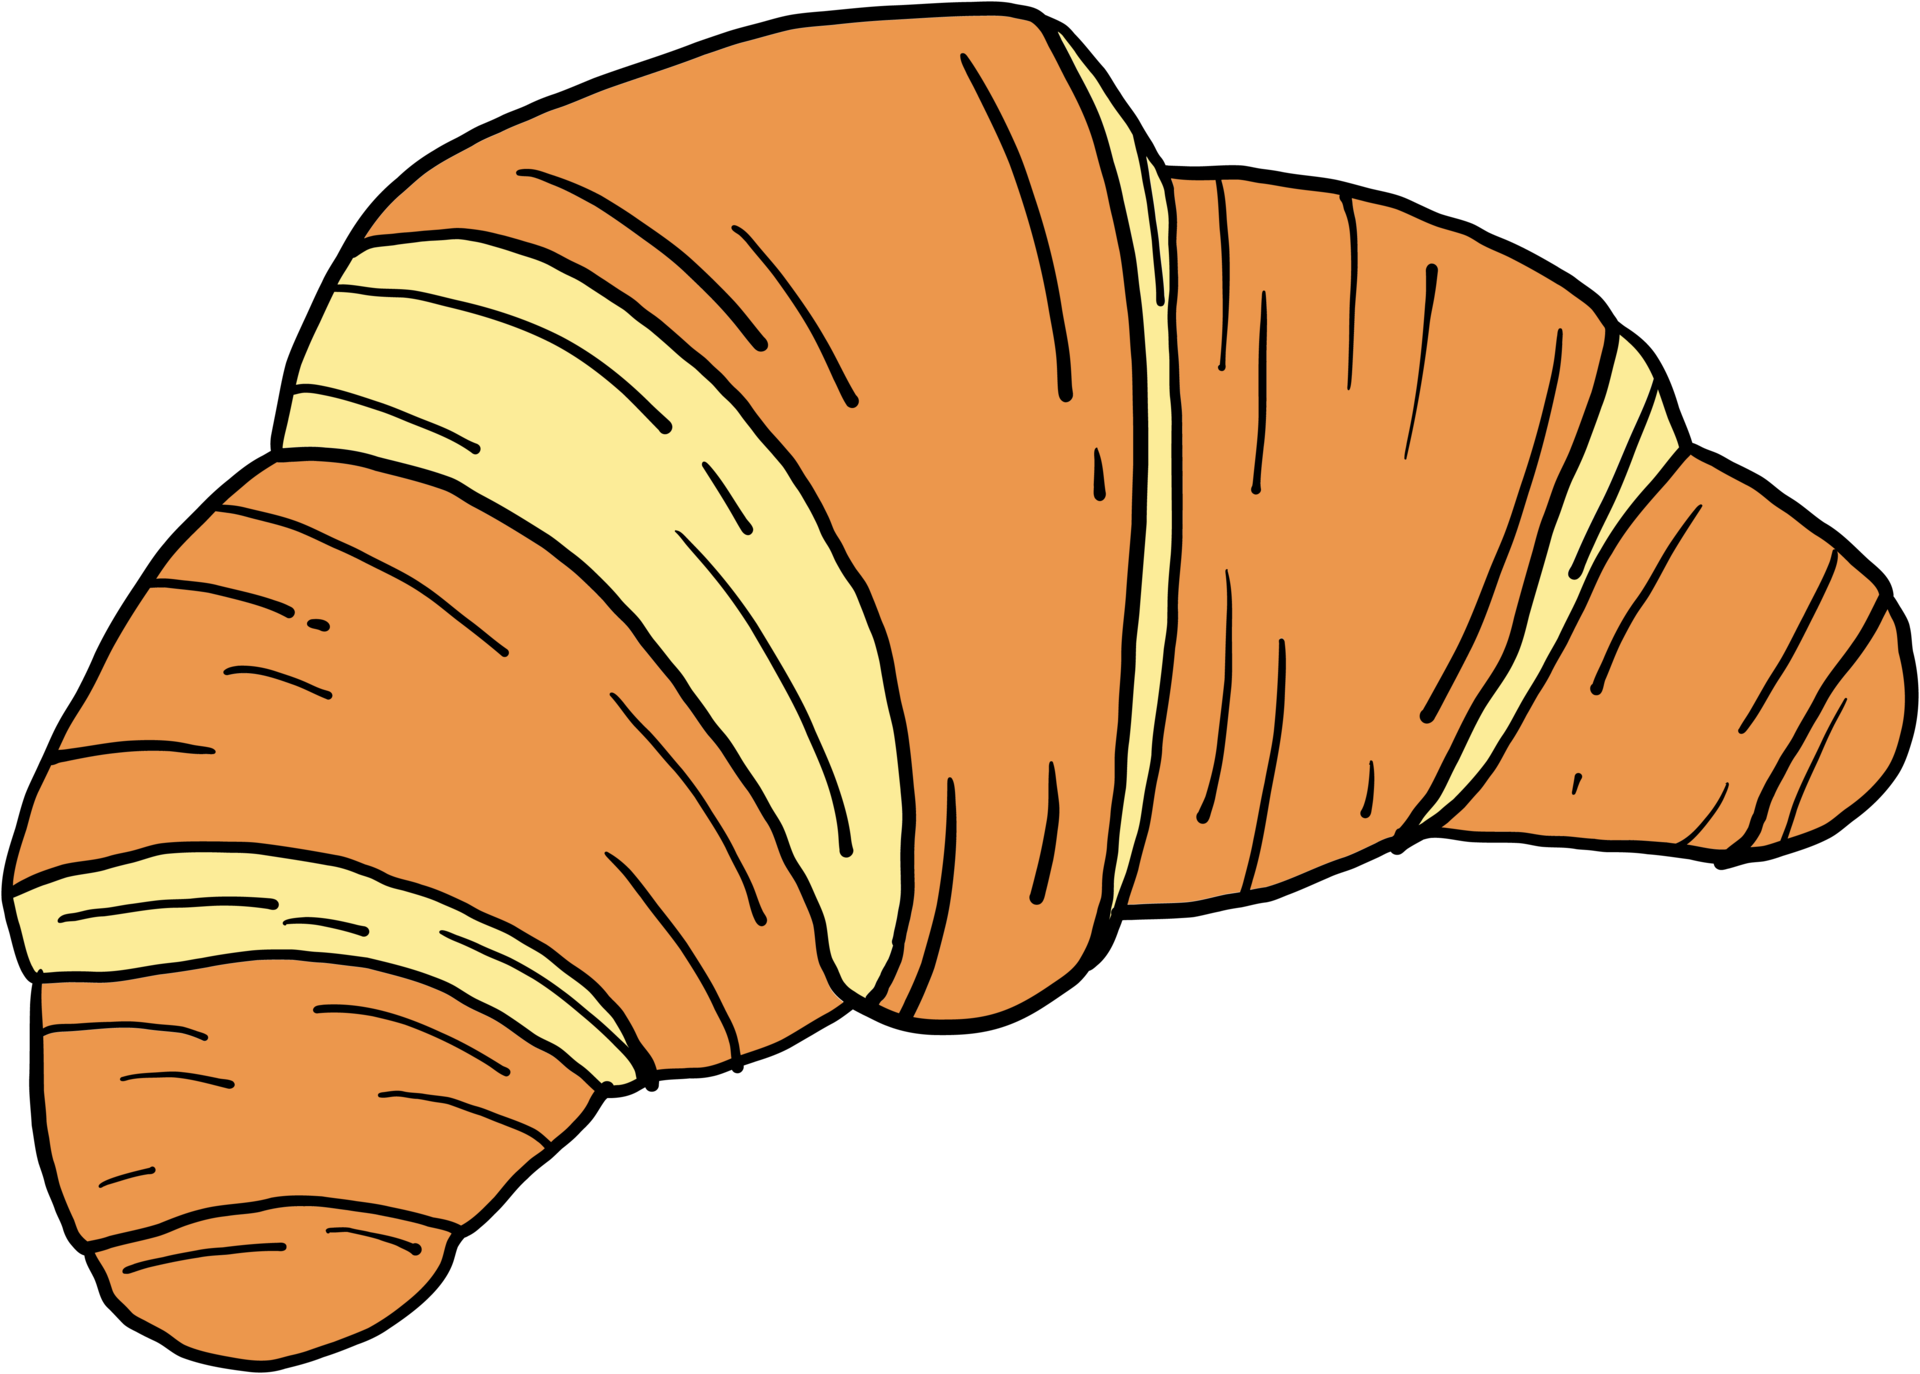
Doodle freehand sketch drawing croissant bread Vector Image
Just like the other side of the croissant drawing, draw another curved line to shape you drew in the previous step. Outline two more croissant parts. Alternatively, you can leave this drawing as a line drawing since it looks just as good. Web connect the two previously drawn lines with the curved lines at the top and bottom. Once you.

Doodle dibujo a mano alzada de pan croissant. 2962146 Vector en Vecteezy
Depict two same rounded lines on the sides of the croissant. It’s purpose is to act as a guide that will make. Then, use a purple crayon to add shadows on the bottom of the croissant. Don’t forget that all the first steps should be done using very light lines. Draw two elements on the sides.

How to Draw a Croissant HelloArtsy
Draw two elements on the sides. Depict two same rounded lines on the sides of the croissant. Web complete the croissant drawing. Begin by outlining the main shape of the croissant without any of the smaller folds and curves. Let’s finish the drawing by coloring the croissant with orange and yellow crayons.
Croissant PNGs for Free Download
Add these triangular shapes, one on the right, one of the left. Once you have done this, you can now move on to coloring your croissant drawing. For the sliced croissant, color the cross section with a light yellow crayon. Learn and teach to properly draw a picture outline of flaky and buttery croissants, and colouring it. Alternatively, you can.
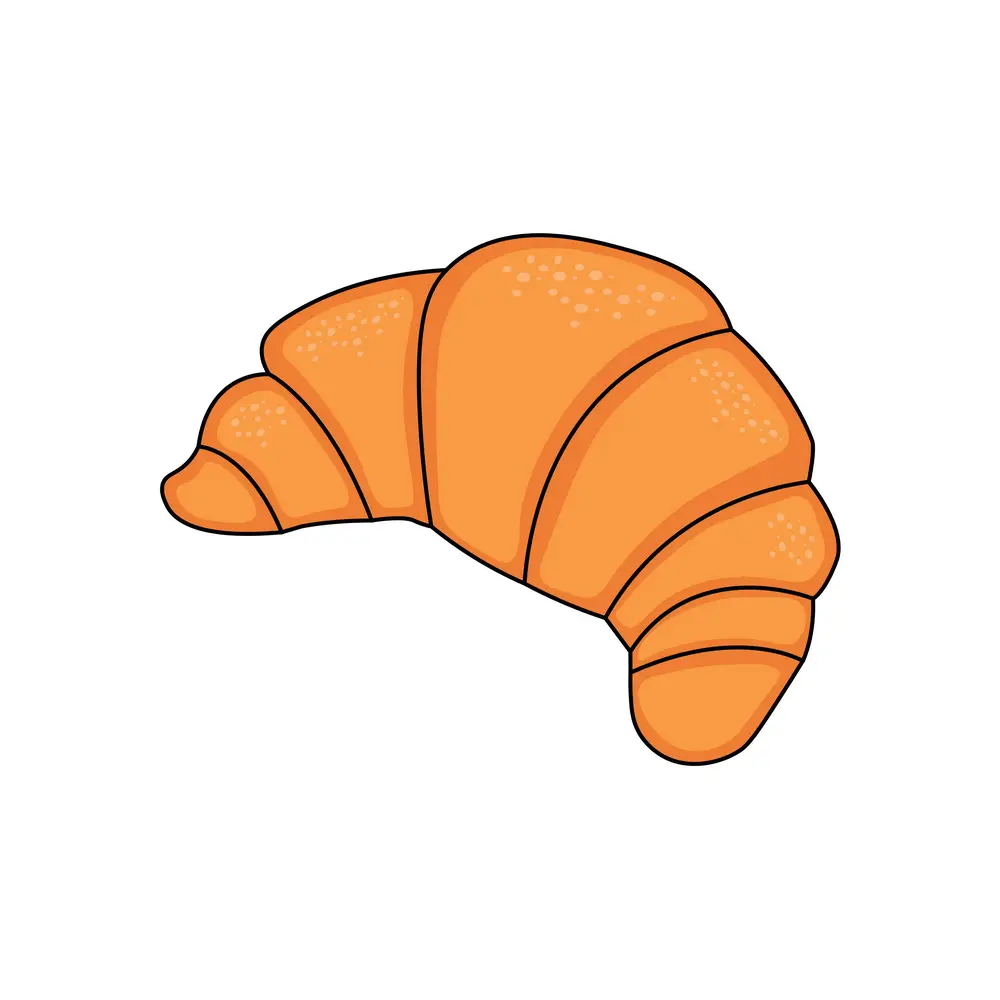
How to Draw A Croissant Step by Step
Add these triangular shapes, one on the right, one of the left. Add two identical curved lines on the right and left sides of the previously drawn figure. Don’t forget that all the first steps should be done using very light lines. Let’s finish the drawing by coloring the croissant with orange and yellow crayons. Begin the drawing with a.

Hand drawn sketch of croissant in color isolated Vector Image
Learn and teach to properly draw a picture outline of flaky and buttery croissants, and colouring it. Being view from the angle in the example (side view slightly below the eye level) the shape of the croissant will somewhat resemble a triangle. Web complete the croissant drawing. Web connect the two previously drawn lines with the curved lines at the.
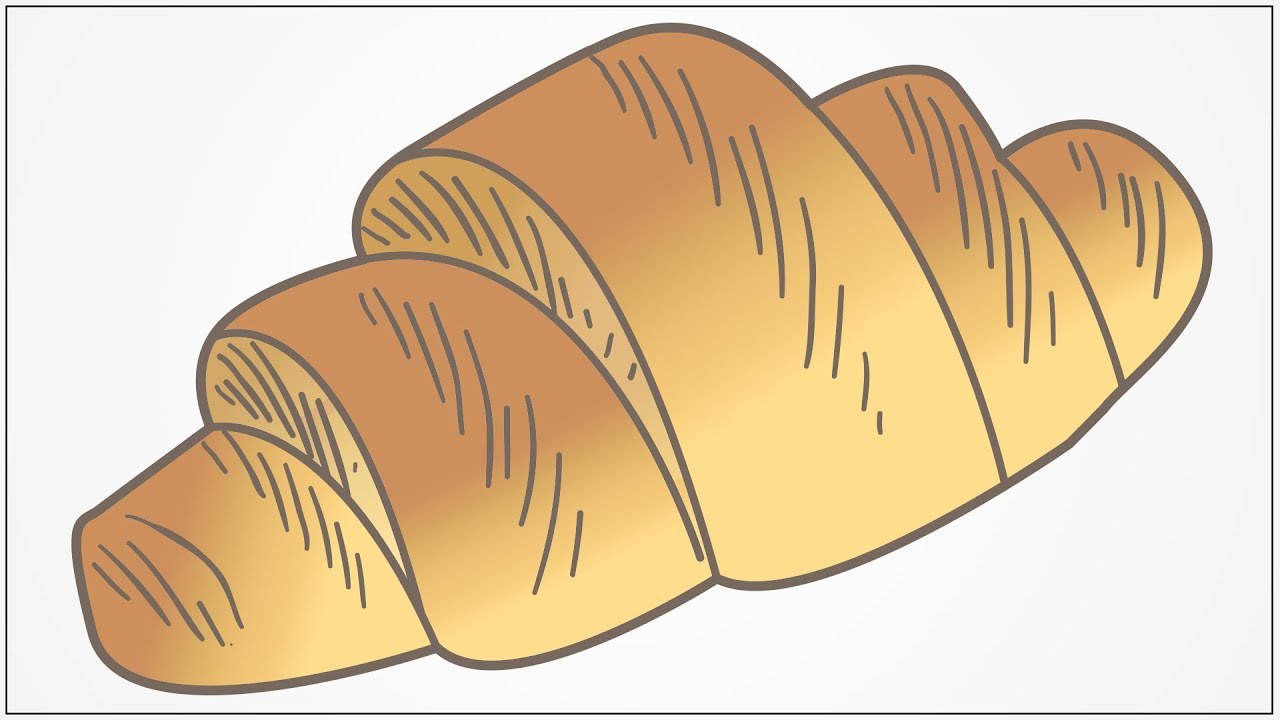
how to draw croissant step by step YouTube
Begin by outlining the main shape of the croissant without any of the smaller folds and curves. In fact, on the first site, we only draw a curved oval using very light lines. First, draw a triangle with rounded corners. Just like the other side of the croissant drawing, draw another curved line to shape you drew in the previous.

Sketch fresh french croissant isolated Royalty Free Vector
First, draw a triangle with rounded corners. Web complete the croissant drawing. Once you have done this, you can now move on to coloring your croissant drawing. Add two smaller triangular shapes to continue forming the croissant. Outline two more croissant parts.
Add These Two Curved Lines To Finish Forming The Croissant.
Begin by outlining the main shape of the croissant without any of the smaller folds and curves. Being view from the angle in the example (side view slightly below the eye level) the shape of the croissant will somewhat resemble a triangle. Then, use a purple crayon to add shadows on the bottom of the croissant. Begin the drawing with a few simple construction lines that define the main shape of the croissant.
Add Two Identical Curved Lines On The Right And Left Sides Of The Previously Drawn Figure.
For the sliced croissant, color the cross section with a light yellow crayon. Once you have done this, you can now move on to coloring your croissant drawing. Learn and teach to properly draw a picture outline of flaky and buttery croissants, and colouring it. Don’t forget that all the first steps should be done using very light lines.
It’s Purpose Is To Act As A Guide That Will Make.
Again be sure to do do this outline in pencil and keep the lines fairly light as you will need to erase most of it later on. Let’s finish the drawing by coloring the croissant with orange and yellow crayons. Add two smaller triangular shapes to continue forming the croissant. Put hints of brown to the edges to add some shadows to the croissant.
Just Like The Other Side Of The Croissant Drawing, Draw Another Curved Line To Shape You Drew In The Previous Step.
Outline two more croissant parts. Alternatively, you can leave this drawing as a line drawing since it looks just as good. Web in this drawing tutorial, i will show you how to draw a cute croissant step by step for beginners. Draw two elements on the sides.