Draw A Bobcat
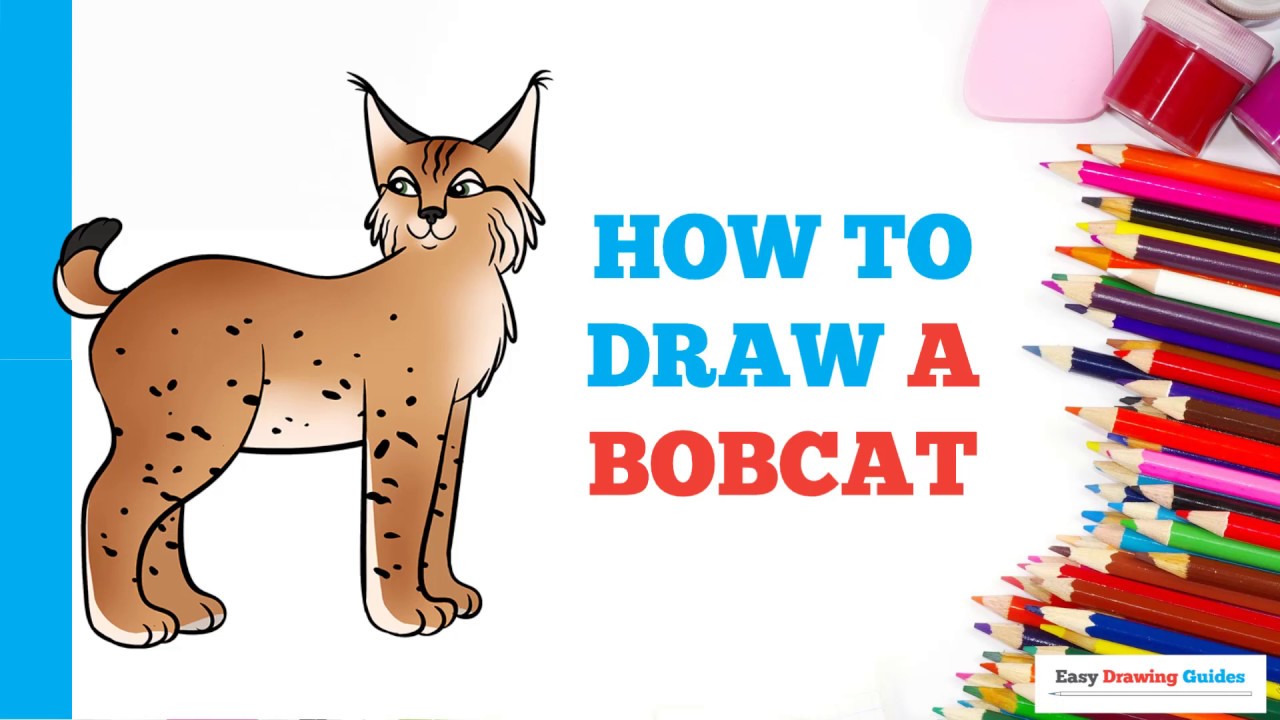
Draw A Bobcat - Begin with a large oval shape for the head, followed by a smaller oval below it for the body. Sketch the bobcat’s abdomen and left forelimbs. Web in this drawing lesson we’ll show you how to draw a bobcat in 6 easy steps.this step by step lesson progressively builds upon each previous step until you get to the final rendering of a bobcat follow along with the how to draw a bobcat drawing guide below by sketching the red portion of each of the six steps, super easy! Cartoons, cats, how to draw animals tagged with: Define with guidelines the places for its legs, nose and eyes. Should you want to learn how to draw a bobcat, just follow the steps made especially for kids. Web how to draw a bobcat. Enclose the curved shapes of the eyes, using a pair of curved lines for each. Add the nose and mouth. Draw a line, which will act as the center of its head.
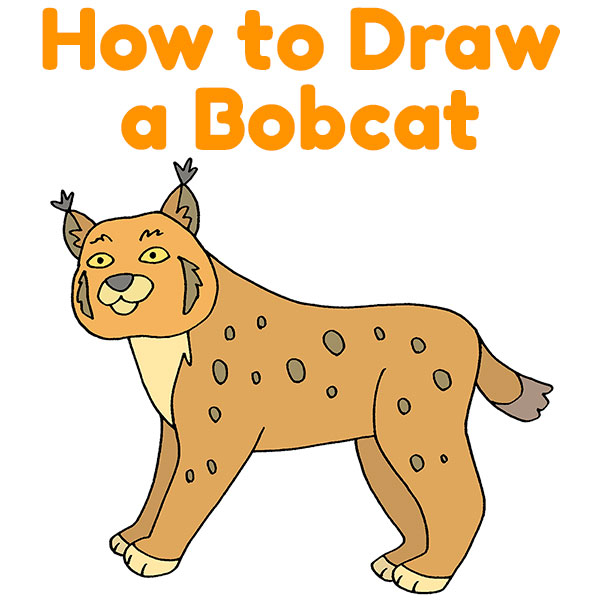
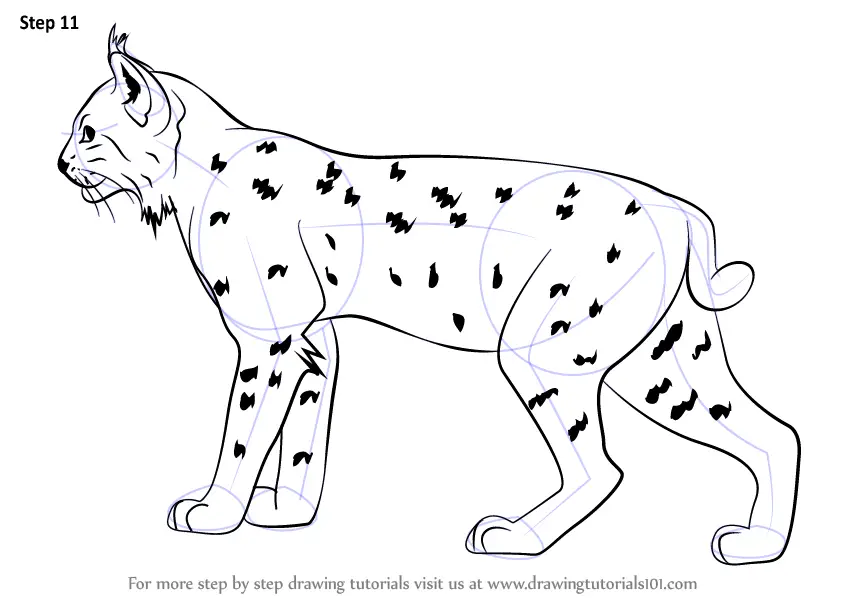
How to draw a bobcat. Web watch how to draw a cartoon bobcat. First, use a very light brown crayon to color the underbelly, paws, ears, eyes, and bottom part of the face. Cartoons, cats, how to draw animals tagged with: Draw the shape of the bobcat’s body and neck. Add circles for the shoulders, hips, and joints to establish the pose. Next, use a pink crayon to shade the nose. Draw two smaller circles within each wheel to represent the hubs. At the top, draw a smooth line that consistently connects all the circles and goes into the tail. On each side of the bobcat’s muzzle, draw whiskers by using quick strokes.
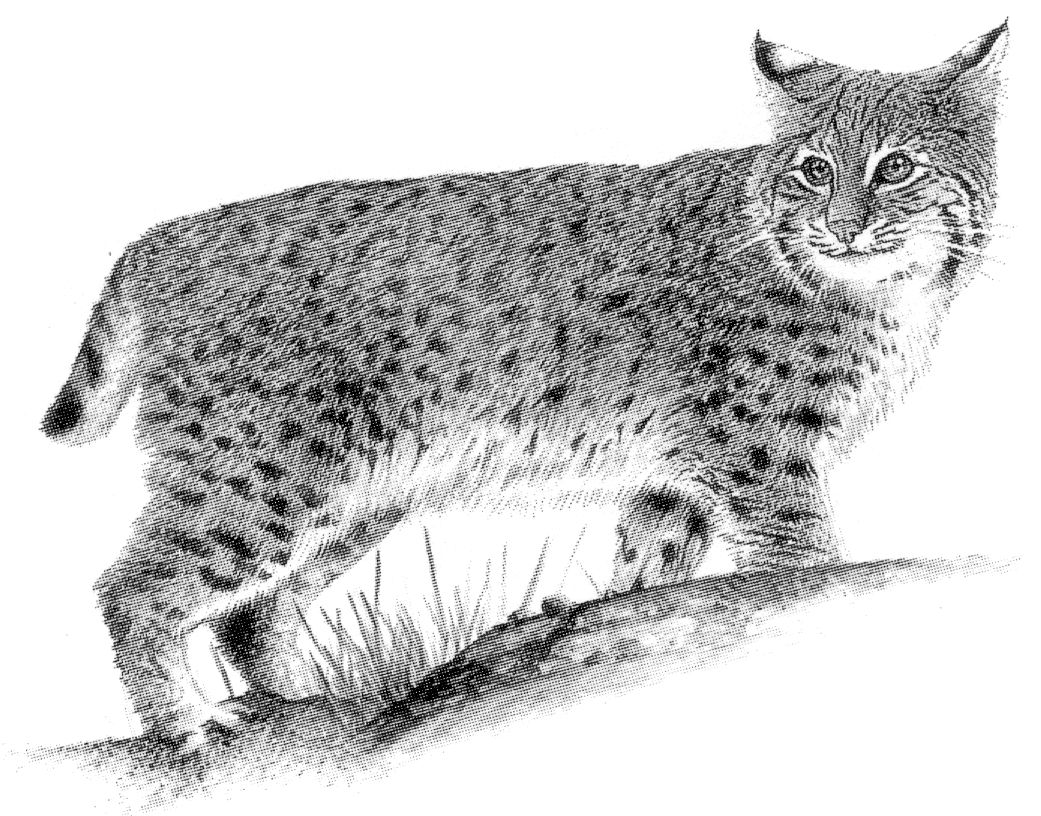
Add the elements of the muzzle. Web start by drawing a rectangle for the bobcat’s body. At the top, draw a smooth line that consistently connects all the circles and goes into the tail. Cartoons, cats, how to draw animals tagged with: Draw the eyes in the shape of two ovals. Enjoy this day with your families, friends, and others who have helped you reach this. Web in this drawing lesson we’ll show you how to draw a bobcat in 6 easy steps.this step by step lesson progressively builds upon each previous step until you get to the final rendering of a bobcat follow along with the how to draw a bobcat drawing guide below by sketching the red portion of each of the six steps, super easy! Web learn how to draw a bobcat with pen and ink in this step by step drawing tutorial. Finalize the drawing with additional details and textures. Remember to keep these shapes light and loose as we will.
How to Draw a Bobcat
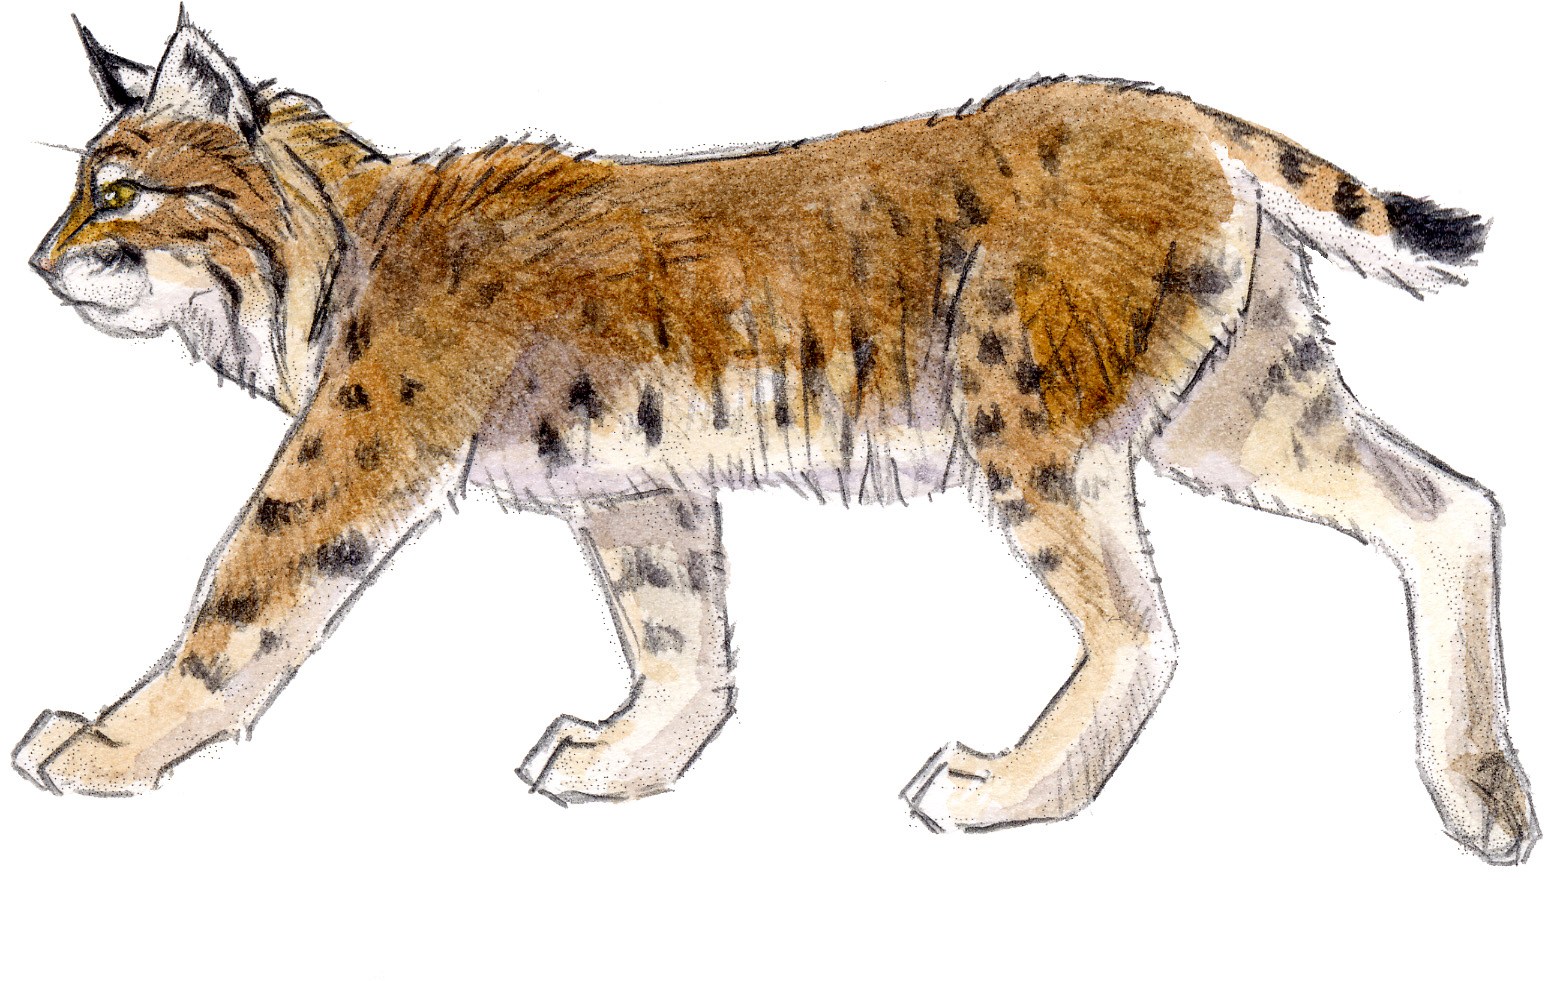
Beneath it, draw a circle within a circle, and shade between them. Add the bobcat’s cab by drawing a trapezoid or a curved rectangle on top of the body. Web the bobcat is a north american cat which found in canada to mexico, including some parts of united states. Now, fill in the rest of the bobcat’s body with a.

How to Draw a Bobcat Easy by Steps for Kids McLeod Difusely57
Web how to draw a bobcat.the bobcat is a north american mammal of the cat family felidae, appearing during the irvingtonian stage of around 1.8 million years ago. Draw another curved line across each eye to form the eyelid. Cartoons, cats, how to draw animals tagged with: Draw two smaller circles within each wheel to represent the hubs. Should you.
Bobcat Drawing at GetDrawings Free download
Add the inner ear details as well. Enhance the bobcat’s body with fur and muscles. Then, use a dark brown crayon to fill in the tip of the tail and tip of the ears. Then draw a curved line underneath for this wild cat’s chin. Add the nose and mouth.
Learn How to Draw a Bobcat (Wild Animals) Step by Step Drawing Tutorials
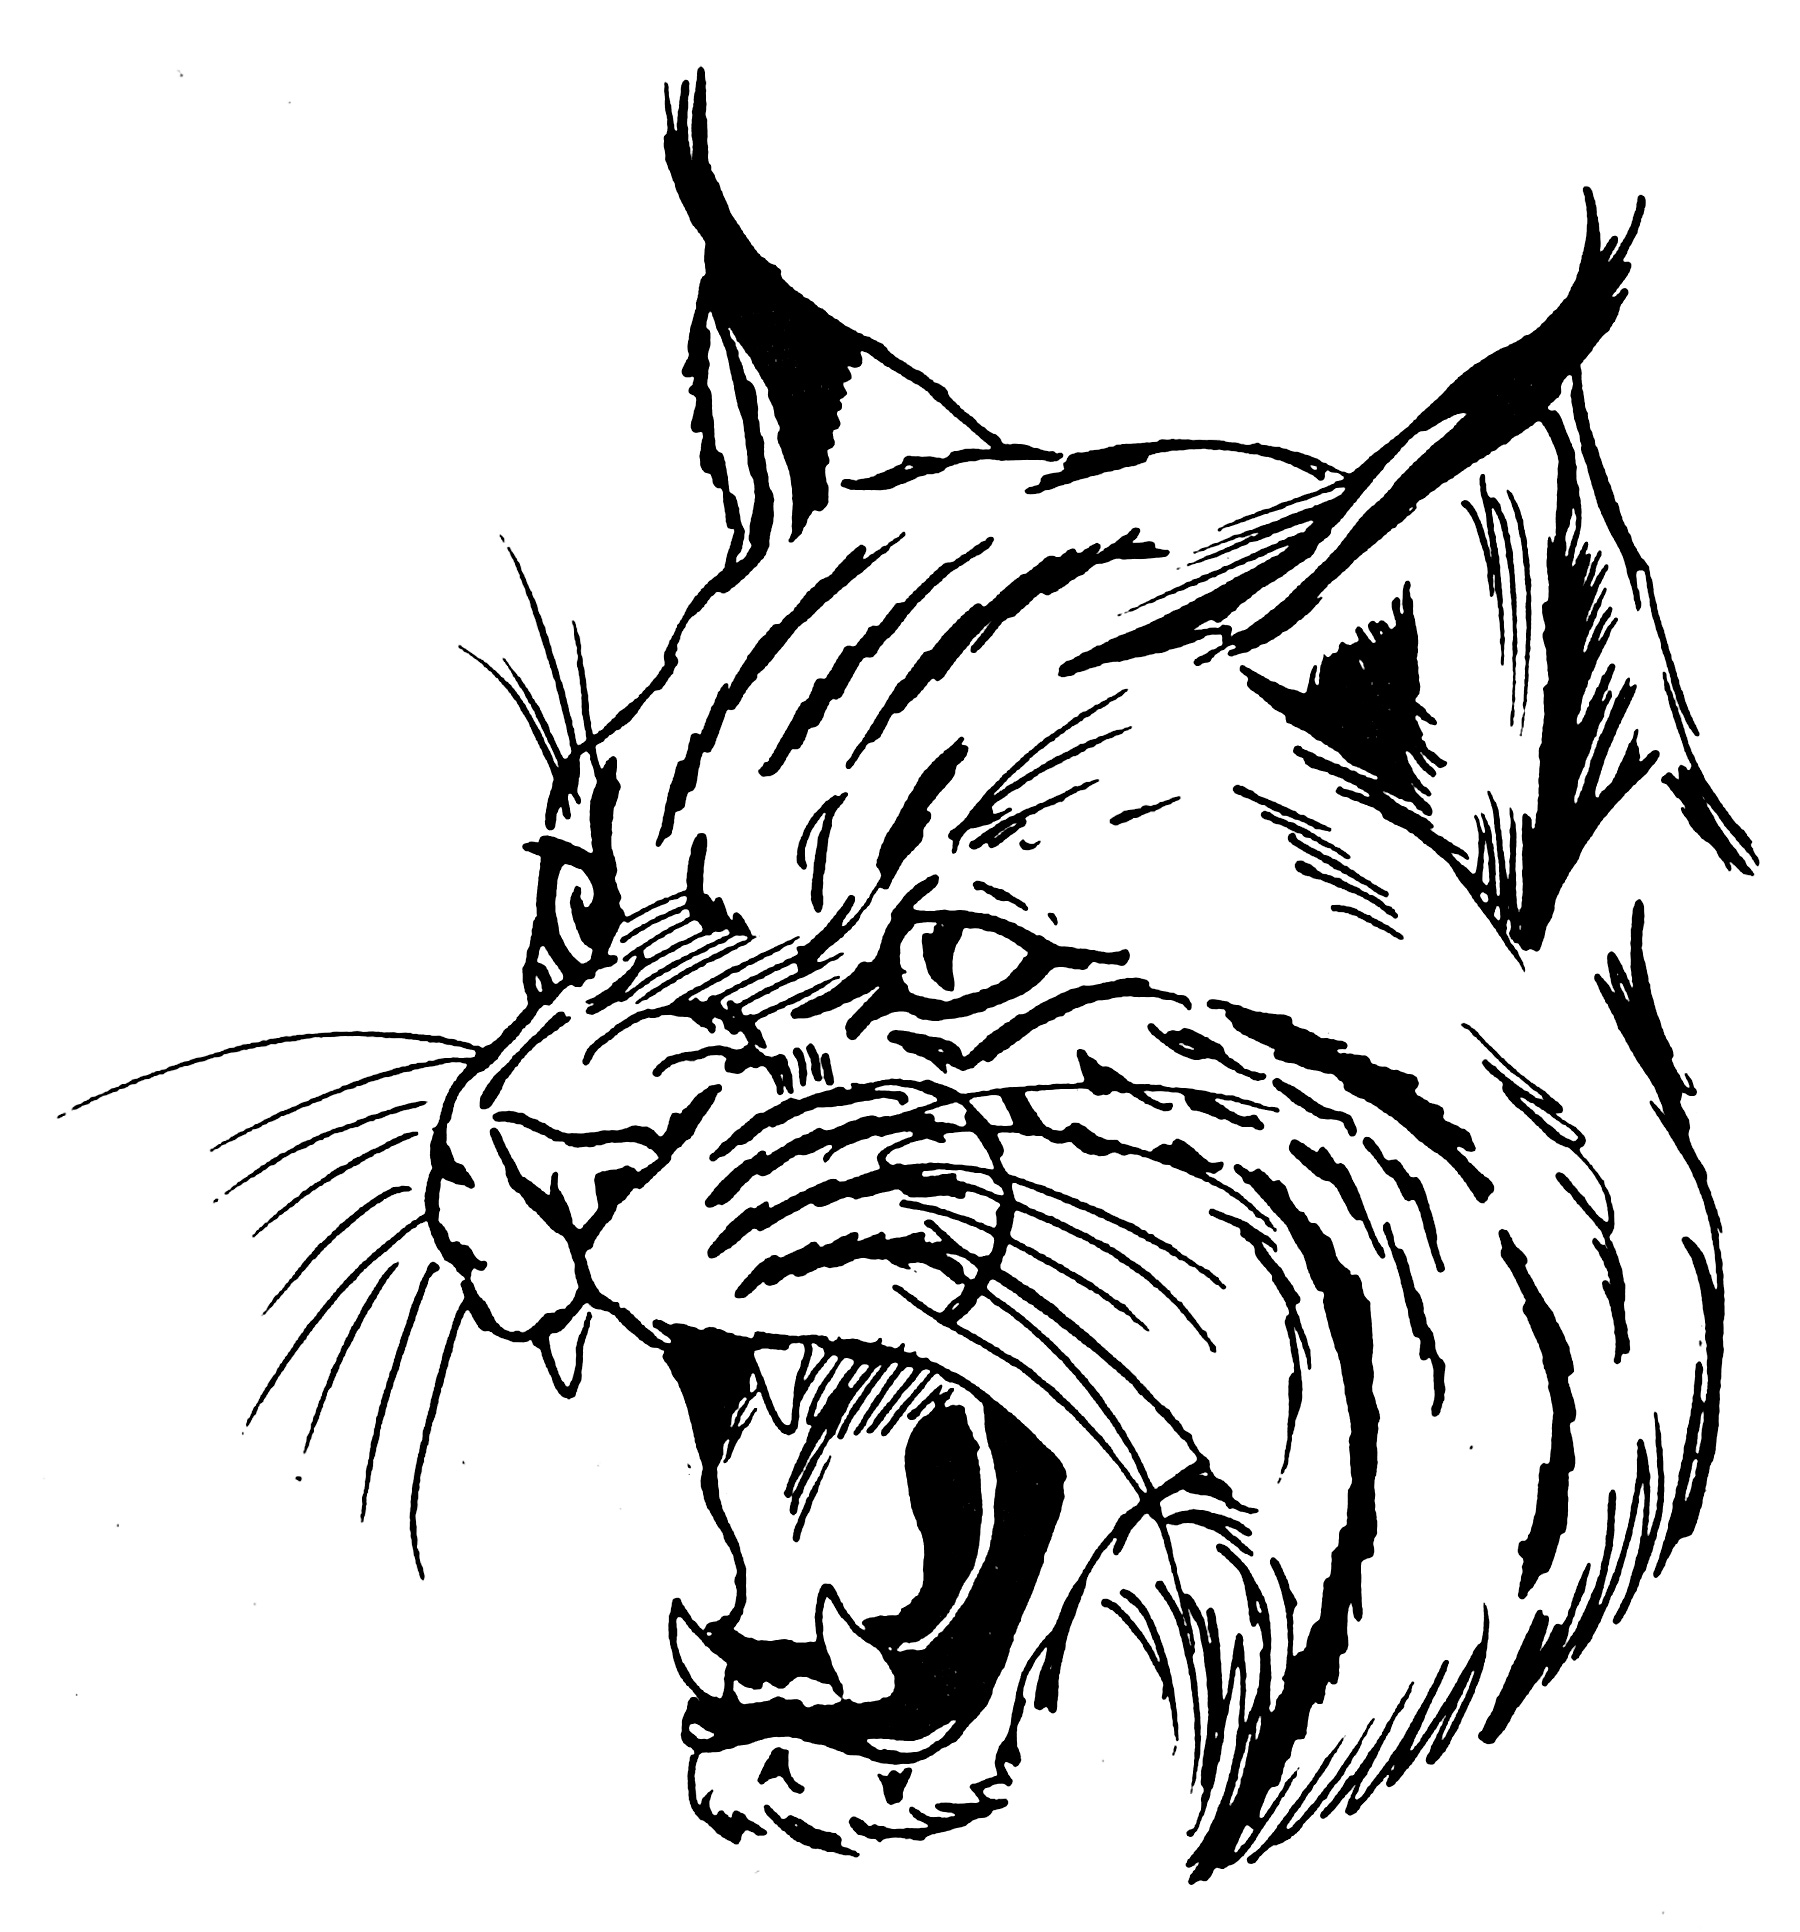
Web learn how to draw a bobcat with pen and ink in this step by step drawing tutorial. Web draw the bobcat’s head, nose, and the other ear. Your talent, drive, and purpose are sure to impact many and to make the world a better and more equitable place. Web the bobcat is a north american cat which found in.
Bobcat Sketch at Explore collection of Bobcat Sketch
Draw another curved line across each eye to form the eyelid. Finalize the drawing with additional details and textures. This will form the back of the bobcat which we will add to soon. Web mark off the width and height of the picture. Sketch out two large ears and depict the inside.
How to Draw a Bobcat in a Few Easy Steps Drawing Tutorial for Beginner
Draw the bobcat’s muzzle using the small circle as a guide. Add the bobcat’s head and facial features. Draw two intersecting lines inside the head. Let’s start by sketching and oval shape head. Depict the head in the same shape as in the example.

How to Draw Bobcats, Bobcat, Step by Step, forest animals, Animals
Web watch how to draw a cartoon bobcat. Define with guidelines the places for its legs, nose and eyes. Draw two smaller circles within each wheel to represent the hubs. Get the latest updates, news, and exciting announcements from art for kids hub delivered straight to your inbox! Then, use a dark brown crayon to fill in the tip of.

How to Draw a Bobcat Really Easy Drawing Tutorial
Web the bobcat is a north american cat which found in canada to mexico, including some parts of united states. Web they stormed through the regular season and, after drawing a no. Web start by drawing a rectangle for the bobcat’s body. Web draw the bobcat’s head, nose, and the other ear. On each side of the bobcat’s muzzle, draw.
Bobcat Drawing at GetDrawings Free download
Add the inner ear details as well. Draw the bobcat’s right forelimb and tail. Beneath it, draw a circle within a circle, and shade between them. Add the bobcat’s tail and paws. Draw the cat’s body and hind limbs.

How to Draw a Bobcat HelloArtsy
Finalize the drawing with additional details and textures. Add the bobcat’s head and facial features. Enclose the curved shapes of the eyes, using a pair of curved lines for each. Should you want to learn how to draw a bobcat, just follow the steps made especially for kids. Your talent, drive, and purpose are sure to impact many and to.
Web Learn How To Draw A Bobcat With Pen And Ink In This Step By Step Drawing Tutorial.
Depict the head in the same shape as in the example. Add the bobcat’s tail and paws. Web watch how to draw a cartoon bobcat. Start by sketching the basic shapes that will serve as the foundation for your bobcat drawing.
Enjoy This Day With Your Families, Friends, And Others Who Have Helped You Reach This.
Web how to draw a bobcat. Add the elements of the muzzle. Draw a smaller circle on the lower half of the head as a guide for the bobcat's muzzle. Depict some spots on the head and body.
Beginner Artists Can Now Draw A Great Looking Bobcat.the Bobcat, Also Called The Wildcat Or.
First, extend a wavy line from the head and going to the right. Web how to draw a bobcat.the bobcat is a north american mammal of the cat family felidae, appearing during the irvingtonian stage of around 1.8 million years ago. Web notice that the two circles overlap a bit. Enclose the curved shapes of the eyes, using a pair of curved lines for each.
Add The Inner Ear Details As Well.
Draw another curved line across each eye to form the eyelid. How to draw a bobcat. Web full tutorial + print version at: Add circles for the shoulders, hips, and joints to establish the pose.