Drawing Cherries
Drawing Cherries - Draw another on the left. Now we need to start drawing in the details. Add some “indents” with wave like shapes towards the top of the cherries and from those draw the stems. You can do this before or after adding the stems. Add a stem to the middle cherry. Web do you want to learn how to draw cherries fruits easy for beginners. Web learn how to draw funny cherries! First frame the combined shape of the cherries. You can see how this is done with just a few lines in the example above. To complete the image, we’ll revisit the.
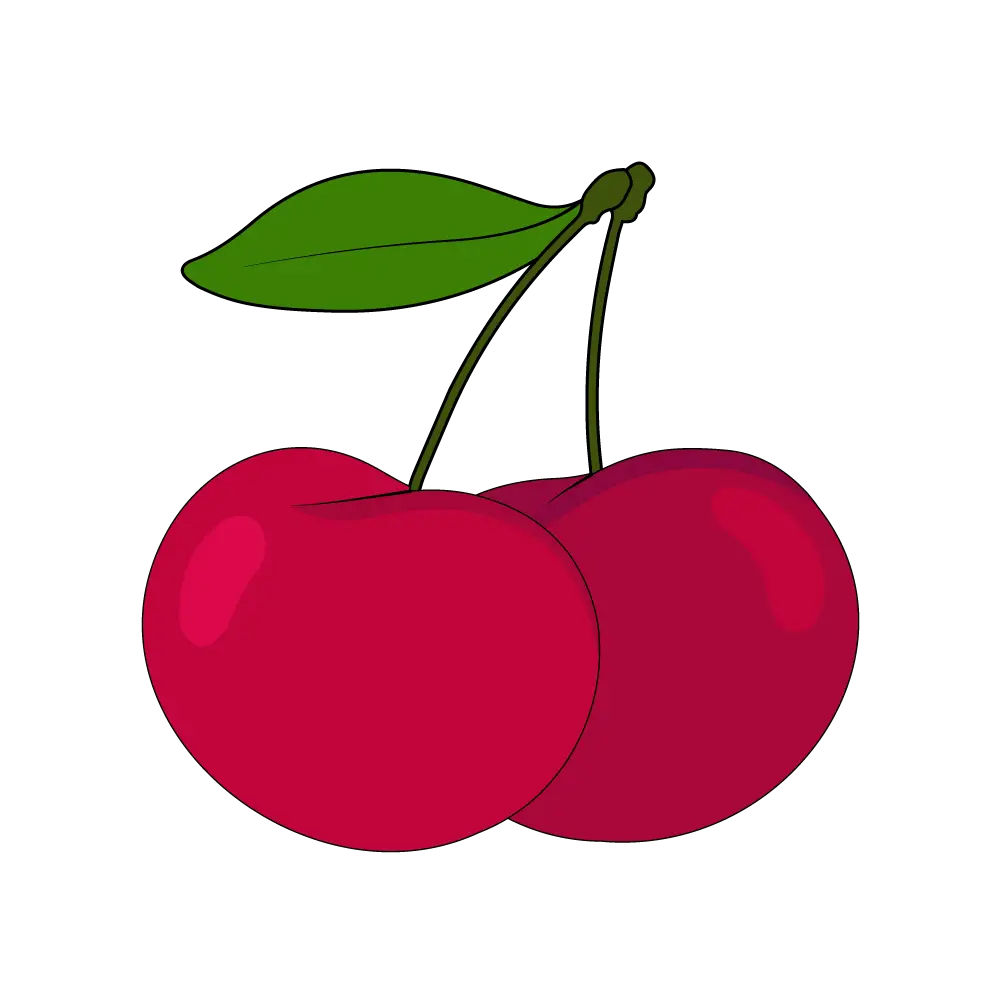
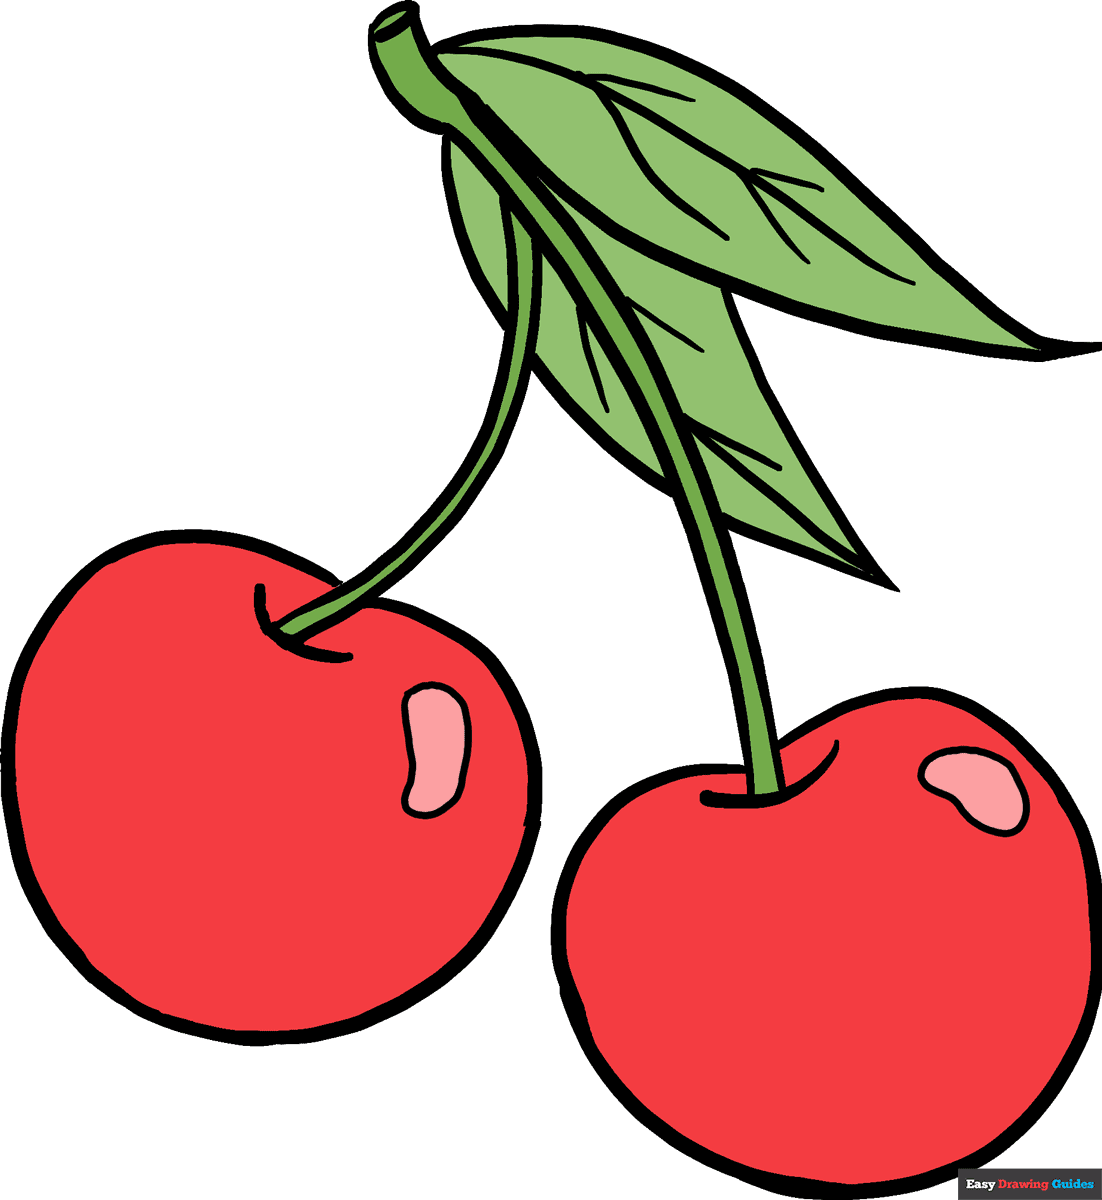
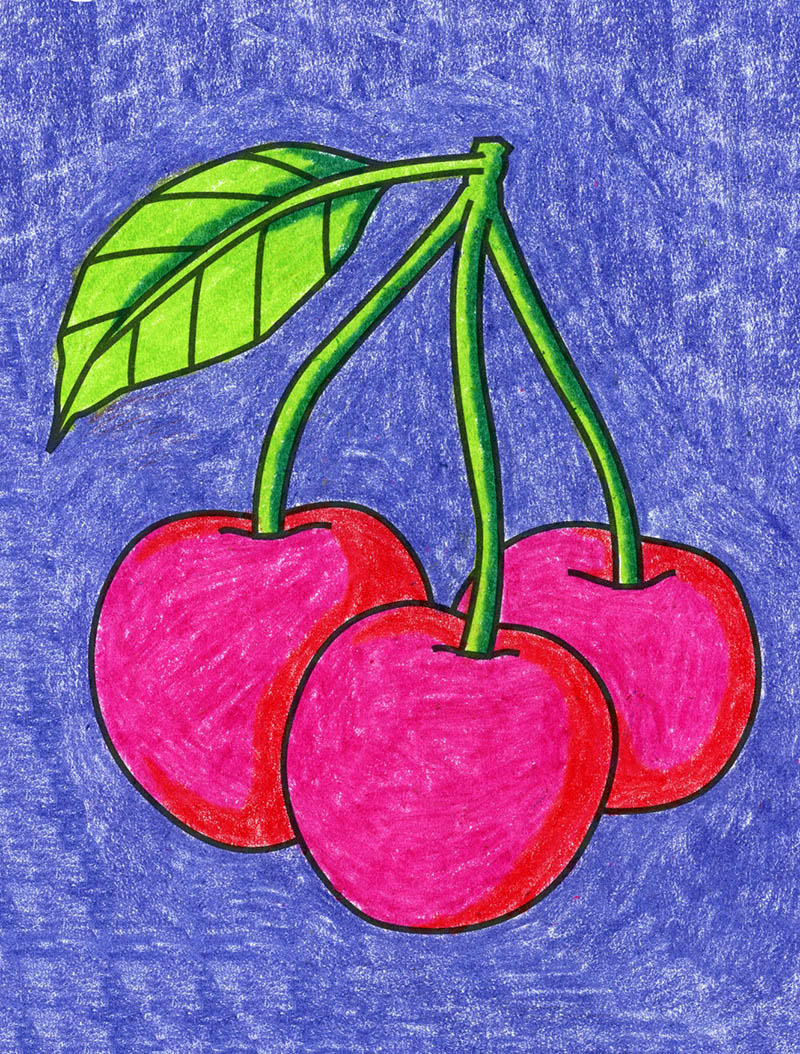
Draw leaves and the lower part of the connecting branch. Add another on the right side. Then add rough edges to the outside of the leaf and on the veins to create a more realistic look. We’ll next apply colored pencils to the cast shadows under the cherries. This will make both of your cherries appear to look more realistic. Going up from each cherry draw a pair of stems that lightly curve towards one another until they join together. I will take you step by step, color by color to complete the cherry drawing. Draw a small curved line for the indent where the stem comes out of the cherry. Web do you want to learn how to draw cherries fruits easy for beginners. Here is another super easy tutorial on how to draw cher.
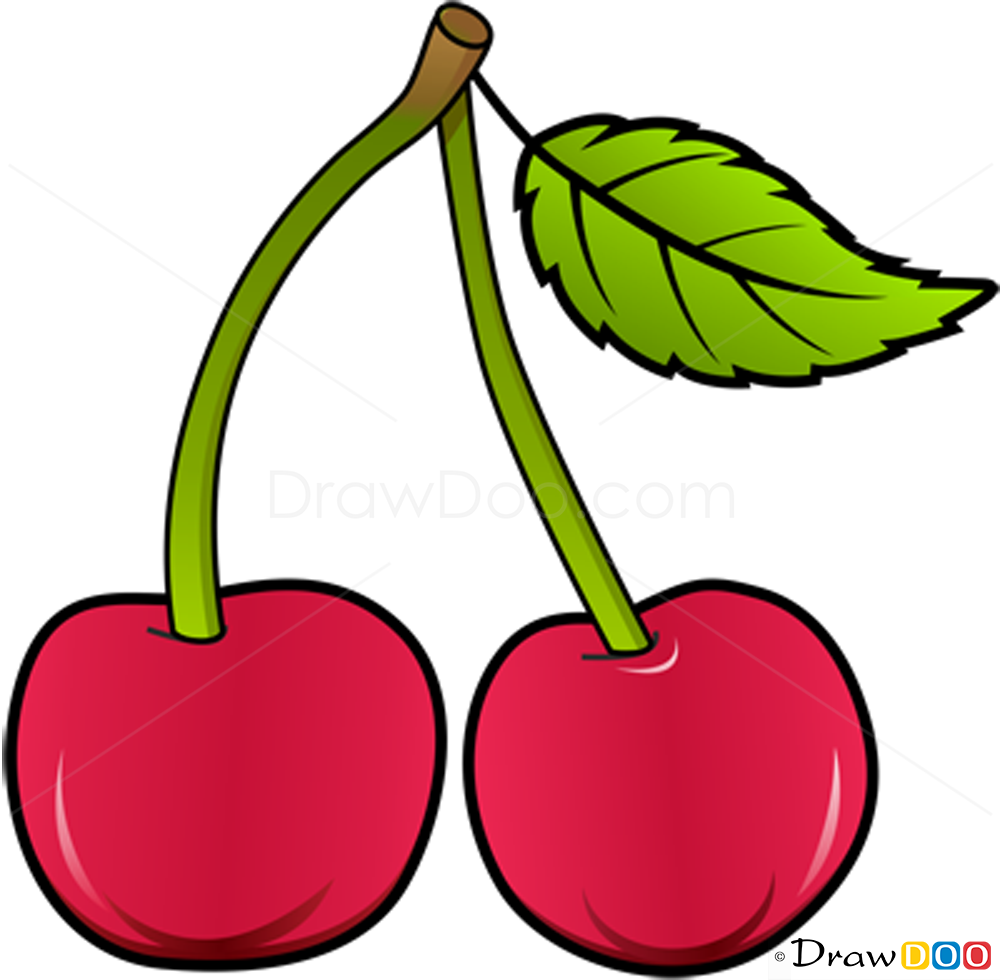
Web learn how to draw a realistic cherry in just 5 minutes! First off, let’s start with the basic shapes. Frame the shape of the cherry bunch. This will make both of your cherries appear to look more realistic. Start by drawing basic round shapes and then a small curved line at the end of the stem. Finish with a large and attached leaf. Web we can add a bit of warmth to the stems of the cherries with an application of burnt ochre and darken up the shadowed areas at the bottom with a dark umber. You can do this before or after adding the stems. Add the pink / red and light green. When drawing the upper barrel part where the stem joins the branch, draw the sides with a jagged line to suggest the woody bark.
How to Draw A Cherry Step by Step
Web we can add a bit of warmth to the stems of the cherries with an application of burnt ochre and darken up the shadowed areas at the bottom with a dark umber. Web how to draw cherries. At this point, you don’t want to look at details. I just published my first beginner to advanced sketching course on udemy..

How to Draw Cherries Really Easy Drawing Tutorial
We will consider the shape and size of each of the drawn parts of. Add a stem to the middle cherry. Draw a small curved line for the indent where the stem comes out of the cherry. All you need to do for this step is draw two curved lines, one for each cherry. Cherries construction drawing step by step.
How to Draw a Cherry Easy Drawing Art
Finish with a large and attached leaf. Web welcome back!if you have not already, please subscribe to my channel and also follow me on instagram. This will make both of your cherries appear to look more realistic. Don’t worry if it doesn’t look perfectly symmetrical because it’s not meant to be that way, unlike an orange or a tire. Make.

Drawing Ideas Creative Drawing Ideas Drawings в 2021 г Рисунки
Add some “indents” with wave like shapes towards the top of the cherries and from those draw the stems. Web we can add a bit of warmth to the stems of the cherries with an application of burnt ochre and darken up the shadowed areas at the bottom with a dark umber. This part of your cherry drawing should be.

Cherries drawing Cherry drawing, Fruits drawing, Fruit art drawings
Draw leaves and the lower part of the connecting branch. First off, let’s start with the basic shapes. Web learn how to draw a realistic cherry in just 5 minutes! Start outlining the cherries from the top. Web welcome back!if you have not already, please subscribe to my channel and also follow me on instagram.
How to Draw Cherries Really Easy Drawing Tutorial
Web steps for drawing a cherry step 1. You can do this before or after adding the stems. Start outlining the cherries from the top. Trace and add the dark red and green. Make each stems a little thicker towards the base (near the cherry) and then of fairly even thickness for the.
How to Draw Cherry, Fruits
🎨 art supplies we love (amazon affiliate links): The next step is to draw the cherries at the end of the stems. These curved lines will go just beneath the gap at the top of the cherries that you left in the previous step. Trace and add the dark red and green. At this point, you don’t want to look.

How to Draw Cherries HelloArtsy
You can see how this is done with just a few lines in the example above. Add some “indents” with wave like shapes towards the top of the cherries and from those draw the stems. These curved lines will go just beneath the gap at the top of the cherries that you left in the previous step. First frame the.

Download premium illustration of Three hand drawn fresh cherries
Draw leaves and the lower part of the connecting branch. These curved lines will go just beneath the gap at the top of the cherries that you left in the previous step. Here is another super easy tutorial on how to draw cher. Draw the stem on the right cherry. Make each stems a little thicker towards the base (near.
Easy How to Draw Cherries Tutorial and Cherries Coloring Page
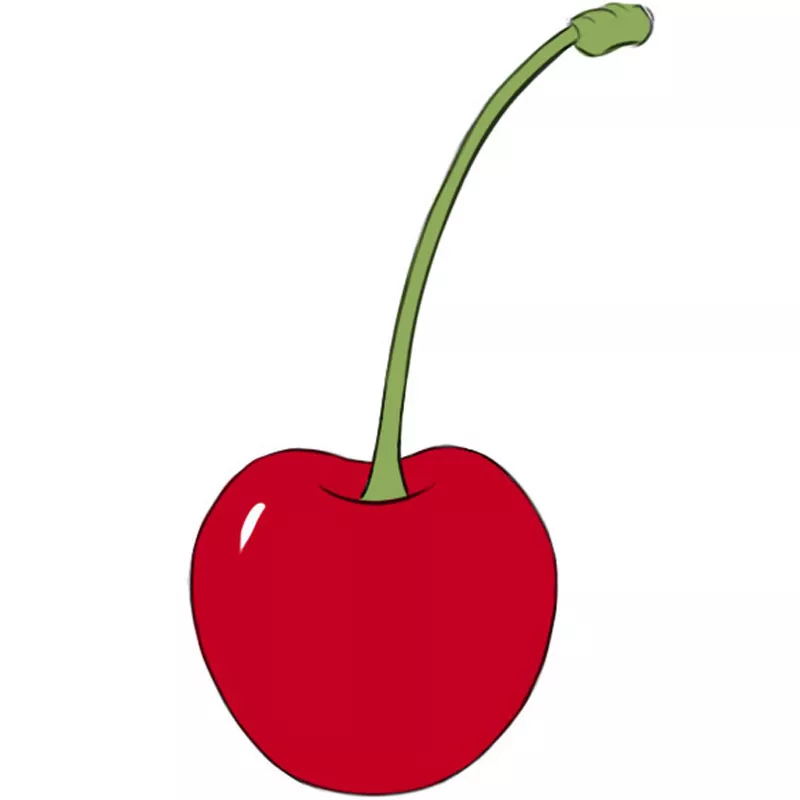
Let’s begin with the cherry that is closest to us. Draw each stem as as a long narrower curve in a. Frame the shape of the cherry bunch. Start by drawing basic round shapes and then a small curved line at the end of the stem. Draw another on the left.
First Off, Let’s Start With The Basic Shapes.
Then add rough edges to the outside of the leaf and on the veins to create a more realistic look. Draw the stem on the right cherry. We will consider the shape and size of each of the drawn parts of. Web steps for drawing a cherry step 1.
Start By Drawing Basic Round Shapes And Then A Small Curved Line At The End Of The Stem.
Add ovals for their bottoms. You will also need to erase a little bit of each cherries outline near the top. Web learn how to draw a realistic cherry in just 5 minutes! Draw a line through the center of the length of the leaf to create a vein.
Here Is Another Super Easy Tutorial On How To Draw Cher.
This will make both of your cherries appear to look more realistic. Make sure you leave enough space at the top for the stems. Add the details to your leaf. Web mark off the width and height of the picture.
Frame The Shape Of The Cherry Bunch.
You can do this before or after adding the stems. Draw smooth light guidelines for the cherry stems and leaves. Then, draw a few small curved lines connected to the line to create smaller veins. Web we can add a bit of warmth to the stems of the cherries with an application of burnt ochre and darken up the shadowed areas at the bottom with a dark umber.