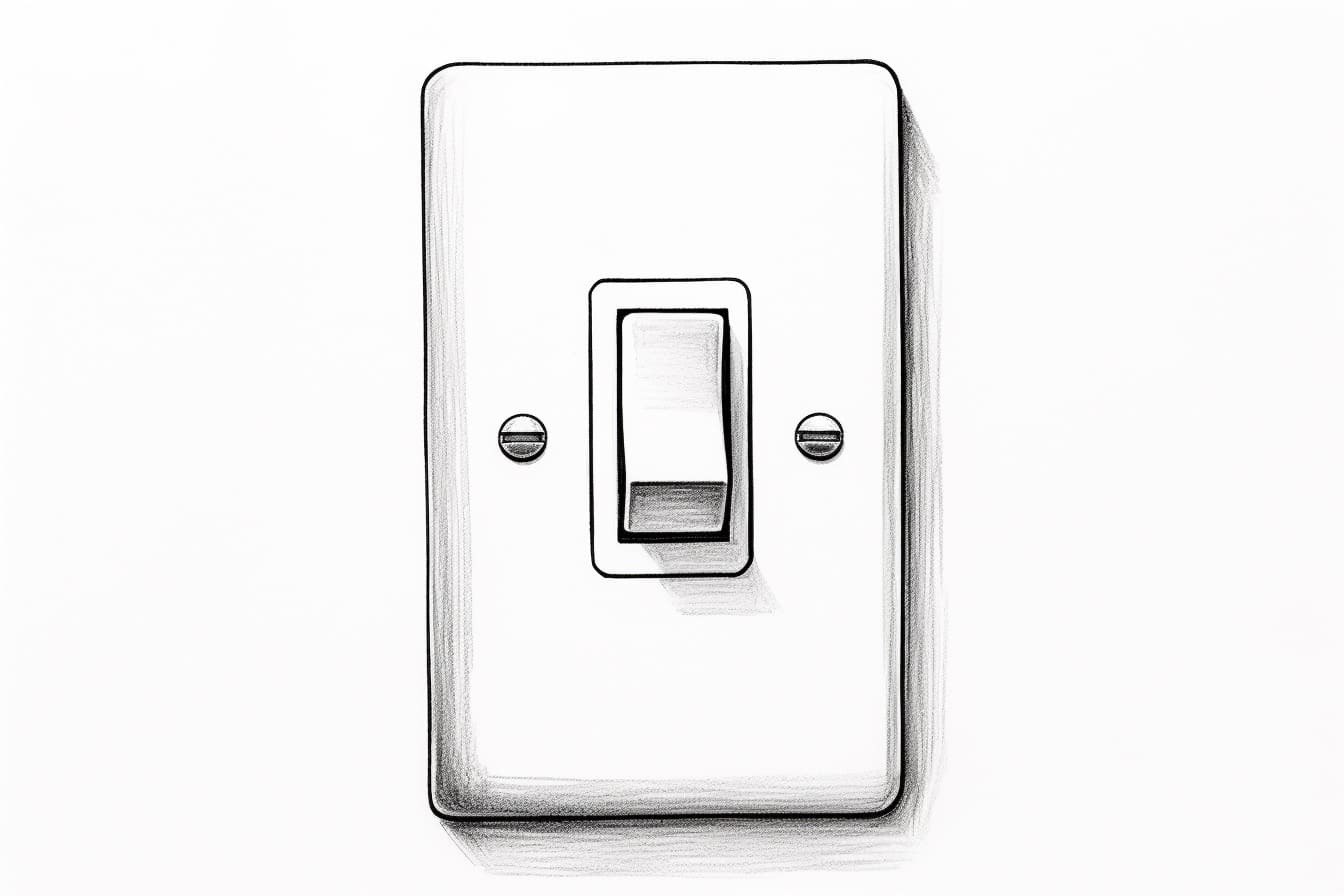
Drawing Light Switch
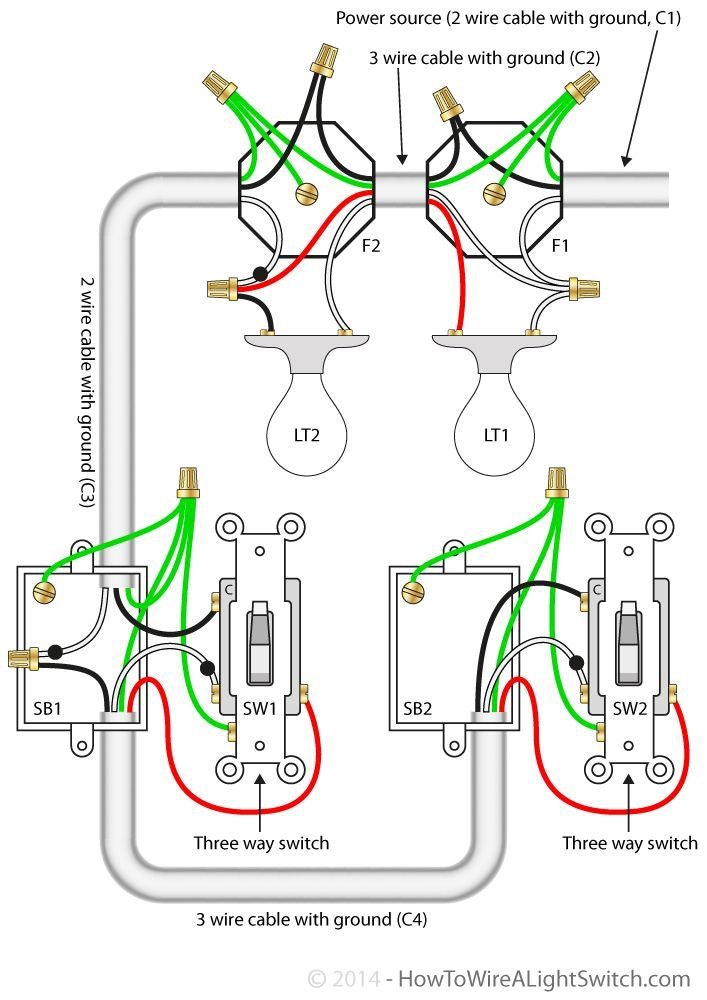
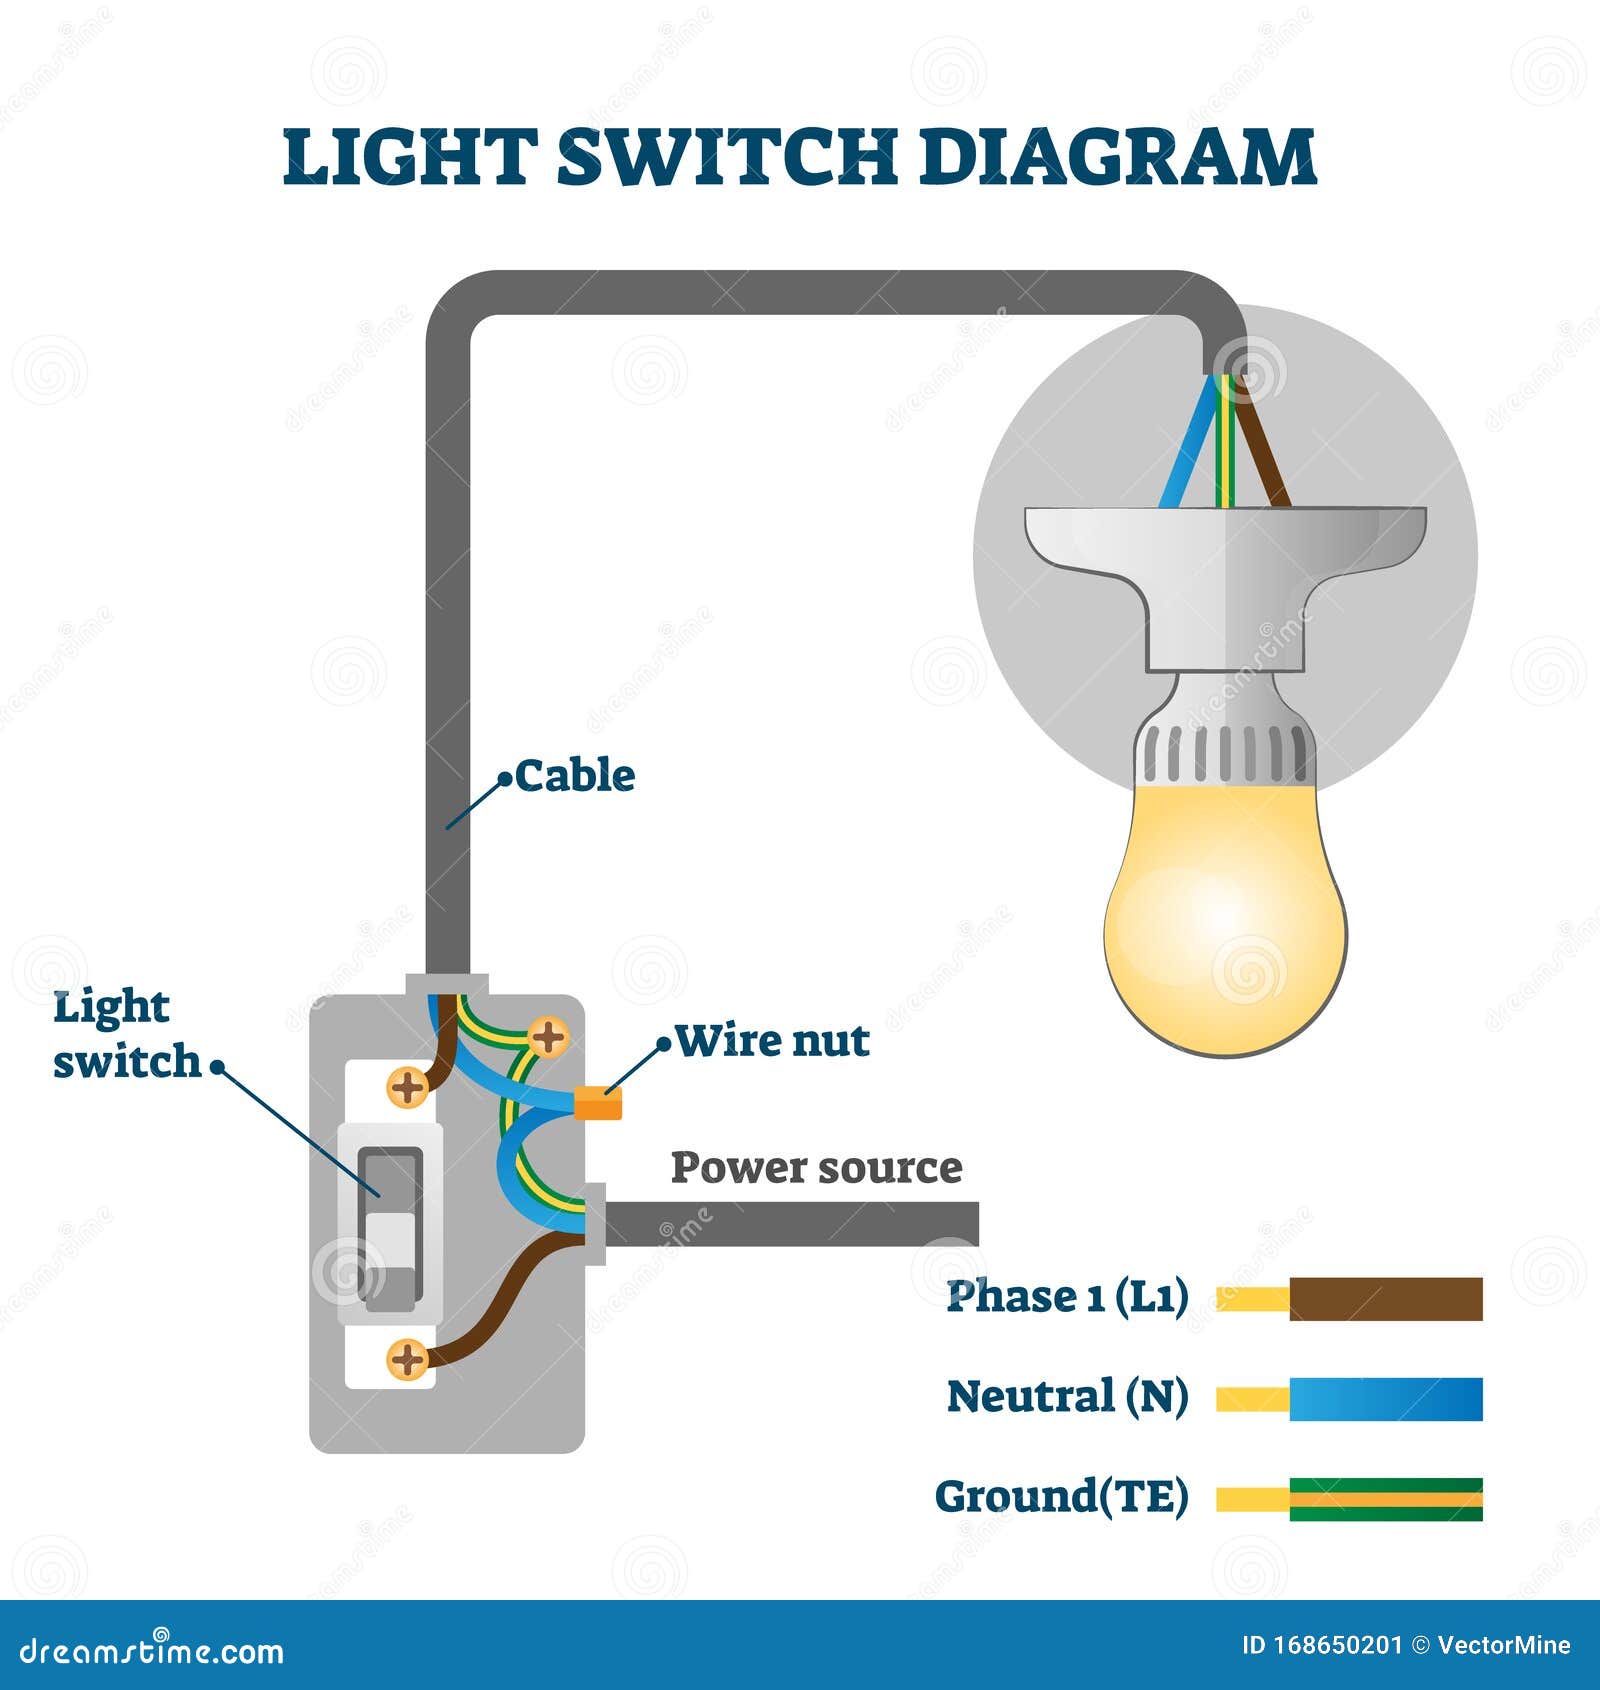
Drawing Light Switch - Check that the ends of the wires are neatly twisted together so there are no stray wires. Do not attach them to the switch. Web light switch wiring diagram with power feed in the ceiling and an electrical outlet connected. Web please like, comment, and share. The wire strippers should have a spot marked for each gauge wire. Connector plugs 2ft i5 6ftlight wiring harness 11+ semi trailer wiring harnessenduralight driving light wiring harness. This diagram illustrates wiring for one switch to control 2 or more lights. Follow the step by step instructions and master the basic electrical work. Align the screws to the appropriate threaded holes and begin to tighten. Wire up the new switch.
Twist the three ground wires together in the first box and secure them. This diagram illustrates wiring for one switch to control 2 or more lights. The light switch schematic symbol is used to illustrate how a light. Web connect the white neutral wires in the first box to one another by twisting them together and securing them with a wire nut. The wire strippers should have a spot marked for each gauge wire. Align the screws to the appropriate threaded holes and begin to tighten. The white wire to the switch should be marked black to indicate that it is hot. Web splice the two neutrals (white wires) together. The hot and neutral terminals on each fixture are spliced with a pigtail to the circuit wires which then continue on to the next light. It creates a path for the electricity to flow from the source, through the switch, and to the light.
Twist the three ground wires together in the first box and secure them. Only one cable enters the switch box, coming from the fixture. With both screws almost tightened, align the switch to the center and hold it in place while you tighten the screws. Web stripping the wires. It will either be 12 or 14 gauge wire. Web @joe, light switch wiring diagram no. Web learn how to wire a light switch for new construction. Take the tip of your strippers and pinch the end of the wire; Connect the neutral and ground wires: Grip the wires together, then fold them in the middle as the switch is pushed back into the electrical box.
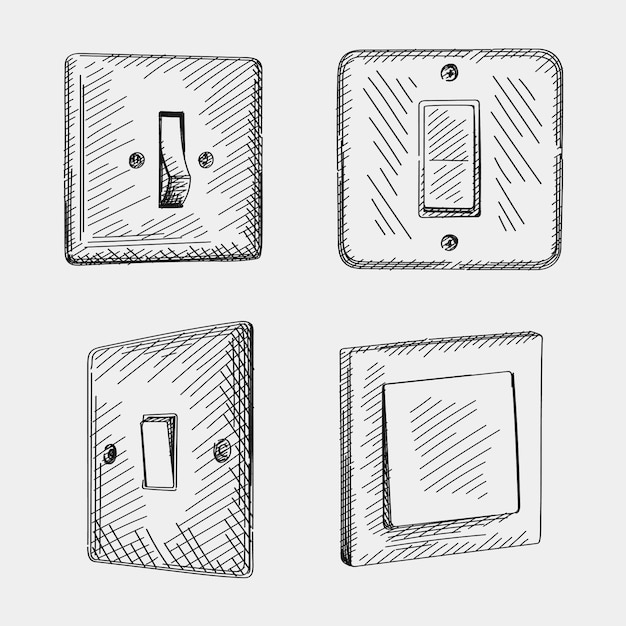
Premium Vector Sketch set of handdrawn of switches. set includes
( ground wires are not shown.) if the line carrying power comes into the light box first, the circuit must still be. Web connect the white neutral wires in the first box to one another by twisting them together and securing them with a wire nut. This tutorial includes all the steps to wiring a light switch including. Web stripping.

How to Draw a Light Switch
Then, use your wire strippers and strip away about 5/8 of an inch of the insulation from the wire. A typical light switch loop wiring diagram includes a light fixture, a switch, and a power source. This diagram illustrates wiring for one switch to control 2 or more lights. Wire up the new switch. It’s a useful thing to learn,.
Light Switch Drawing at GetDrawings Free download
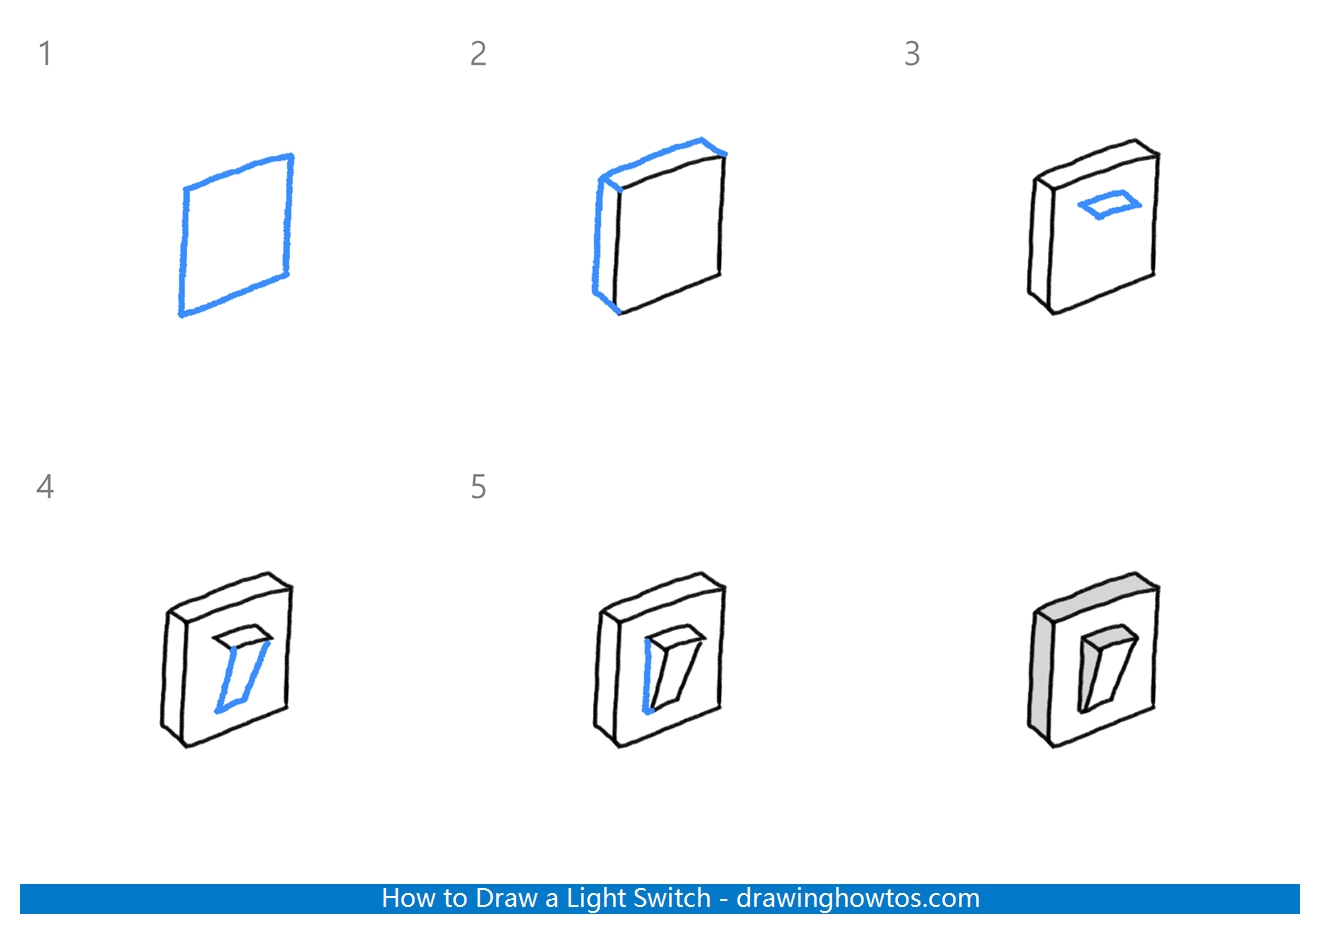
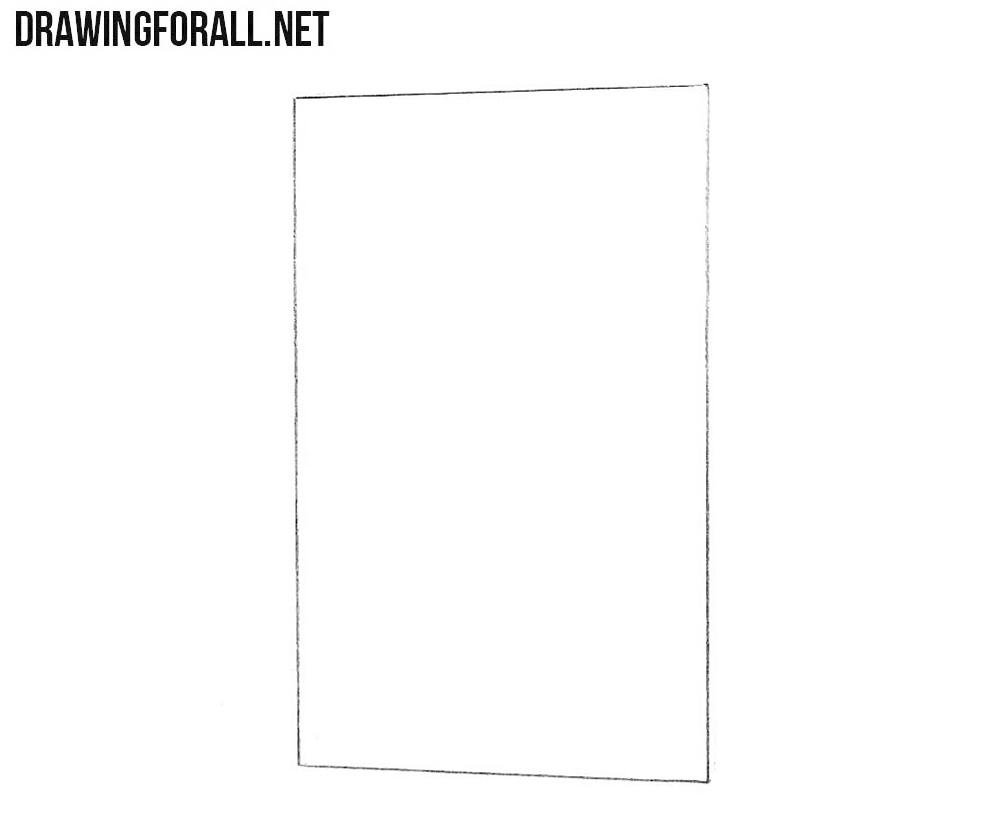
Take the tip of your strippers and pinch the end of the wire; Follow the step by step instructions and master the basic electrical work. Web in electrical diagrams, the light switch schematic symbol plays a crucial role in representing the presence and control of a light switch within a circuit. To start, draw a vertical line using your ruler.
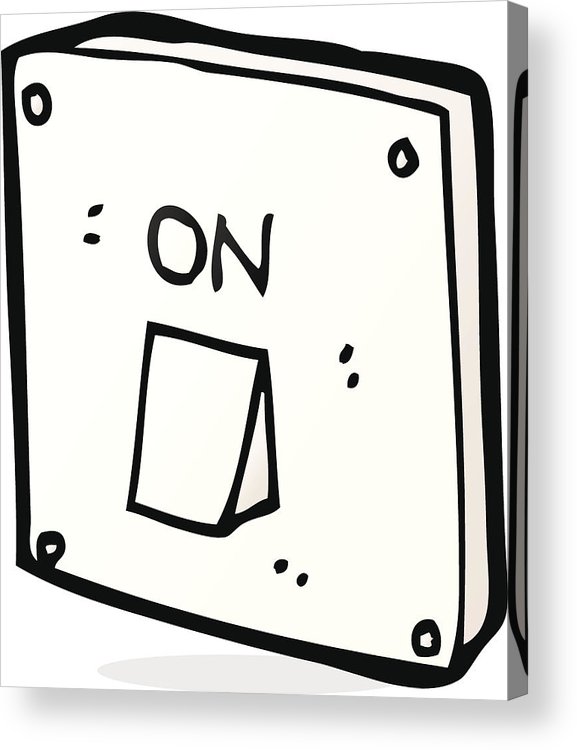
Switch Drawing Free download on ClipArtMag
Cut the cable to length if there is extra once you pull through the second box. This diagram illustrates wiring for one switch to control 2 or more lights. (make a hook like before.) tmb studio. The wire strippers should have a spot marked for each gauge wire. The light switch schematic symbol is used to illustrate how a light.
How to Draw a Light Switch Step by Step Easy Drawing Guides Drawing
Only one cable enters the switch box, coming from the fixture. Web learn how to wire a light switch for new construction. Do not attach them to the switch. The power source, usually a circuit breaker panel, provides the electrical current to the circuit. This symbol is a simple depiction of a switch, typically consisting of a line with an.
How to Draw a Light Switch Yonderoo
Switch at one end of the circuit This diagram illustrates wiring for one switch to control 2 or more lights. Web in electrical diagrams, the light switch schematic symbol plays a crucial role in representing the presence and control of a light switch within a circuit. Loosen the terminal screws holding the wires in place and gently pull out the.
How to Draw a Light Switch
Wire up the new switch. This tutorial includes all the steps to wiring a light switch including. Next, bend the wire into a pig tail loop so that you can easily attach. Web learn how to wire a light switch with this easy video tutorial. If the wires have been stabbed in the back of the switch, you will need.

Light Switch Sketch at Explore collection of Light
Web connect the white neutral wires in the first box to one another by twisting them together and securing them with a wire nut. Check that the ends of the wires are neatly twisted together so there are no stray wires. It will either be 12 or 14 gauge wire. Web please like, comment, and share. Do not attach them.
Light Switch Illustrations, RoyaltyFree Vector Graphics & Clip Art
Draw the outline of the light switch. This symbol is a simple depiction of a switch, typically consisting of a line with an open or closed circle at one end. Take the tip of your strippers and pinch the end of the wire; Use a pair of pliers to tidy up if needed. First, know what gauge wire you are.
Light Switch Diagram Vector Illustration. Labeled Europe Standards
Take the tip of your strippers and pinch the end of the wire; How to install and use an ele. Web connect the white neutral wires in the first box to one another by twisting them together and securing them with a wire nut. Web light switch wiring diagram with power feed in the ceiling and an electrical outlet connected..
Web Connect The White Neutral Wires In The First Box To One Another By Twisting Them Together And Securing Them With A Wire Nut.
Twist the three ground wires together in the first box and secure them. Web learn how to wire a light switch for new construction. Loosen the terminal screws holding the wires in place and gently pull out the wires and put the old light switch aside. Connect the “hot” wire (black/red) from the power source to one terminal of the switch and the “hot” wire leading to the light fixture to the other terminal.
The White Wire To The Switch Should Be Marked Black To Indicate That It Is Hot.
Next, draw a rectangular shape at the top of the vertical line to create the switch plate. Do not attach them to the switch. Wire up the new switch. Strip about 15mm of insulation from the ends of the grey, black and brown cores and twist the cores with pliers.
Cut The Cable To Length If There Is Extra Once You Pull Through The Second Box.
Grip the wires together, then fold them in the middle as the switch is pushed back into the electrical box. Switch at one end of the circuit To start, draw a vertical line using your ruler to act as the base of the light switch. Connect the neutral and ground wires:
Learn How To Draw The Easy, Step By Step Way While Having Fun And Building Skills And Confidence.
It will either be 12 or 14 gauge wire. The diagrams below show the various options. This symbol is a simple depiction of a switch, typically consisting of a line with an open or closed circle at one end. ( ground wires are not shown.) if the line carrying power comes into the light box first, the circuit must still be.