Drawing Of Cherries
Drawing Of Cherries - Draw each stem as as a long narrower curve in a. Grain goddesses, by loïc muzy: Web steps for drawing a cherry step 1. Make each stems a little thicker towards the base (near the cherry) and then of fairly even thickness for the. You will also need to erase a little bit of each cherries outline near the top. Web it's catchy and memorable, and describes exactly what it is — a tart that pops out of the toaster. Draw the basic shape of the cherries. Frame the shape of the cherry bunch. Add some shading to the left side of the cherries and use your finger to smudge the pencil marks from left to right across the body of the cherry to create some light shade and texture in the middle. Don’t worry if it doesn’t look perfectly symmetrical because it’s not meant to be that way, unlike an orange or a tire.
Add some shading to the left side of the cherries and use your finger to smudge the pencil marks from left to right across the body of the cherry to create some light shade and texture in the middle. Finish with a large and attached leaf. Add a stem to the middle cherry. Start by drawing a thin, straight line from the base of the cherry to the top of the stem. Draw the basic shape of the cherries. Mark lines which will act as centers of the cherries. Cherries construction drawing step by step. That’s all there is to it for this. You will also need to erase a little bit of each cherries outline near the top. We will consider the shape and size of each of the drawn parts of.
Add a stem to the middle cherry. Web start by printing out the cherry drawing tutorial at the bottom of the post. This part of your cherry drawing should be quite a simple one! Check out this scary and beautiful road in norway bridging the atlantic sea. Web steps for drawing a cherry step 1. You will need to erase a bit of each cherries outline when adding these. Don’t worry if it doesn’t look perfectly symmetrical because it’s not meant to be that way, unlike an orange or a tire. This will make both of your cherries appear to look more realistic. All you need to do for this step is draw two curved lines, one for each cherry. Uleria by loïc muzy a yelornan, by loïc muzy:
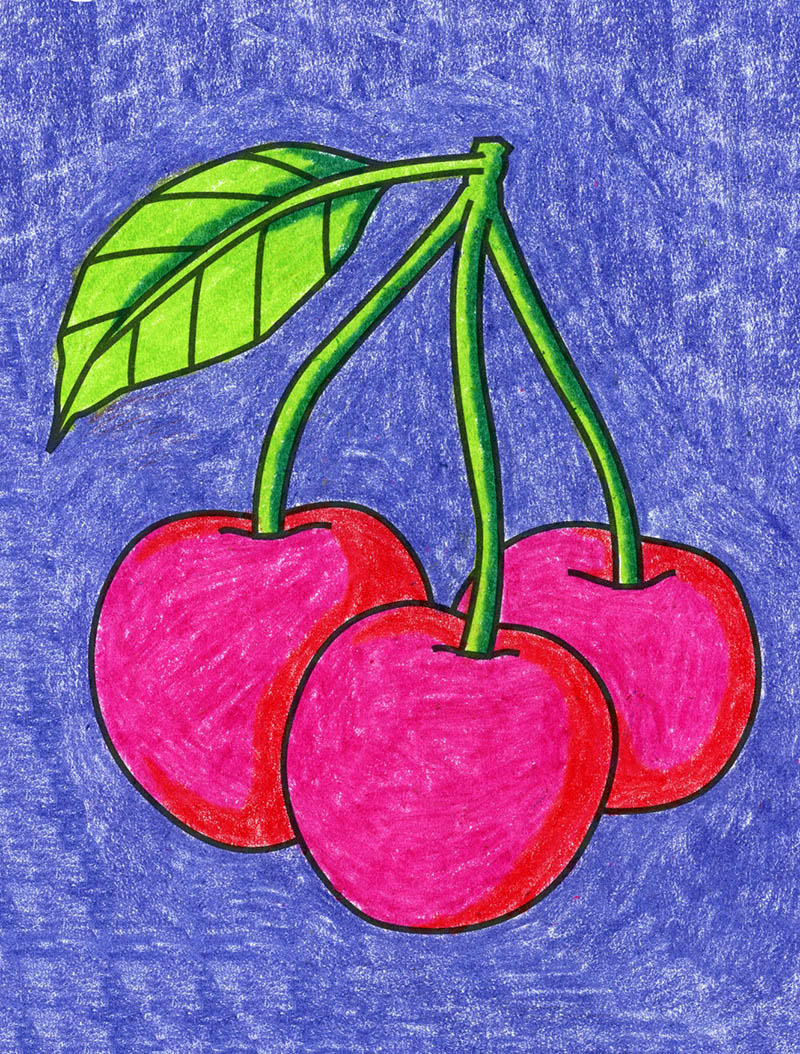
Easy How to Draw Cherries Tutorial and Cherries Coloring Page
When drawing the upper barrel part where the stem joins the branch, draw the sides with a jagged line to suggest the. First, 20% cool grey is applied, followed by a darker 50% cool grey. Web art in the cults book. Add a stem to the middle cherry. Add some “indents” with wave like shapes towards the top of the.
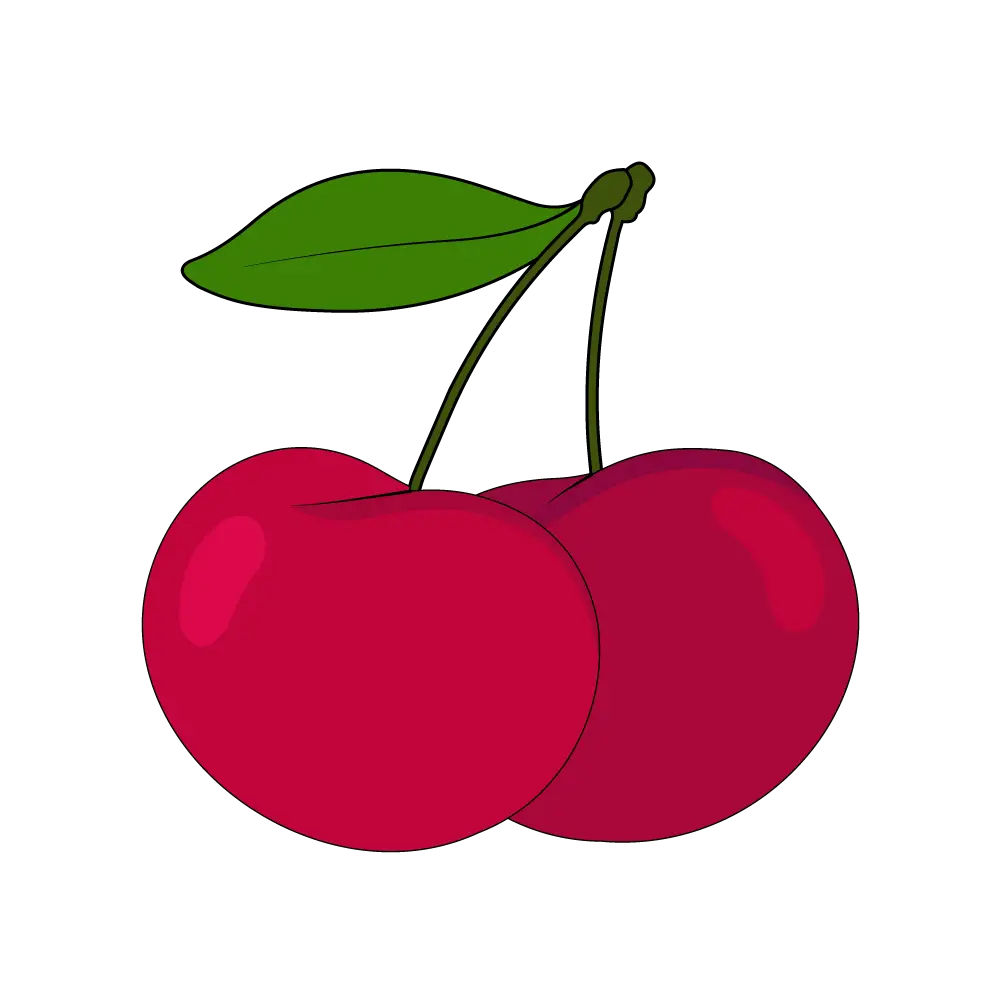
How to Draw A Cherry Step by Step
Define the place for the fruit. To complete the image, we’ll revisit the. These curved lines will go just beneath the gap at the top of the cherries that you left in the previous step. If you look at photos of real cherries (not our cartoon version), you’ll see that they’re usually not bright red unless they’re candied and dyed.

Pucker+up+and+puff+one+of+Fumari's+original+flavors.+Cherry+has+a
Finish with a large and attached leaf. Add rich, deep red color to our cherry drawing. Draw a small curved line for the indent where the stem comes out of the cherry. First, 20% cool grey is applied, followed by a darker 50% cool grey. Draw leaves and the lower part of the connecting branch.
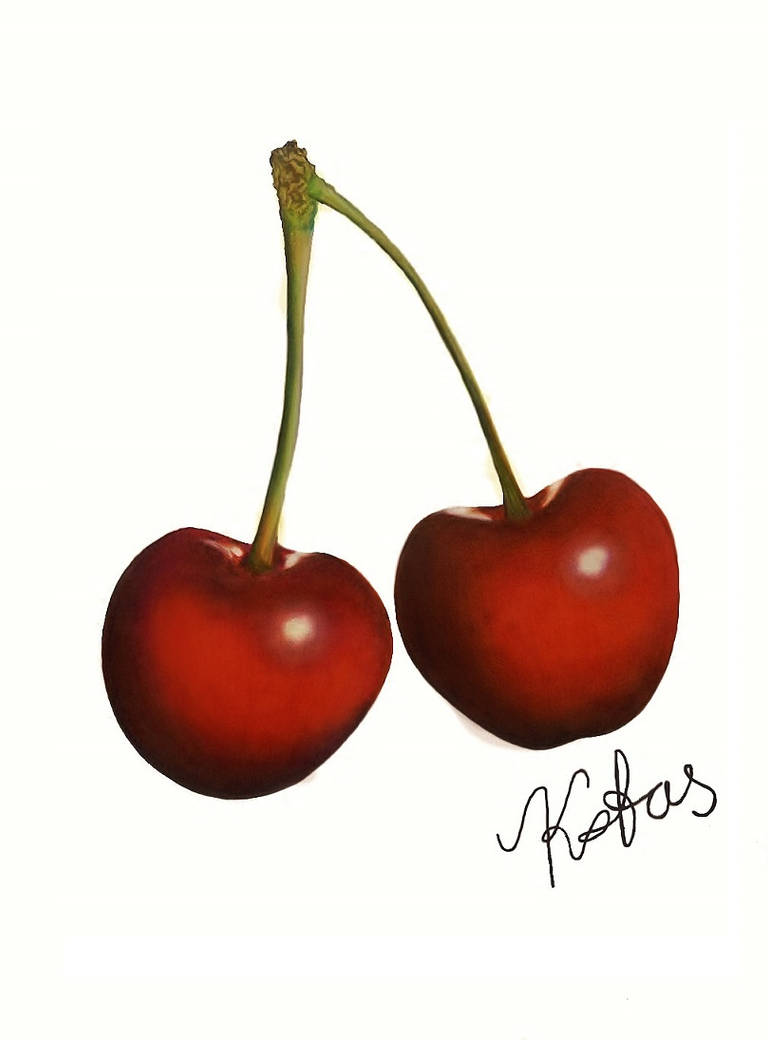
Colored Pencil Drawing of Cherries by kakosuranosx on DeviantArt
This dent represents the area where the stem attaches to the cherry. Having a colour swatch of all your pencils is the best way to do this. First off, let’s start with the basic shapes. Web how to draw cherries. That’s all there is to it for this.

How To Draw Cherries at How To Draw
Make sure you leave enough space at the top for the stems. This will make both of your cherries appear to look more realistic. In the piece and pay attention to the negative shapes and angles. Web how to draw cherries. Web art in the cults book.

How to Draw Cherries Really Easy Drawing Tutorial
When drawing the upper barrel part where the stem joins the branch, draw the sides with a jagged line to suggest the. You can do this before or after adding the stems. This will make both of your cherries appear to look more realistic. First, 20% cool grey is applied, followed by a darker 50% cool grey. Web start by.

How to Draw Cherries HelloArtsy
🎨 art supplies we love (amazon affiliate links): Draw the outlines of the major shadow shapes and the highlight reflections. Web art in the cults book. Add a stem to the middle cherry. Define the place for the fruit.

Hand drawn bunch of cherries premium image by Cherry
Add some “indents” with wave like shapes towards the top of the cherries and from those draw the stems. Having a colour swatch of all your pencils is the best way to do this. This dent represents the area where the stem attaches to the cherry. Think of the shape as a slightly elongated circle with a small dent at.
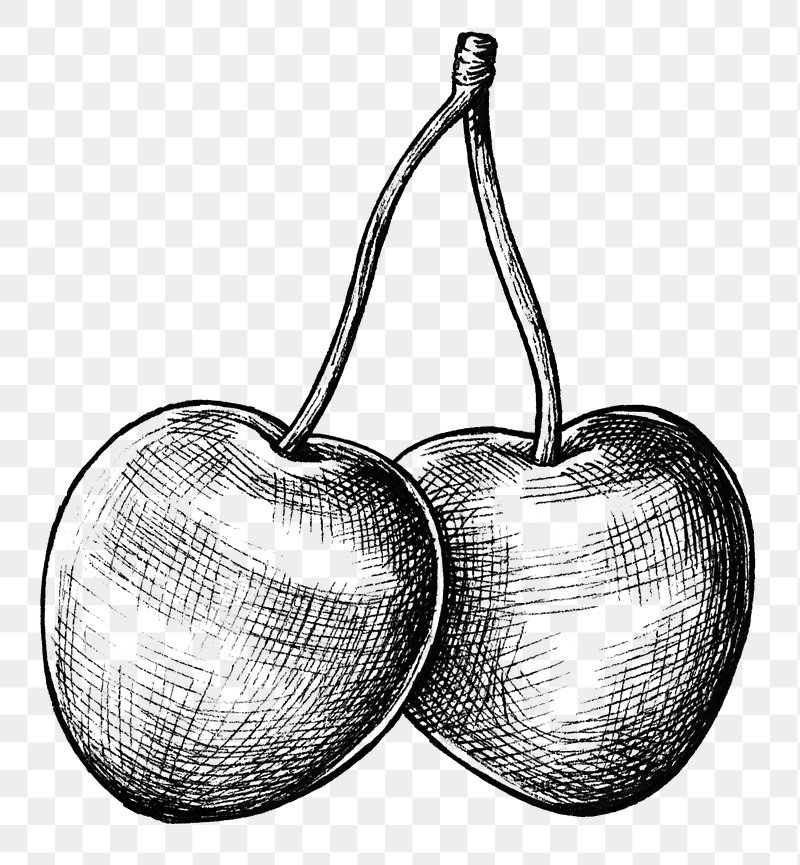
Cherries ink drawing
In the piece and pay attention to the negative shapes and angles. This will make both of your cherries appear to look more realistic. Draw each stem as as a long narrower curve in a. Draw a curved line down the center of each leaf, forming the vein. Cherries construction drawing step by step.
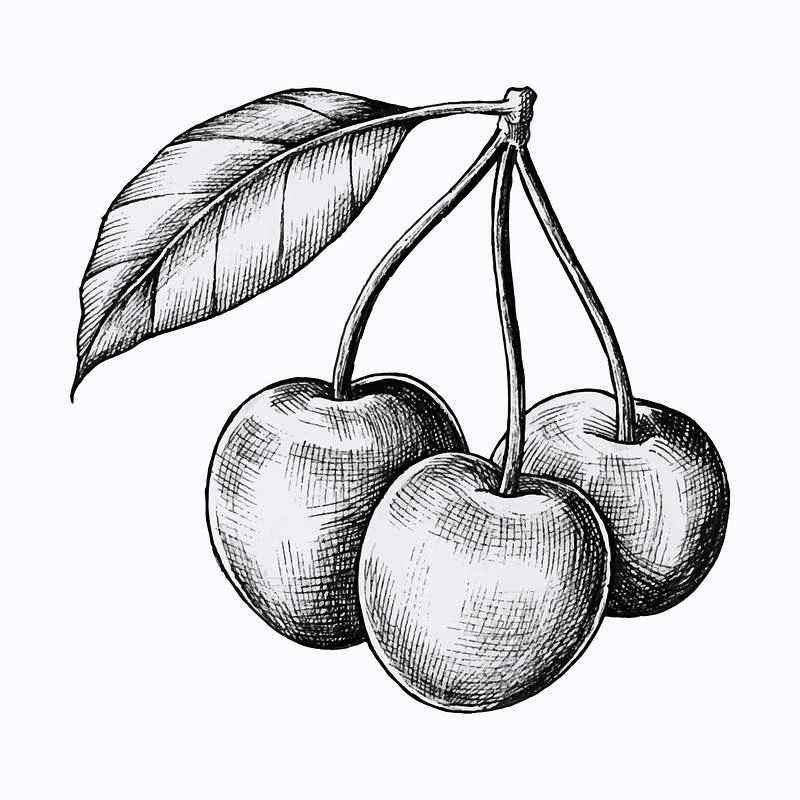
Cherries ink drawing
Make each stems a little thicker towards the base (near the cherry) and then of fairly even thickness for the. Web popkin 5:00 am mon may 13, 2024. Having a colour swatch of all your pencils is the best way to do this. Add some “indents” with wave like shapes towards the top of the cherries and from those draw.
These Curved Lines Will Go Just Beneath The Gap At The Top Of The Cherries That You Left In The Previous Step.
Add the pink / red and light green. Curated by haven, it's been carried out by dozens of denver muralists. When drawing the upper barrel part where the stem joins the branch, draw the sides with a jagged line to suggest the. Draw a small curved line for the indent where the stem comes out of the cherry.
For Those Who Don't Have Facebook Accounts:
To complete the image, we’ll revisit the. Trace and add the dark red and green. Web art in the cults book. Draw leaves and the lower part of the connecting branch.
This Part Of Your Cherry Drawing Should Be Quite A Simple One!
Having a colour swatch of all your pencils is the best way to do this. Define the place for the fruit. Web cherry drawing, complete! You can see how this is done with just a few lines in the example above.
Start Outlining The Cherries From The Top.
Make each stems a little thicker towards the base (near the cherry) and then of fairly even thickness for the. Draw a curved line down the center of each leaf, forming the vein. Web we can add a bit of warmth to the stems of the cherries with an application of burnt ochre and darken up the shadowed areas at the bottom with a dark umber. Uleria by loïc muzy a yelornan, by loïc muzy: