Easy Draw Bow
Easy Draw Bow - If you let the release fire the bow, the shot should be a surprise. Draw the bottom of the loop on the left. Draw a guideline for the bow. From that point, you can start aiming and fire the bow. Drawing a hair bow requires a combination of basic shapes and attention to detail. You can do so by drawing two curved lines on either side of the shapes from before. Easiest by far for blown shoulder. Next, draw two loops on either side of the rectangle, which will serve as the main body of the bow. When you have reached your anchor point, your bow is at full draw. From above on each side we draw a curve, from the core we show folds.
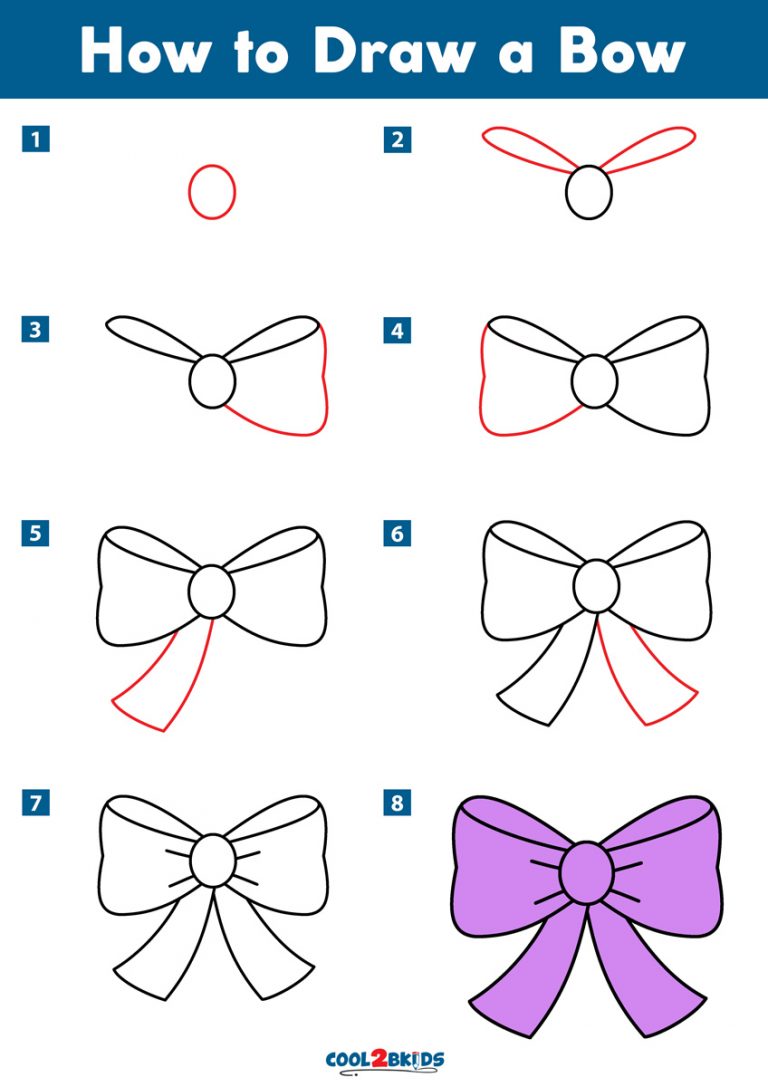
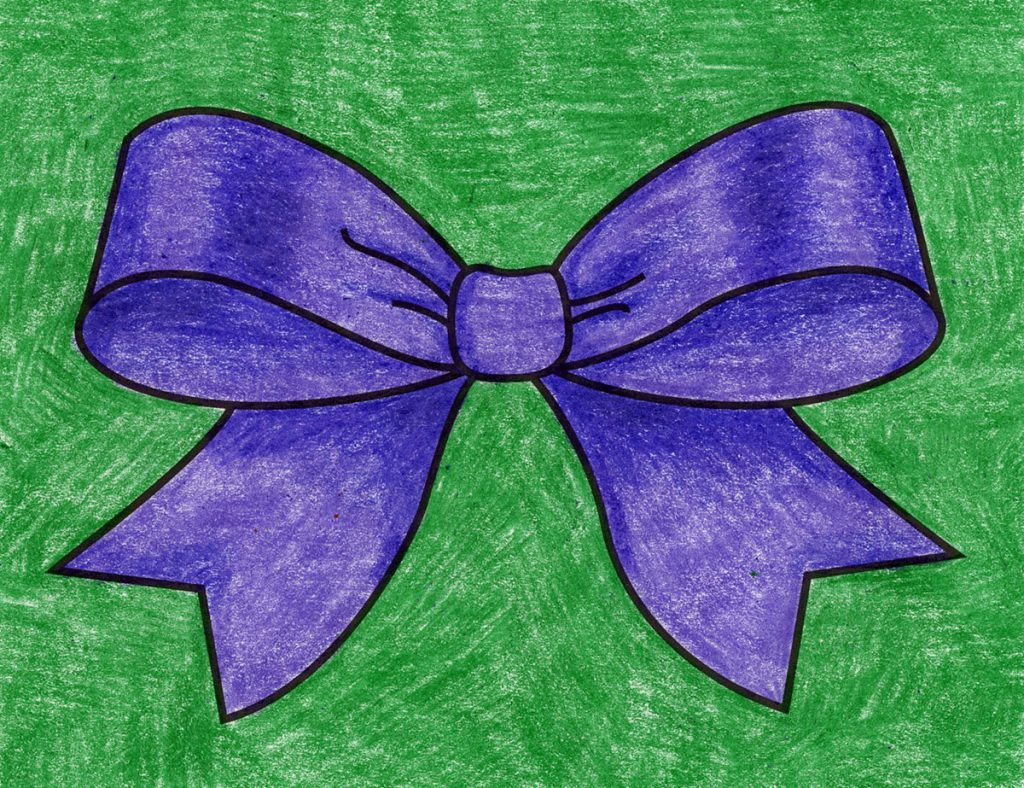
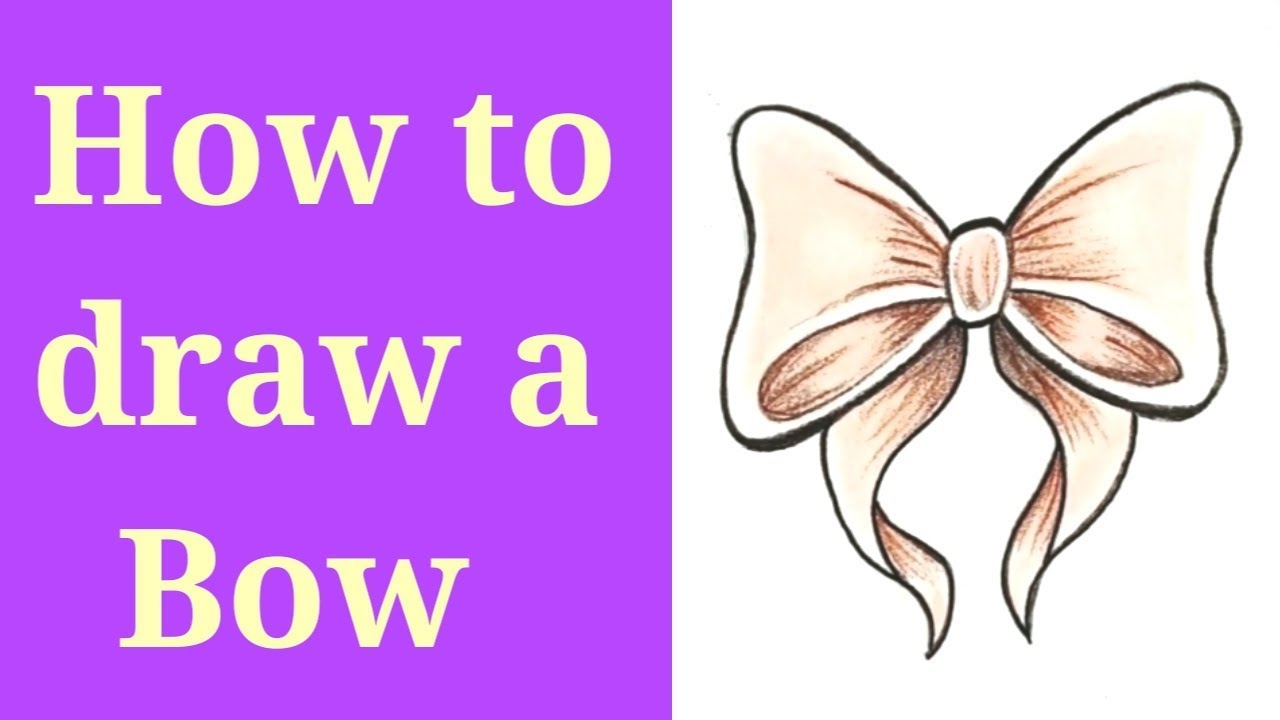
Ribbon, bow, objects, gifts, bow tie, Next, draw two loops on either side of the rectangle, which will serve as the main body of the bow. Web learn how to draw this cute bow step by step. From that point, you can start aiming and fire the bow. Trace and color the shadows with dark crayon. Draw the bottom of the loop on the left. Draw a small curved rectangle at the top of the shaft. It’s up to you if you want them to be symmetrical or not. Bow is a popular item when you wear a suit. The loops can be big or small, depending on how fancy the bow is!
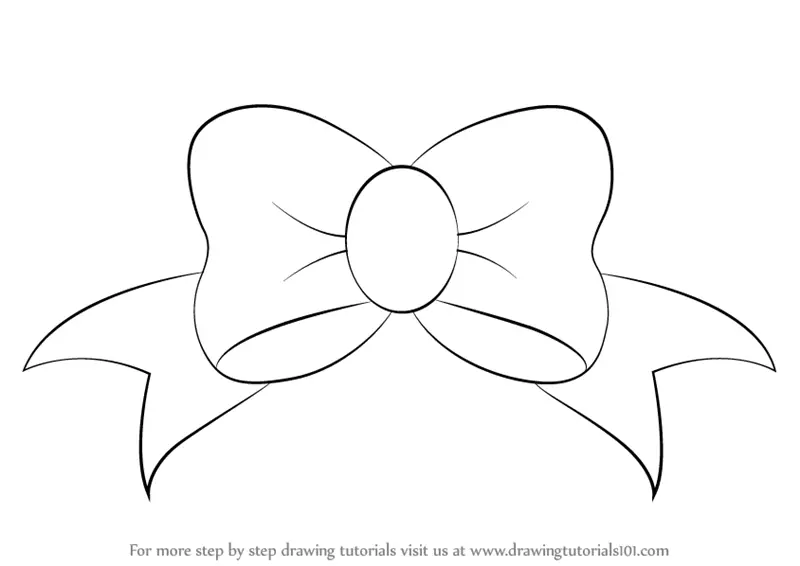
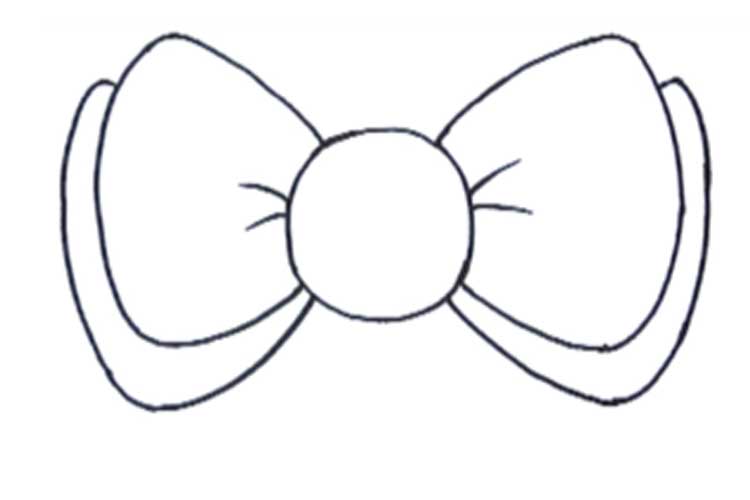
Start by sketching a rectangle shape for the center knot of the bow. Web the process is easy. From above on each side we draw a curve, from the core we show folds. Draw a knot and show, with smooth lines, the direction of the ribbon ends. Make yours however you think looks good. Draw the bottom outline of the bow loops. Go ahead and add a bit more detail to make your bow look pretty. Draw the bottom of the loop on the right. Make a curve that bends upwards on the tip; Make sure the loops are symmetrical and of equal size.
Learn How to Draw a Bow (Everyday Objects) Step by Step Drawing Tutorials
Draw it thicker towards the middle and narrower towards the ends. Web ready to take your drawing to the next level!? Easiest by far for blown shoulder. Draw a knot and show, with smooth lines, the direction of the ribbon ends. Make yours however you think looks good.
How to Draw a Bow Easy Drawing Tutorial For Kids
From above on each side we draw a curve, from the core we show folds. Draw a straight line down its center. Web how to draw a bow in stages (1 option) we draw the middle part, which overtills the ribbon, then draw on both sides of the bow. Then, grip the bow with a relaxed yet firm hold, ensuring.
How to Draw a Bow Cool2bKids
Make sure the loops look the same on both sides and are all nice and even! Add the ribbon end on the right. From below we draw the ends of the ribbon. Web drawing a bow correctly involves several steps, each of which plays a crucial role in your shooting accuracy. From that point, you can start aiming and fire.
How to draw a Bow In Pencil, Simple and three options
Grip design eliminates hand torque; Web the process is easy. There’s only one more step in how to draw a compound bow. Web to draw the bow, you start pulling the bow towards your anchor point. Web draw the center of the bow.
How to Draw a Bow · Art Projects for Kids
Then, grip the bow with a relaxed yet firm hold, ensuring your fingers are correctly positioned. Start by drawing a square for the knot of your bow. How to draw a bow. Web to draw the bow, you start pulling the bow towards your anchor point. Draw a small curved rectangle at the top of the shaft.
How to draw a Bow (Step by Step) YouTube
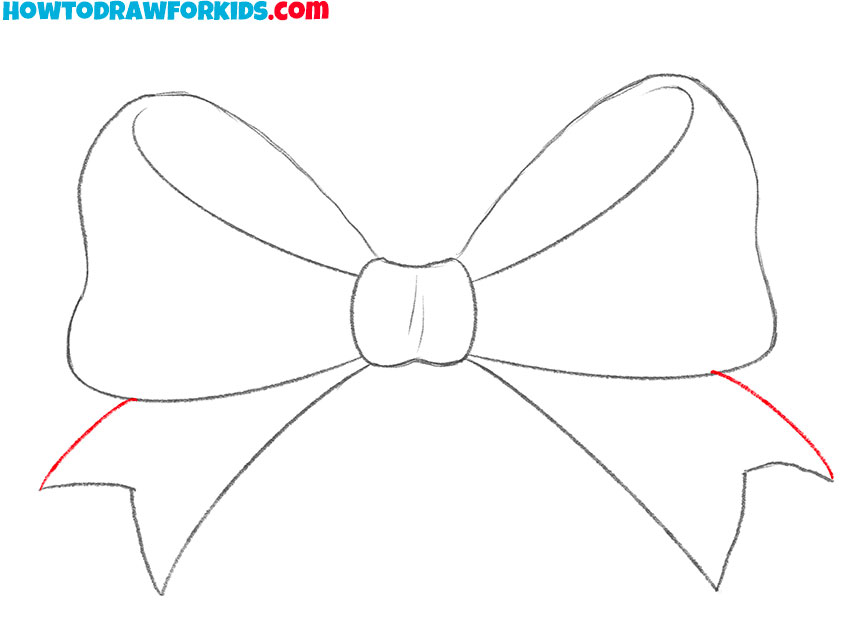
Then add two rectangles on top of the peak of the curve. Make two lines go down from the loops to make the tails of the bow. Emojis help to capture and illustrate our mood without even having to express ourselves verbally. Make yours however you think looks good. It is a best alternate item of tie.

How to draw a Bow In Pencil, Simple and three options
If you let the release fire the bow, the shot should be a surprise. Make yours however you think looks good. Easiest by far for blown shoulder. All drawing bow is ready; Next, draw two loops on either side of the rectangle, which will serve as the main body of the bow.

How to draw a bow Step by step Drawing tutorials
Drawing a hair bow requires a combination of basic shapes and attention to detail. First, nock the arrow onto the bowstring securely. Draw a knot and show, with smooth lines, the direction of the ribbon ends. Make yours however you think looks good. Next, draw the main part of your bow.
How to draw a Bow In Pencil, Simple and three options
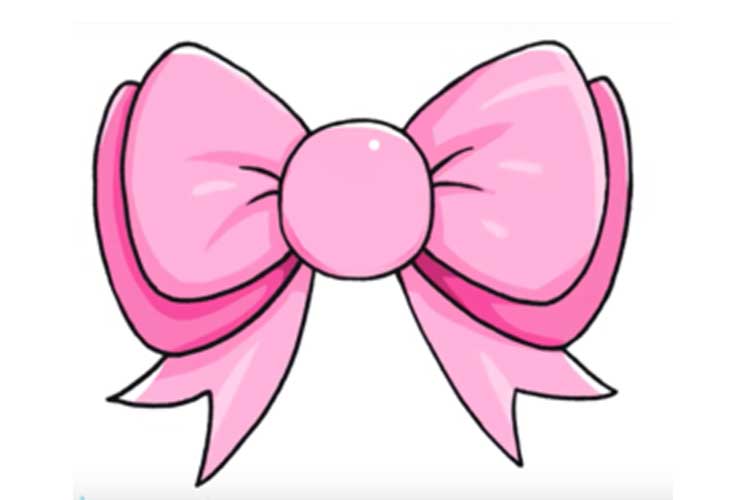
Draw it thicker towards the middle and narrower towards the ends. Finish by filling in with a lighter shade. Then go ahead and outline the other side of the bow by doing the same thing you had just done. Web learn how to draw this cute bow step by step. And there are several different ways you could draw the.

How to Draw a Christmas Bow Step by Step Super Easy! YouTube
Show, with light lines, the general proportions of it. This will make the grip of the bow. From each end of this line, extend a straight line. You can do so by drawing two curved lines on either side of the shapes from before. This super easy drawing lesson is perfect for kids.
Then, Draw A Curved Line At The Top Of The Rectangle, Extending Beyond Its Sides.
Then one side of the bow, outline the sideways heart shape by drawing another line. Match with same shape on the left. It’s a simple training device that will make you a better archer. Easiest by far for blown shoulder.
Draw The Bottom Of The Loop On The Left.
Draw her on a gift or anything that needs a cute accessory. Add the ribbon end on the right. It should look something like a handle. Begin by drawing an outline of the bow.
There’s Only One More Step In How To Draw A Compound Bow.
Web buy a bow with a draw weight adjustment variable like a bowtech diamond edje 320 or a diamond infinite edge, till you build up to recovery. If you let the release fire the bow, the shot should be a surprise. Draw a straight line down its center. Web make the loops of the bow by drawing two curvy shapes that cross each other in the middle.
Web How To Draw A Bow In Stages (1 Option) We Draw The Middle Part, Which Overtills The Ribbon, Then Draw On Both Sides Of The Bow.
Draw the bottom outline of the bow loops. If you stand correctly, you will be doing this automatically. From each end of this line, extend a straight line. Add the top outline of the bow loops.