Foot Step Drawing
Foot Step Drawing - “in a world where the future of creativity. The magnum superstar's marriage to mack was not reported until. Drawing feet can be quite challenging because they are usually in positions that are difficult to draw. The talus is right next to your heel bone. The tendons are usually visible on the top of the foot, extending towards the ankle. On the opposite side, draw a line connecting them. First, draw an oval shape for the main part of the foot. (step 7) draw upside down ‘?’ shape on each foot. Have a go at drawing feet by following the steps below. Now’s the time to start drawing the middle part of your foot that goes from your heel to your toes.
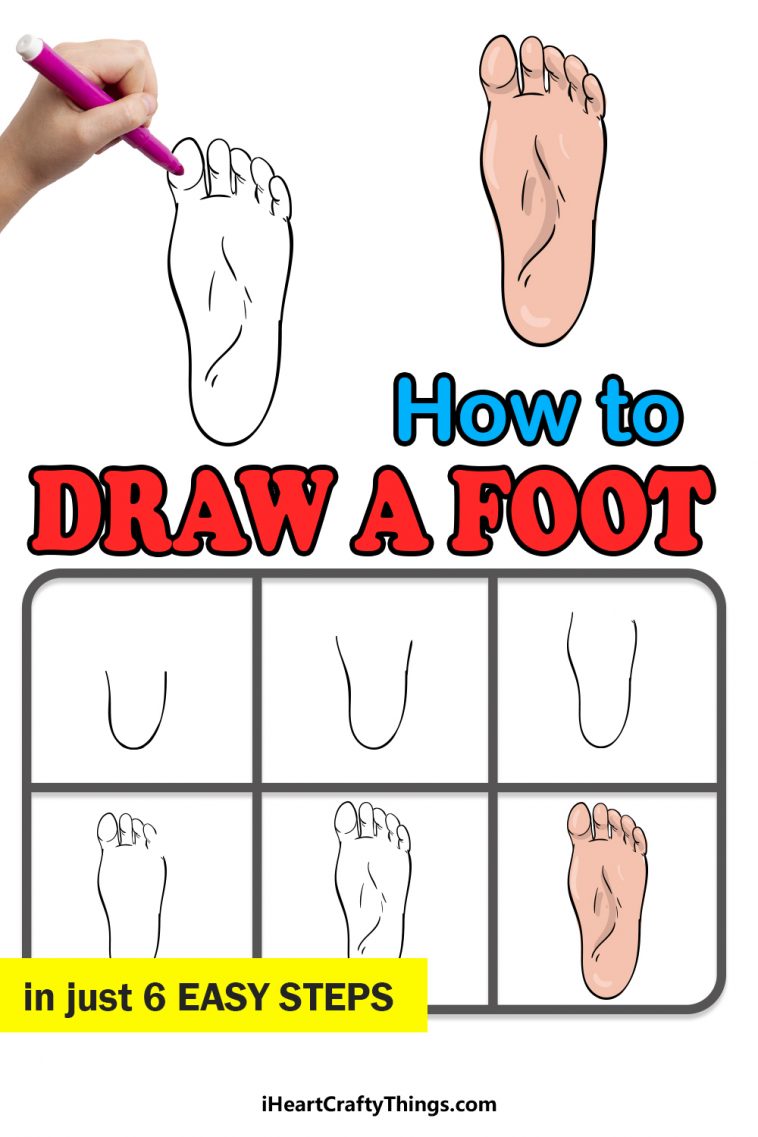
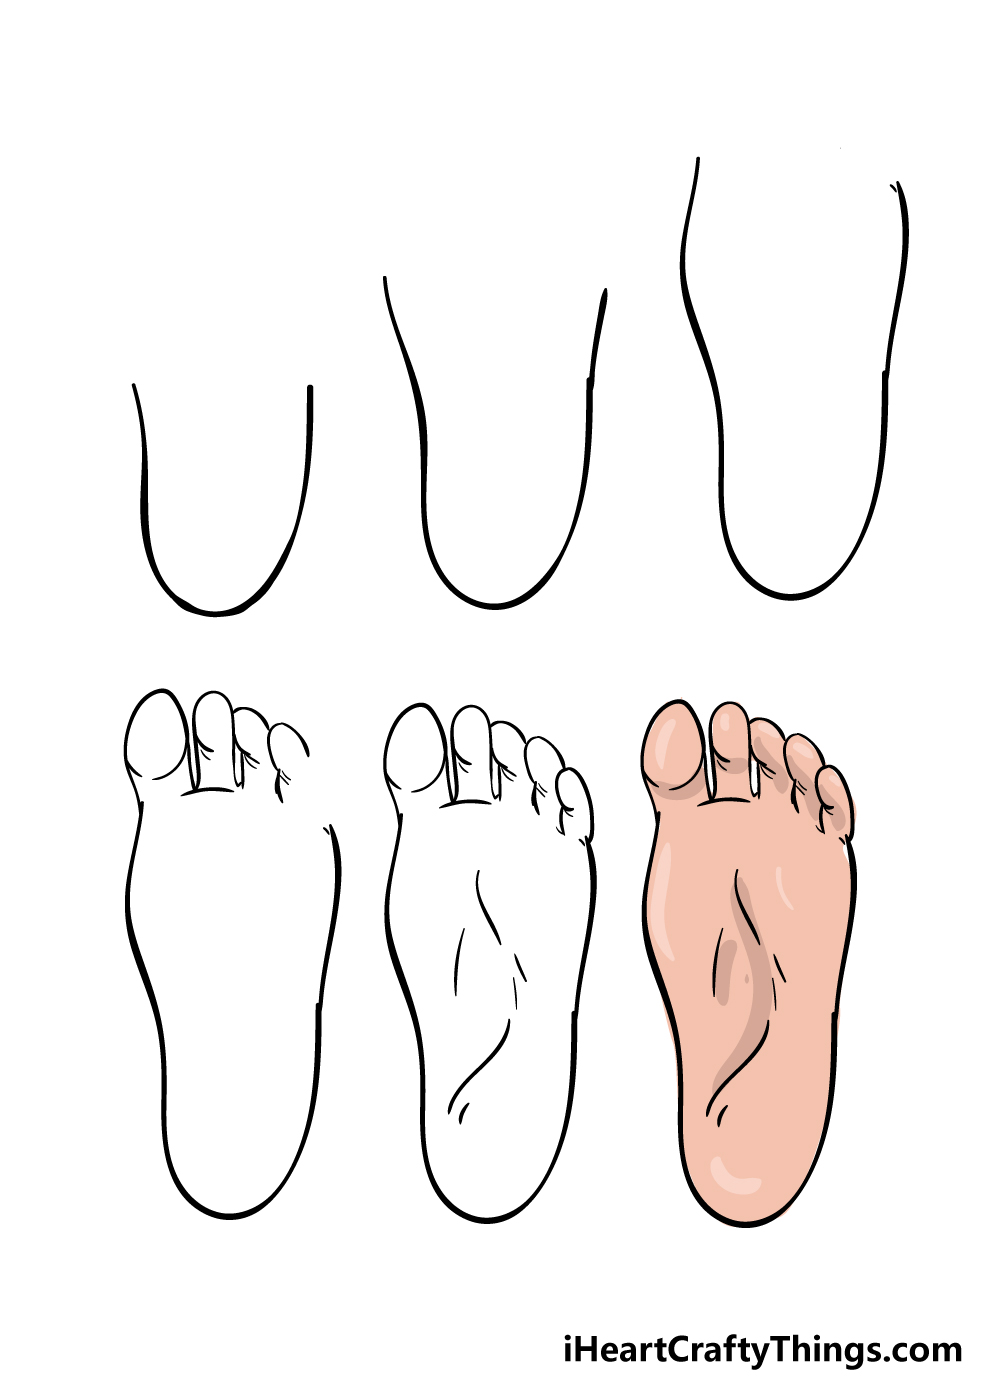
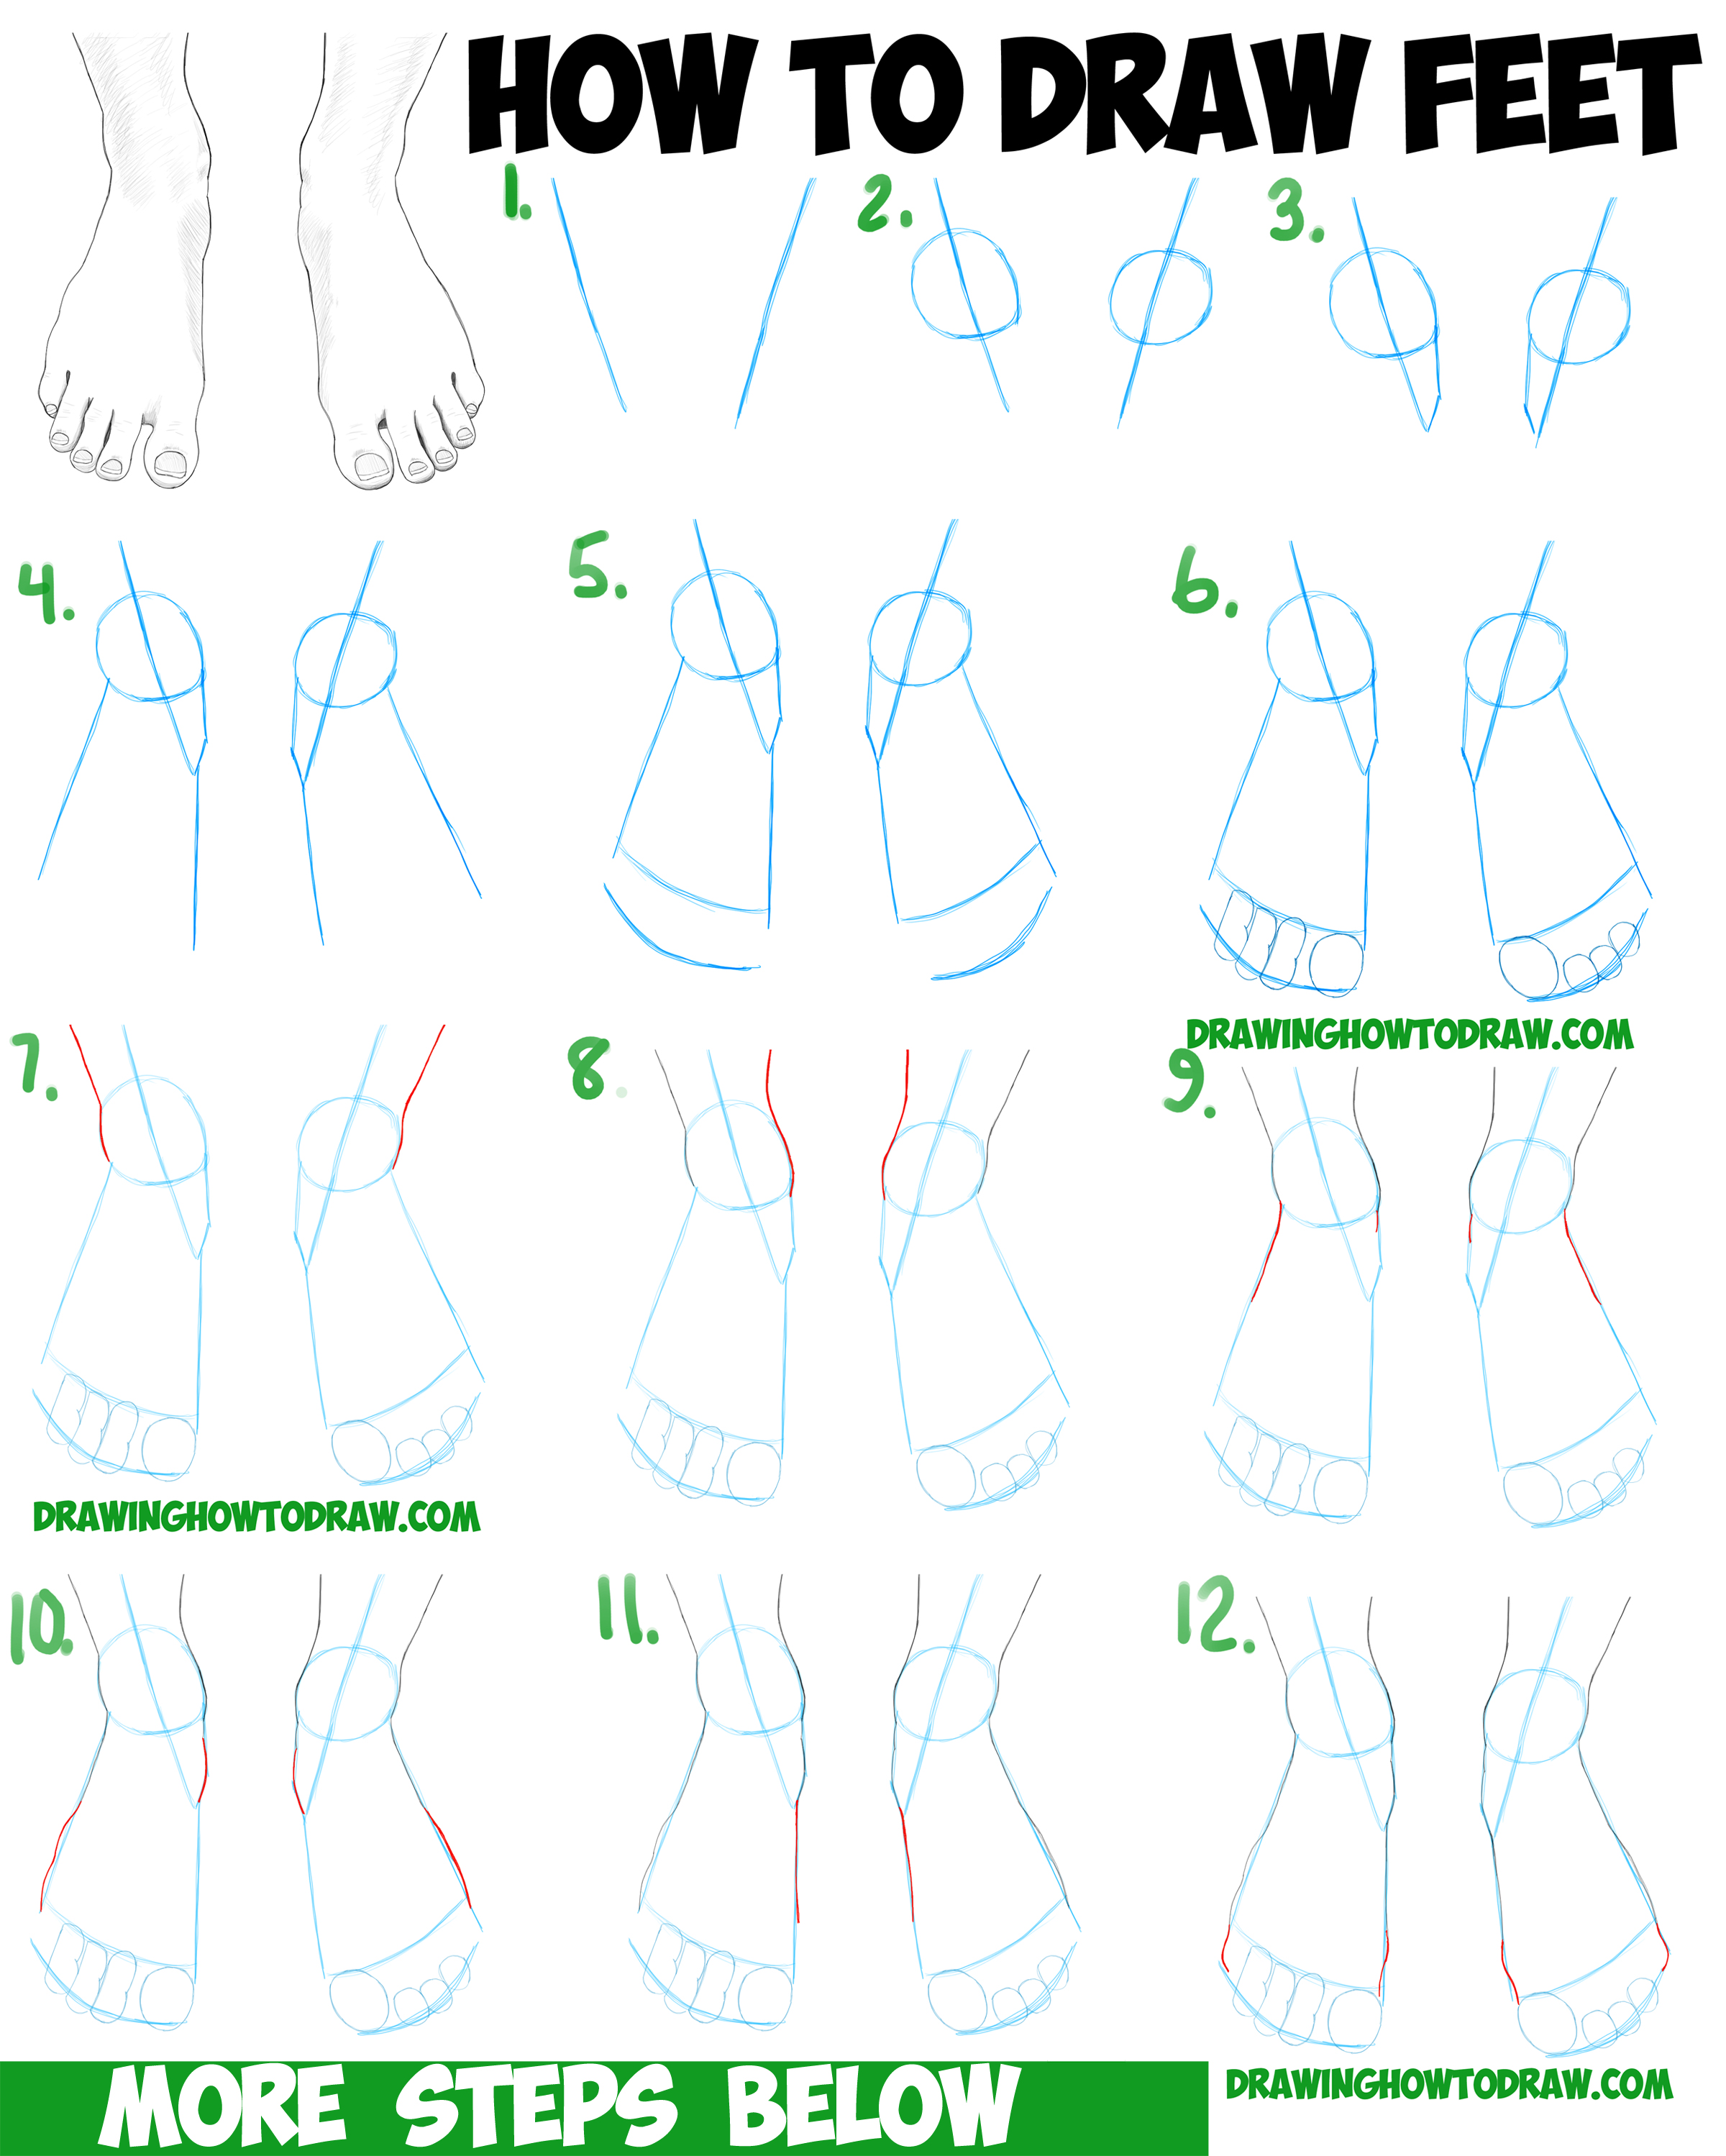
First, let’s draw the part that’s the closest to your heel — that’s where your talus bone is. A foot is never complete without some toes, so we shall begin adding some to your foot drawing in this next step. The first step is to simplify the foot into three distinct sections, focusing on the heel as a. To make it easier to practice we can break the foot into 3 major parts. Finally, draw a big, rounded rectangle for the big toe and four similar but smaller shapes for. Then for the rounded part, you can draw a shape that looks like an oval with a small gap at the. “draw five per day until you reach that number. Web browse 11,800+ foot step drawing stock photos and images available, or start a new search to explore more stock photos and images. To begin drawing a foot, starting with some simple shapes is helpful. In order to build this shape, we must first set the perspective right.
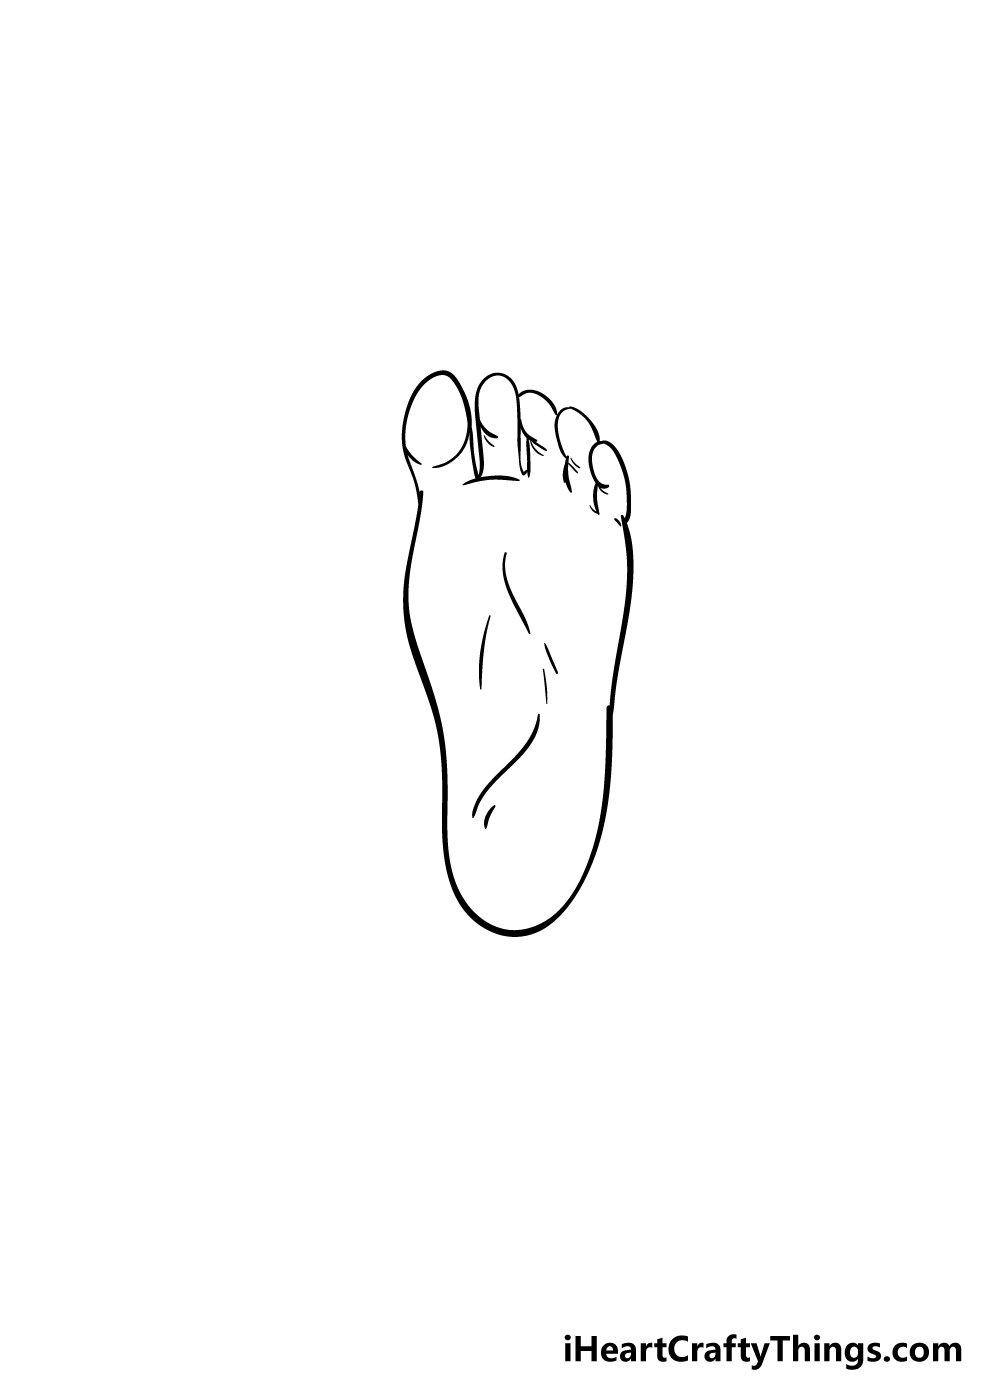
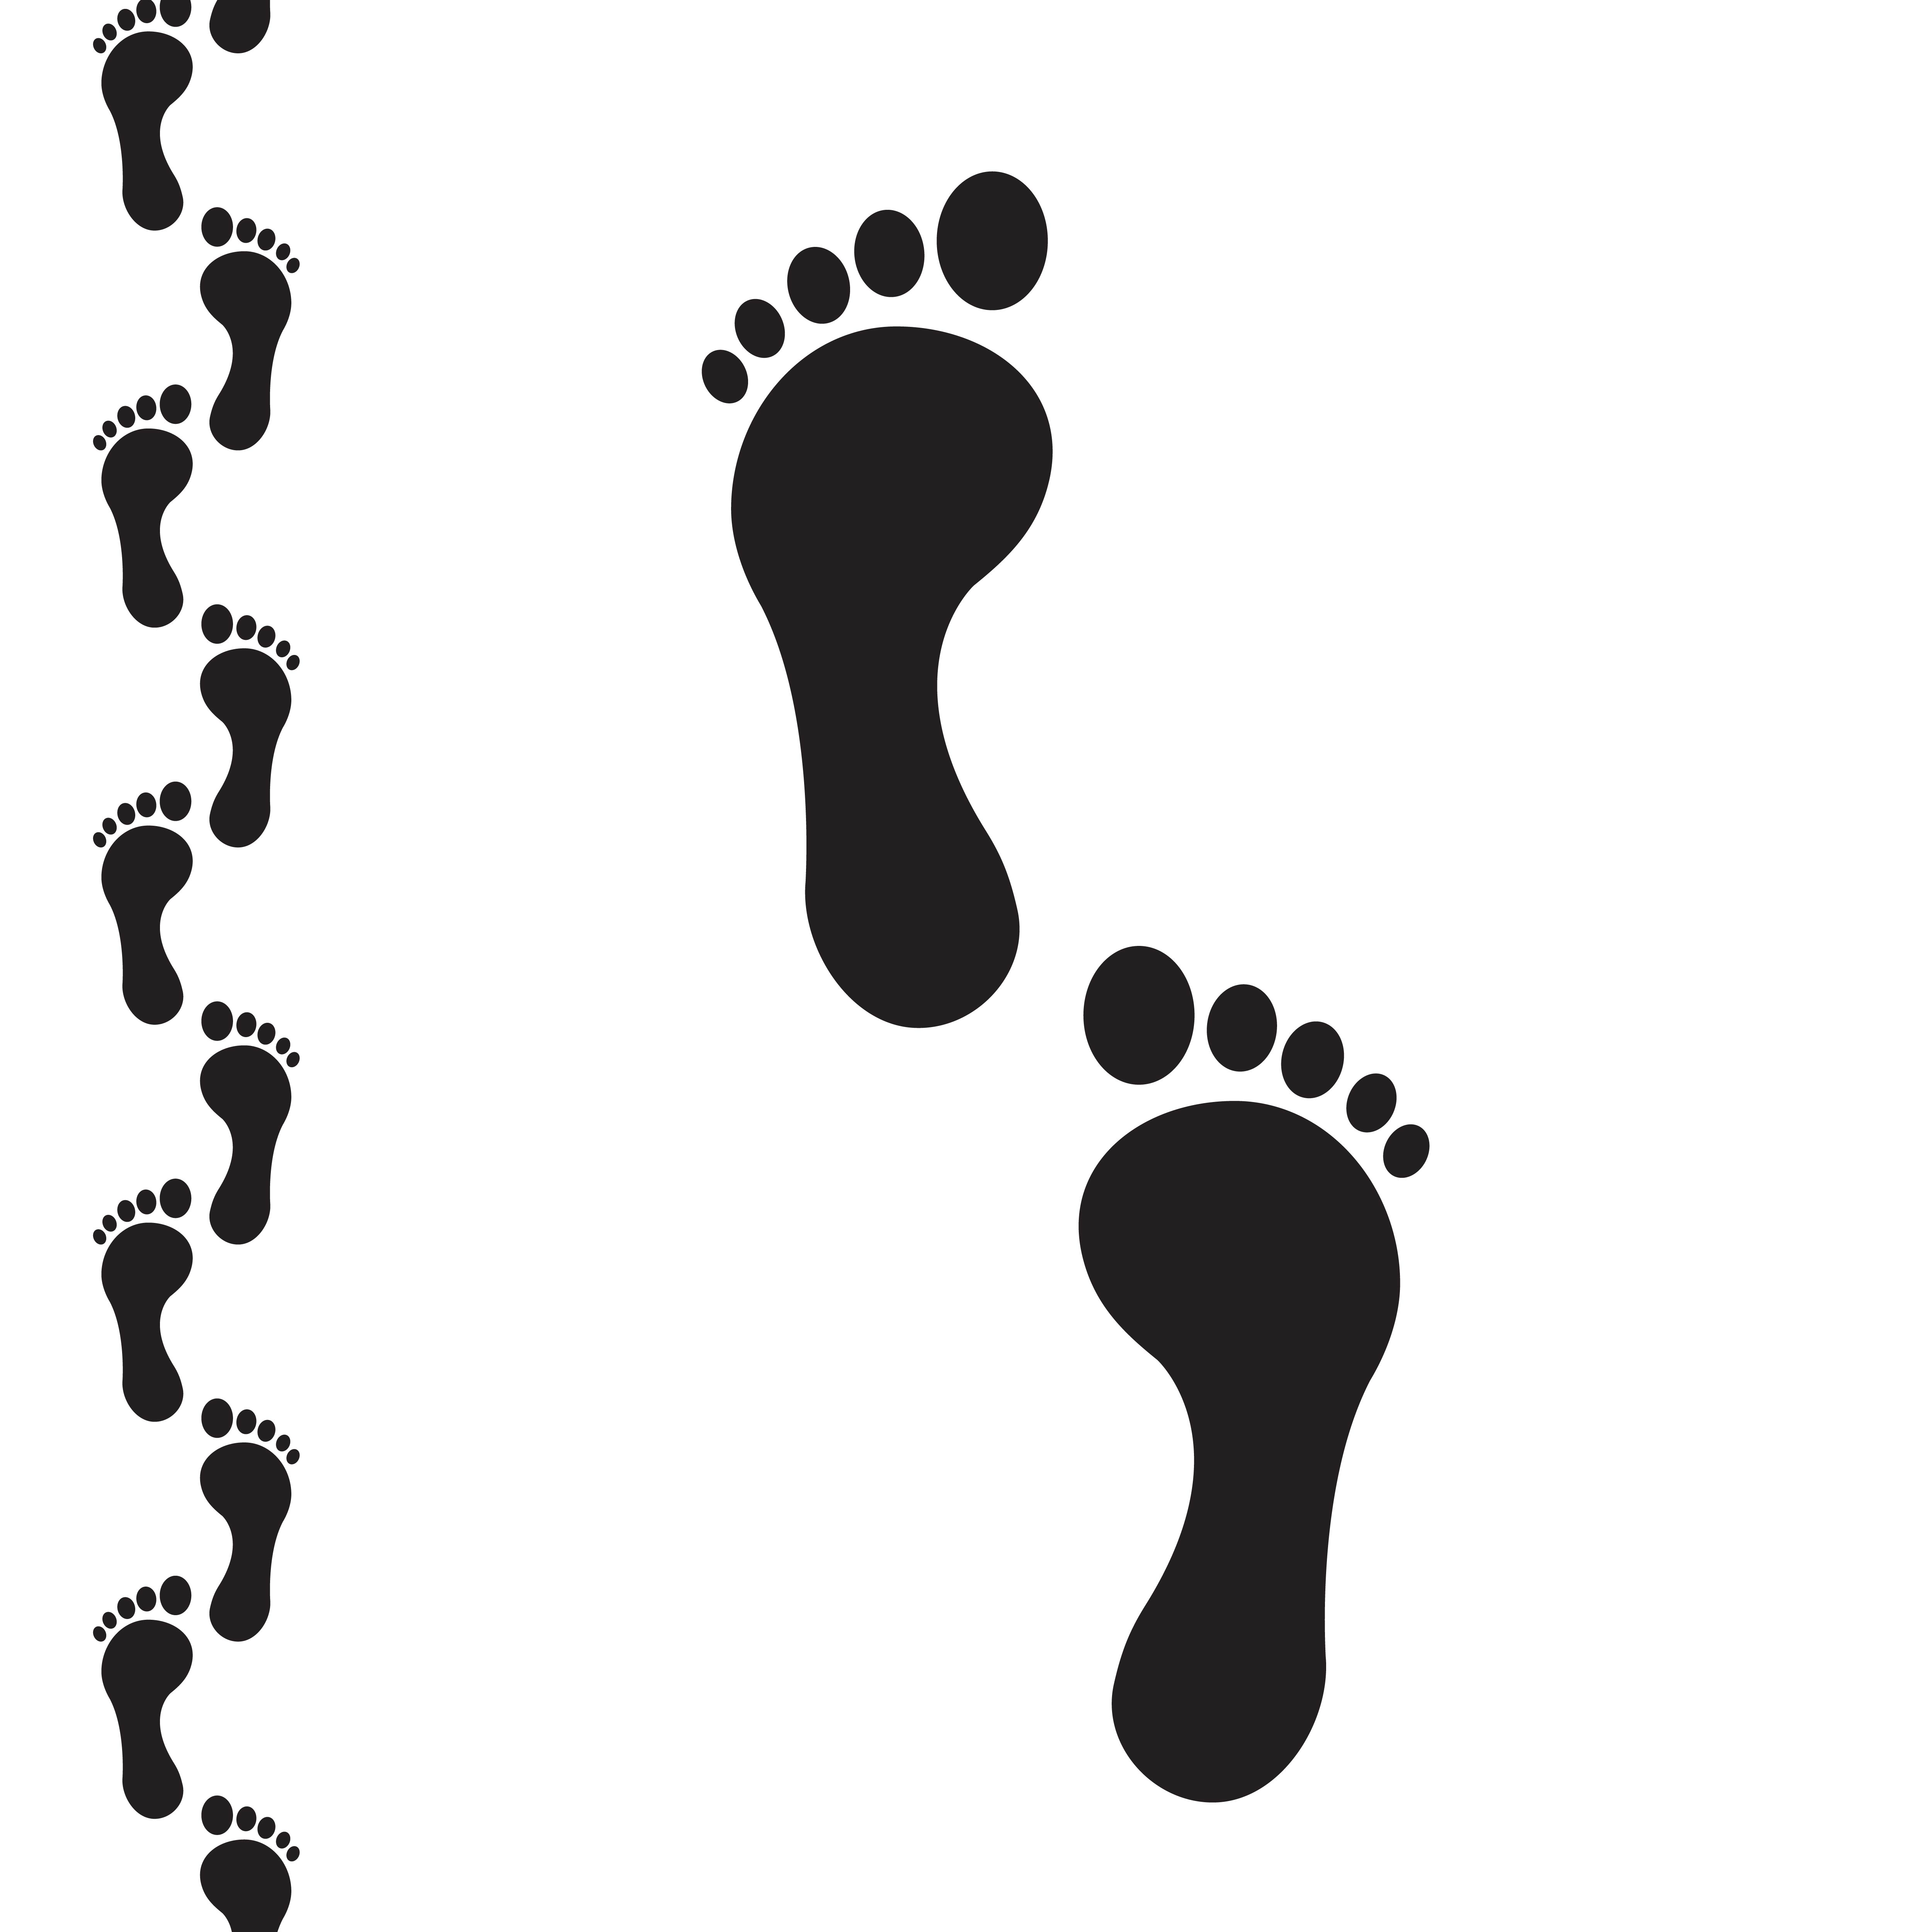
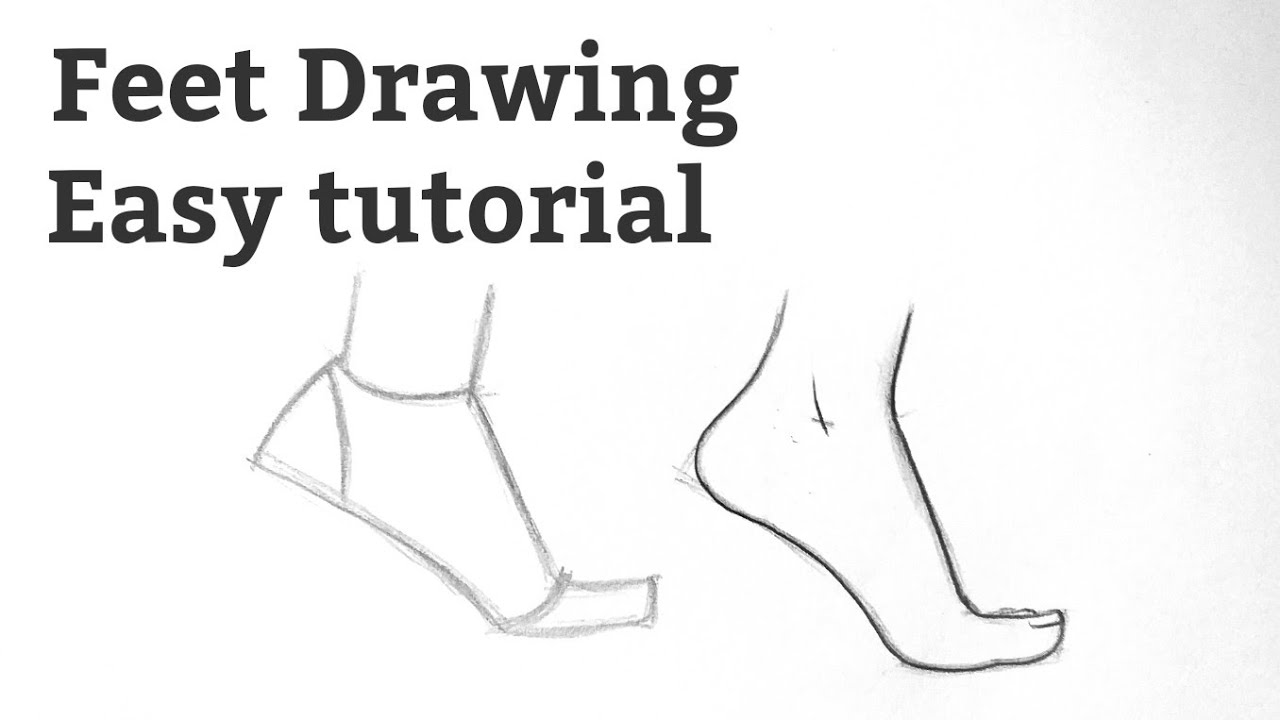
Outline footprint icon in vector. A simple way to draw feet is to begin by drawing the sole of the foot. Finish the toes with the middle one. Many use a sphere for the heel, however, i believe that the best way to set the perspective from the beginning is to start with a cube. Then continue your figure drawing with side views of the foot. When drawing the full figure, it is good to extend the gesture of the leg through to the foot to ensure it feels ‘connected’ via the ankle. This step is about bringing the shapes together. Then for the rounded part, you can draw a shape that looks like an oval with a small gap at the. (step 7) draw upside down ‘?’ shape on each foot. The next step is to make a small adjustment to the shape, cutting off a corner to get closer to the foot’s natural shape.
Foot Drawing How To Draw A Foot Step By Step
We can simply suggest their. Web totally rad vintage graphics bundle. Now’s the time to start drawing the middle part of your foot that goes from your heel to your toes. A simple way to draw feet is to begin by drawing the sole of the foot. Finish the toes with the middle one.
Footprints Vector Art, Icons, and Graphics for Free Download
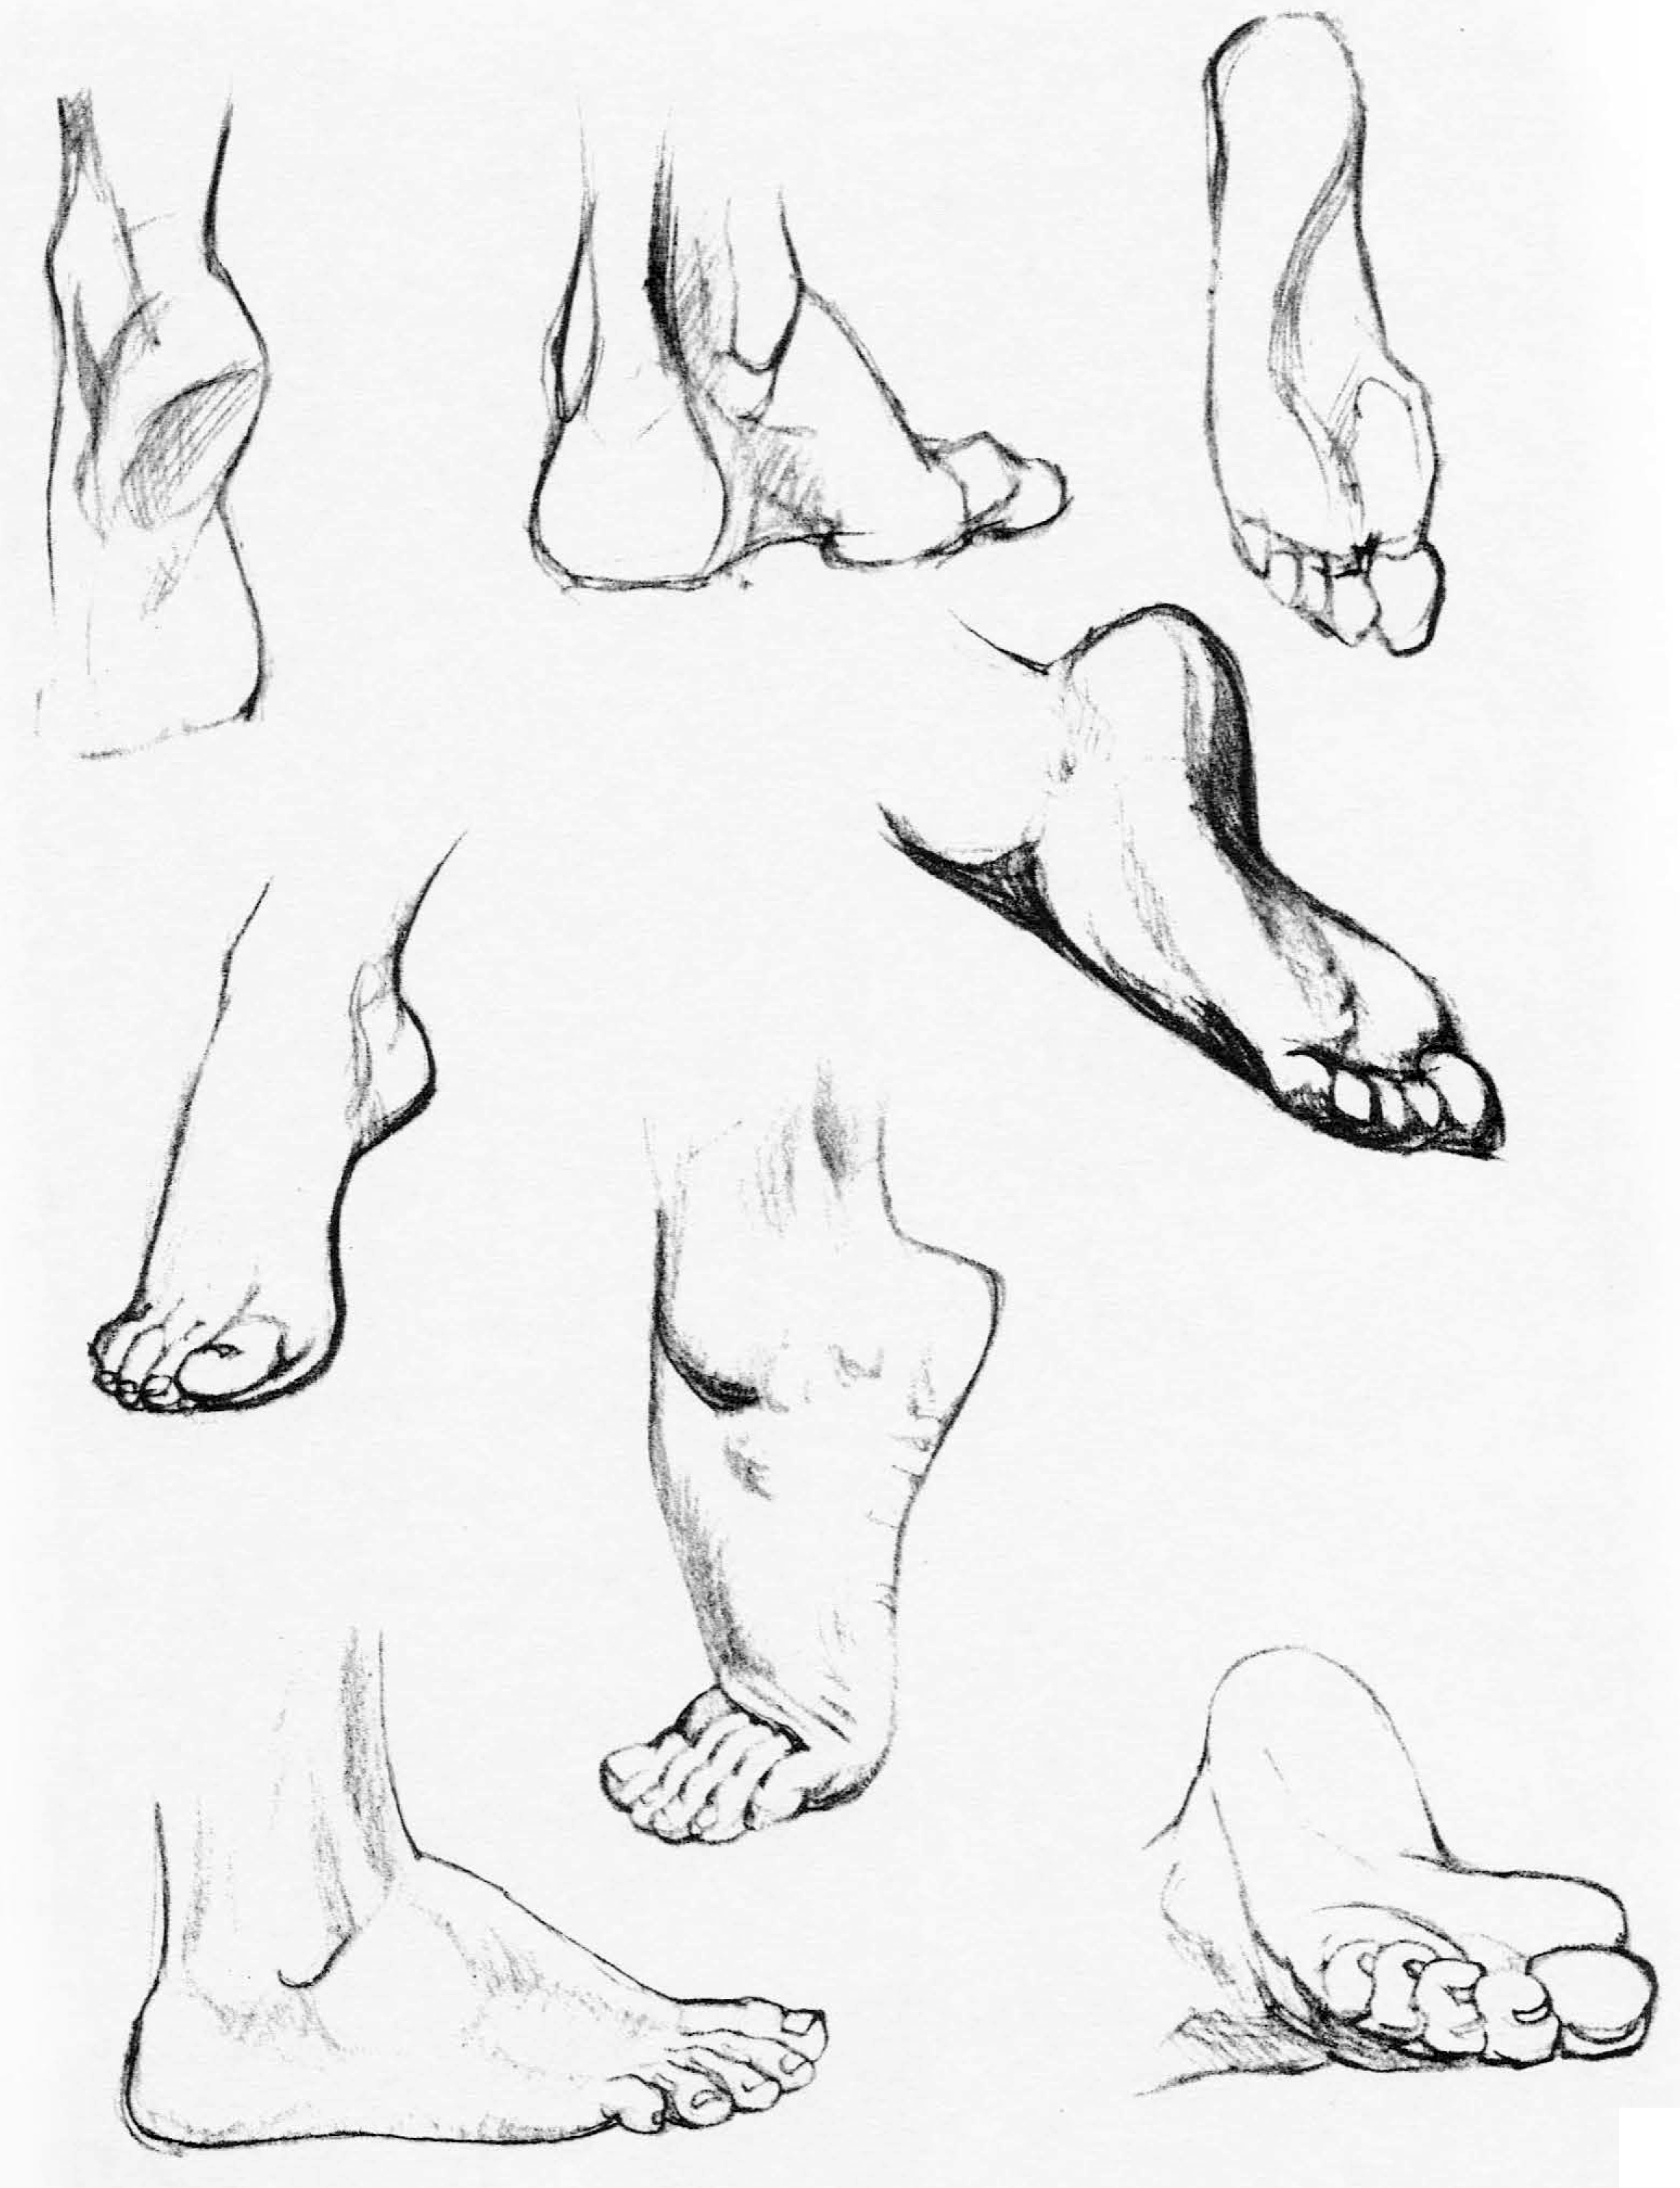
If you’re comfortable doing so, you can start directly with this step: Additional examples of the structure of the foot. Draw a foot from different angles, focusing on the top of the foot in some sketches and the heel of the foot in others. Use a 't' shape for foot direction. Also, draw a curved line.

How to Draw Feet / the Human Foot with Easy Step by Step Drawing
A simple way to draw feet is to begin by drawing the sole of the foot. Web totally rad vintage graphics bundle. The tendons are usually visible on the top of the foot, extending towards the ankle. Silhouettes of sneakers for human male and female shoes vector printing. Now’s the time to start drawing the middle part of your foot.
How to draw a feet drawing easy Basic drawing tutorial for beginners
Then continue your figure drawing with side views of the foot. (step 7) draw upside down ‘?’ shape on each foot. It’s time to learn how to draw a foot! Outline footprint icon in vector. Additional examples of the structure of the foot.

How to Draw Footprints 11 Steps (with Pictures) wikiHow
Web the foot rest‘s fabric is enduring that ensures the foot rest cannot be destroyed even after many uses and washes. #digitalsketch #illustrator #illustration #characterdesign #illustratorsoninstagram #germanillustrator #sketchbook #digitalart #portrait #ipad #procreate #ipadart #art #drawing #myart #reel #processvideo #ipaddrawing “draw five per day until you reach that number. To make it easier to practice we can break the foot into.
How to Draw the Foot Drawing Feet and the Anatomy of them Reference
In this last body part of the anatomy course you’ll learn how to construct the foot with basic forms, l. Then, a bean shape for the sole of the foot. Web drawing the foot. The middle foot box a.k.a. To make it easier to practice we can break the foot into 3 major parts.
Foot Drawing How To Draw A Foot Step By Step
Finally, draw a big, rounded rectangle for the big toe and four similar but smaller shapes for. Draw a line connecting the top oval to the bottom. Additional examples of the structure of the foot. “draw five per day until you reach that number. On the opposite side, draw a line connecting them.
Foot Drawing How To Draw A Foot Step By Step
To make it easier to practice we can break the foot into 3 major parts. How to draw both feet. Then for the rounded part, you can draw a shape that looks like an oval with a small gap at the. Web we were stuck, selleck writes. Doodle baby footprints icon in vector.
How to Draw Feet / the Human Foot with Easy Step by Step Drawing
Outline footprint icon in vector. Use a 't' shape for foot direction. The tendons are usually visible on the top of the foot, extending towards the ankle. Web totally rad vintage graphics bundle. Make the details on the bottom of the foot with 4 lines.

How to Draw Feet Really Easy Drawing Tutorial Drawing tutorial easy
Camilo perez, the pastor of. You'll soon be able to draw feet from the front, side, or back!for access to exclusive. Dave agreed to perform the wedding and pick up a new license himself as the family celebrated. Silhouettes of sneakers for human male and female shoes vector printing pictures footprint texture. A foot is never complete without some toes,.
Have A Go At Drawing Feet By Following The Steps Below.
No toes, no arches, just the basic shape. Finish the toes with the middle one. Silhouettes of sneakers for human male and female shoes vector printing pictures footprint texture. You'll soon be able to draw feet from the front, side, or back!for access to exclusive.
Web Republicans Have Spent Years Drawing Latino Evangelicals Into Their Fold.
“in a world where the future of creativity. The tendons are usually visible on the top of the foot, extending towards the ankle. In response to feedback from downtown. Web drawing the foot.
To Begin Drawing A Foot, Starting With Some Simple Shapes Is Helpful.
#digitalsketch #illustrator #illustration #characterdesign #illustratorsoninstagram #germanillustrator #sketchbook #digitalart #portrait #ipad #procreate #ipadart #art #drawing #myart #reel #processvideo #ipaddrawing The calf muscles taper to the achilles tendon, and that in turn creates a hard edge on the back of the foot as it connects to the heel. Battle creek — those on the hunt for live entertainment might want to mark the first friday of every month in downtown battle creek on their calendar. From now on in this tutorial, you will be drawing lines that we will keep.
Draw Letter ‘B’ Shapes On The Left Foot.
Finally, draw a big, rounded rectangle for the big toe and four similar but smaller shapes for. The arch should be drawn on the inner side of the foot! On the opposite side, draw a line connecting them. In this last body part of the anatomy course you’ll learn how to construct the foot with basic forms, l.