Ghost Step By Step Drawing
Ghost Step By Step Drawing - Draw curves at the bottom of the. Start by drawing a large oval shape for the ghost’s head and body. Next, draw the lines in the lower part. 4) draw a vertical line equally dividing the left half of the rectangle. This line should have a slight wave to it, mimicking the style of the bottom edge. Add a small smile and pink ovals under the eyes for the cheeks. Similarly, draw a horizontal line equally dividing the bottom half of the rectangle. Support the artist and request your own drawing. Draw a sideways triangle or letter ‘v’ like shape at the bottom tip of. Web how to draw a ghost very easy step by stepif you love my channel ️subscribe ️ and click that notification icon 🔔 so you don't miss any cute drawing videos.
Draw the ghosts rounded arms. The body is very curved and rounded, and will extend down from the front of the face and lower until it curves into another little tail at the back. Start by drawing a large oval shape for the ghost’s head and body. It's very easy art tutorial, only follow me step by step, if you need more time, you can. Web depict one arm. Start by lightly sketching a simple oval or circular shape to represent the. If you want a scary one, color the eyes all black and draw the “moon” shape with it’s end points turned downwards. Add the hand construction lines. Our ghost drawing starts as usual with a simple shape. This lesson is short and super simple, perfect for young artists.
Draw the left and right arms using curves. Web you might also like our other halloween drawing tutorials. Web let's draw with me ghost and learn how to draw halloween drawings! Make a rounded line like the top of a dome. Web follow along to learn how to draw this cute ghost and tombstone step by step, easy. How to draw a ghost. This line should have a slight wave to it, mimicking the style of the bottom edge. Draw another ‘s’ like shape to the right of the first shape…as pictured above. To make the ghost look even cuter, add a. This way your ghost won’t look scary at all.
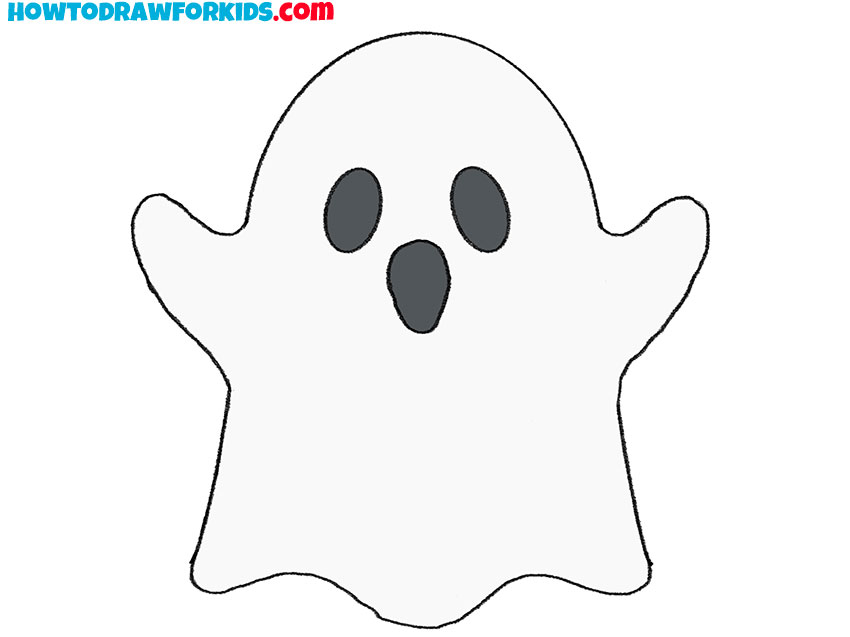
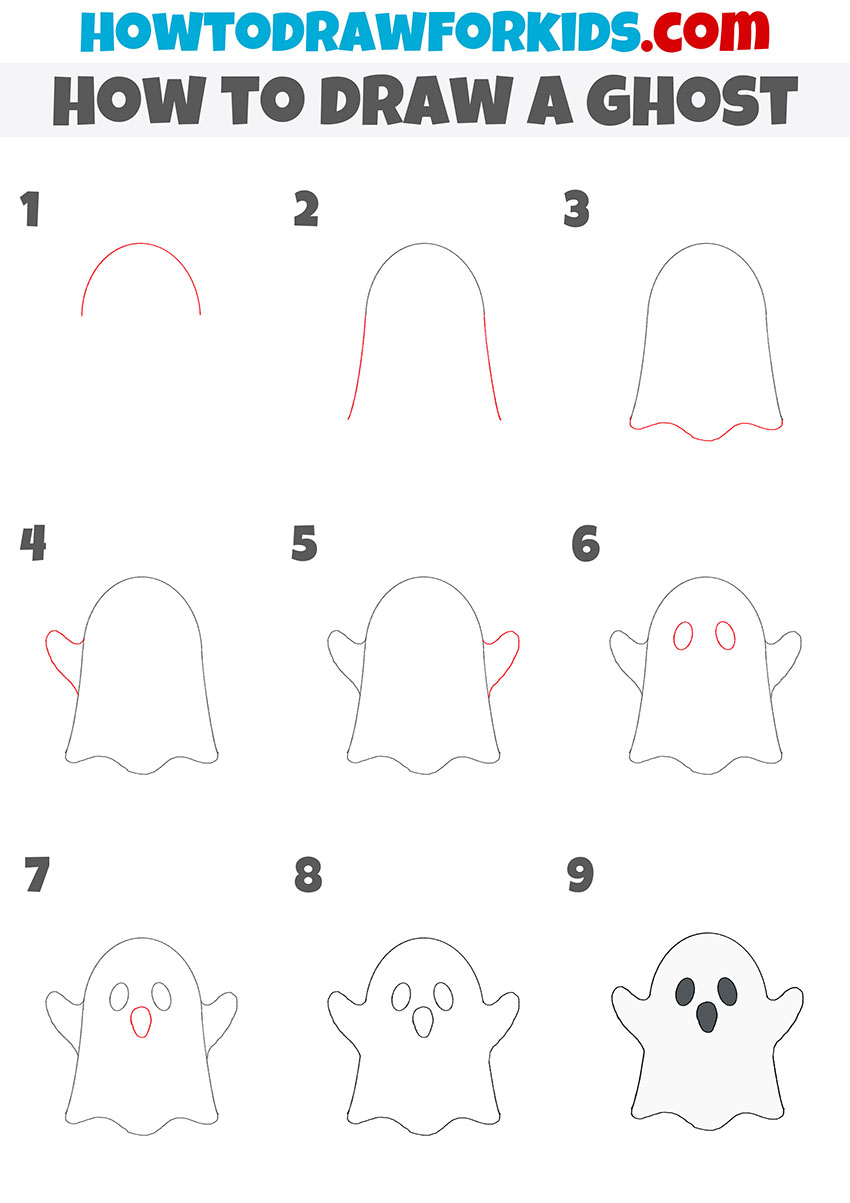
How to Draw a Ghost Step by Step Easy Drawing Tutorial For Kids
In this step, draw a ‘v’ shape that splits the main body in half. Whether you're using a pencil on paper or digital drawing tools, this initial step sets the foundation for the ghost's form and character. Add a small pumpkin bucket with candy sticking out the top. Web follow along to learn how to draw this cute ghost and.
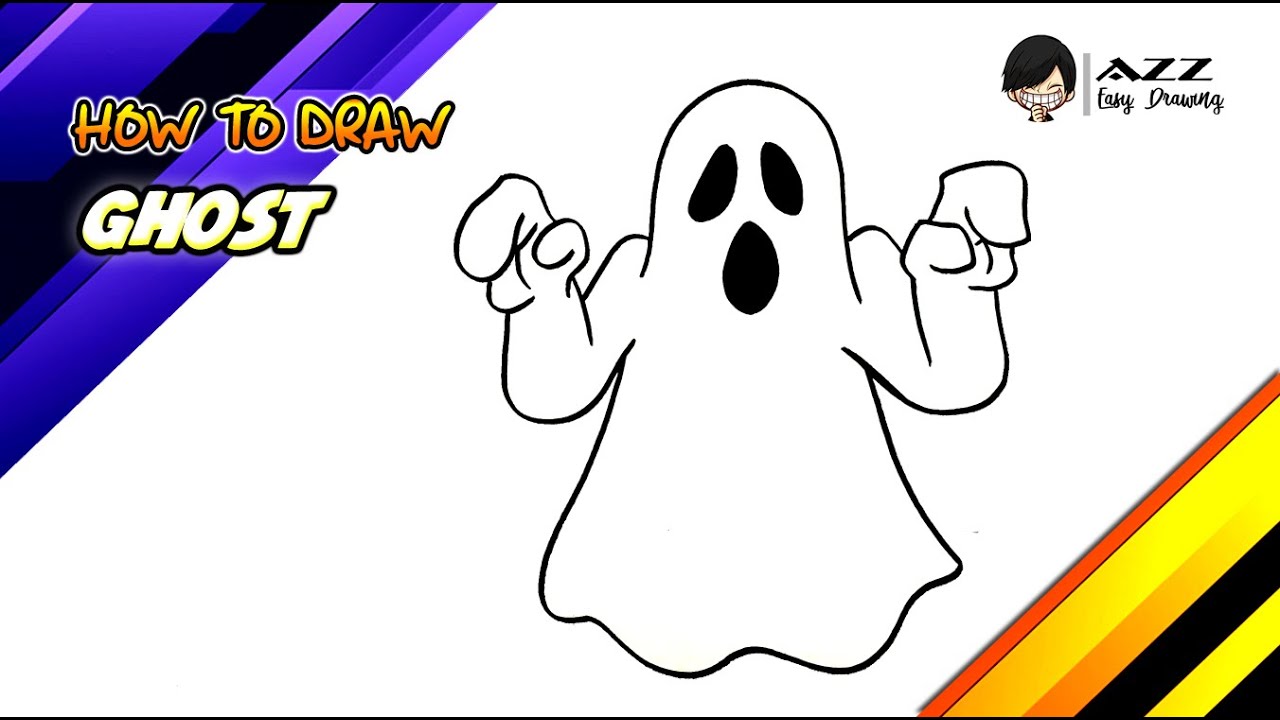
How to draw a Ghost step by step YouTube
If you want your ghost to look happy, draw “normal” eyes, and a “moon” shaped mouth. How to draw a scary and simple ghost for your baby. Web how to draw a ghost very easy step by stepif you love my channel ️subscribe ️ and click that notification icon 🔔 so you don't miss any cute drawing videos. Add the.
![How To Draw A Ghost Step by Step [9 Easy Phase] & [Video]](https://easydrawings.net/wp-content/uploads/2020/04/How-to-draw-a-Ghost-overview.jpg)
How To Draw A Ghost Step by Step [9 Easy Phase] & [Video]
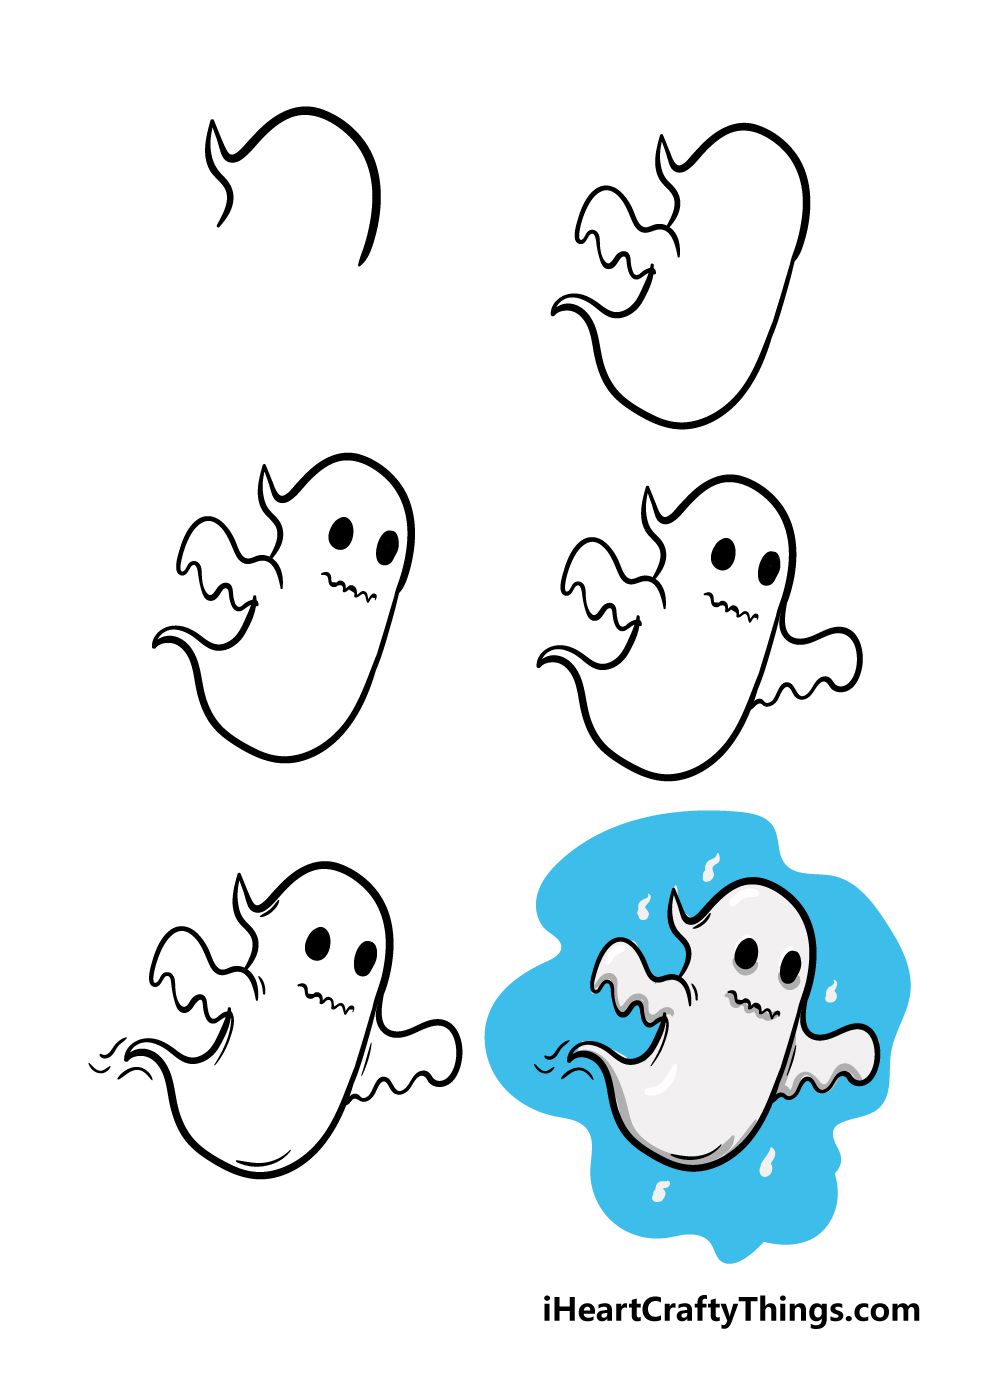
You can use vibrant, bright colors for the candy, making patterns or prints as you want. We mentioned in the introduction to this cartoon ghost drawing that we will be creating a common interpretation of what ghosts are thought to look like, and we will start simply. Perfect for a scary, fun halloween drawing. How to draw a scary and.
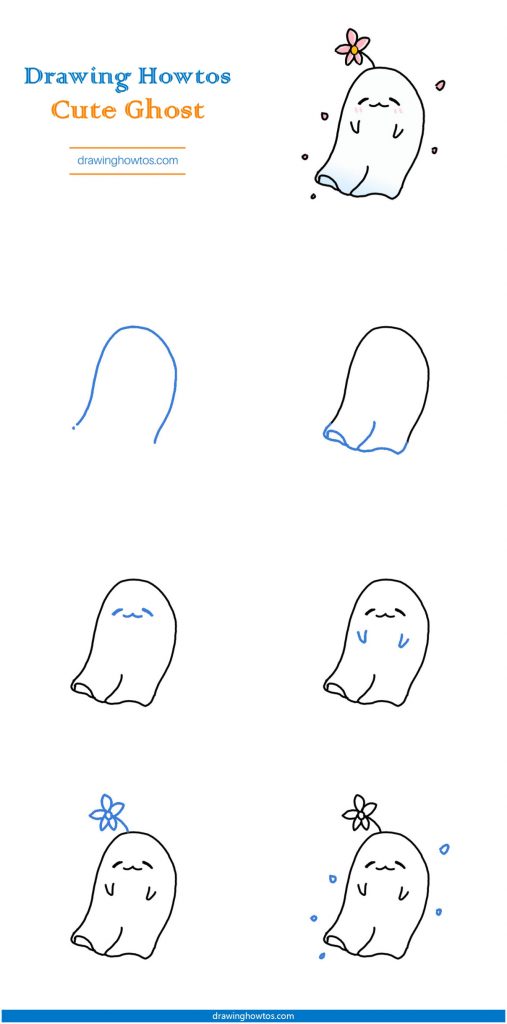
How to Draw a Ghost Step by Step Easy Drawing Guides Drawing Howtos
Design and draw a character. Next, draw a little wonky house on top of the black mound. Perfect for a scary, fun halloween drawing. In this second step of our guide on how to draw a ghost, we will start drawing the body and first arm of the ghost. Start on the right and make a curved line, then continue.
How to draw a Ghost Step by Step Ghost Drawing Lesson YouTube
This line should have a slight wave to it, mimicking the style of the bottom edge. Color the stick in shades of brown. Next, draw a little wonky house on top of the black mound. Draw a small circle for each hand at the end of each arm. To create the bottom, if you want to make it look like.

Ghost Drawing Step By Step Just follow our easy step by step ghost
Draw a base oval and outline for the ghost's body. Draw a wavy curved line on the left side of your paper using a light pencil stroke. It's very easy art tutorial, only follow me step by step, if you need more time, you can. Web draw the top of the ghost as a tight curved line “u” and make.

15 Ghost Drawing Ideas How To Draw A Ghost
Draw curves at the bottom of the. Make the eyes dark using shades of black or brown. You can use vibrant, bright colors for the candy, making patterns or prints as you want. To make the ghost look even cuter, add a. Web follow along to learn how to draw this cute ghost and tombstone step by step, easy.
How to Draw a Ghost Step by Step Easy Drawing Tutorial For Kids
Draw a base oval and outline for the ghost's body. In this step, draw a ‘v’ shape that splits the main body in half. Similarly, draw a horizontal line equally dividing the bottom half of the rectangle. Web next draw curves that are small at the bottom of the ghost. Draw a sideways triangle or letter ‘v’ like shape at.

How to draw halloween stuff step by step The Smart Wander
Draw a vertical oval which overlaps almost half of the circle. It's very easy art tutorial, only follow me step by step, if you need more time, you can. Design and draw a character. To begin our ghost drawing, we'll focus on creating the basic outline of our friendly apparition. Add a small smile and pink ovals under the eyes.
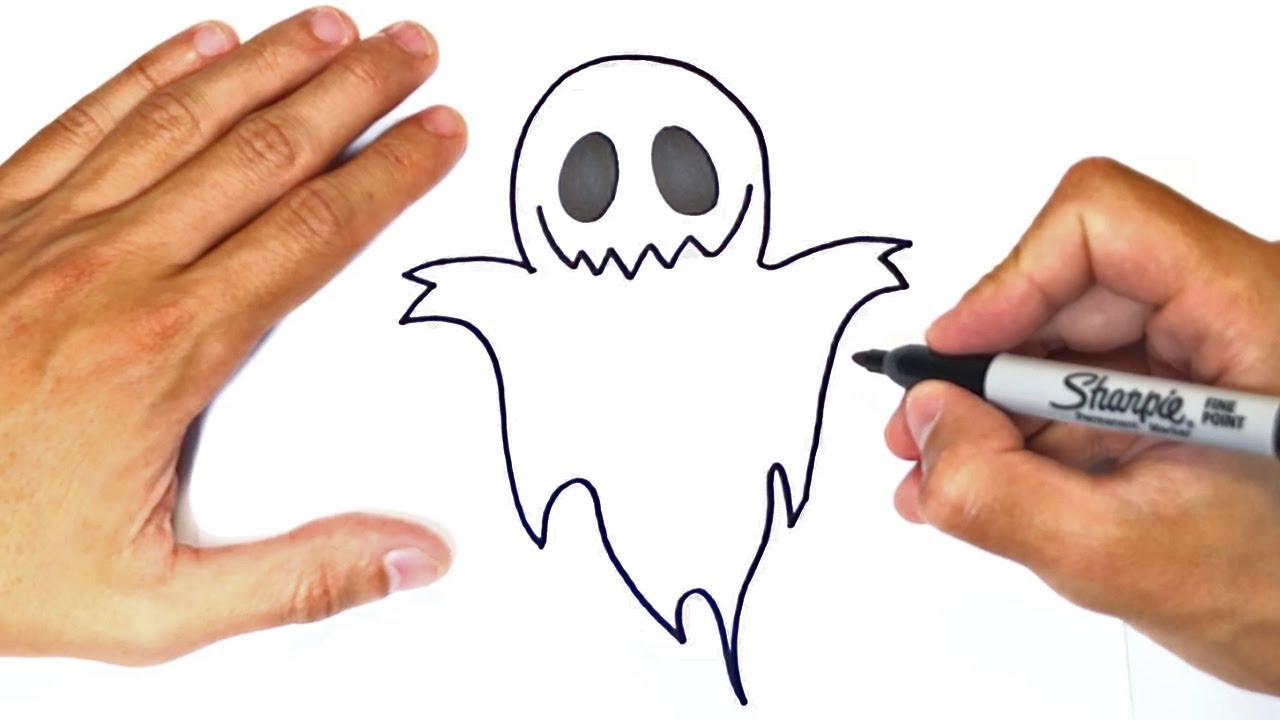
Ghost Drawing How To Draw A Ghost Step By Step
Draw two big eyes that look like ovals in the middle of the head. Draw a wavy line and any. Web depict one arm. Draw a sideways triangle or letter ‘v’ like shape at the bottom tip of. Use a pencil to draw a large ghost within the center of the twilight sky.
Draw The Left And Right Arms Using Curves.
Make a rounded line like the top of a dome. Learn a simple method for developing an original character, from mind map to finished drawing. 4) draw a vertical line equally dividing the left half of the rectangle. Web draw the top of the ghost as a tight curved line “u” and make straight lines down to the bottom.
On The Right Side, Add A Small, Curved Line Protruding Outwards To Begin Forming The Ghost’s Arm.
To make the ghost look even cuter, add a. This way your ghost won’t look scary at all. Today, drawing123.com will show you how to draw the scary ghost. Start by drawing a large oval shape for the ghost’s head and body.
=) Art For Kids, Drawing.
To begin our ghost drawing, we'll focus on creating the basic outline of our friendly apparition. Use a pencil to draw a large ghost within the center of the twilight sky. 3) draw another horizontal line equally dividing the upper half of the rectangle. Color the picture to be more complete 2.
Draw Curves At The Bottom Of The.
Draw a small circle for each hand at the end of each arm. Support the artist and request your own drawing. Start your ghost design by drawing a basic ghost shape. Complete the ghost’s arms by adding another curved line opposite the first one you drew in step 3.