How To Draw A Bow Tie
How To Draw A Bow Tie - Make sure the loops are symmetrical and of equal size. Web draw the center knot of the bow tie. Draw a small rectangle in the center of your page. Draw a square in the middle of the page. Add the side outline on the other side. You can do so by drawing two curved lines on either side of the shapes from before. Bow ties are a traditional type of necktie often worn primarily at formal occasions, including weddings, funerals, religious services, graduations, special parties, prom, and other dances. From the knot, draw a. Web sketch out the side outline. Simply knot the middle and add a few accessories to give it a unique touch.
Web it will represent the knot of the bow tie. Then go ahead and outline the other side of the bow by doing the same thing you had just done. Finally, draw a fifth oval around the fourth oval. Unfortunately, we couldn’t score more, we felt like we deserved more in the first half. Bow tie easy drawing tutorial. Go ahead and add a bit more detail to make your bow look pretty. Draw an oval shape for the knot. Web learn more about the bow tie drawing. Web draw the center knot of the bow tie. In very little time, through a little repetition, you'll have the perfect bow tie drawing.
Web how to draw a bow tie 🎀 | drawing tutorial artdrawing and coloring a bow tiedrawing for kids2 Bow tie easy drawing tutorial. Web learning how to draw a bow tie is very simple! Web sketch out the side outline. Web how to draw a bow tie. Add smaller triangles for the bow tie’s tails. Web start with drawing the center piece of the bow shape. The next thing we need to do is draw the ends of the bow. Next, draw two loops on either side of the rectangle, which will serve as the main body of the bow. Drawing a hair bow requires a combination of basic shapes and attention to detail.
How to Draw a Bow Tie A Fun and Easy Guide Improve Drawing
Should you want to learn how to draw a bow tie, just follow this step by step lesson.sketch a ribbon shape figure. Web norwich, who failed to score at home for the first time since december, will visit leeds for the second leg on thursday. Add the side outline on the other side. Draw this cute bow tie by following.

How to Draw a Bow Tie Really Easy Drawing Tutorial
For this guide on how to draw a tie, you will find it much easier if you have a ruler to use, as there are lots of straight lines in this design. Unfortunately, we couldn’t score more, we felt like we deserved more in the first half. It should basically look like two slightly diagonal lines next to one another..
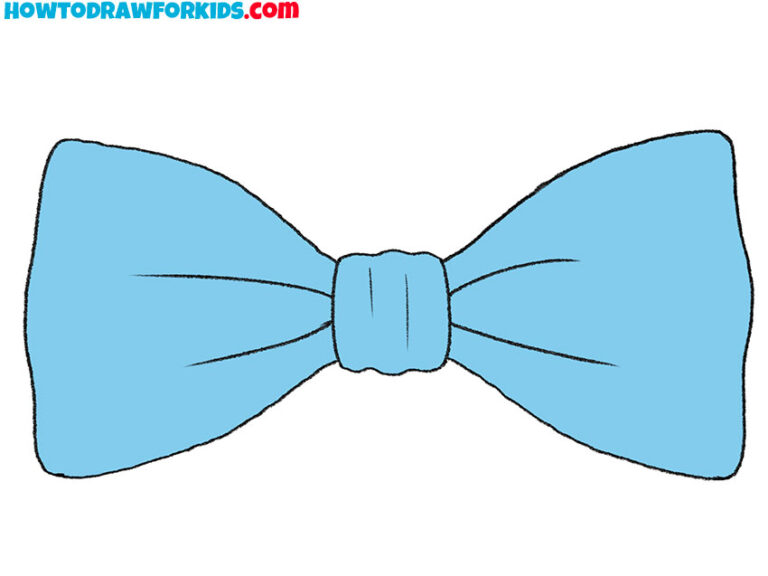
How to Draw a Bow Tie Easy Drawing Tutorial For Kids
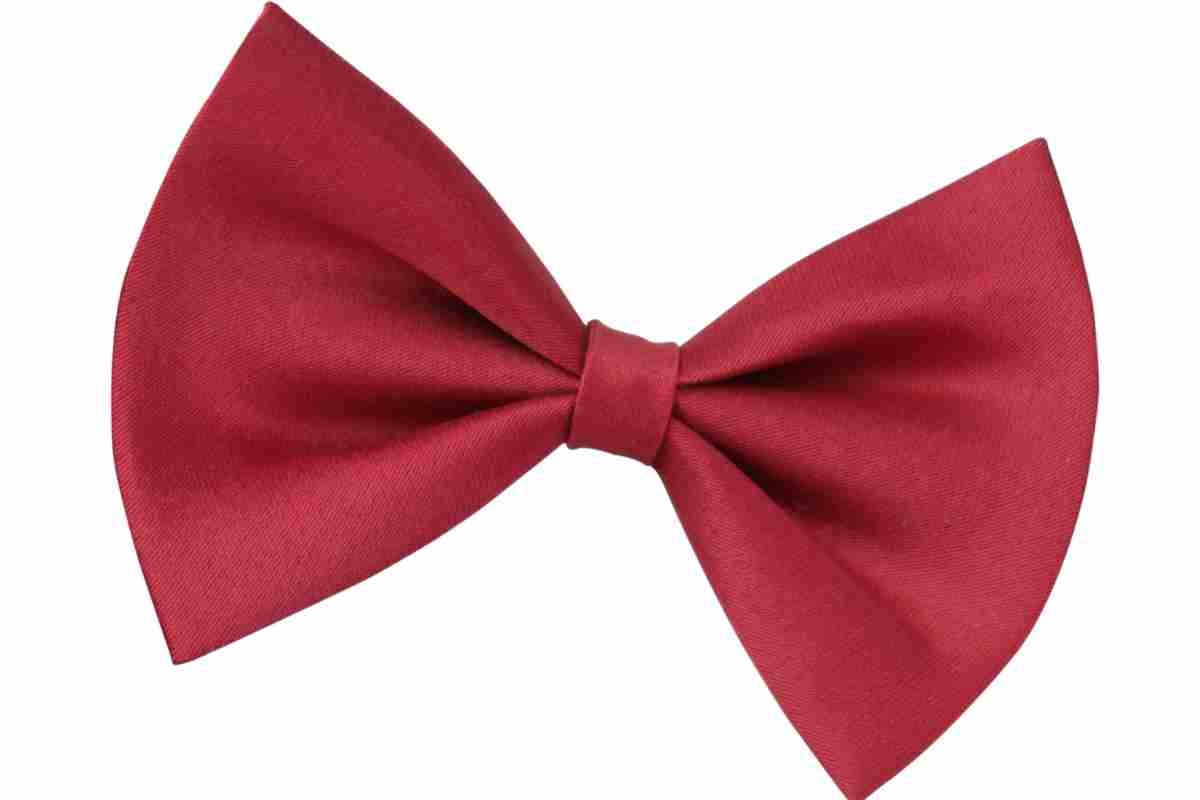
It was a tough game. Include some curved lines to show folds and creases. All you need is two long strips of fabric and some fun buttons or clips. Draw a small rectangle in the center of your page. It consists of a ribbon of fabric tied around the collar in a symmetrical manner such that the two opposite ends.

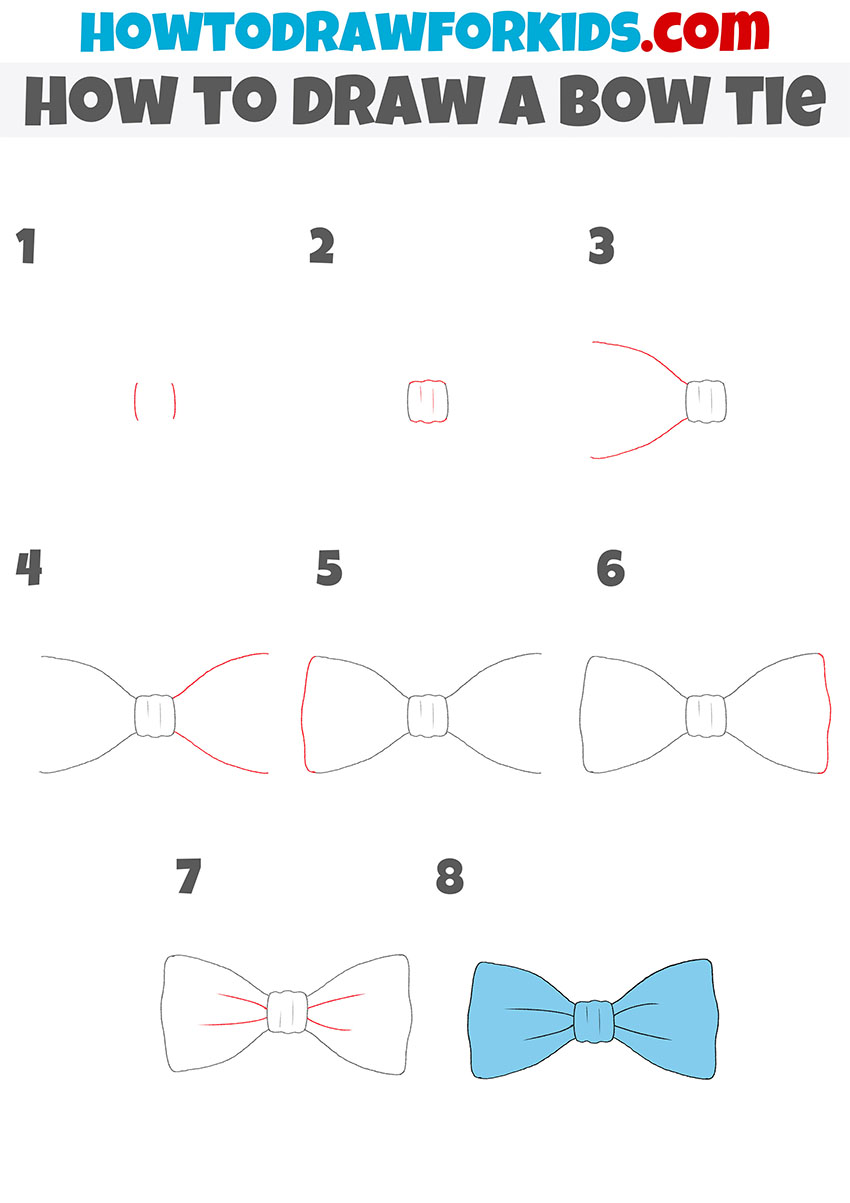
How To Draw A Bow Tie In (4) Easy Steps For Kids
You can do so by drawing two curved lines on either side of the shapes from before. Simply knot the middle and add a few accessories to give it a unique touch. Bow tie easy drawing tutorial. Web learn more about the bow tie drawing. Web it will represent the knot of the bow tie.
How to Draw a Bow Tie Easy Drawing Tutorial For Kids
You can do so by drawing two curved lines on either side of the shapes from before. Draw a small rectangle in the center of your page. Make another small loop with the wrapped lace and pull it through the hole in the middle. In this lesson, we will teach you how to draw and illustrate a bow tie collar.

How to Draw a Bow Tie Really Easy Drawing Tutorial
Simply knot the middle and add a few accessories to give it a unique touch. You will learn valuable detail drawing techniques and learn how to. Add in a couple of curved lines to show the folds of the bow. Bow tie easy drawing tutorial. Web for example, if you’re drawing a bow tie or a simple hair bow.

How To Draw A Bow Tie In (4) Easy Steps For Kids
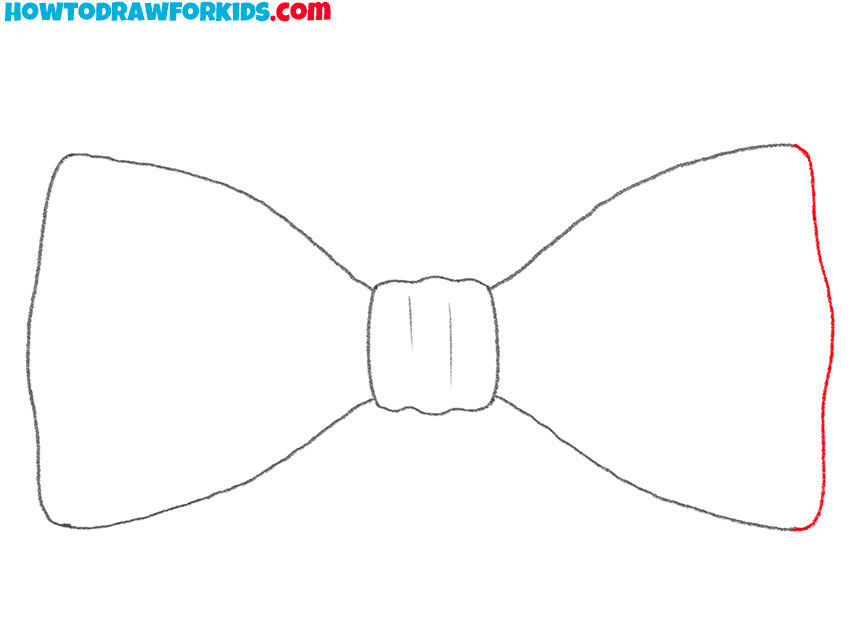
Repeat the previous step and draw about the same line on the other side. Web start with drawing the center piece of the bow shape. Web learn more about the bow tie drawing. Web how to tie a perfect bow! There are a lot of different ways you can draw these.

How to Draw a Bow Tie Easy Made with HAPPY
Repeat the previous step and draw about the same line on the other side. To start, you can draw two lines that start fairly close together and a little further away the more they go down. Draw a small horizontal line for the center of the bow tie. Web it will represent the knot of the bow tie. Web how.

How to Draw a Tie Step by Step Tie Drawing Bow Tie Drawing YouTube
Bow ties are a traditional type of necktie often worn primarily at formal occasions, including weddings, funerals, religious services, graduations, special parties, prom, and other dances. Include some curved lines to show folds and creases. Cross the laces to make an x. wrap the top lace under the bottom lace and pull it through. Then, draw a slightly larger oval.
How to Draw a Bow Tie Easy Drawing Tutorial For Kids
Web this lesson is part of our series on learning how to draw collars. You will learn how to map your fashion pose and then how to draw and illustrate a classic bow tie collar, used on women’s blouses. Web sketch out the side outline. Then one side of the bow, outline the sideways heart shape by drawing another line..
This Forms One Side Of The Bow Tie.
Web it will represent the knot of the bow tie. Then go ahead and outline the other side of the bow by doing the same thing you had just done. Sketch two triangles on either side of the line for the bow’s loops. To start, you can draw two lines that start fairly close together and a little further away the more they go down.
In This Lesson, We Will Teach You How To Draw And Illustrate A Bow Tie Collar For A Blouse.
Make it narrower towards the knot and wider as it goes. All you need is two long strips of fabric and some fun buttons or clips. Make a loop with one end of the shoelace. Draw a third oval around the second oval.
Web Learn More About The Bow Tie Drawing.
Connect two lines with one smooth line. Draw a fourth oval around the third oval. The next step is to draw a curved line off the right side of the middle of the bow. Or if you just want a basic bow drawing.
From One Side Of The Rectangle, Draw A Diagonal Line Going Out And Up, Then Curve It Down To Create A Large, Wide Triangle Shape.
To give the knot a realistic appearance, round off the corners of the rectangle slightly. Go ahead and add a bit more detail to make your bow look pretty. It was a tough game. Repeat the previous step and draw about the same line on the other side.