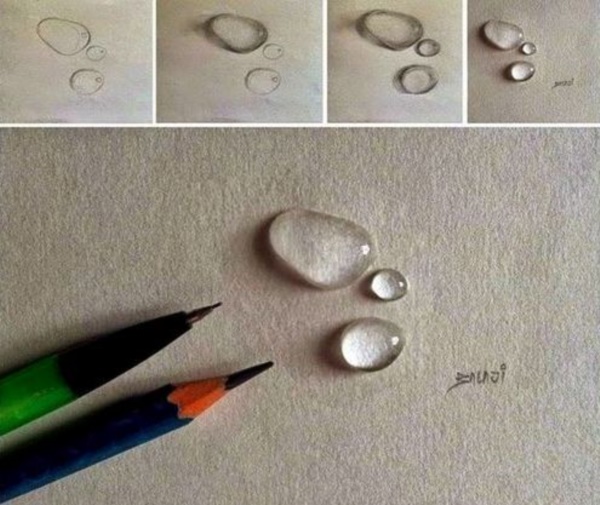
How To Draw A Realistic Water Droplet
How To Draw A Realistic Water Droplet - Shade the right side of the drop lightly. Web in our water droplets drawing, the light falls from the left side of the top. Use an eraser to smudge out that area which you had already marked in step 2. We are working on a neutral gray surface so that it is a bit easier to create a full range of value within the scene. Web step by step drawing of a water drop with graphite pencil. Use short, gentle strokes to create a gradation effect, going from darker at the edges to lighter towards the center. · develop the strongest highlights and light values. Web the first thing to do here is to place your drawing on the paper. Draw a darker outline for the water droplet. Use the paper blender to blend the gray and white parts, making a smooth gradient from gray to white.
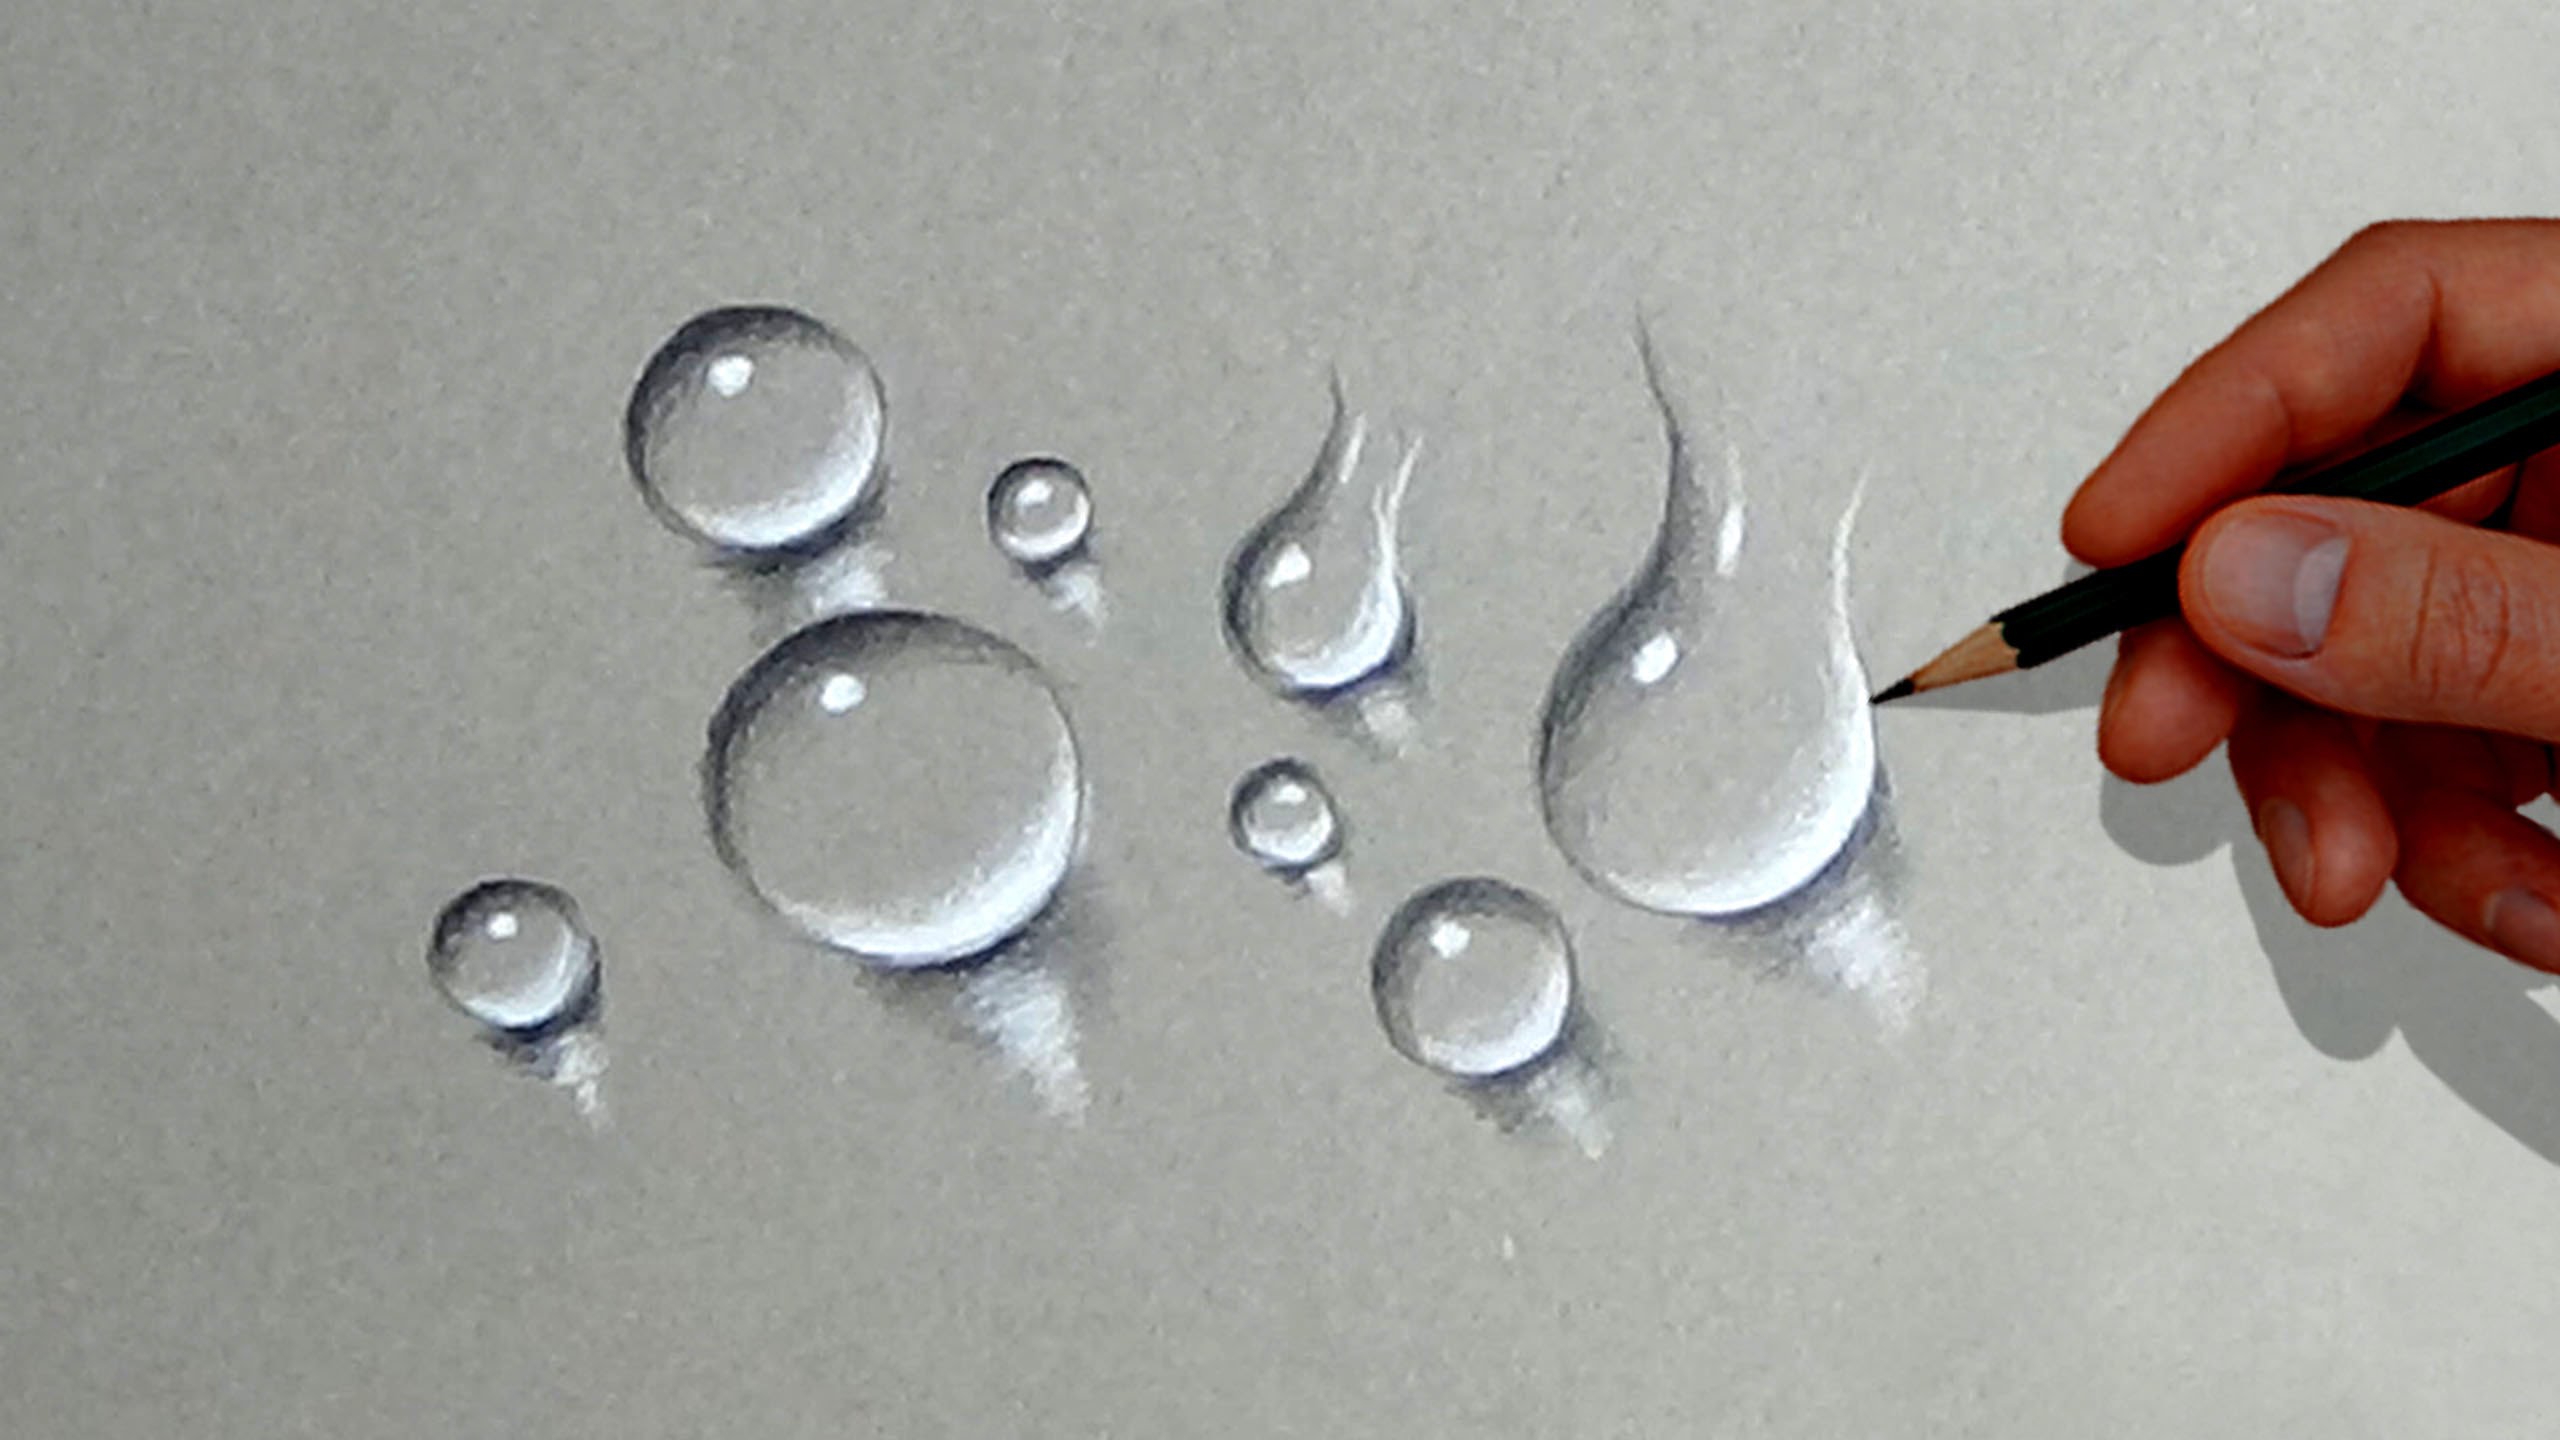
Keep your pencil strokes loose and gentle, as you will refine the shape later. This will show you how to draw realistically. Start by drawing a horizon line, which represents the line where the sky and water meet. Once you’re done, your water drop will automatically look livelier and realistic. You should aim for a light, even tone for now, covering about half of the drop. Next, add in the sky. Web easy 3d water drop drawing tutorial | easy pencil drawing used things (1) 6b pencil (2) cotton bud (3) white gel pen (4) tissue papermy facebook p. Web draw in light lines, areas to be shaded. How to draw a realistic glass of water · draw a contour line drawing. Repeat the last step and blur the shades.
Next, focus on shading the edges of the water droplet. Use an eraser to smudge out that area which you had already marked in step 2. Begin drawing the first droplet with mesh. You should aim for a light, even tone for now, covering about half of the drop. Web draw in light lines, areas to be shaded. Web the first thing to do here is to place your drawing on the paper. Once again, you will need to use the blending stump to meld the white color on to the droplet. For a lake or sea scene, the sky is usually fairly calm, and not too many clouds. Repeat the last step and blur the shades. Web easy 3d water drop drawing tutorial | easy pencil drawing used things (1) 6b pencil (2) cotton bud (3) white gel pen (4) tissue papermy facebook p.
40 Realistic Water Drops Drawings And Tutorials Bored Art
Be careful to avoid shading the little oval you drew in for the highlight. Once again, you will need to use the blending stump to meld the white color on to the droplet. Web the first thing to do here is to place your drawing on the paper. Pay attention to the darker, the closer to the edge, the lighter,.

How to Draw Realistic Water Droplets Realistic drawings, Water
Once again, you will need to use the blending stump to meld the white color on to the droplet. Next, add in the sky. Web i will be posting more videos, to teach people an easier way to draw, so you can apply them to your projects. Soften the water droplet drawing. I want to place it on the center.
Very Easy How to Draw Water Drops Step by Step Realistic Water Drop
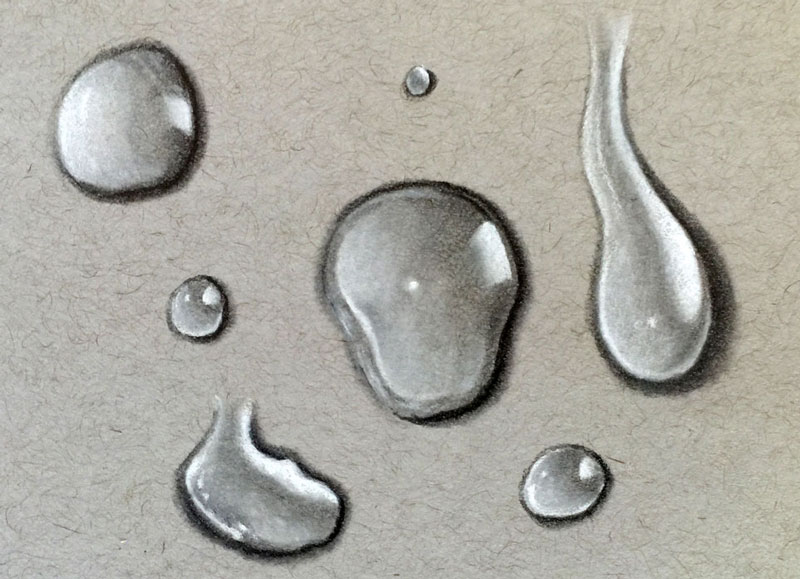
Make use of a blending brush to further soften and spread the lightened coat. The shading should blend well. Web drawing a water droplet step by step. Repeat the last step and blur the shades. Web also apply some of the white charcoal on to the opposite side but with a lighter and slighter touch.
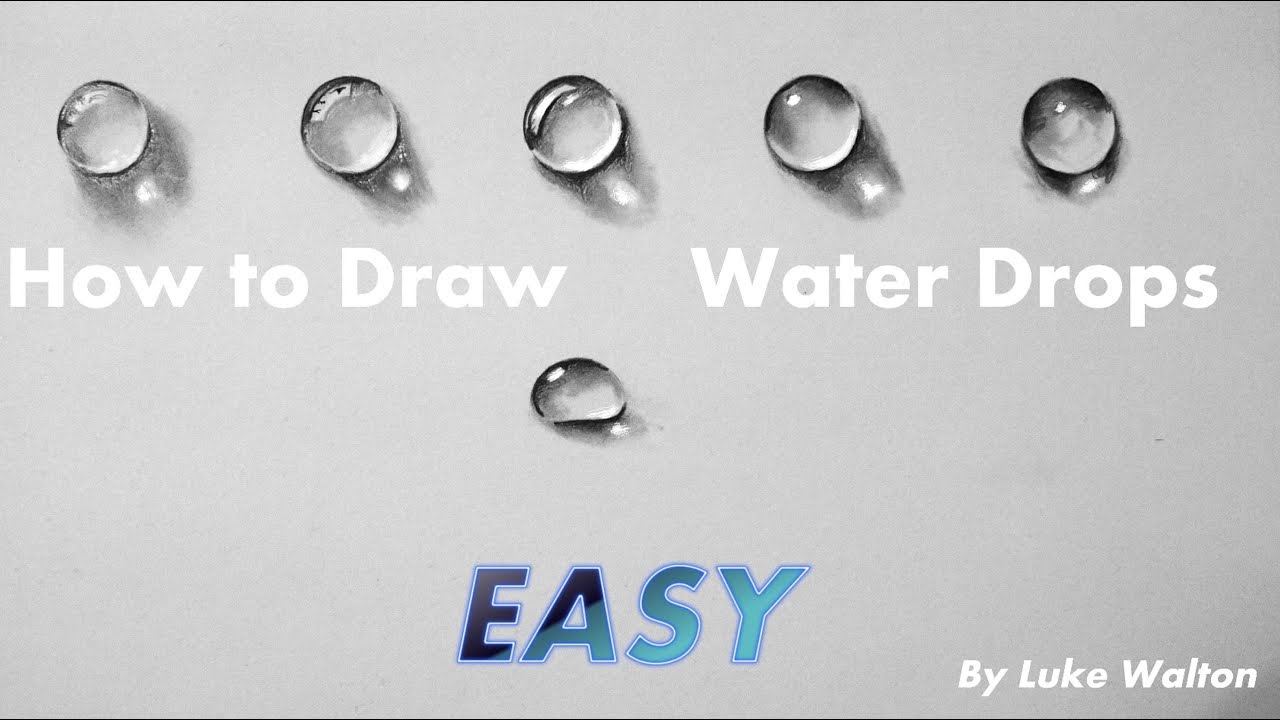
How to Draw Water Drops Easy Pencil Drawing for Beginners YouTube
I want to place it on the center. Pay attention to the darker, the closer to the edge, the lighter, the lower right corner until colorless. Next, add in the sky. Also ensure that you blend the darker edges well on this side to ensure that the outline is well defined. Next, focus on shading the edges of the water.
How To Draw Water Droplets YouTube
Be careful to avoid shading the little oval you drew in for the highlight. Use the paper blender to blend the gray and white parts, making a smooth gradient from gray to white. We are working on a neutral gray surface so that it is a bit easier to create a full range of value within the scene. Next, add.
How to Draw Water Step by Step Guide How to Draw
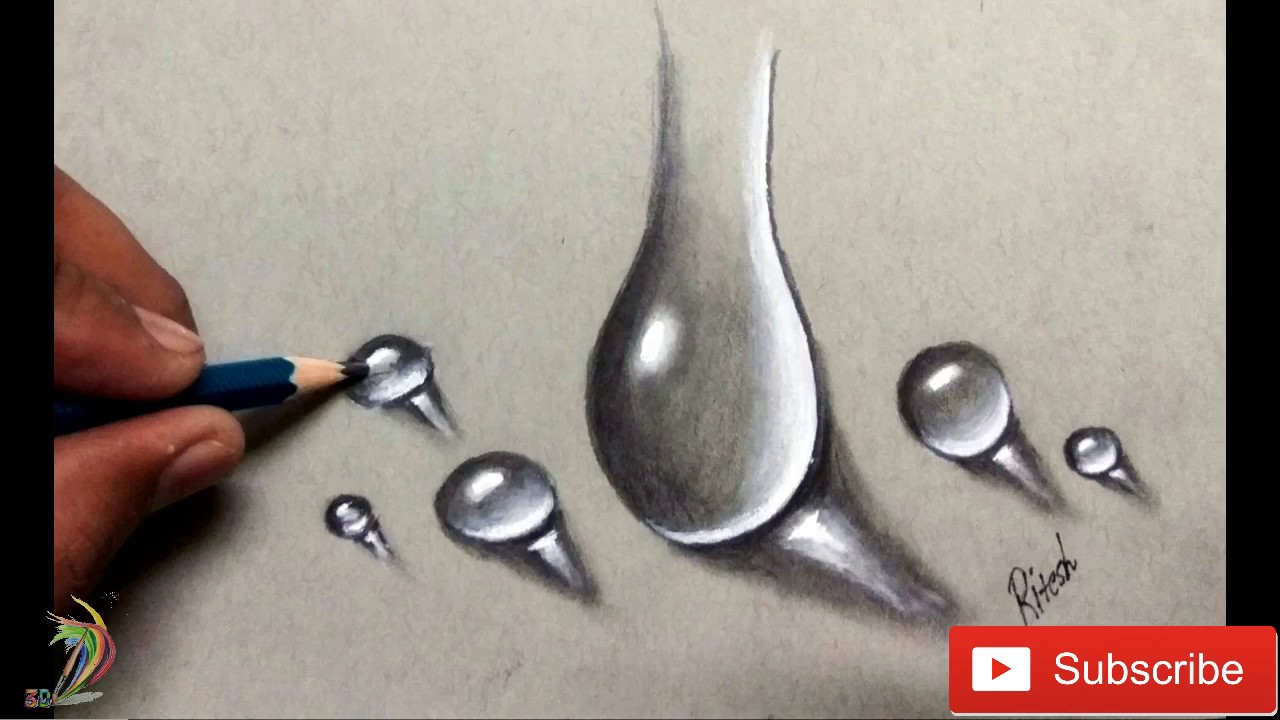
Web hello friends, in this video i have made this realistic water droplet only by using pencil. Create an ellipse, filled with #d5d5d5, and then grab the mesh tool (u) and by clicking inside the ellipse, create a mesh grid just like the one shown below. The shading should blend well. Web step by step drawing of a water drop.

How to draw realistic water drop Pencil drawing ! YouTube
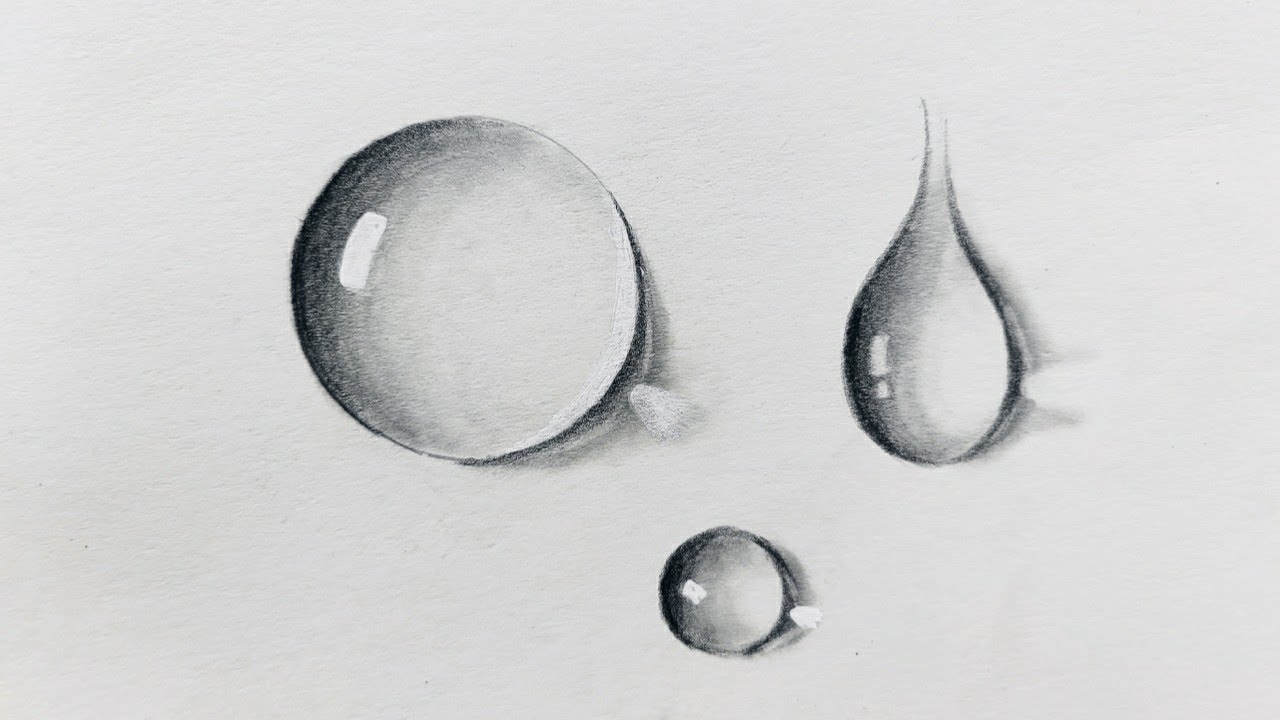
Darken one side of the drop, and shade it in a circular fashion. This is representing a shadow that the droplet would cast on a surface. How to draw a realistic glass of water · draw a contour line drawing. Repeat the last step and blur the shades. Then darken some of the shading on the left side, close to.
How to Draw a Realistic Water Drop (BASIC and Simple) YouTube
I mean, to determine the position of the water drop within the borders of the paper. Web about press copyright contact us creators advertise developers terms privacy policy & safety how youtube works test new features nfl sunday ticket press copyright. Web i will be posting more videos, to teach people an easier way to draw, so you can apply.
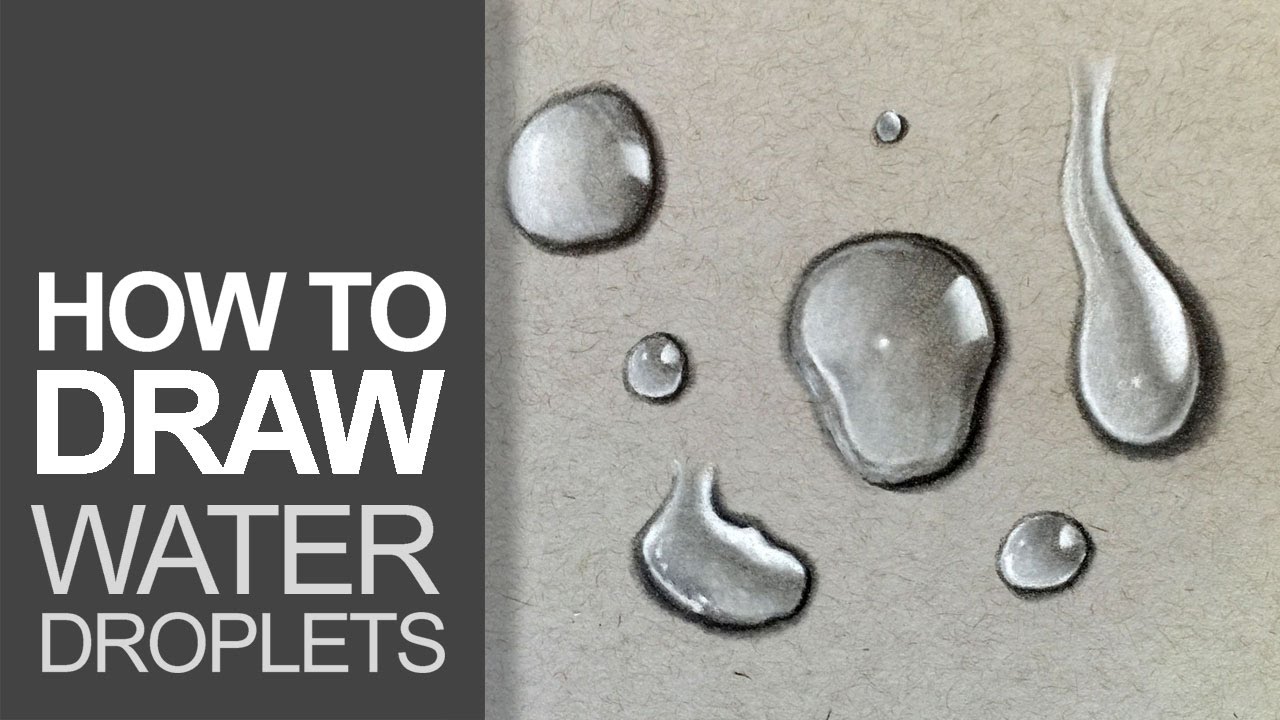
How to Draw Water Droplets
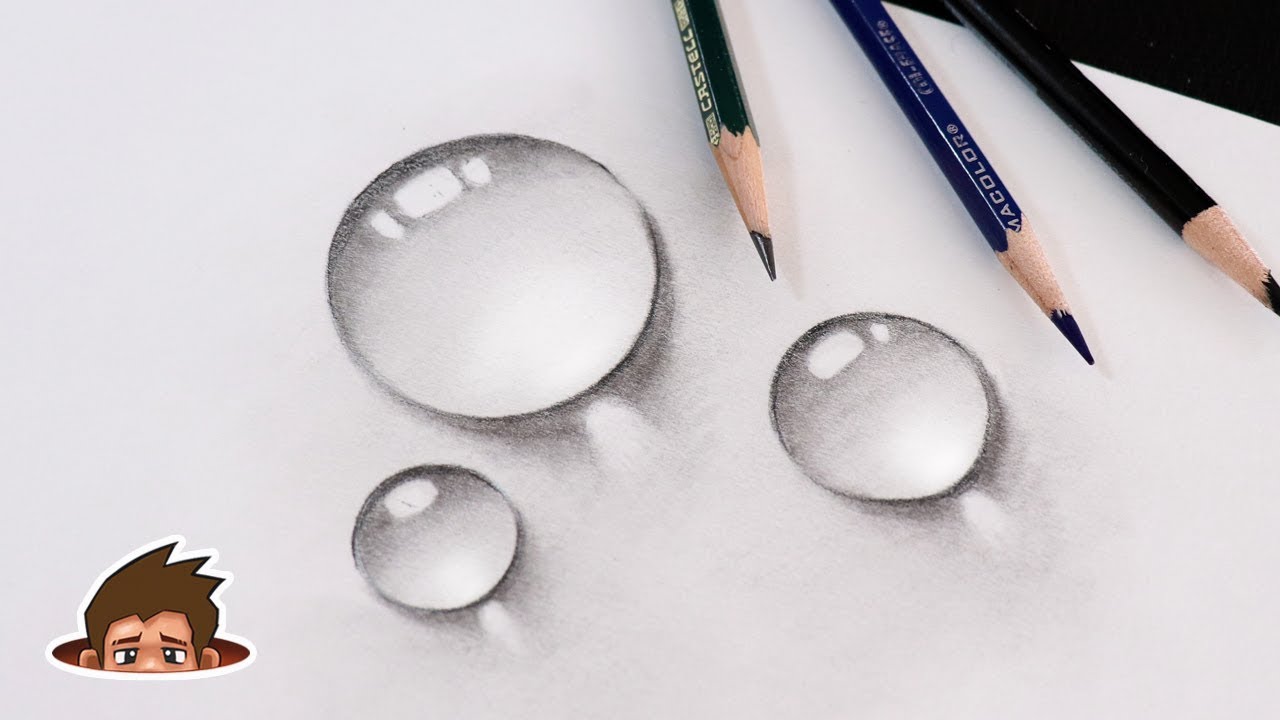
Next, focus on shading the edges of the water droplet. Web learn how to draw realistic water droplets and understand how light behaves within a transparent object. Once you’re done, your water drop will automatically look livelier and realistic. Web step by step drawing of a water drop with graphite pencil. We want to start by drawing a simple circle.
how to draw realistic water drop easily step by step how to draw water
This will show you how to draw realistically. Web how i draw realistic various water drops. Web step by step drawing of a water drop with graphite pencil. I mean, to determine the position of the water drop within the borders of the paper. · develop the strongest highlights and light values.
You Should Aim For A Light, Even Tone For Now, Covering About Half Of The Drop.
Web easy 3d water drop drawing tutorial | easy pencil drawing used things (1) 6b pencil (2) cotton bud (3) white gel pen (4) tissue papermy facebook p. Darken one side of the drop, and shade it in a circular fashion. We are working on a neutral gray surface so that it is a bit easier to create a full range of value within the scene. This means that we will use a pencil to make shades cover more than half of the water droplets.
Web Draw In Light Lines, Areas To Be Shaded.
Web start by lightly sketching the outline of the water drop. Web the first thing to do here is to place your drawing on the paper. Draw a darker outline for the water droplet. · develop the strongest highlights and light values.
Repeat The Last Step And Blur The Shades.
Web in our water droplets drawing, the light falls from the left side of the top. Color the nodes that are selected in the second step with #ffffff. Next, add in the sky. Web drawing a water droplet step by step.
Web About Press Copyright Contact Us Creators Advertise Developers Terms Privacy Policy & Safety How Youtube Works Test New Features Nfl Sunday Ticket Press Copyright.
Next, focus on shading the edges of the water droplet. Then darken some of the shading on the left side, close to the edge, only shading about half of the “moon” shape from. Once again, you will need to use the blending stump to meld the white color on to the droplet. Keep your pencil strokes loose and gentle, as you will refine the shape later.