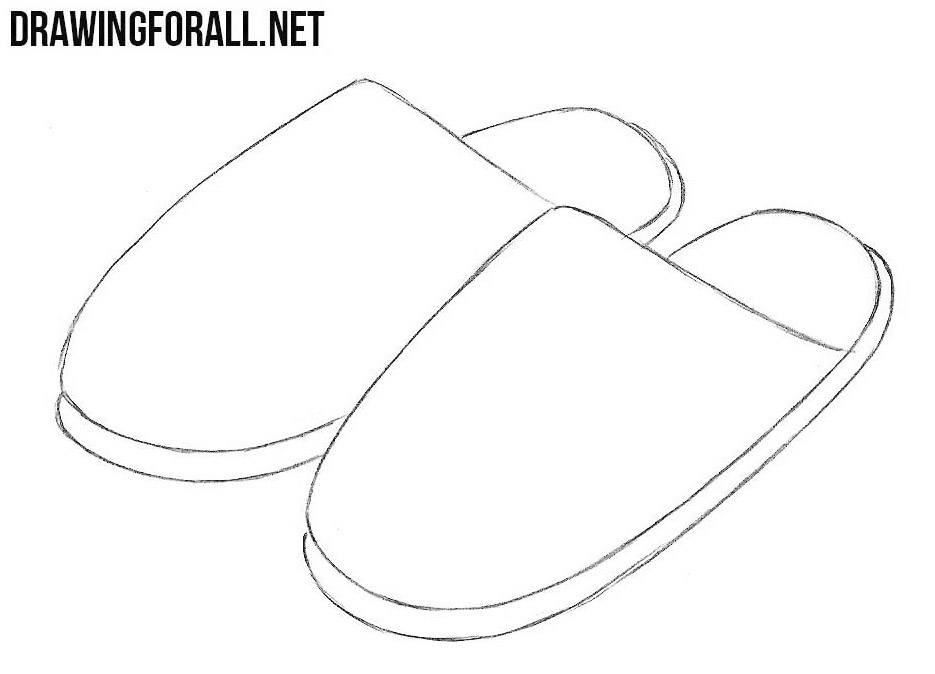
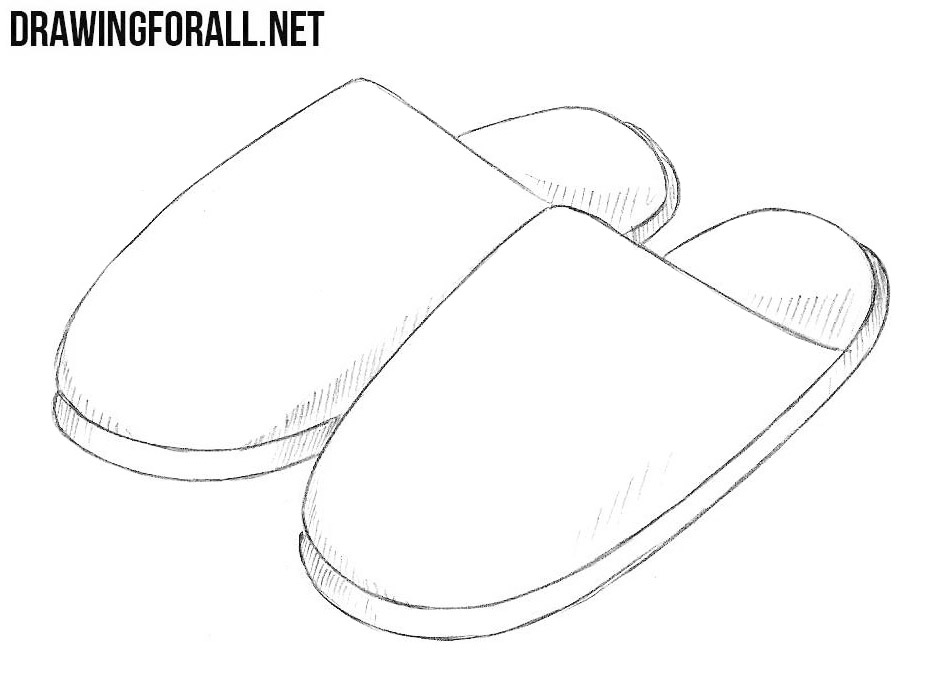
How To Draw A Slipper
How To Draw A Slipper - Web the symmetry and details, like the laces and the shoe’s opening, become your focal points, inviting viewers to enter the shoes. Web how to draw a slippers | drawing a cute slippers very easyhow to draw a slippers step by step | how to draw a slippers for beginners easy 👟hi guys. Sketch the outline of the shoe. Draw two lines extending upward from each side of the u for the sides of the shoe. Web this video is a timelapse to show you how to draw a lady slipper i saw on a trip to itasca state park. Web today, teryn and i are learning how to draw cinderella's glass slipper!art supplies ~ this is a list of the supplies we used, but feel free to use whatever y. To draw the curve, mark points e 1 ⁄ 2 inch below line c. As you draw, look at images of real shoes, or draw from memory of what you’ve seen in class. In this video, instructed by michael weisner, of hawk vs. Then make marks along the edges to note where landmarks of the shoe will fall.
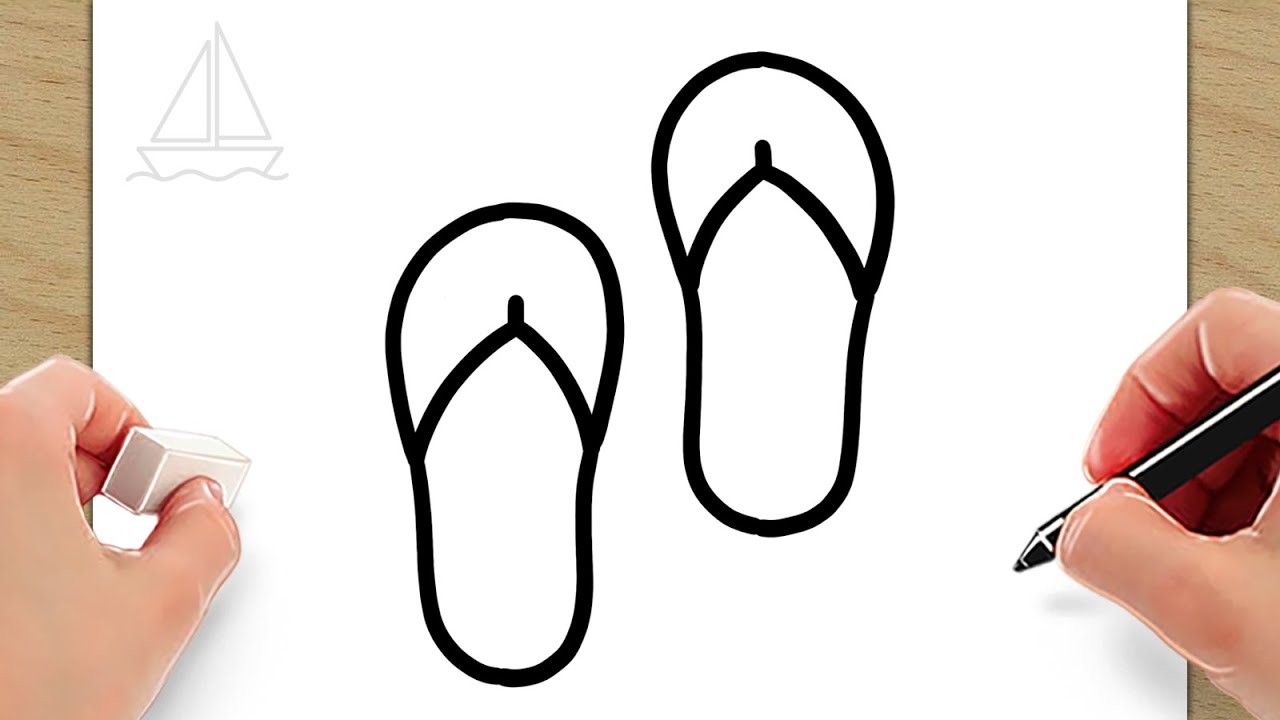
Web watch how to draw cute cartoon bunny slippers. Making a pattern for the sole of the slipper. On a piece of paper, trace the sole of your shoe, as shown. Measure across the foot’s widest point (b) and the arch (c). Complete the first slipper with a u shape lying down. Now refine the details of your sketch. Remember to widen the inner corners of the sole. Sketch the outline of the shoe. Web the symmetry and details, like the laces and the shoe’s opening, become your focal points, inviting viewers to enter the shoes. Add two ribbon lines coming out from the back of the shoe, then add the ribbon details.
For accurate proportions work with thirds when marking out your triangle. Curve to a point about 1 inch above line e at the center. Use the marver to roll the glass into a ball. Shade two half circles for the panda’s ears and two big circle for the eyes. Use a long curved line, doubled back upon itself, to outline the top and bottom of the foot. Draw two lines extending upward from each side of the u for the sides of the shoe. Web start with a u shape for the toe box of the shoe. Remember to widen the inner corners of the sole. In this video, instructed by michael weisner, of hawk vs. Using simple triangles, draw one at the bottom of the foot pointing upward and another at the heel of the foot pointing downward, and you should now start to see a rough layout of a foot emerging.

How to Draw Slippers Step by Step in 2021 Drawing tutorials for
Join the art for kids hub newsletter! Remember to widen the inner corners of the sole. Measure across the foot’s widest point (b) and the arch (c). Diy running shoe drawings let you play with dynamic designs and colors. Focus on the simple tread patterns and sleek shapes that prepare the shoes for action.

how to draw slippers step by step for kids YouTube
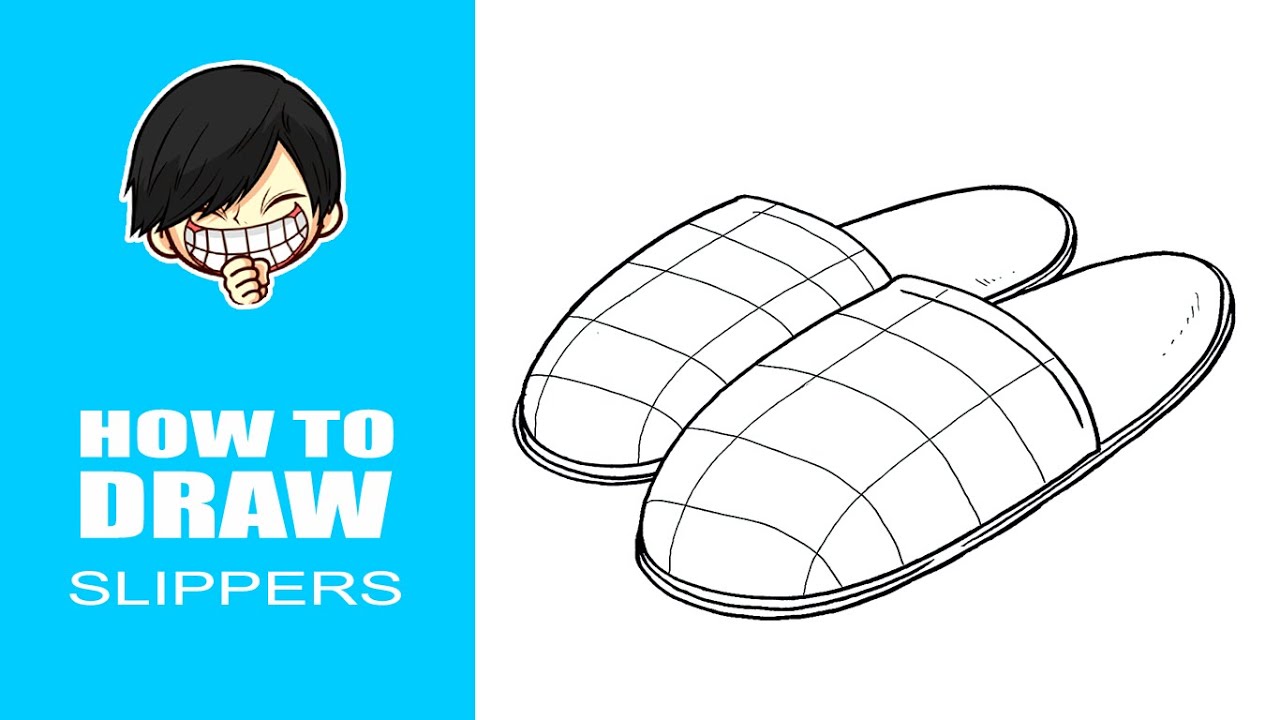
Whether you’re a parent, teacher, or art enthusiast, our newsletter is packed with fun activities, inspiring artwork. Starting by showing us the basic shape and outlining it in pen over top previous sketches and other general attempts, michael then shows us how to add dimension, by outlining the shoe openings, and how. Pay attention to the proportions, especially the size.
How to Draw Slippers
Web this is a list of the supplies we used, but feel free to use whatever you have in your home or classroom. Web follow along with us and learn how to draw a glass slipper! Pay attention to the proportions, especially the size of the heel and the toes. Shade two half circles for the panda’s ears and two.

How to draw Cinderella's Glass Slipper Easy stepbystep drawing
Web watch how to draw cute cartoon bunny slippers. Its a simple way of drawing, just watch and follow. Sketch one out that your shoe can fit inside. Sharpie (or something to draw with) paper (we use marker paper) markers to color with (we use bianyo) colored pencils (sometimes we also use prismacolor colored pencils) visit our art supply page.

How to Draw Slippers YouTube
Sketch the outline of the shoe. Then, attach the blowpipe to the glass and shape it into the desired shape. Unlock ad free and printable drawing and coloring tutorials. Then add ¼” outside the traced mark to add sewing allowance. At the glory hole, you can begin to shape the glass.
How to Draw Slippers Easy Step by Step for KIDS YouTube
Web this is a list of the supplies we used, but feel free to use whatever you have in your home or classroom. Measure across the foot’s widest point (b) and the arch (c). Web today, teryn and i are learning how to draw cinderella's glass slipper!art supplies ~ this is a list of the supplies we used, but feel.
How to Draw Slippers
Whether you’re a parent, teacher, or art enthusiast, our newsletter is packed with fun activities, inspiring artwork. Using simple triangles, draw one at the bottom of the foot pointing upward and another at the heel of the foot pointing downward, and you should now start to see a rough layout of a foot emerging. Home catalog all drawing member exclusive.
How to draw Slippers YouTube
Join the art for kids hub newsletter! Draw two lines extending upward from each side of the u for the sides of the shoe. Then make marks along the edges to note where landmarks of the shoe will fall. For accurate proportions work with thirds when marking out your triangle. Using simple triangles, draw one at the bottom of the.

2 Easy Ways to Draw Ballet Slippers (with Pictures)
Complete the first slipper with a u shape lying down. Focus on the simple tread patterns and sleek shapes that prepare the shoes for action. Remember to widen the inner corners of the sole. Use a long curved line, doubled back upon itself, to outline the top and bottom of the foot. Measure across the foot’s widest point (b) and.

How To Draw A Glass Slipper Art For Kids Hub
For accurate proportions work with thirds when marking out your triangle. This is the most challenging part of the process and requires patience and skill. Join the art for kids hub newsletter! Making a pattern for the sole of the slipper. First, we would start with making a pattern of the sole.
Now, Fold Your Paper In Half, And Cut Around The Pattern.
Web start by sketching out the basic shape of the shoe. Use a long curved line, doubled back upon itself, to outline the top and bottom of the foot. For that, just trace your foot onto a piece of paper with a pencil. Draw the panda’s head for the second slipper.
To Draw The Curve, Mark Points E 1 ⁄ 2 Inch Below Line C.
Then, draw a mark in the center. Then make marks along the edges to note where landmarks of the shoe will fall. Web start with a u shape for the toe box of the shoe. Don't worry if you make some mistakes, you.
Complete The First Slipper With A U Shape Lying Down.
Web how to draw slippers for kids | drawing and coloring slippers | easy drawing video for kidslet's learn how to draw slippers by following my drawing tutorial,. Create a curved v shape to connect the two lines, forming the top of the shoe. Web start by drawing a shape like a half circle. Extend a curved line upward to form the back of the lower leg, and connect it to the first leg with a curved line.
Get The Latest Updates, News, And Exciting Announcements From Art For Kids Hub Delivered Straight To Your Inbox!
Make the bottom diy slippers pattern. Unlock ad free and printable drawing and coloring tutorials. Curve to a point about 1 inch above line e at the center. Now refine the details of your sketch.