How To Draw A Water Can
How To Draw A Water Can - Web this line will represent the spout of the watering can. Adding details to the features in the background. Begin by drawing a large, slightly tilted oval shape for the body of the watering can. Use two long curved lines that run roughly parallel in an s shape. When structures are in the distance they will be less distinct and clear in the features. Add the top of the watering can. It's super easy to draw and really helpful for kids to get started on piecing together simple shapes. Start by drawing a horizon line, which represents the line where the sky and water meet. First of all, let’s consider the movement of the water. From the ends of the base line, draw two straight lines angling upwards and converging slightly.
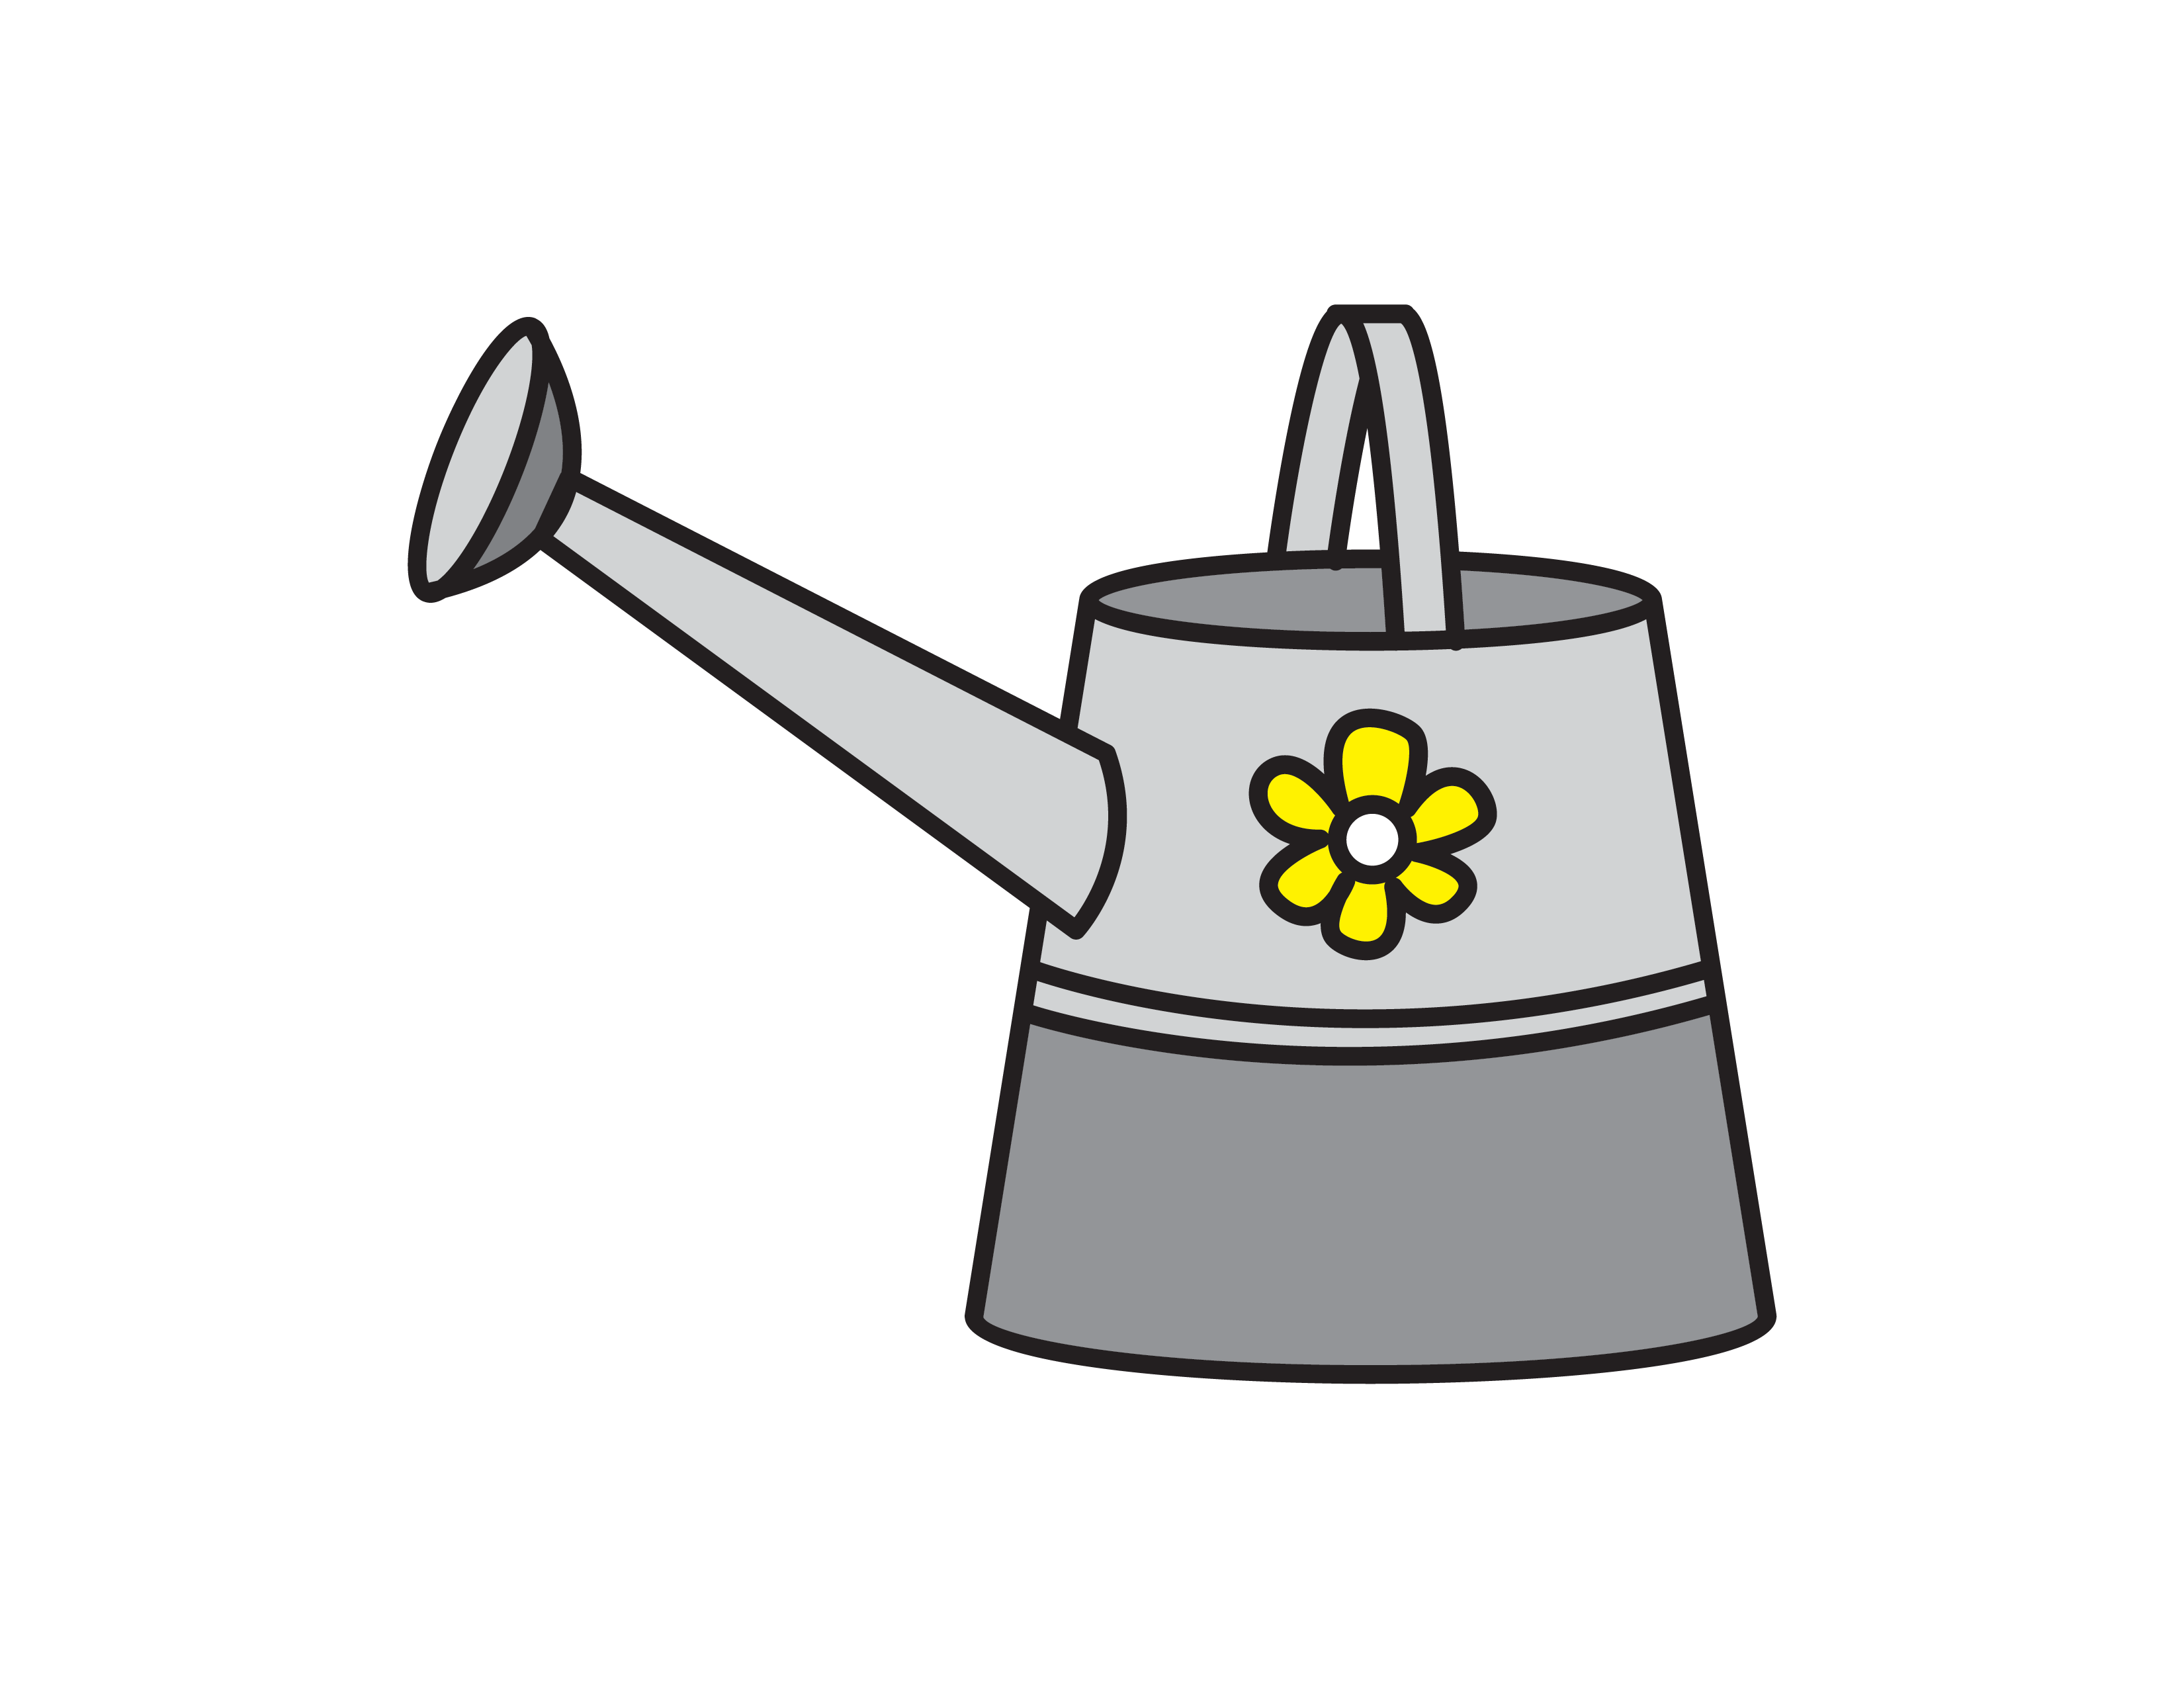
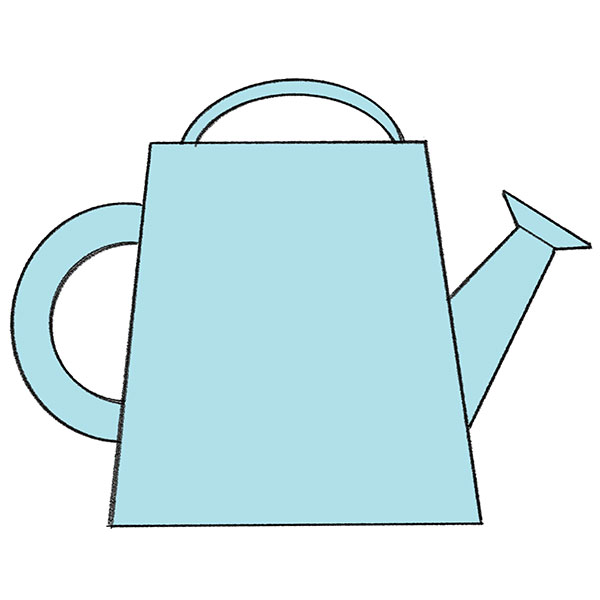
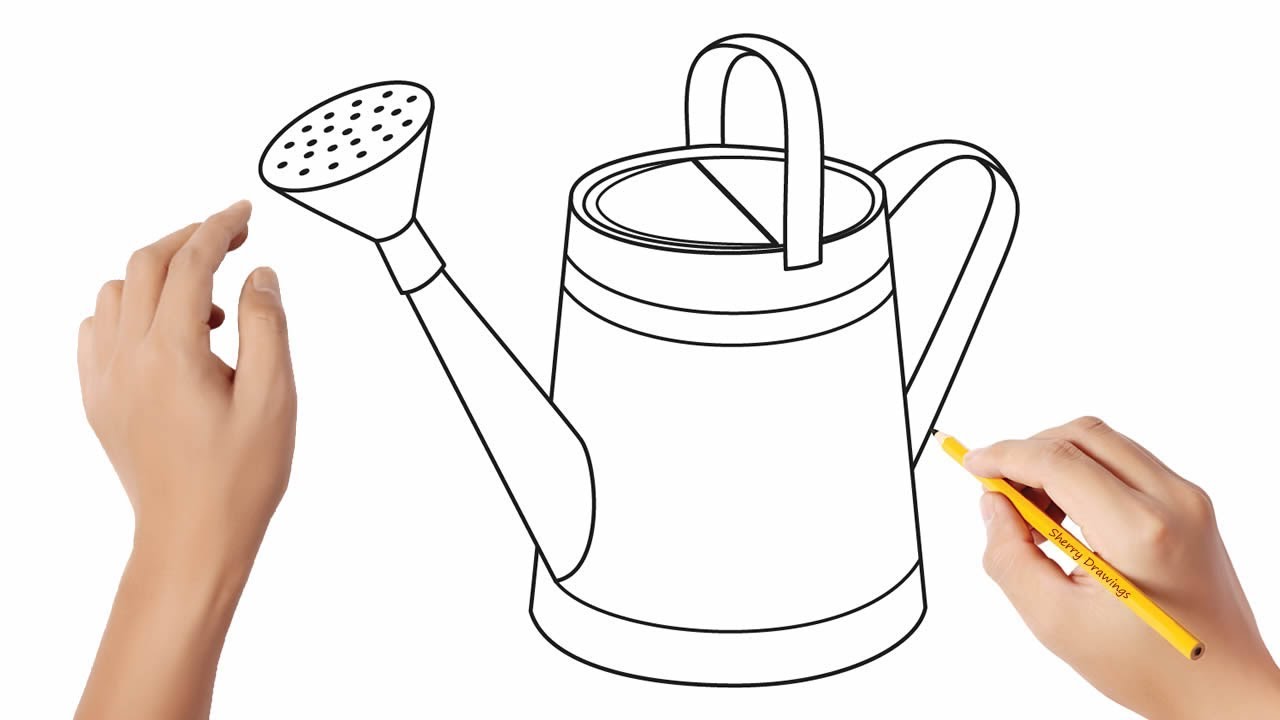
Sketch a curved handle that extends from the top of the can and connects back near the bottom. These lines will outline the sides of the watering can and should be symmetrical. Easy and simple drawing guide tutorial. From each end, extend a straight line downward and at a diagonal angle. Begin by drawing a large, slightly tilted oval shape for the body of the watering can. Today we're going to draw a watering can. Add the top of the watering can. Web this line will represent the spout of the watering can. At the bottom, connect them using a curved line. Anthropogenic factors, such as the construction of dykes to control river.
Just follow the steps and lines and you are there with your drawing. Web learn how to draw a watering can in a very simple and easy way. Web how to draw a watering can. Because of this, the way water is moving and from which angle it is drawn from becomes an important factor to consider. To begin, draw a rectangle and measuring it according to how long the can looks in the reference. It is an exercise in adaptability. Add the sprinkler and the lid. Black marker (or something to draw with) paper (we use marker paper) markers to color with. We use our art for kids hub markers. Web the mekong delta faces significant challenges in supplying vietnam and its export market countries with agricultural commodities, while ensuring livelihoods and providing living space to its growing population in the context of climate change and the country's agrarian transition.
How To Draw a Watering Can (Easy Starting Art Guides for Kids
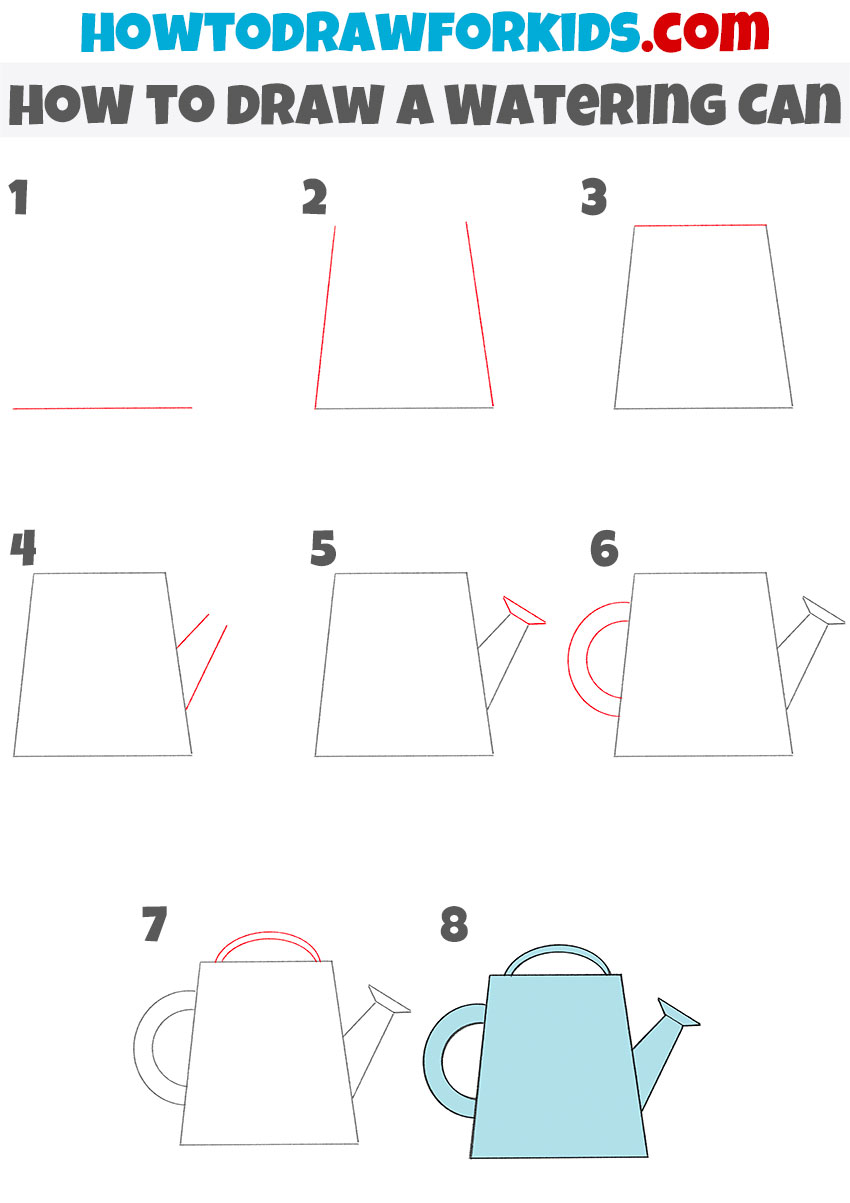
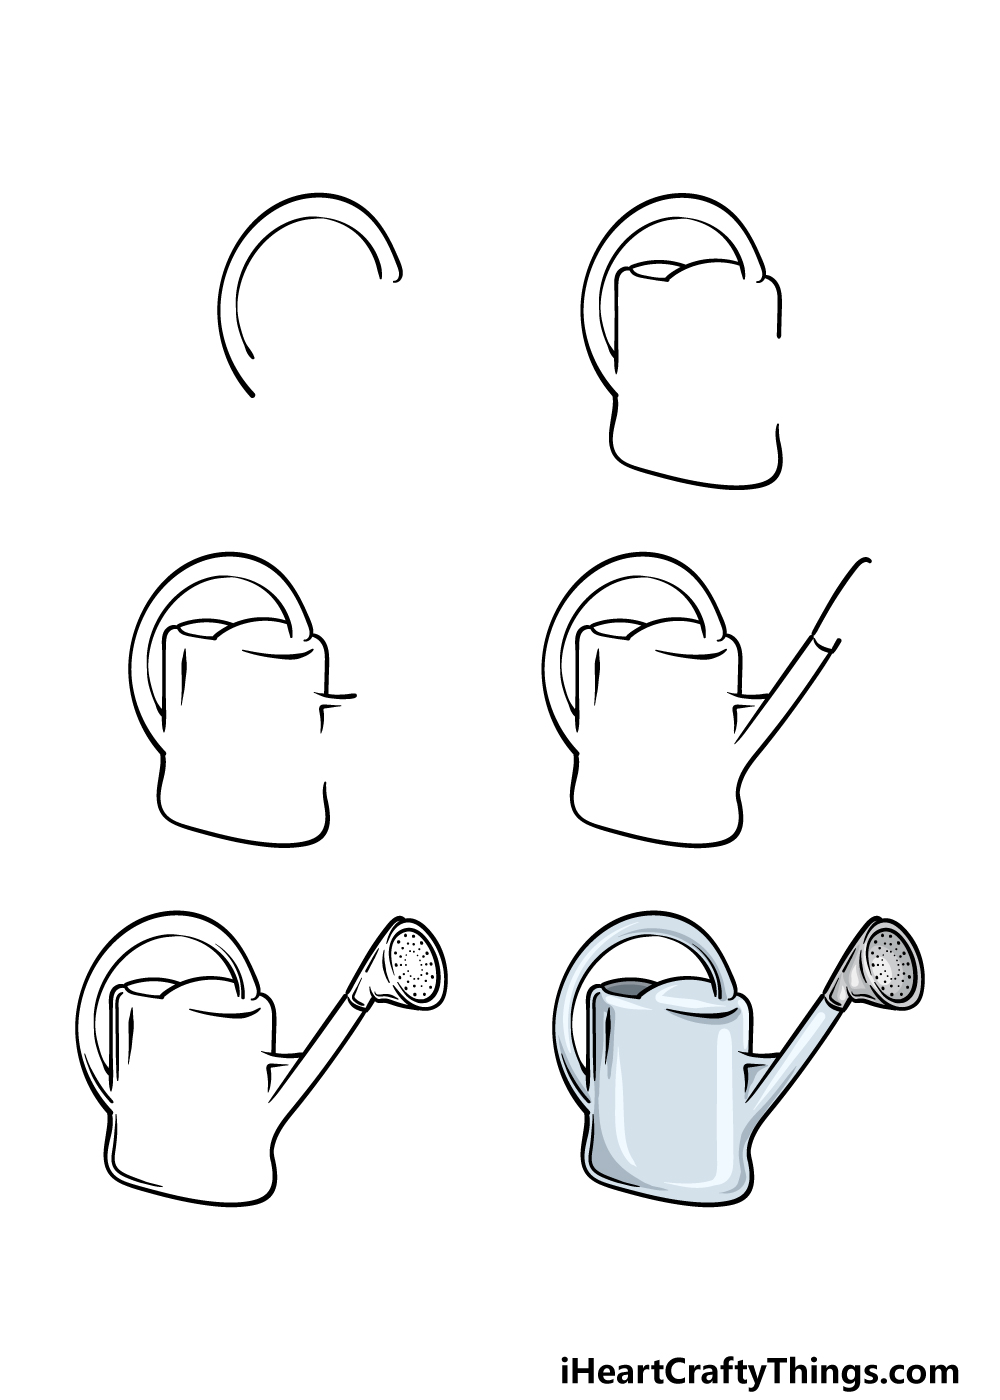
In this drawing lesson, we’ll show how to draw a watering can total 8 phase here we create a watering can it will be easy tutorial. Connect the top ends of the angled lines with a horizontal line parallel to the base line. Then, enclose the figure using a curved line. You have the handle of this watering can drawing.

How to Draw a Watering Can Really Easy Drawing Tutorial
Follow along with us and learn how to drive really funny watering can for spring! Black marker (or something to draw with) paper (we use marker paper) markers to color with. Once we have established our mountains, we can start to integrate some highlights to suggest a distinction between the illuminated and shadowed faces of the mountains. Sketch a curved.
Learn How to Draw Watering Can (Everyday Objects) Step by Step
Color in this watering can drawing. Web how to draw a watering can. Allow the lines to meet at a point at the top. When structures are in the distance they will be less distinct and clear in the features. It's super easy to draw and really helpful for kids to get started on piecing together simple shapes.

How to Draw a Watering Can Really Easy Drawing Tutorial
You’ll then want to draw an oval right on top of that rectangle. Follow along with us and learn how to drive really funny watering can for spring! Web maintaining a healthy kidney. Allow the lines to meet at a point at the top. Connect the top ends of the angled lines with a horizontal line parallel to the base.

How to Draw a Watering Can Really Easy Drawing Tutorial
At the bottom, connect them using a curved line. Make sure the end of the line is slightly wider and flares out a bit. Once we have established our mountains, we can start to integrate some highlights to suggest a distinction between the illuminated and shadowed faces of the mountains. Anthropogenic factors, such as the construction of dykes to control.
How to Draw a Watering Can Easy Drawing Tutorial For Kids
In this drawing lesson, we’ll show how to draw a watering can total 8 phase here we create a watering can it will be easy tutorial. Begin by drawing a horizontal line. Today we're going to draw a watering can. Make sure the end of the line is slightly wider and flares out a bit. Add a curved c shaped.
Watering Can Drawing
Web bi purchased a container with a spigot to dispense water in a controlled fashion, first at 50 degrees fahrenheit, then at 194 degrees. To draw water is to draw light and motion itself and to be. Add the top of the watering can. For more videos and tuto. Start by drawing a horizon line, which represents the line where.

How to Draw a Watering Can Really Easy Drawing Tutorial
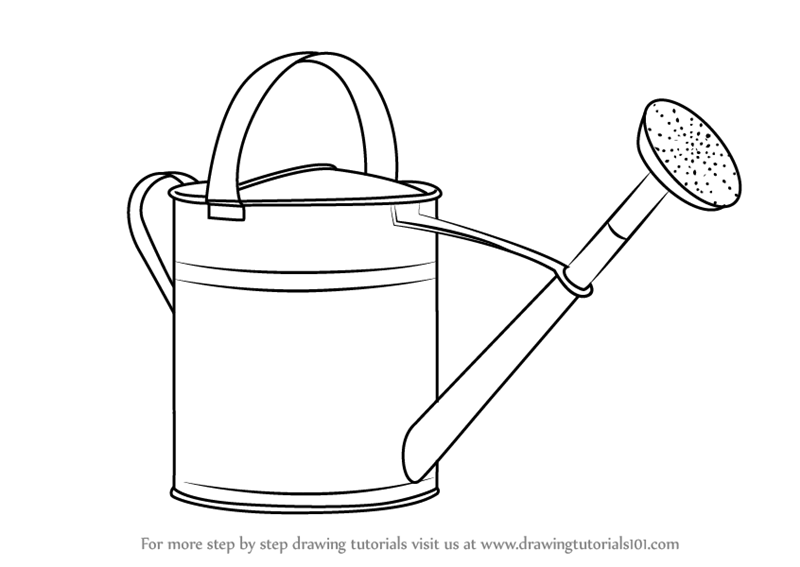
Click on any image below to view this tutorial in gallery mode. Add a drop of water at the low left of the sprinkler. Draw a smaller oval within the larger one to create the opening of the can. Begin the water slide outline by sketching the first slide. At the bottom, connect them using a curved line.
How to draw a watering can Easy drawings YouTube
From each end, extend a straight line downward and at a diagonal angle. In this drawing lesson, we’ll show how to draw a watering can total 8 phase here we create a watering can it will be easy tutorial. Today we're going to draw a watering can. The ability to draw water in a vast landscape or in tiny droplets,.
List 12 how to draw a watering can Ban Tra Dep
This body for the watering can will have a slightly rectangular, wavy design that we show in our reference image. Web this line will represent the spout of the watering can. Web #wateringcan #draw #artlandhowtodrawstep by step video on how to draw a watering can!!!don't forget to subscribe!!!check out our art land products!merchandis. Now it’s time to begin with our.
We Use Our Art For Kids Hub Markers.
You have the handle of this watering can drawing done, and now we will be starting on the body. First of all, let’s consider the movement of the water. From the ends of the base line, draw two straight lines angling upwards and converging slightly. Add a drop of water at the low left of the sprinkler.
Once We Have Established Our Mountains, We Can Start To Integrate Some Highlights To Suggest A Distinction Between The Illuminated And Shadowed Faces Of The Mountains.
Add the sprinkler and the lid. Web how to draw a watering can. To draw water is to draw light and motion itself and to be. Web the horizontal surface reflects the objects above the water while the vertical surface shows the objects under it.
To Begin, Draw A Rectangle And Measuring It According To How Long The Can Looks In The Reference.
Color in this watering can drawing. Begin by drawing a large, slightly tilted oval shape for the body of the watering can. Web #wateringcan #draw #artlandhowtodrawstep by step video on how to draw a watering can!!!don't forget to subscribe!!!check out our art land products!merchandis. Allow the lines to meet at a point at the top.
Now, Let’s Draw The Handle Of The Watering Can.
Web add the sides of the watering can. Click on any image below to view this tutorial in gallery mode. It's amazing how simple these little cans are. Web how to draw a watering can.quick and simple drawings.