How To Draw A Waterfall Easy
How To Draw A Waterfall Easy - Web a simplified version begins with drawing very thin sideways shapes with an hb pencil to indicate some of the ripples. From the two ends of the drawn straight line, draw two curved lines of different lengths. Web in this lesson, we're learning how to draw a beautiful waterfall landscape! add teardrop shapes along the branches for leaves on both sides of the water. Use a sideways motion to easily move between the thin ripple shapes. Make sure to color the top part of the landforms with a light brown. Add the detail and texture of flowing water to the waterfall. Web let’s learn how to draw a waterfall with this easy drawing tutorial. Add the outlines of the rocks. Web complete the waterfall drawing.
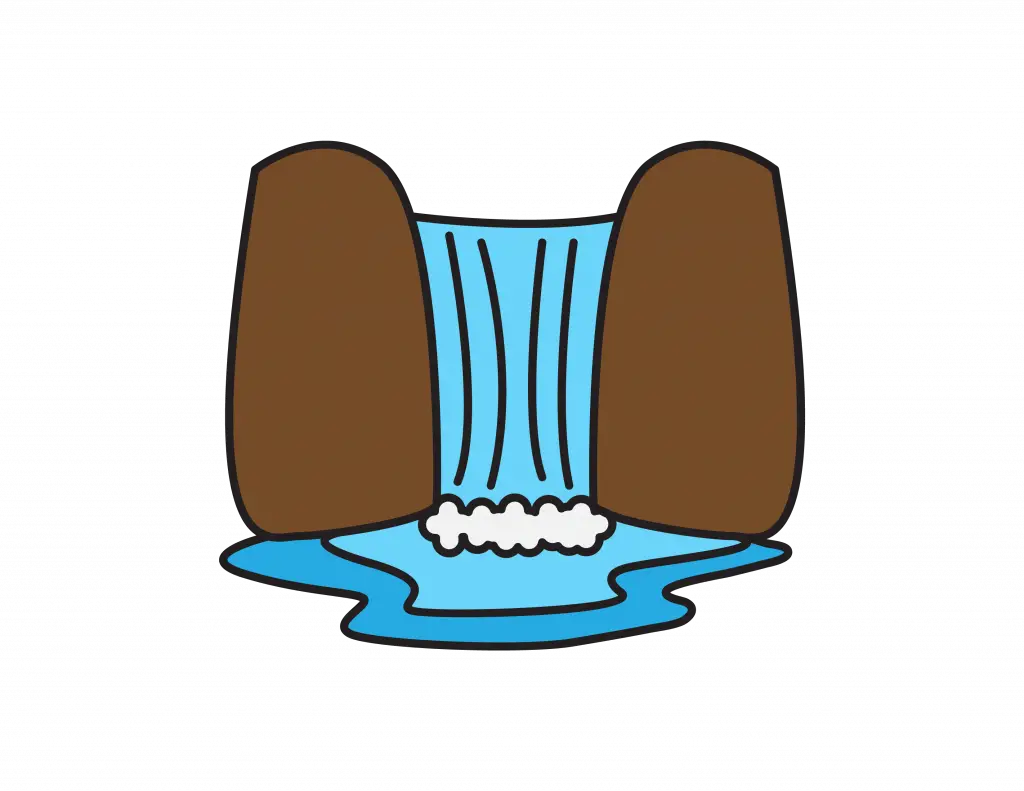
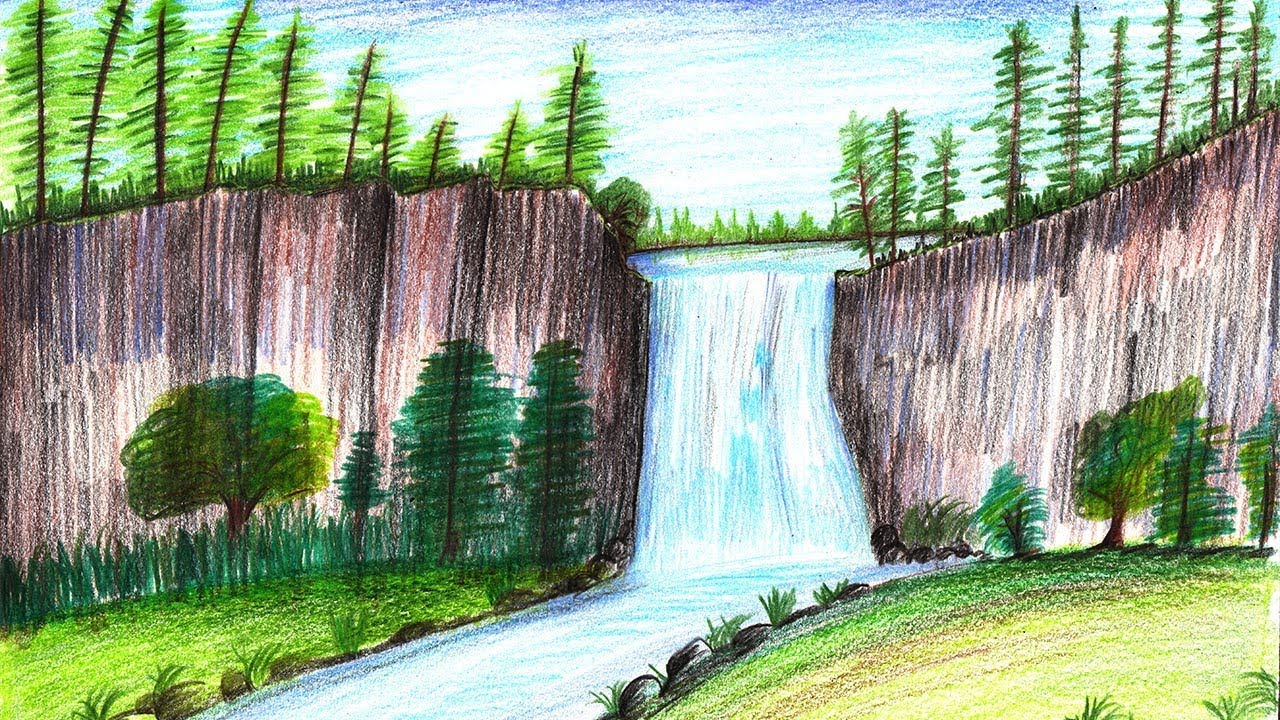
Web to complete this simple step, you need to draw one straight, horizontal line. Next, fill in the plunge pool and the sky with a light blue crayon, then, color the rocks with gray and the grass with green. Web in this lesson, we're learning how to draw a beautiful waterfall landscape! Add the detail and texture of flowing water to the waterfall. Web let’s learn how to draw a waterfall with this easy drawing tutorial. Use a sideways motion to easily move between the thin ripple shapes. Repeat the vertical lines on the right side of the image. Lightly sketching the waterfall scene. This fun video is easy to follow along and draw while watching the simple steps of this. Make jagged lines to look like grass near the bottom.
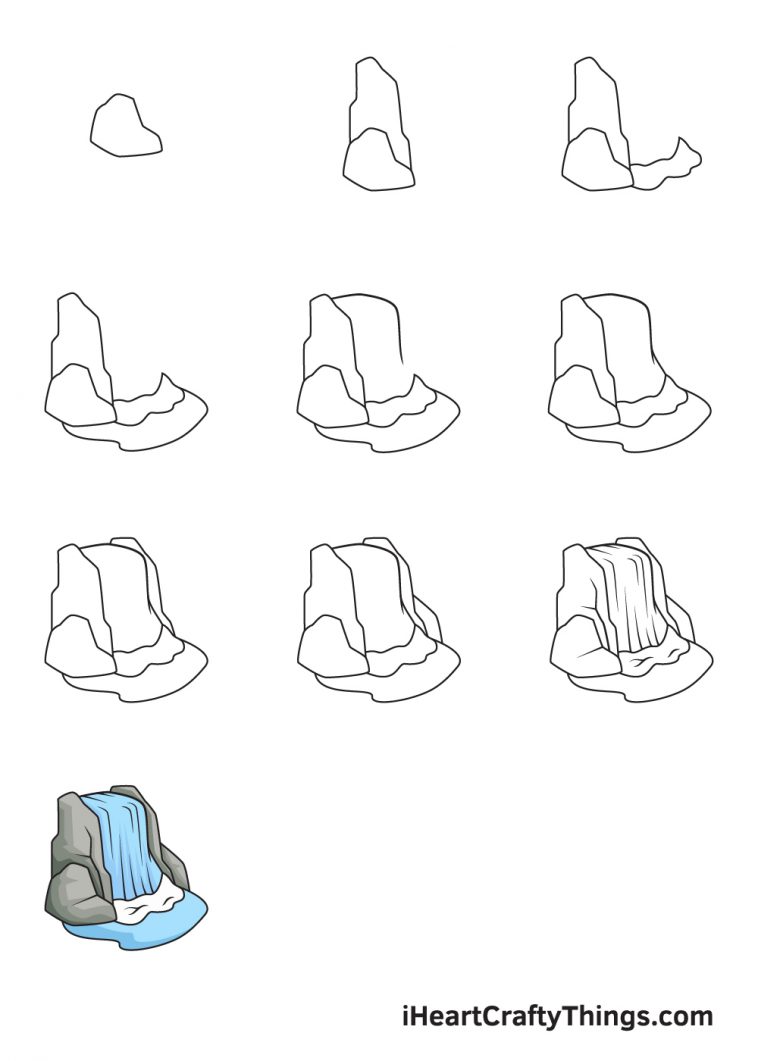
Now, fill in the landforms with different shades of brown crayon. Add the outlines of the rocks. Use short, scalloped lines to show clumps of leaves. Lightly sketching the waterfall scene. Let’s start coloring the water with shades of blue. Web to complete this simple step, you need to draw one straight, horizontal line. Begin adding foliage to your drawing. Web in this lesson, we're learning how to draw a beautiful waterfall landscape! We want to start by drawing a horizon line along the page. Shade along the mist area at the base of the waterfall, too.

How to Draw a Waterfall Step by Step Easy drawings for kids, Drawing
We want to start by drawing a horizon line along the page. Create the impression of turbulent water at the base of the falls with some squiggly. At the bottom of the waterfall, draw a number of wavy, curved lines in a circular pattern. Use short, scalloped lines to show clumps of leaves. Shade along the mist area at the.
How To Draw a Waterfall Easy Nature Cartoon Doodle For Kids Rainbow
Begin adding foliage to your drawing. Web to complete this simple step, you need to draw one straight, horizontal line. Depict the outline of the waterfall. Web in this lesson, we're learning how to draw a beautiful waterfall landscape! Lightly sketching the waterfall scene.

How to Draw a Waterfall printable step by step drawing sheet
This fun video is easy to follow along and draw while watching the simple steps of this. Depict the outline of the waterfall. Create the impression of turbulent water at the base of the falls with some squiggly. Use a sideways motion to easily move between the thin ripple shapes. Make sure to color the top part of the landforms.

How To Draw A Waterfall Step By Step at Drawing Tutorials
We want to start by drawing a horizon line along the page. Add the detail and texture of flowing water to the waterfall. You need to ensure that the horizon line is higher and placed in the upper section of the page so that there is more space below the horizon line. Shade along the mist area at the base.

How to Draw a Waterfall Step By Step For Kids & Beginners
Draw long and short curved lines of various sizes down the length of the waterfall. Web complete the waterfall drawing. We want to start by drawing a horizon line along the page. Web in this lesson, we're learning how to draw a beautiful waterfall landscape! Let’s start coloring the water with shades of blue.

How to Draw a Waterfall Really Easy Drawing Tutorial Waterfall
Afterward, shade the space between the shapes. At the bottom of the waterfall, draw a number of wavy, curved lines in a circular pattern. Let’s start coloring the water with shades of blue. You need to ensure that the horizon line is higher and placed in the upper section of the page so that there is more space below the.
How To Draw Waterfalls Easy Steps Easy, step by step waterfall
Use short, scalloped lines to show clumps of leaves. add teardrop shapes along the branches for leaves on both sides of the water. We want to start by drawing a horizon line along the page. Web to complete this simple step, you need to draw one straight, horizontal line. Use a sideways motion to easily move between the thin ripple.

How to Draw a Waterfall Really Easy Drawing Tutorial Drawing
Begin adding foliage to your drawing. This fun video is easy to follow along and draw while watching the simple steps of this. Let’s start coloring the water with shades of blue. Add the detail and texture of flowing water to the waterfall. Lightly sketching the waterfall scene.
Waterfall Drawing How To Draw A Waterfall Step By Step
From the two ends of the drawn straight line, draw two curved lines of different lengths. Make jagged lines to look like grass near the bottom. Create the impression of turbulent water at the base of the falls with some squiggly. These lines indicate the turbulence that occurs when the rushing water. Add the outlines of the rocks.

How to Draw a Waterfall Really Easy Drawing Tutorial
add teardrop shapes along the branches for leaves on both sides of the water. Web let’s learn how to draw a waterfall with this easy drawing tutorial. Make sure to color the top part of the landforms with a light brown. Web to complete this simple step, you need to draw one straight, horizontal line. Begin adding foliage to your.
Web To Complete This Simple Step, You Need To Draw One Straight, Horizontal Line.
This fun video is easy to follow along and draw while watching the simple steps of this. We want to start by drawing a horizon line along the page. You need to ensure that the horizon line is higher and placed in the upper section of the page so that there is more space below the horizon line. Use short, scalloped lines to show clumps of leaves.
Afterward, Shade The Space Between The Shapes.
Draw long and short curved lines of various sizes down the length of the waterfall. Depict the outline of the waterfall. Web a simplified version begins with drawing very thin sideways shapes with an hb pencil to indicate some of the ripples. Now, fill in the landforms with different shades of brown crayon.
Make Jagged Lines To Look Like Grass Near The Bottom.
Now you need to draw the water pouring from top to bottom using three straight lines. At the bottom of the waterfall, draw a number of wavy, curved lines in a circular pattern. From the two ends of the drawn straight line, draw two curved lines of different lengths. Next, fill in the plunge pool and the sky with a light blue crayon, then, color the rocks with gray and the grass with green.
Use A Sideways Motion To Easily Move Between The Thin Ripple Shapes.
Let’s start coloring the water with shades of blue. Add the detail and texture of flowing water to the waterfall. Repeat the vertical lines on the right side of the image. Shade along the mist area at the base of the waterfall, too.