How To Draw Gimp
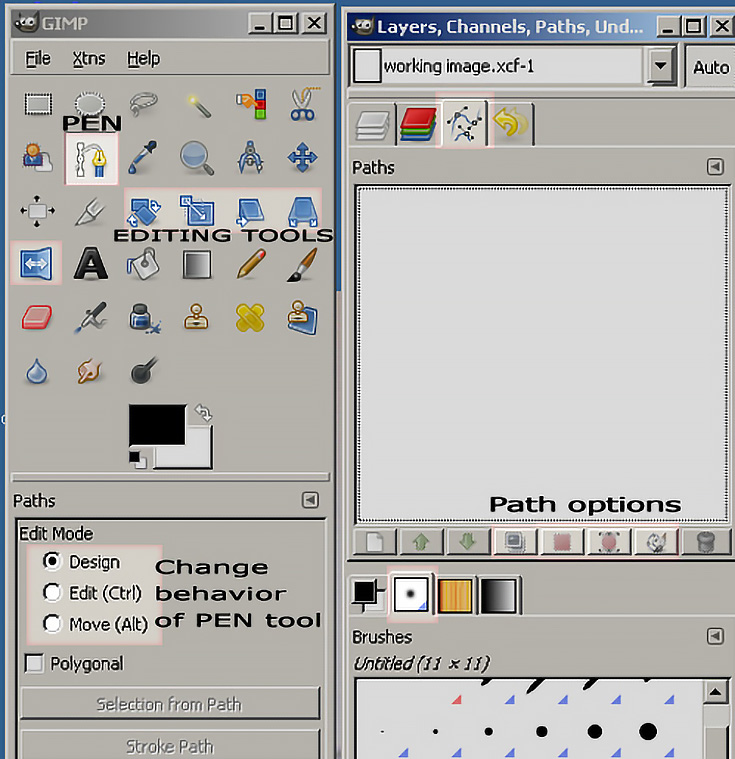
How To Draw Gimp - Image — click file, click open., select an image, and click open. Web now on to the right side, side #2. The best method to make geometric shapes in gimp is with the paths tool. Painting your own creatures can be really fun, but it requires an understanding of the software first. Web gimp will open the stroke selection dialog box, allowing you to customize all the features of your outline. You can also launch the tool by clicking the paths tool icon on the toolbar (it's the dotted line and pen next to the text tool) or by clicking the tools menu and selecting paths. Press b to start the paths tool. This will make the texture of the handle. Navigate to the “rectangle select tool” on the left sidebar. Web here’s how to use it:
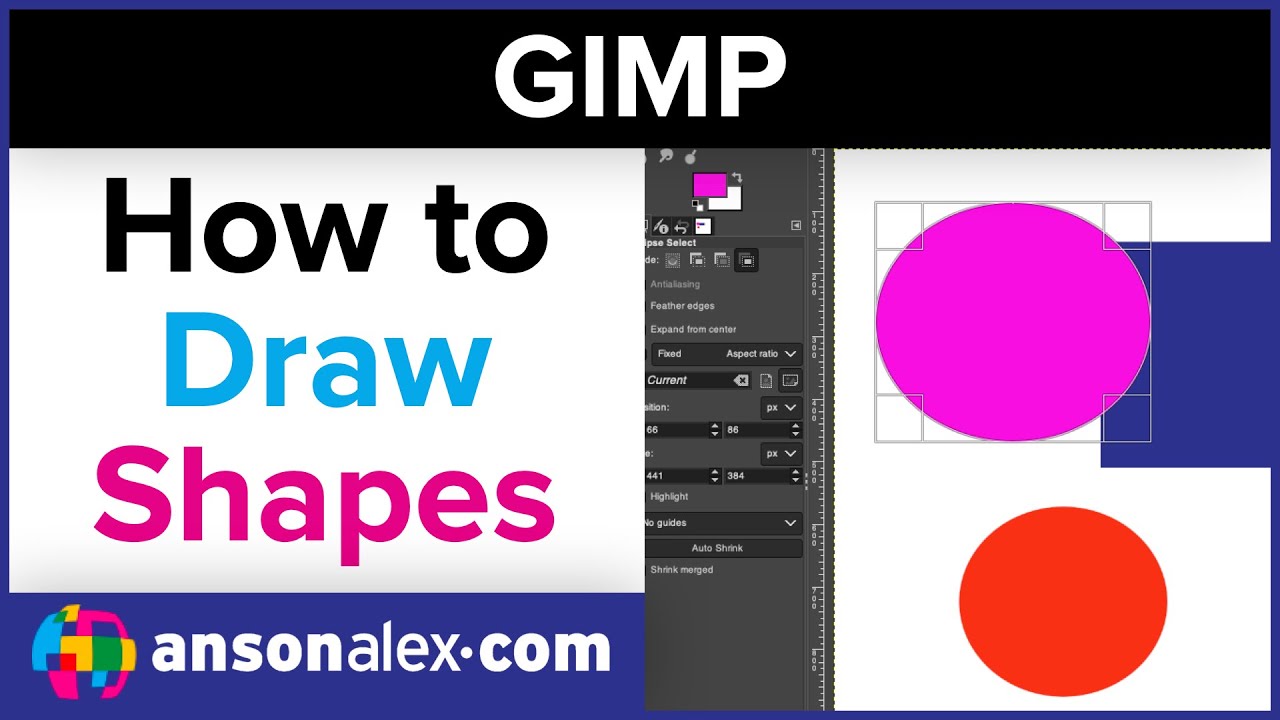
Web it spans about 20 minutes with guided tips & techniques for anyone just learning the gimp software. Create a new transparent layer and name it right_side. Make geometric shapes using the paths tool. We start with how to download and install gimp. By default, you'll be creating a freeform ellipse shape. Gimp will outline the selection and provide adjustment handles at the four corners for resizing, and along each edge for. Web crash course on how to use gimp explaining most of the basic tools for every day image and graphic editing usage. This guide is especially made for beginners. Press b to start the paths tool. Web the free selection tool, or lasso, lets you create a selection by drawing it with the pointer.
You can use this tool in two ways. Select and customize your brush, then click once on your image to set the first point on your straight line. With your image open in gimp, switch to the rectangle select tool using the toolbox or by pressing the keyboard shortcut r. Depending on whether you want to draw on an image or a blank canvas, do the following: A couple of settings in a new dialog would appear. Now, lets start drawing a line. Gimp will automatically fill the space between the two points in a perfectly straight line using your chosen brush. Press b to start the paths tool. Use the path tool and try to make the right side of the cube and turn it into a selection. Web click and drag on your canvas to begin creating an ellipse.

How to Draw Shapes in Gimp 9 Steps (with Pictures) wikiHow
We then explore the interface, including the toolbox, t. You can also launch the tool by clicking the paths tool icon on the toolbar (it's the dotted line and pen next to the text tool) or by clicking the tools menu and selecting paths. Holding ⇧ shift after you start dragging will allow you to make a perfect circle instead.
How to Draw Simple Shapes in GIMP Using the Pen Tool
Using high bit depth gimp ’s ‘colors/exposure’ operation to add exposure compensation to shadows and midtones while. Web go to “tools” on the top menu, and choose “toolbox.”. Web detailed conversion tutorial for generating a b&w result from a color image. Web type favorite into the search bar. Simply, leave them in their default options.

How to Draw Something in GIMP (with Pictures) wikiHow
A couple of settings in a new dialog would appear. Navigate to the “rectangle select tool” on the left sidebar. Preset brushes act sort of like “stamps” that you can repeatedly use in any situation. Web now on to the right side, side #2. Doubleclick the “bucket fill” tool and select “pattern source” from the tool options window.

How to draw a circle in gimp 2.10.22 Gimp Tutorial for the beginners
Fill the selection with the wooden pattern. When the end point is on top of the starting point, release the. Gimp will outline the selection and provide adjustment handles at the four corners for resizing, and along each edge for. Depending on whether you want to draw on an image or a blank canvas, do the following: Gimp will automatically.

Best Gimp How To Draw Learn more here
Web type favorite into the search bar. Web go to “tools” on the top menu, and choose “toolbox.”. Open a fresh canvas in file menu. Gimp will automatically fill the space between the two points in a perfectly straight line using your chosen brush. The size of this dot represents the current brush size, which you can change in the.
How to Draw a Line in GIMP Tech Lounge
Drawing arrows in gimp with custom brushes. Select one of the wooden patterns. Gimp will outline the selection and provide adjustment handles at the four corners for resizing, and along each edge for. Web game development course: Fill the selection with the wooden pattern.
How to use Gimp like an Artist (How to draw in Gimp) YouTube
Click and drag on your image to create a rectangle or square. Image — click file, click open., select an image, and click open. Select and customize your brush, then click once on your image to set the first point on your straight line. Web in this gimp 2.10 starter guide for beginners, i go through the common gimp features.

How to Draw Shapes in Gimp 8 Steps (with Pictures) wikiHow
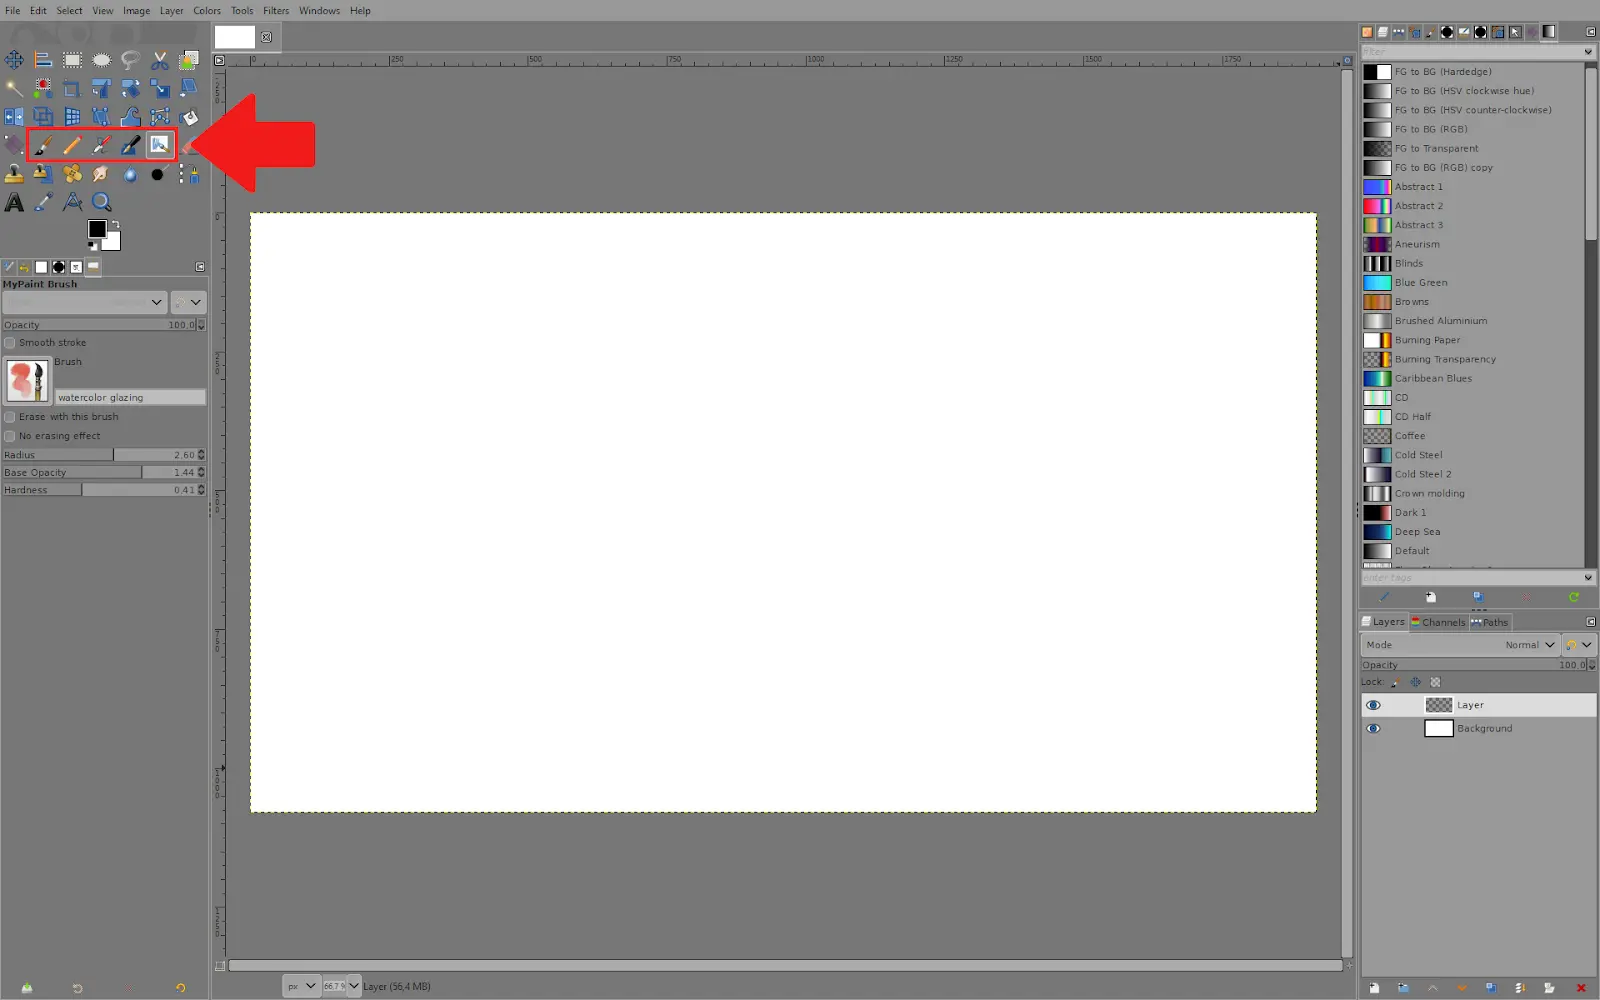
After you click the paintbrush tool, you can click the image. Painting your own creatures can be really fun, but it requires an understanding of the software first. Doubleclick the “bucket fill” tool and select “pattern source” from the tool options window. Web here’s how to use it: Web type favorite into the search bar.
How to Draw Shapes in GIMP YouTube
This guide is especially made for beginners. We then explore the interface, including the toolbox, t. A single dot will appear on the screen. Web in this gimp 2.10 starter guide for beginners, i go through the common gimp features and gimp general information beginners typically want to know when they. Create a new transparent layer and name it right_side.
New How To Draw Sketch In Gimp with simple drawing Sketch Art Drawing
Web detailed conversion tutorial for generating a b&w result from a color image. Drawing arrows in gimp with custom brushes. When the end point is on top of the starting point, release the. Web it spans about 20 minutes with guided tips & techniques for anyone just learning the gimp software. Preset brushes act sort of like “stamps” that you.
Doubleclick The “Bucket Fill” Tool And Select “Pattern Source” From The Tool Options Window.
Web it spans about 20 minutes with guided tips & techniques for anyone just learning the gimp software. We start with how to download and install gimp. Select one of the wooden patterns. Open a fresh canvas in file menu.
Web Gimp Will Open The Stroke Selection Dialog Box, Allowing You To Customize All The Features Of Your Outline.
A couple of settings in a new dialog would appear. Painting your own creatures can be really fun, but it requires an understanding of the software first. Your first and third brushes should appear according to our assigned tags. Open a new image or canvas.
The Best Method To Make Geometric Shapes In Gimp Is With The Paths Tool.
[1] when you start the paths tool, the paths panel will appear in the left panel. Web go to “tools” on the top menu, and choose “toolbox.”. The size of this dot represents the current brush size, which you can change in the brush dialog. Web game development course:
Web Detailed Conversion Tutorial For Generating A B&W Result From A Color Image.
Holding ⇧ shift after you start dragging will allow you to make a perfect circle instead of a freeform ellipse. Here’s a really fun painting demo using gimp to create a woman and a dragon scene. Preset brushes act sort of like “stamps” that you can repeatedly use in any situation. Hold down the shift key and click again to set the second point of your line.