How To Draw Honey
How To Draw Honey - Then, divide the circle into six equal sections by drawing lines that intersect at the center. Web draw the legs and ear. Erase some of the lines of three of the honeycombs. Make sure to position them in a way that they align with the body. You will need beige, gray and yellow. It's simple!simply subscribe us for more drawing tutorial. It all starts with a basic understanding of the material, then building up layers of shapes, shadows, and color to create the perfect honeycomb. Draw the general shape of the hair. Sequentially, draw several straight transverse lines. Step #3 now make six different shapes as show in the drawing to enhance it further.
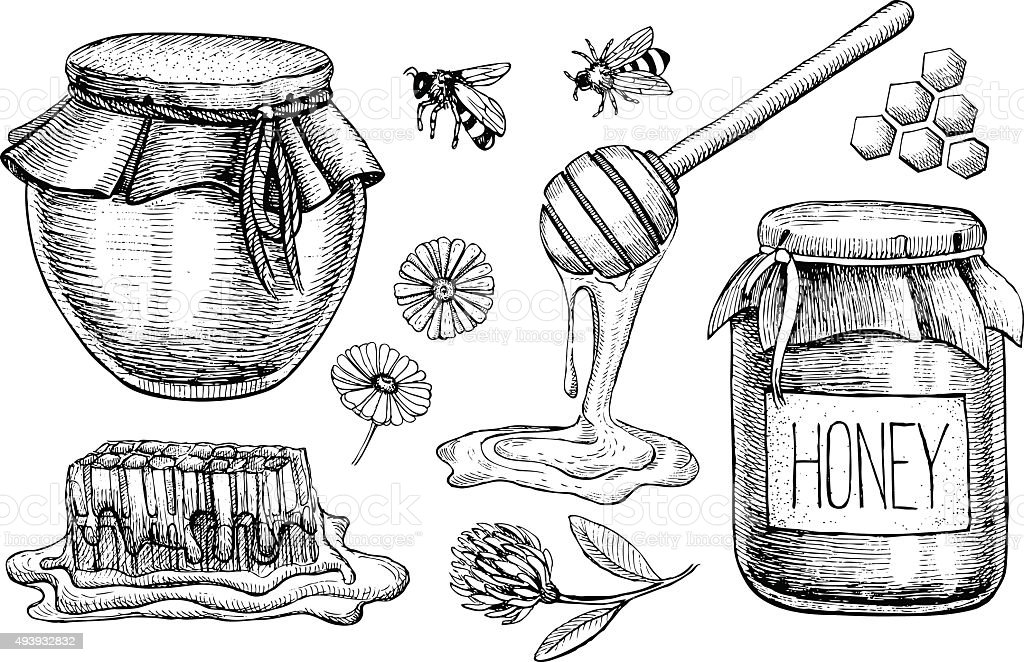
It all starts with a basic understanding of the material, then building up layers of shapes, shadows, and color to create the perfect honeycomb. Finally it is time to go over the drawing in ink. Draw the neck of the honey jar. Sketch out a few more straight lines to make the same hexagon. Draw stripes on the belly. Next, add six legs to your bee by drawing three on each side of the body, extending downwards. 🎨 👩🎨 grab your favorite sketching tools, and let's create a stunning honey bee masterpiece toget. Sequentially, draw several straight transverse lines. How to draw a honeycomb. Sketch out the triangular stinger at the bottom of the torso.
Enhance your artistic skills and create beautiful illustrations of this sweet and sticky substance. Erase some of the lines of three of the honeycombs. Now that you have the branch for your drawing, you can now start to draw the star of the drawing for this third step of our guide on how to draw a beehive! Web depict the sting. Contour, trying to vary the thickness and blackness of the line. Web on each side of the bee’s body, draw two small, elongated shapes to represent the wings. Outline the shapes of the bee’s legs and wings. You will need beige, gray and yellow. Be sure to include the joints in the legs for a more realistic look. Sketch out a few more straight lines to make the same hexagon.
How to Draw Honey Step by Step Guide Drawing All
Make sure to position them in a way that they align with the body. Web draw the legs and ear. Web learn how to draw a honey bee step by step#howtodraw #honeybee #drawing. Sequentially, draw several straight transverse lines. Outline the shapes of the bee’s legs and wings.
How to Draw Honey Step by Step Guide Drawing All
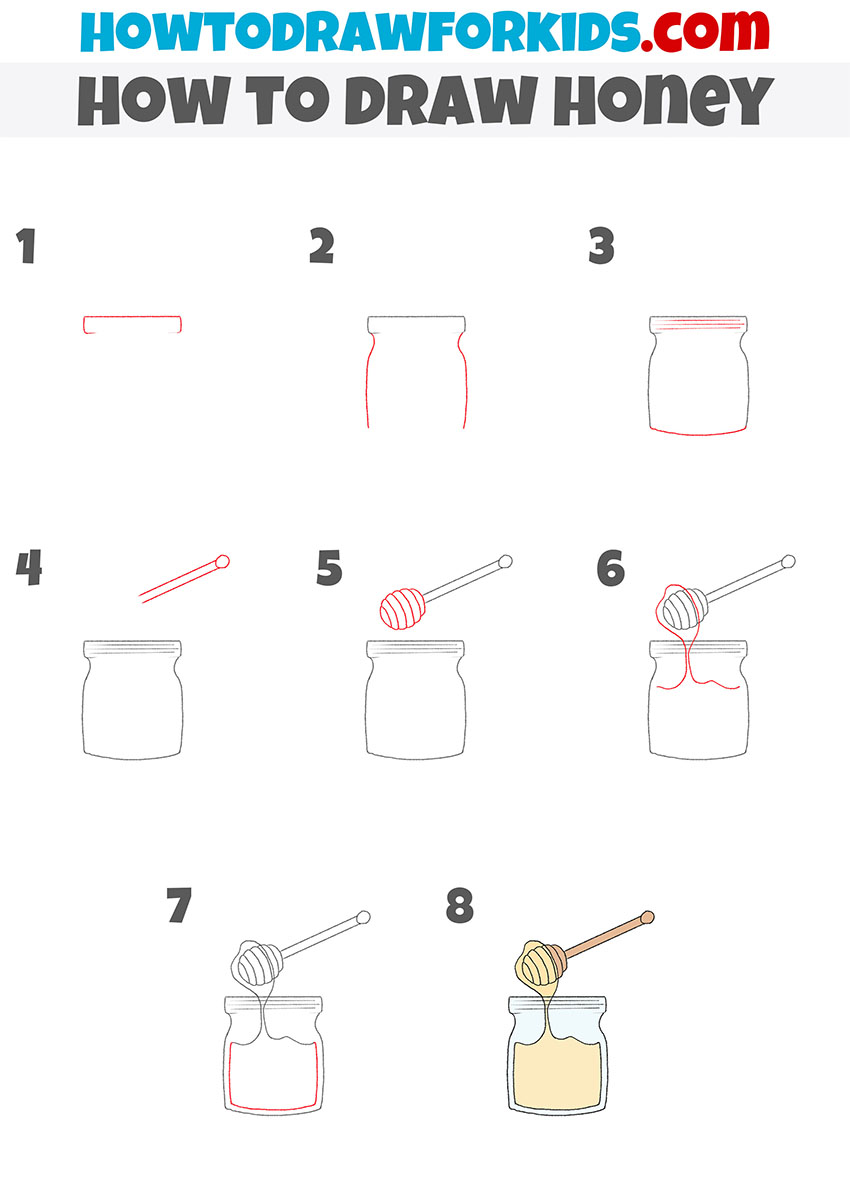
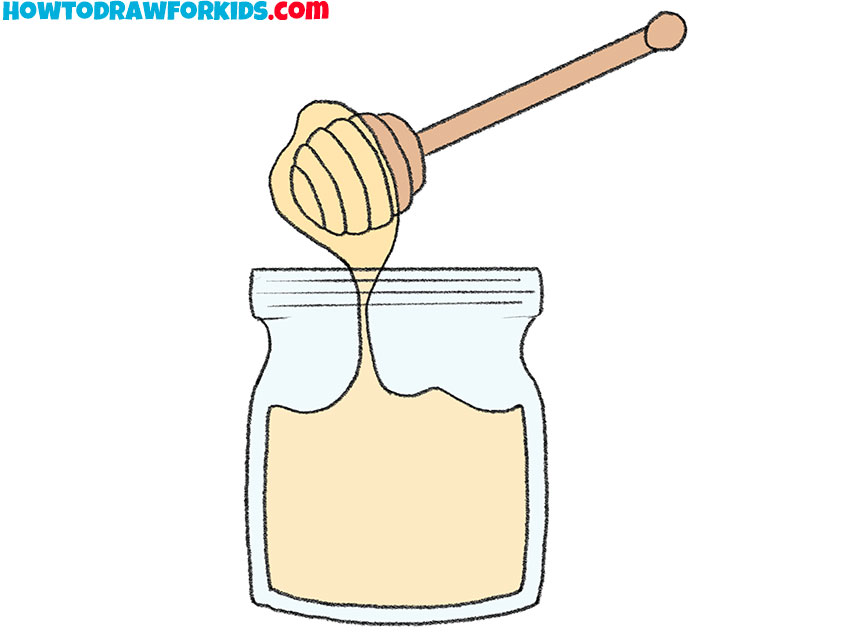
Add details to the honey label. Repeat your action in the previous step and draw the cell on the other side. Beehives are made up of several sections, and you can extend them down from the clump of three leaves. Then, divide the circle into six equal sections by drawing lines that intersect at the center. Connect the points where.
How to Draw a Honey Jar Step by Step Easy Drawing Guides Drawing Howtos
Work on the whole shape and figure, adding more details. 🎨 👩🎨 grab your favorite sketching tools, and let's create a stunning honey bee masterpiece toget. Web how to draw honey from ouran high school host club, learn drawing by this tutorial for kids and adults. Web learn how to draw a honey bee step by step#howtodraw #honeybee #drawing. Use.

How to Draw Honey Step by Step Guide Drawing All
Draw a circle, an oval, and an inverted teardrop shape. Web learn to draw a honeycomb. Be sure to include the joints in the legs for a more realistic look. Beginner artists can now draw a great looking honeycomb.would you like to learn how to d. Draw stripes on the belly.

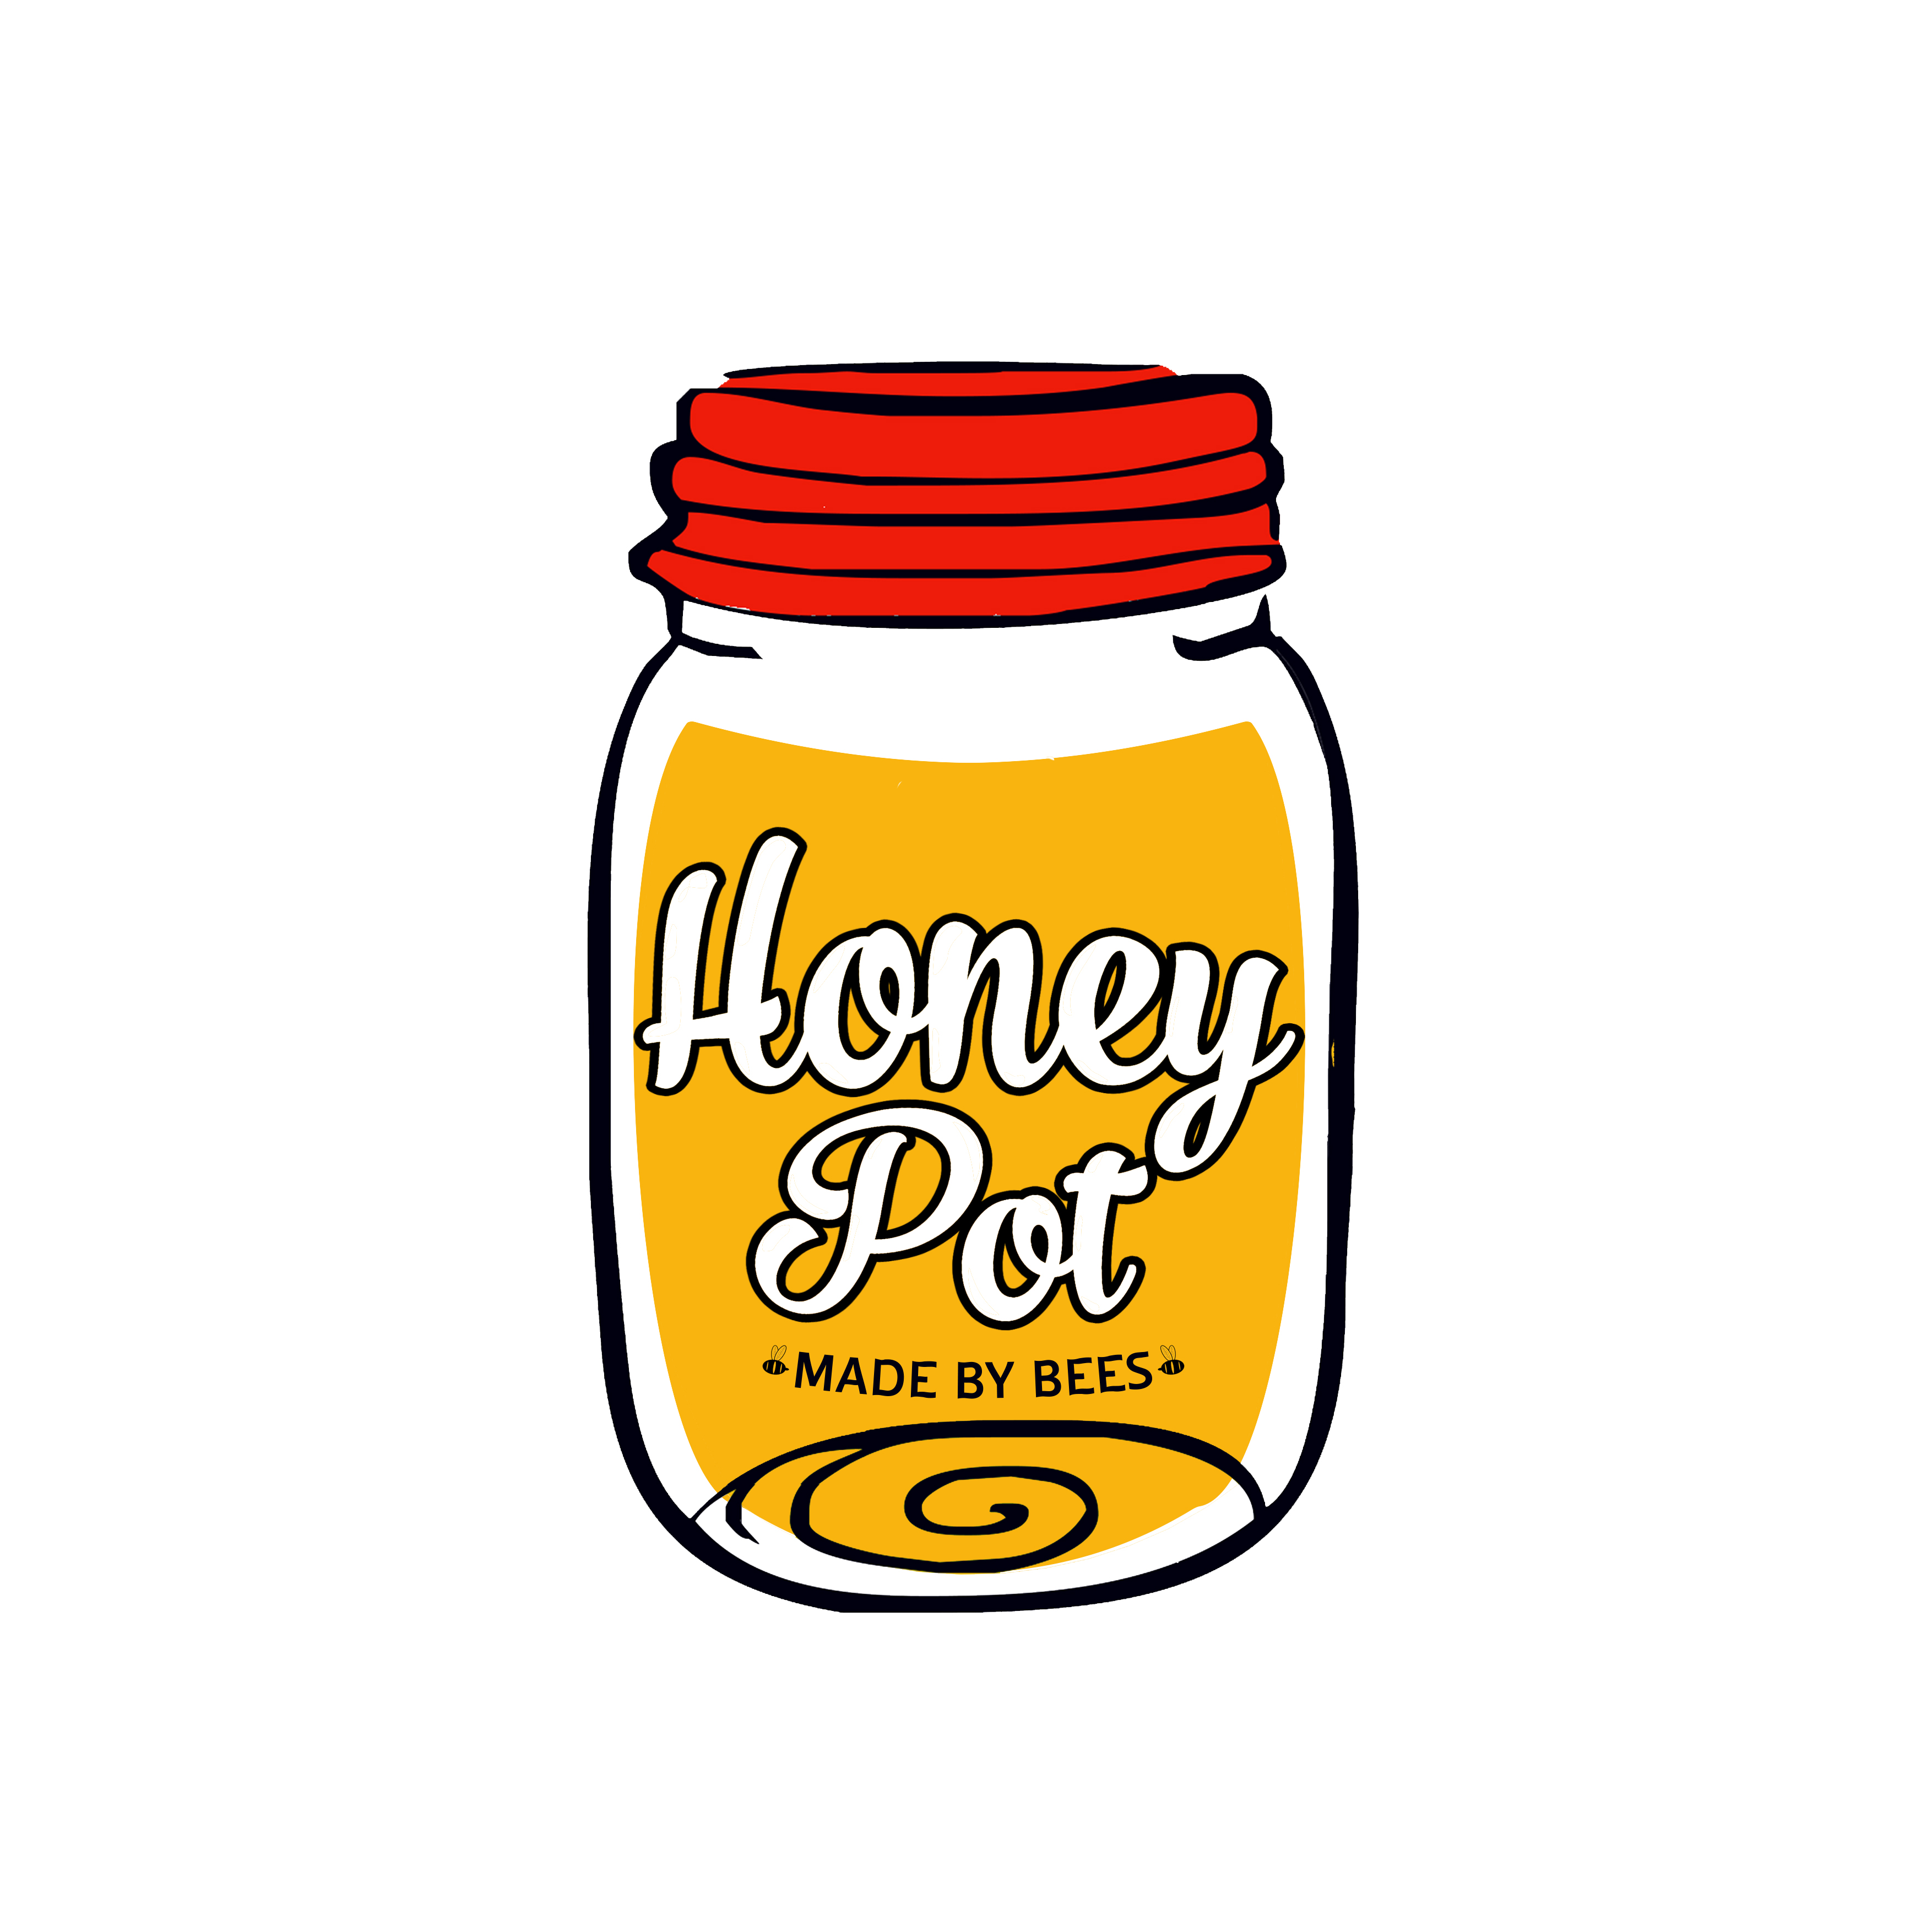
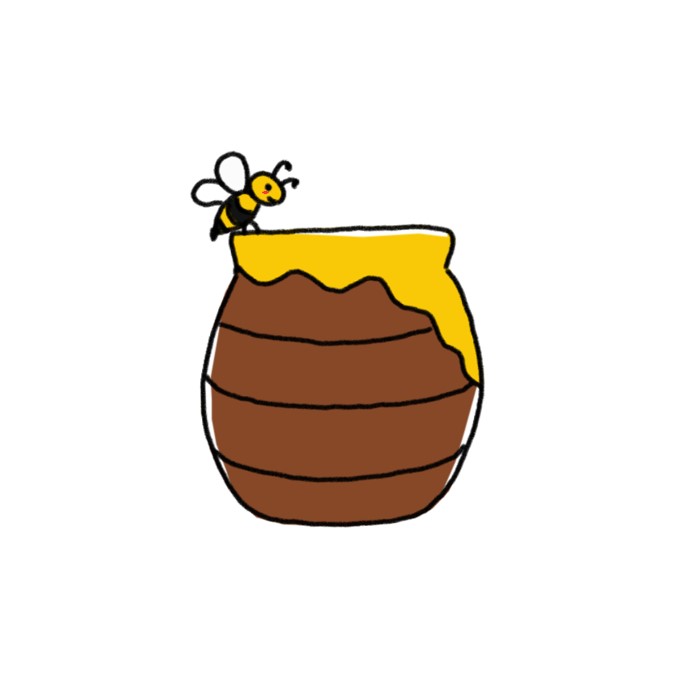
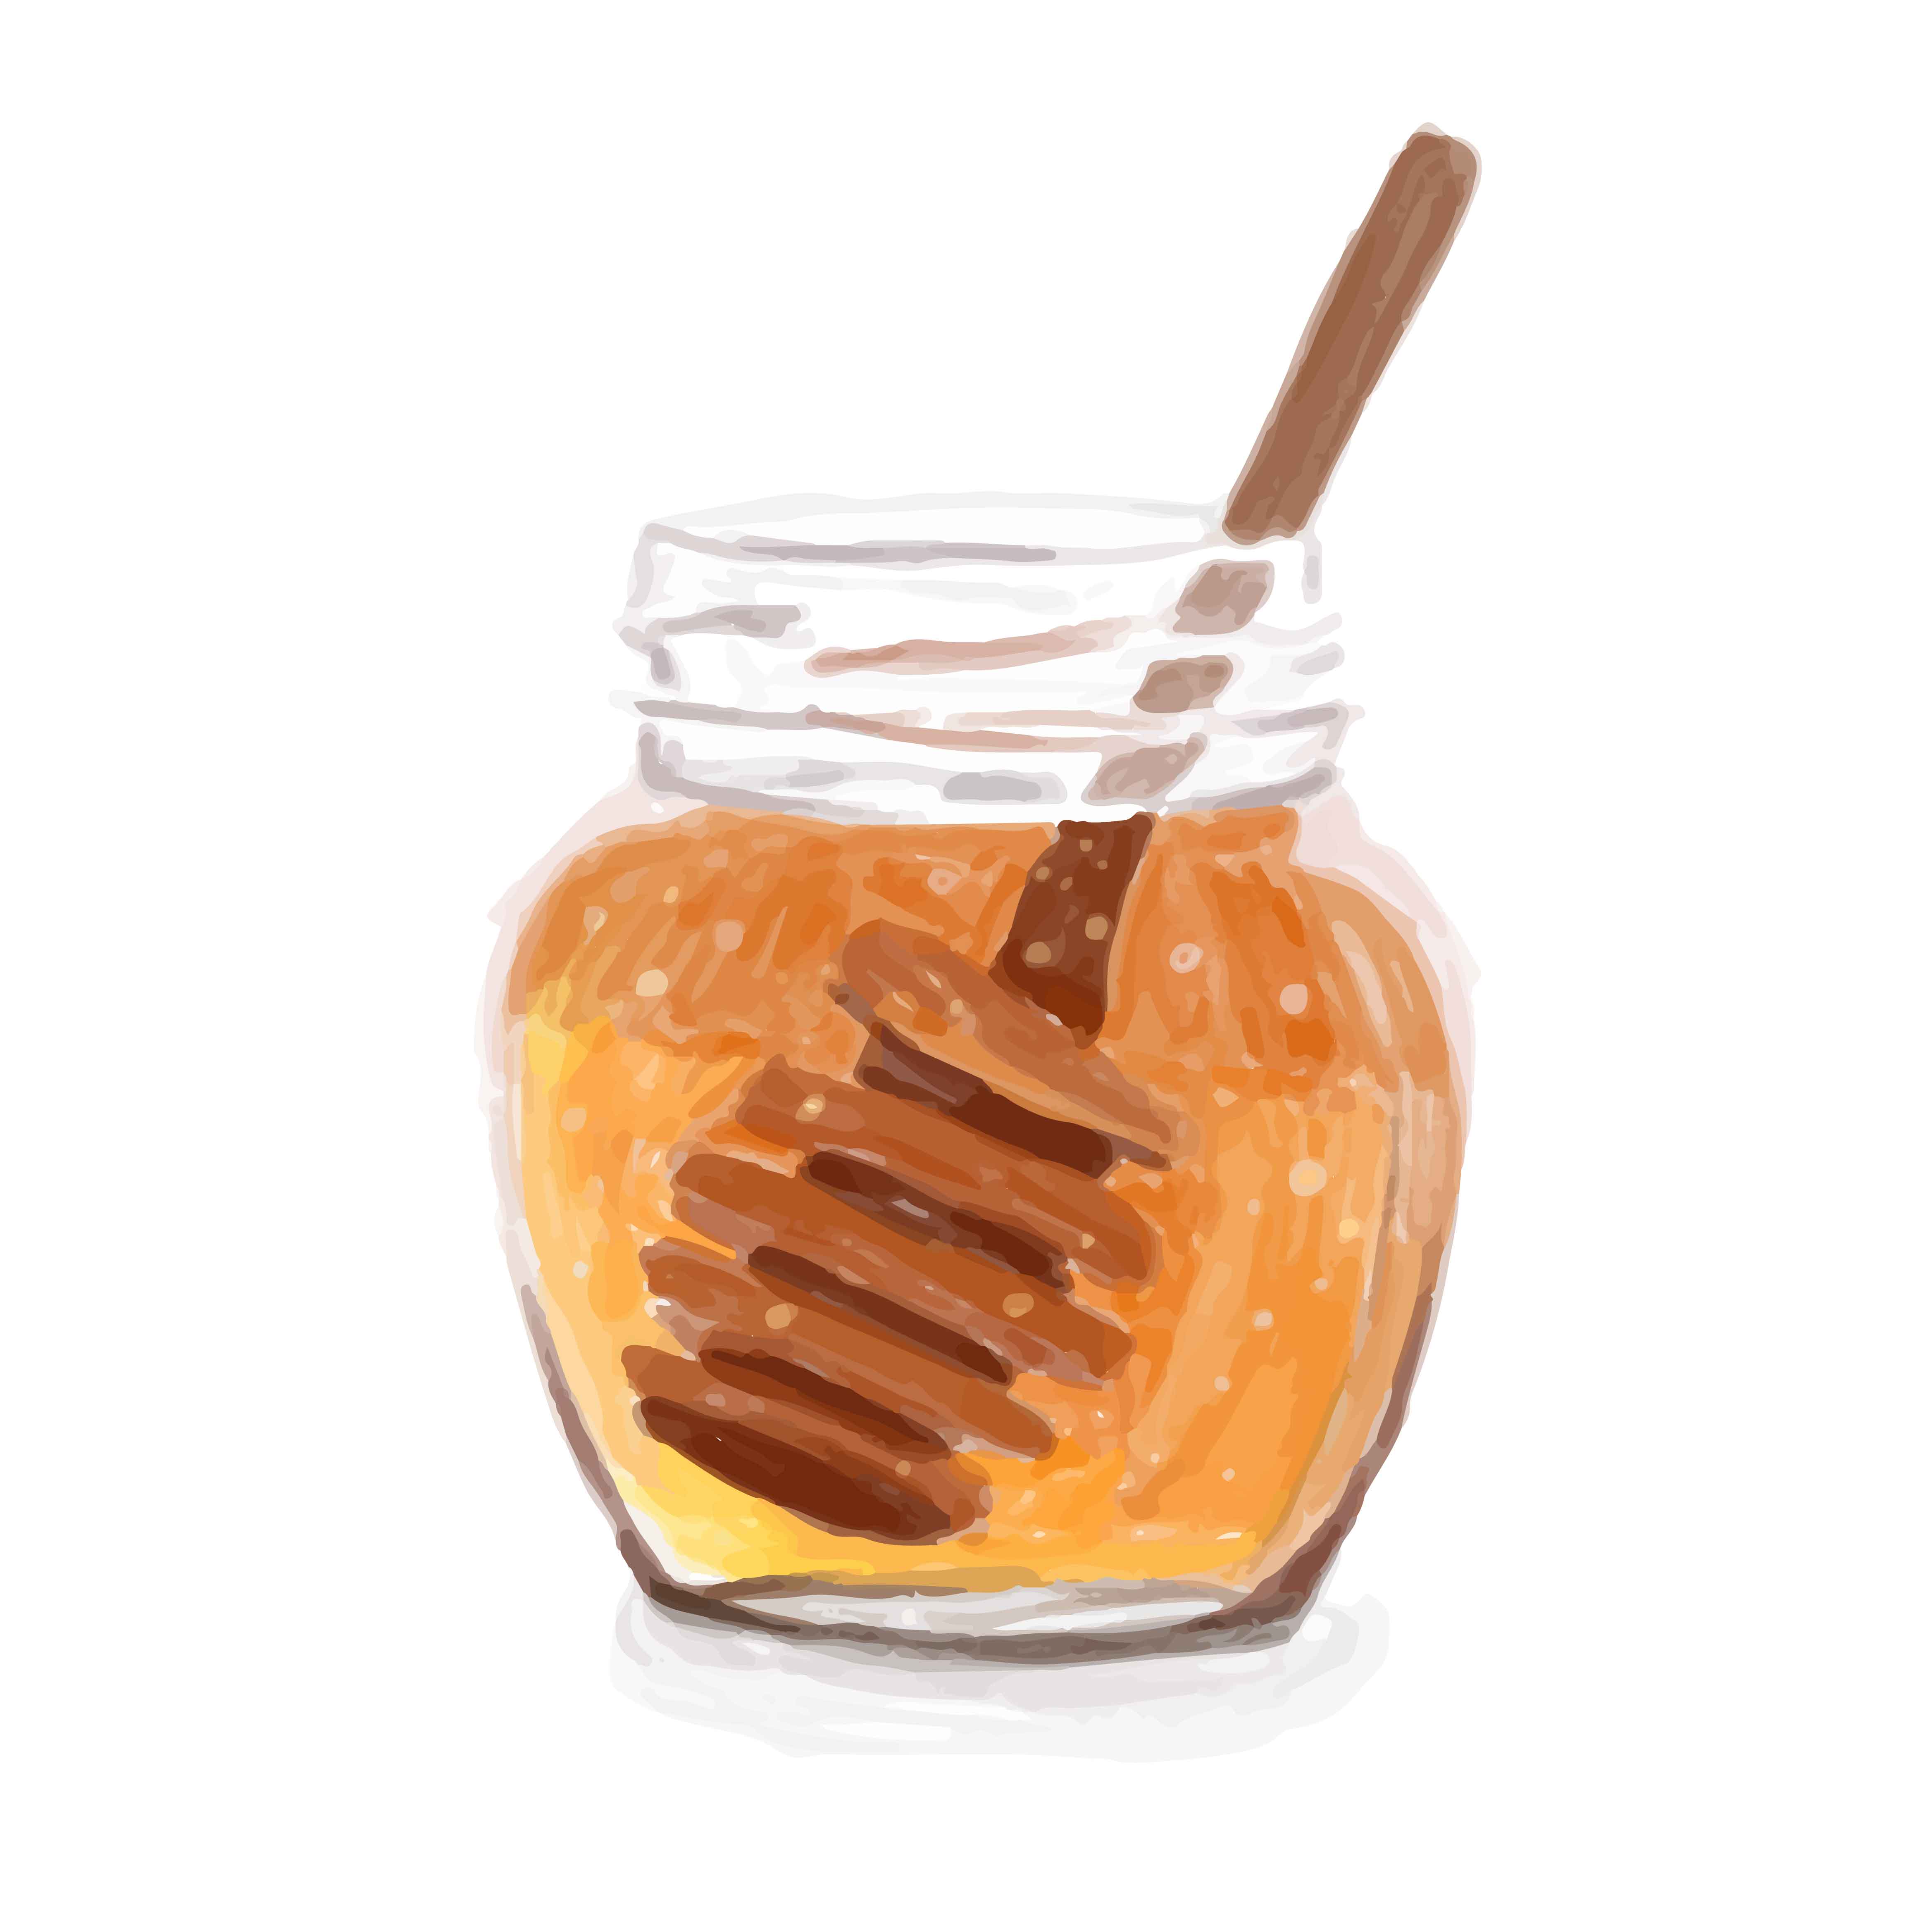
How to Draw a Cute Jar of Honey Easy Beginner Tutorial
Now that you have the branch for your drawing, you can now start to draw the star of the drawing for this third step of our guide on how to draw a beehive! They are very full and leaking honey together! Web make the triangular outline for the face of the honey bee and long oval like figure for the.
How to Draw Honey Step by Step Guide Drawing All
You will need beige, gray and yellow. Work on the whole shape and figure, adding more details. Work on the figure, paying special attention to detail. Draw stripes on the belly. Make sure to position them in a way that they align with the body.

How to draw honey YouTube
Web adaptations, honey production, and reproduction strategies. Begin by drawing a short horizontal line in the center of your page. It’s a process that’s as sweet and sticky as the sugary substance itself, and anyone can learn how to draw it. Sketch out the fourth cell. To do this, draw a regular hexagon.
How to Draw Honey Easy Drawing Tutorial For Kids
Go over the drawing in ink. To draw a hexagon, start by drawing a circle. Add details to the jar of honey. Web make the triangular outline for the face of the honey bee and long oval like figure for the wings. Sketch out the triangular stinger at the bottom of the torso.

∀`*)☆ How to draw honey/shiny stuff Digital art tutorial, Digital
Outline the shapes of the bee’s legs and wings. Web learn the basics of drawing and shading with this fun and. Web hi my name is rumana, i'm drawing and painting honey bee today | improve your drawing skills with this video.for more videos please subscribe to my channel. Then, draw a busy worker bee. To do this, draw a.
How to Draw Honey Easy Drawing Tutorial For Kids
Outline the shapes of the bee’s legs and wings. Beginner artists can now draw a great looking honeycomb.would you like to learn how to d. Work on the whole shape and figure, adding more details. Add details to the jar of honey. Web draw the legs and ear.
Next, Add Six Legs To Your Bee By Drawing Three On Each Side Of The Body, Extending Downwards.
Go over the drawing in ink. Contour the honey badger, trying to vary the thickness and darkness of the line. Sequentially, draw several straight transverse lines. Erase some of the lines of three of the honeycombs.
Be Sure To Include The Joints In The Legs For A More Realistic Look.
Work on the whole shape and figure, adding more details. If you're afraid of smearing ink, then place a piece of scrap paper underneath your drawing hand. You will need beige, gray and yellow. 🎨 👩🎨 grab your favorite sketching tools, and let's create a stunning honey bee masterpiece toget.
Then, Draw A Busy Worker Bee.
Make sure to position them in a way that they align with the body. Draw the feet, snout and tail more carefully. Web on each side of the bee’s body, draw two small, elongated shapes to represent the wings. It’s a process that’s as sweet and sticky as the sugary substance itself, and anyone can learn how to draw it.
Add Details To The Honey Label.
Draw two small, curved lines down. This line will represent the top edge of your honey jar’s lid and will serve as the foundation for establishing the jar’s proportions. Add details to the jar of honey. Repeat your action in the previous step and draw the cell on the other side.