How To Draw Rose Vines
How To Draw Rose Vines - Choose the type of flowers you want to include in your vine. This will add thickness to your vine. So grab your drawing supplies. Web learn to draw realistic vines with precision, adding natural beauty and detail to your artistic projects. Drawing vine borders may require the help of a visual aid. Draw a rose vine ros. That’s all there is to it for now, so when it’s drawn you can proceed to the next part. Keep your movements fluid and loose throughout this process. Outline the curved stem lines you created in steps 3 and 4 and join them together, making sure you don’t draw over the wooden post. Web rose drawing in a circle / how to draw a rose for beginners / step by step rose drawing with pencils sketch / easy and simple drawing of a rose / really easy.
Amazing sale now onsuper saleinsanely low pricesbest sellers So grab your drawing supplies. Extend the stem lines at the right side of your drawing. This will add thickness to your vine. How to draw a rose piercing a heart. In this tutorial, we will go through each step in detail, providing clear instructions to help you create a beautiful and realistic vine drawing. Next, add the stems and leaves to your vine. Draw a rose vine ros. Drawing vine borders may require the help of a visual aid. Make sure to vary the sizes and angles of the leaves for a more natural look.
It is a good idea to start with a light pencil such as a 2h or 3h. Once you have drawn the vines, you can then start to add the leaves. These lines represent the inner petals. Choose the type of flowers you want to include in your vine. We shall continue adding to the planning of your vines drawing in this next step. Start by sketching the subject from different angles and using a variety of reference pictures. This drawing is perfect for valentine's day and mother's day! Add the stems and leaves. Web full blog post with text instructions: Web learn to draw realistic vines with precision, adding natural beauty and detail to your artistic projects.
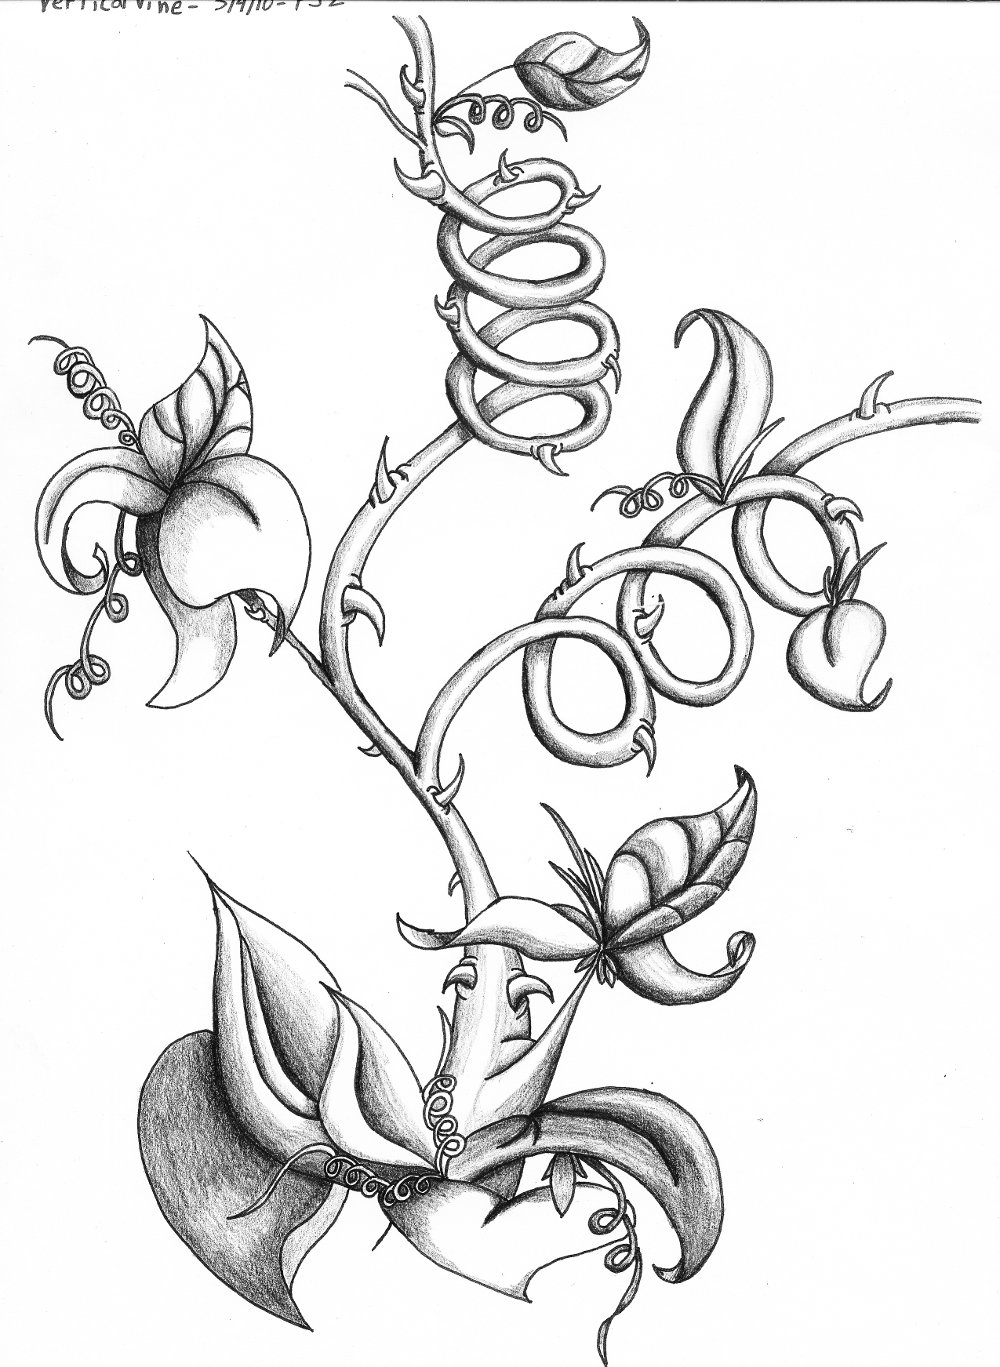
Rose Vine Drawing at Explore collection of Rose
Whether you are an experienced artist or just starting out, drawing a vine can be a fun and rewarding exercise. Drawing vine borders may require the help of a visual aid. This will add depth and realism to your. Make sure to vary the sizes and angles of the leaves for a more natural look. Start by drawing small, curved.

How To Draw Vines, Step by Step, Drawing Guide, by Dawn Vine drawing
These lines will be the vines. Drawing vine borders may require the help of a visual aid. Draw small curved lines coming off the pole. Next, add the stems and leaves to your vine. Draw the crossbeam of the trellis.

Rose Vine Drawing at Explore collection of Rose
Use light, flowing lines to suggest the movement of the vine. Start by sketching the subject from different angles and using a variety of reference pictures. Connect the vine around the post. Outline the curved stem lines you created in steps 3 and 4 and join them together, making sure you don’t draw over the wooden post. So grab your.

How to draw a rose stepbystep guide for beginners CraftMart in
Remember to vary the thickness and direction of the stems to create interest. This video tutorial uses the lines of a 6, 9, y, u, c and more. Start by sketching the subject from different angles and using a variety of reference pictures. How to draw a rose piercing a heart. Once you have drawn the vines, you can then.
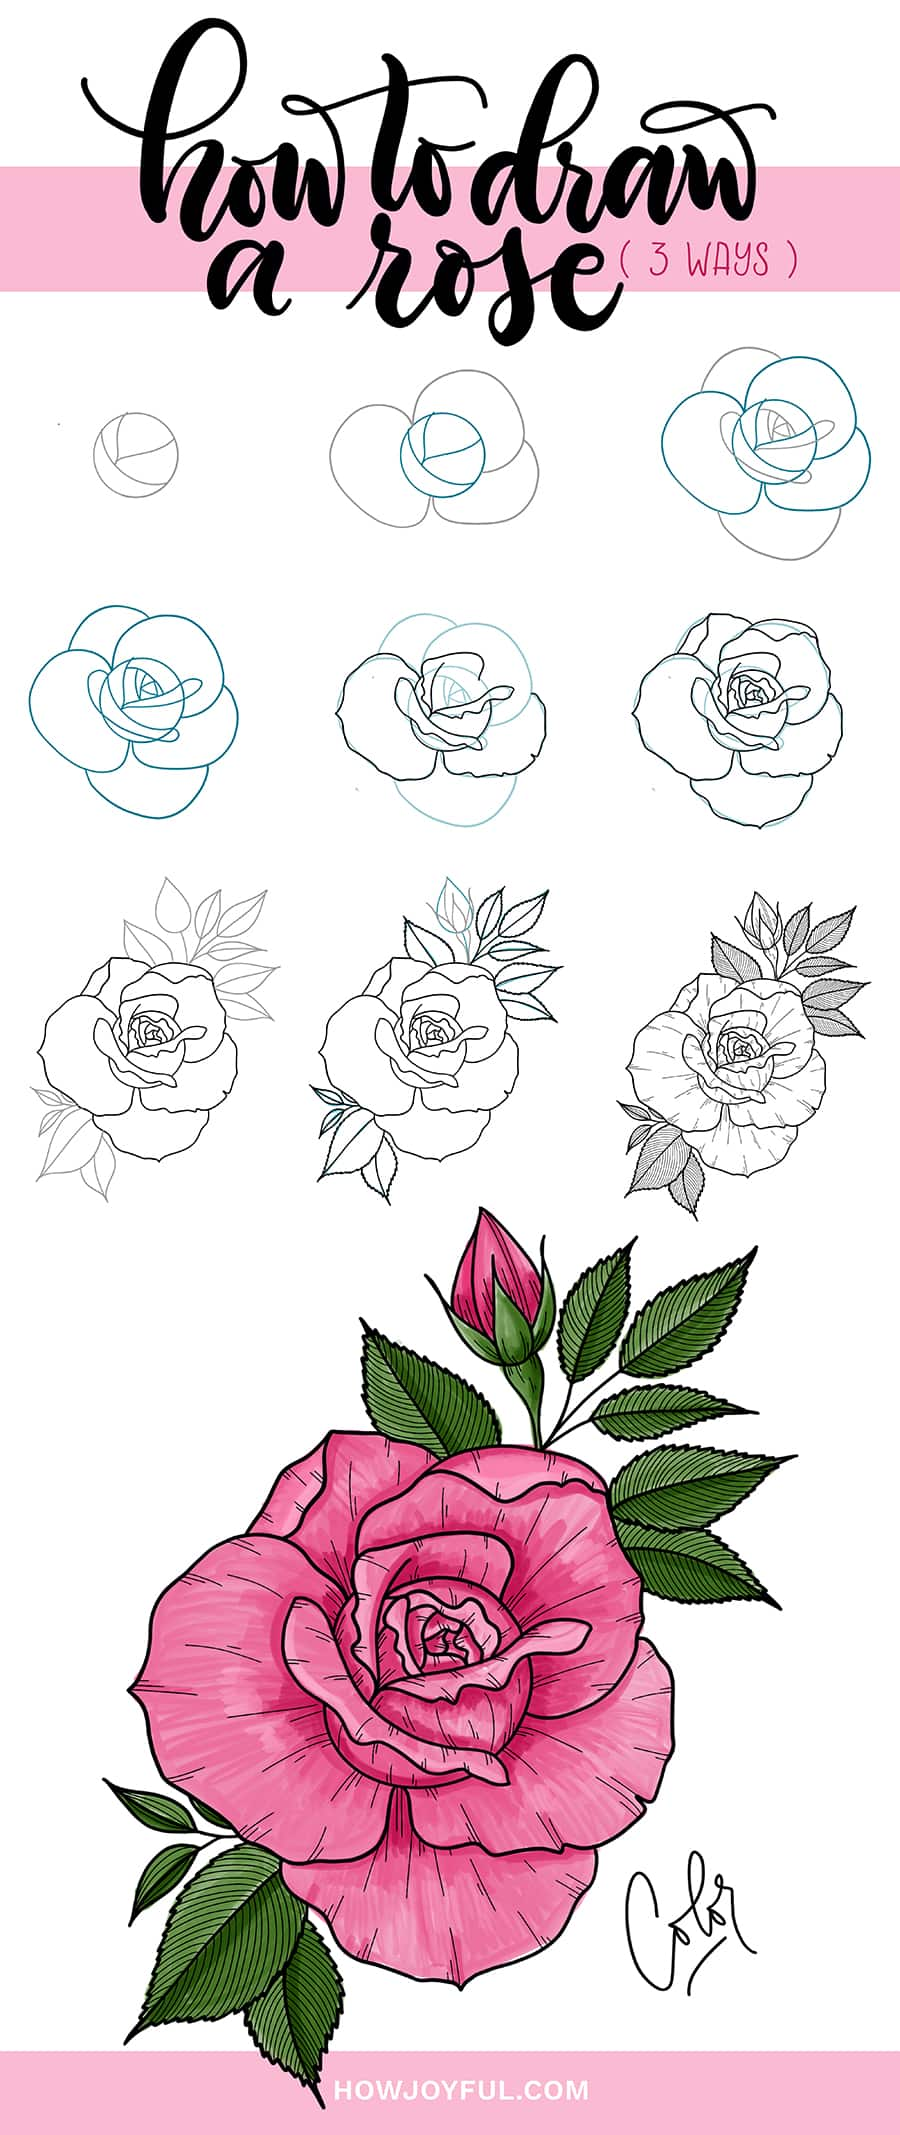
Drawings of roses How to draw a rose Step by step tutorial (3 ways)
Common choices include roses, daisies, and tulips. This time, make it look like it's curving around your first vine. We shall continue adding to the planning of your vines drawing in this next step. This will add thickness to your vine. Now draw another line for contrast.

How To Draw Roses On A Vine Learn How to Draw
Web hello,,,today, we are learning vines with flowerslearn how to draw the easy, step by step, while having fun and building skills and confidence. Draw the crossbeam of the trellis. Next, add the stems and leaves to your vine. To do this, simply use your pencil to draw an identical curved horizontal line beneath the one that you drew previously..
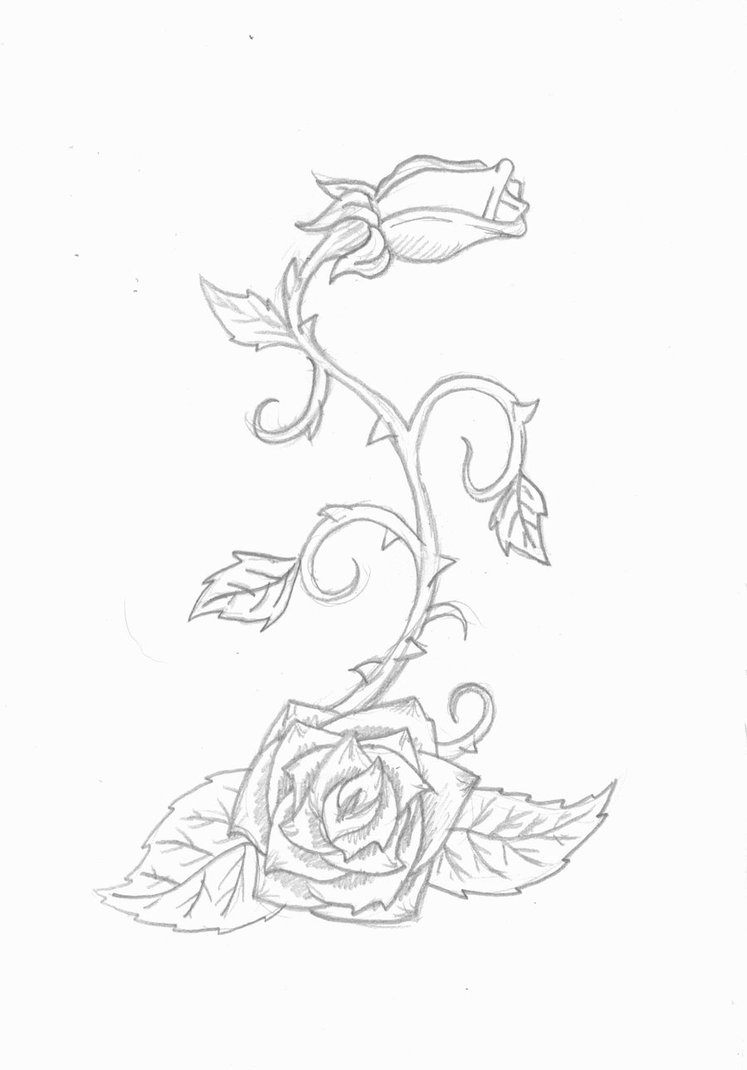
Rose Vine Drawing at Explore collection of Rose
Web sketch a simple curved line. Amazing sale now onsuper saleinsanely low pricesbest sellers Extend a long, curved line from the stake at a perpendicular angle. Double it back upon itself to enclose the beam. Unlock ad free and printable drawing and coloring tutorials.

3 Ways to Draw a Rose wikiHow
How to draw a rose piercing a heart. Whether you are an experienced artist or just starting out, drawing a vine can be a fun and rewarding exercise. This video tutorial uses the lines of a 6, 9, y, u, c and more. On the opposite side of the stake, use a short curved line to enclose the end of.
Rose Vine Drawing at Explore collection of Rose
Connect the vine around the post. That’s all there is to it for now, so when it’s drawn you can proceed to the next part. It is a good idea to start with a light pencil such as a 2h or 3h. You can also add some light lines inside the stem to make it look more realistic. Web learn.
Learn How to Draw a Rose Plant (Rose) Step by Step Drawing Tutorials
After all, a rose is a living thing, and maintaining that idea will. These lines represent the inner petals. Now draw another line for contrast. Web step 1 — what pencil to choose & a light touch. Draw a rose vine ros.
After All, A Rose Is A Living Thing, And Maintaining That Idea Will.
This drawing is perfect for valentine's day and mother's day! Amazing sale now onsuper saleinsanely low pricesbest sellers Extend a long, curved line from the stake at a perpendicular angle. That’s all there is to it for now, so when it’s drawn you can proceed to the next part.
Draw The Crossbeam Of The Trellis.
Add leaves along the stems, making them slightly curved and different sizes. Draw a rose vine ros. Web today, hadley and i are learning how to draw a rose! Here’s a straightforward guide for creating naturalistic creations of vines.
Follow The Instructions As You Turn Your Page To Place The Numbers And Letters At Various Angles.
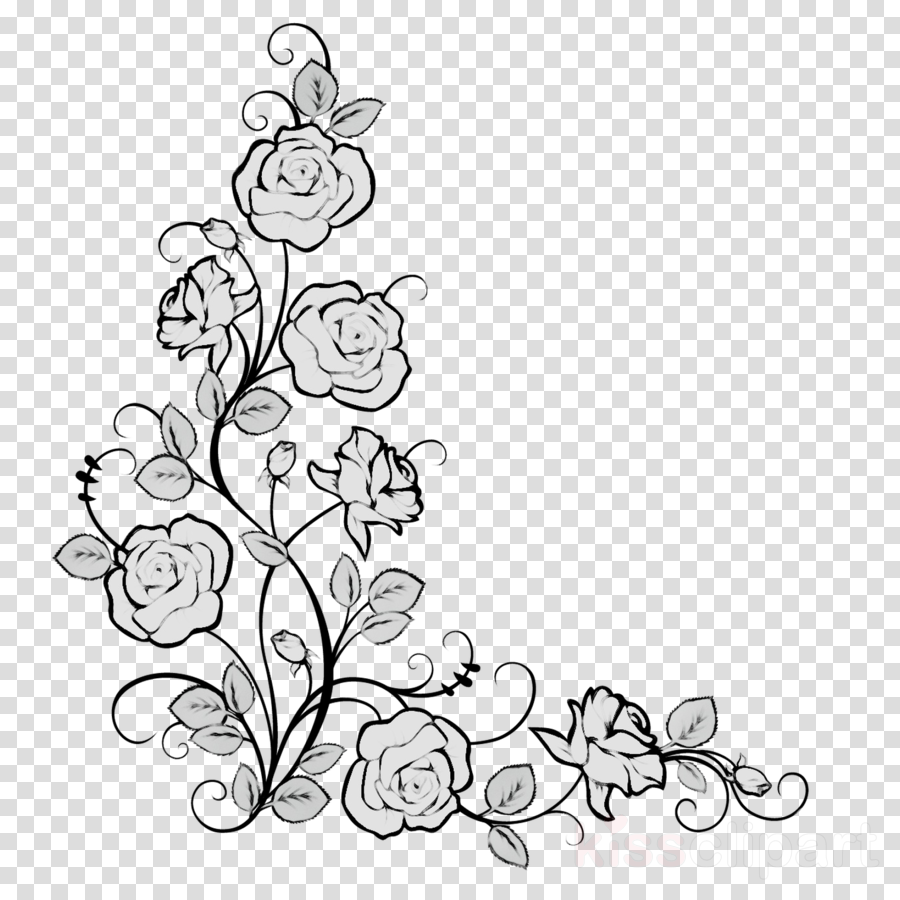
Start by sketching the subject from different angles and using a variety of reference pictures. Web this pattern is created by susan pundt Draw a vine border with help. Web how to draw vine borders.
Drawing Vine Borders May Require The Help Of A Visual Aid.
Outline the curved stem lines you created in steps 3 and 4 and join them together, making sure you don’t draw over the wooden post. Web full blog post with text instructions: Make sure to vary the size and shape of the vines as you go along. It is a good idea to start with a light pencil such as a 2h or 3h.