How To Draw The Hammer
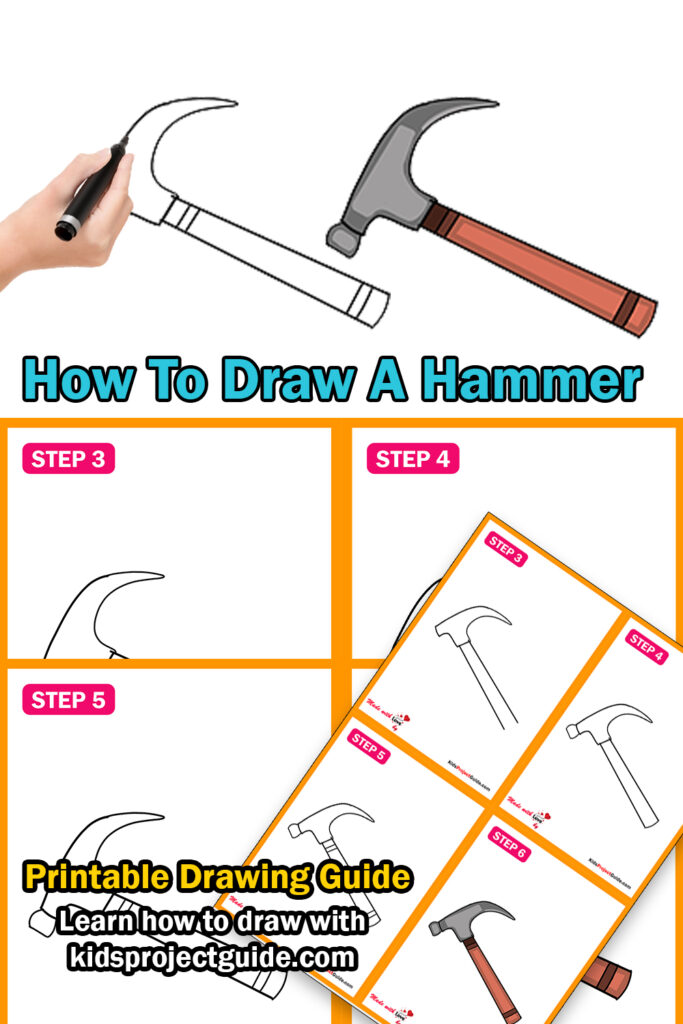
How To Draw The Hammer - Continuing with this hammer drawing, we will add some more detail to the head of the hammer. Then, draw a horizontal line at the top of the vertical line, making sure it’s slightly tilted to the right. Web (step 18) draw a few lines on the top of the hammer. Follow my step by step drawing tutorial and make your own ham. (step 19) draw a line on the top of the hammer. This line will serve as the handle of the hammer. Draw a line connecting the tip. This template will guide you through drawing it perfectly! First, use some more curved lines to draw the second half of the claw for the head. At the top of the handle, sketch the hammerhead by drawing a horizontal rectangle, slightly wider than the handle itself.
Going out of the back of head add the handle. For this thor’s hammer drawing, we will be trying to give it some depth by adding multiple surfaces onto the hammer. Next, begin the head of the hammer. Draw this cute hammer by following this drawing lesson. Web draw the other side of the hammer and the handle as shown. Draw the impact part of the hammer. The lines need not be so long! To add more details, take a look at a real hammer and note its quirks and nuances. First, draw a long, vertical line in the middle of your paper. Draw a line connecting the tip.
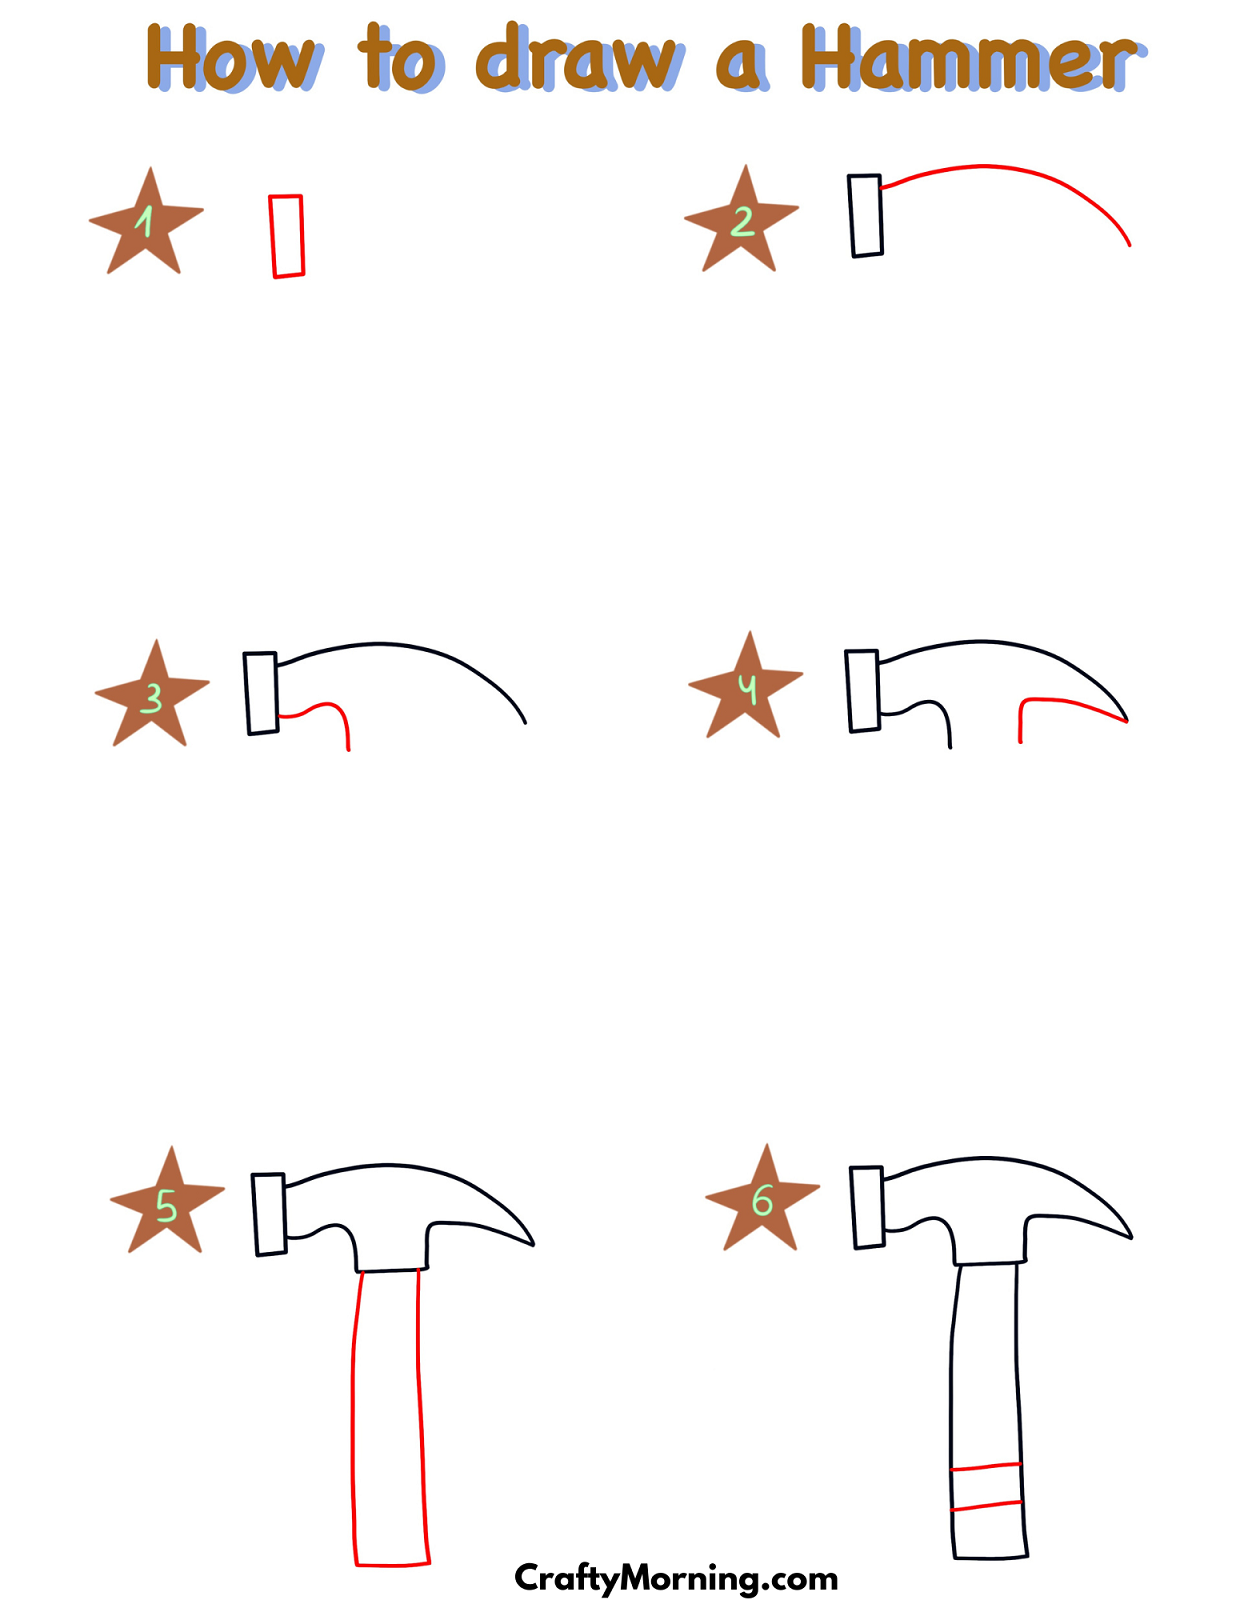
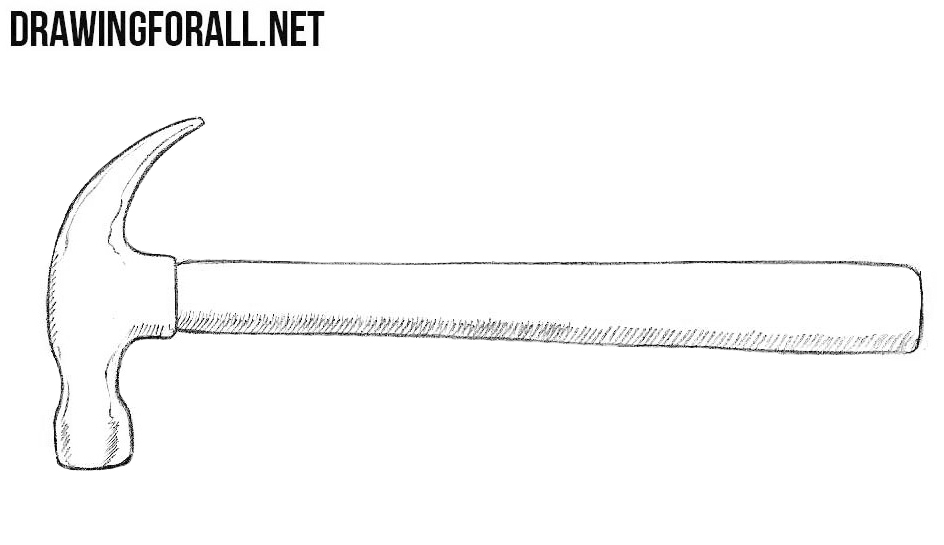
Web start by drawing a straight, vertical line for the handle of the hammer. Make this area slightly narrower as it goes towards the back. Draw a line connecting the tip. Hammers are daily functional elements which we generally use to repair our rooms or houses! Extend the rectangle on one side to create the flat face of the hammer, curving the end slightly. It is always seen holding by a carpenter.sketch the applicable shape of the. The angle of the hammer will make it so that we can see the flatter underside of this claw, as shown in. Then, draw a horizontal line at the top of the vertical line, making sure it’s slightly tilted to the right. Draw some curved lines on the fingers / nails. At the top of the handle line, draw a rectangle shape that represents the hammerhead.
How To Draw A Hammer Easy StepByStep Guide
At the top of the handle line, draw a rectangle shape that represents the hammerhead. The other should enclose a shape before curving to meet the other line at a sharp point. On the opposite side of the hammerhead, draw a. These next detail lines will be drawn on the sides of the hammer. Web to start drawing a hammer,.
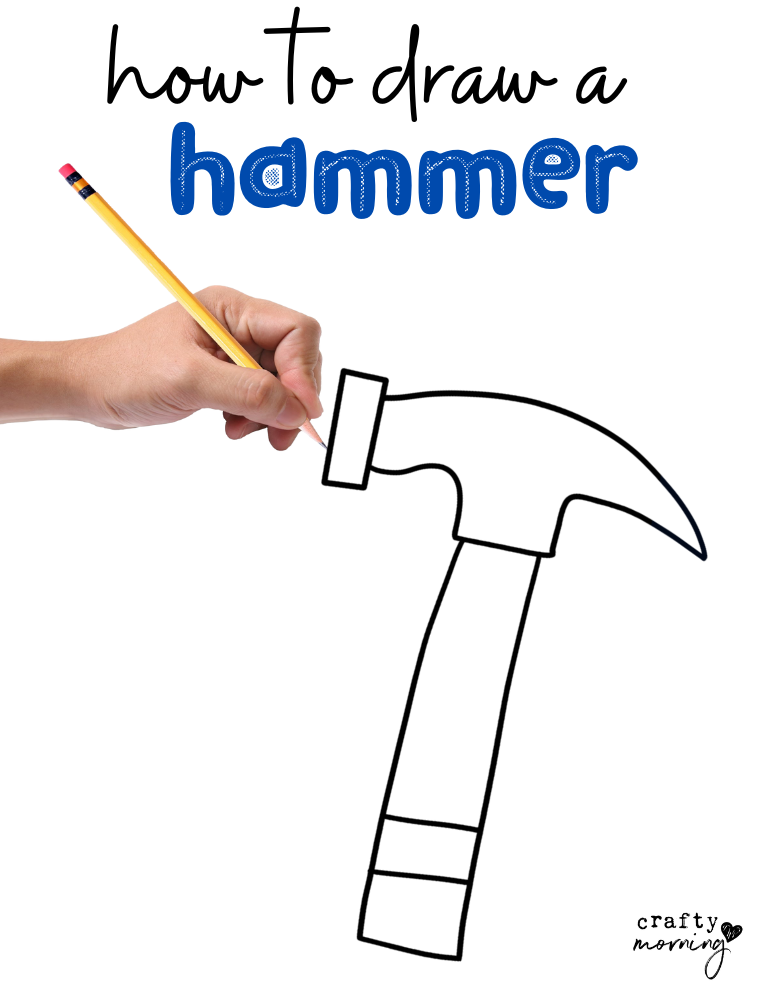
How to Draw a Hammer (Easy Tutorial) Crafty Morning
One line should curve immediately away from the handle. Below the rectangle add another section that is just a thin strip that gets narrower as it. The other should enclose a shape before curving to meet the other line at a sharp point. Kids and beginners alike can now draw a great looking thor's hammer. The angle of the hammer.
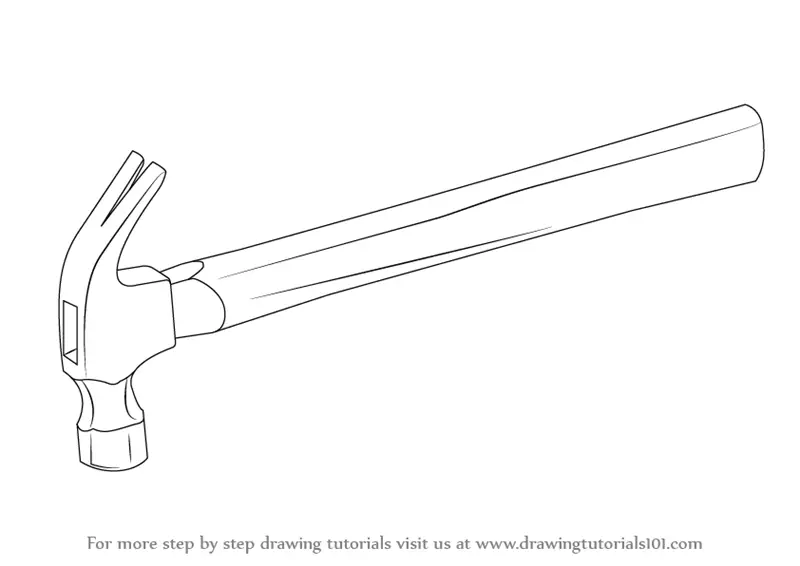
Learn How to Draw a Hammer (Tools) Step by Step Drawing Tutorials
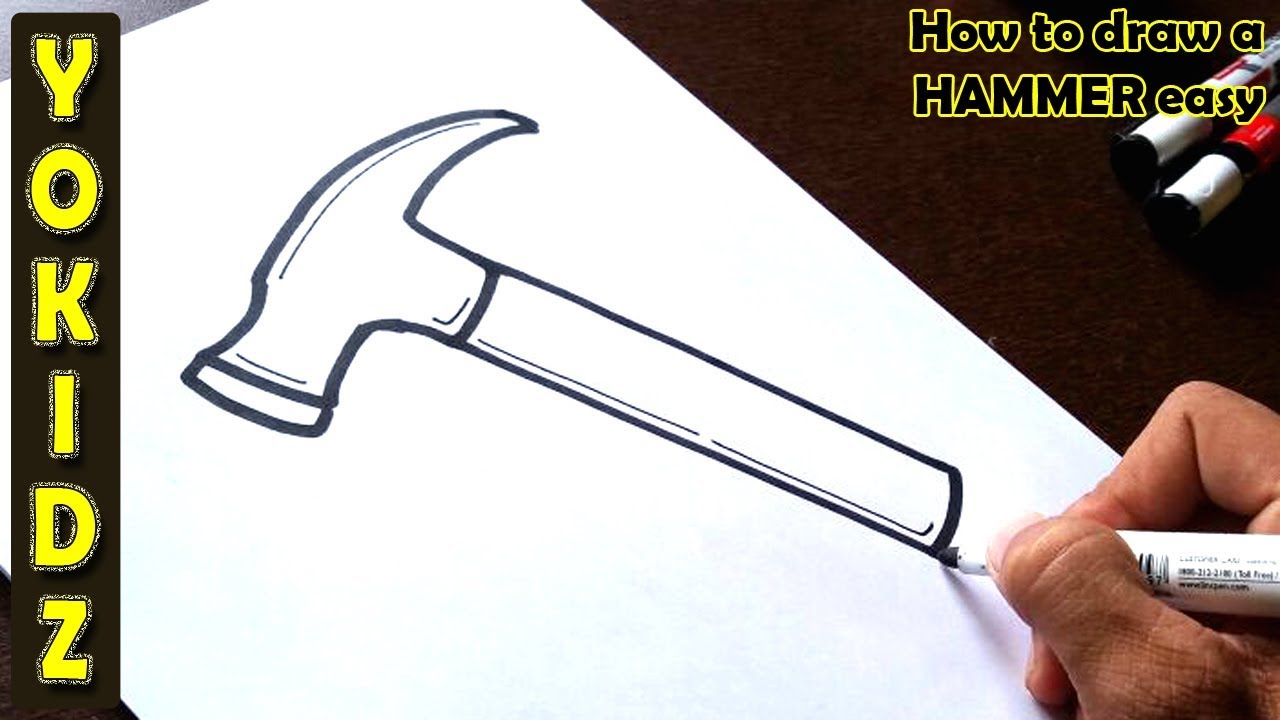
Get the markers here =. By drawing these lines, you will be. Continuing with this hammer drawing, we will add some more detail to the head of the hammer. Web step by step hammer drawing tutorial. Draw the impact part of the hammer.
How to Draw a Hammer (Easy Tutorial) Crafty Morning
Enclose the top of the handle with a short straight line. Continue the lines and draw the part of the hammer that is used to drive nails. The lines need not be so long! At the top of the handle line, draw a rectangle shape that represents the hammerhead. Continuing with this hammer drawing, we will add some more detail.
How To Draw A Hammer Step By Step EasyLineDrawing atelieryuwa.ciao.jp
Add the rest of the handle. The lines need not be so long! Extend the rectangle on one side to create the flat face of the hammer, curving the end slightly. Web to start drawing a hammer, we need to sketch out its basic shape. Add some more detail to the hammerhead.
How to Draw a Hammer
Follow my step by step drawing tutorial and make your own ham. Draw a line connecting the tip. A little lower from the top, draw a curved line to the right. At this stage, sketch out a straight line. Web to start drawing a hammer, we need to sketch out its basic shape.
Learn How to Draw a Hammer (Tools) Step by Step Drawing Tutorials
Going out of the back of head add the handle. Leave a little room from the bottom of the rectangle and draw a curved like out and down. A little lower from the top, draw a curved line to the right. Web start by drawing a straight, vertical line for the handle of the hammer. By drawing these lines, you.

How to draw hammer easily tools drawing and colouring for kids YouTube
These next detail lines will be drawn on the sides of the hammer. This line will serve as the head of the hammer. Drawing a hammer is easy; By drawing these lines, you will be. Web how to draw mjölnir thor hammer | easy drawing ideas
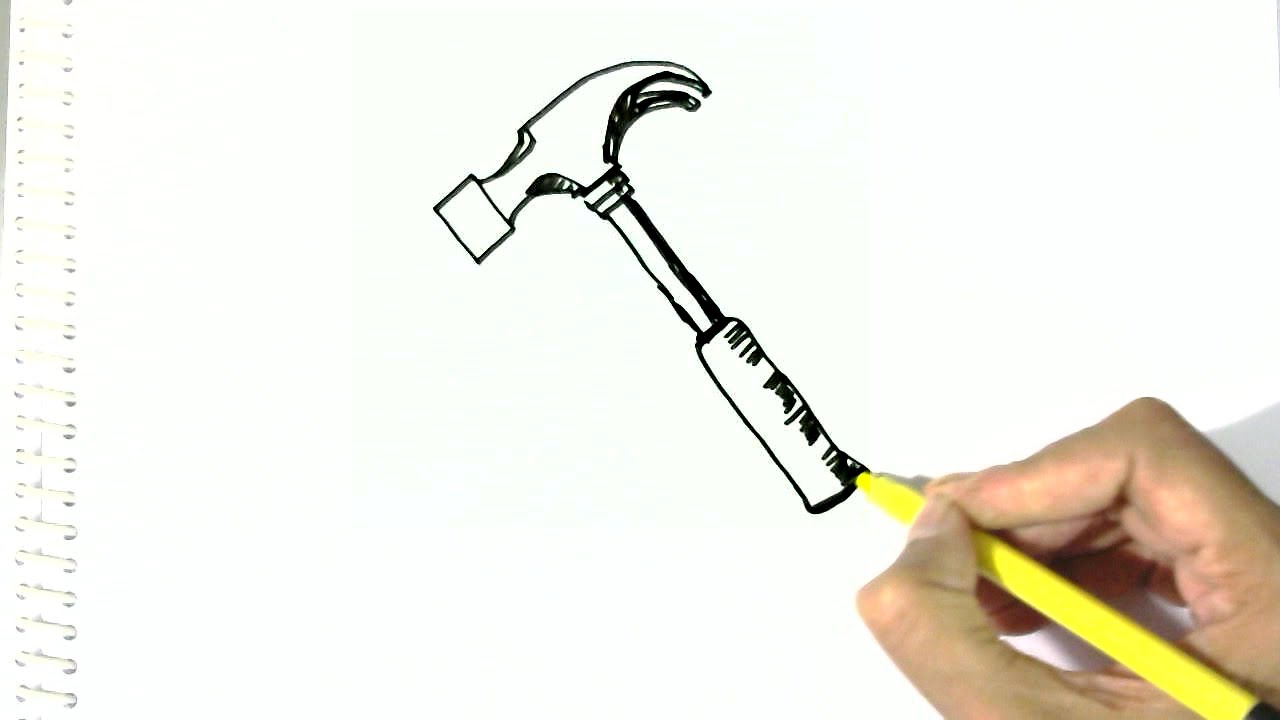
How to draw a Hammer in easy steps for children. beginners YouTube
Get the markers here =. At the top of the handle line, draw a rectangle shape that represents the hammerhead. By drawing these lines, you will be. (step 20) draw some curved lines on the head of the hammer. This line will serve as the handle of the hammer.
How to Draw a Hammer Easy Drawing Tutorial For Kids
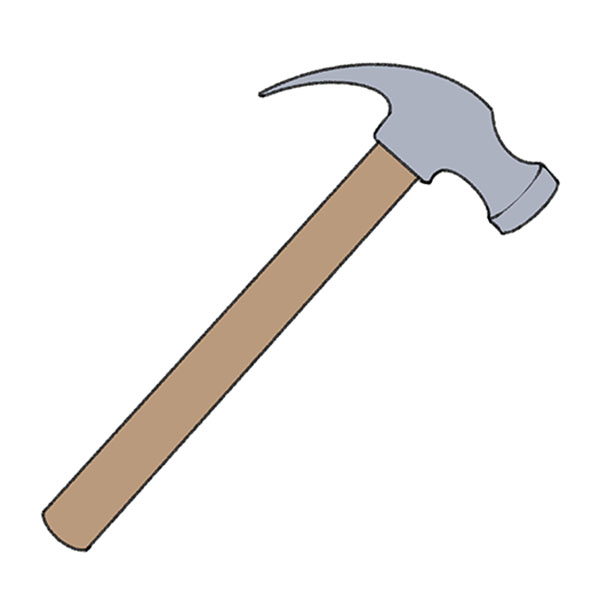
A hammer is a very common material being used in driving nails, fitting parts or even forging metals and breaking apart objects. Hammers are daily functional elements which we generally use to repair our rooms or houses! Onto the shape from the previous step add the bottom part of the hammer head. This line will serve as the head of.
This Line Will Serve As The Head Of The Hammer.
Enclose the top of the handle with a short straight line. Continue the lines and draw the part of the hammer that is used to drive nails. Add the same look to your hammer through simple sketches and a few creative principles. This line will serve as the handle of the hammer.
Web How To Draw Ball Peen Hammer New Drawing Transition Tutorial 😍🐙 #Shorts Drawingdrawing Transitionsdrawing Transition Tutorialdrawing Transition Reels Tutor.
By drawing these lines, you will be. It is always seen holding by a carpenter.sketch the applicable shape of the. Make sure it is long enough to fit the size of the hammer you want to draw. Draw the impact part of the hammer.
Web Start By Drawing A Straight, Vertical Line For The Handle Of The Hammer.
Get the markers here =. Then, extend a curved line from each side of the handle. Leave a little room from the bottom of the rectangle and draw a curved like out and down. Draw a line connecting the tip.
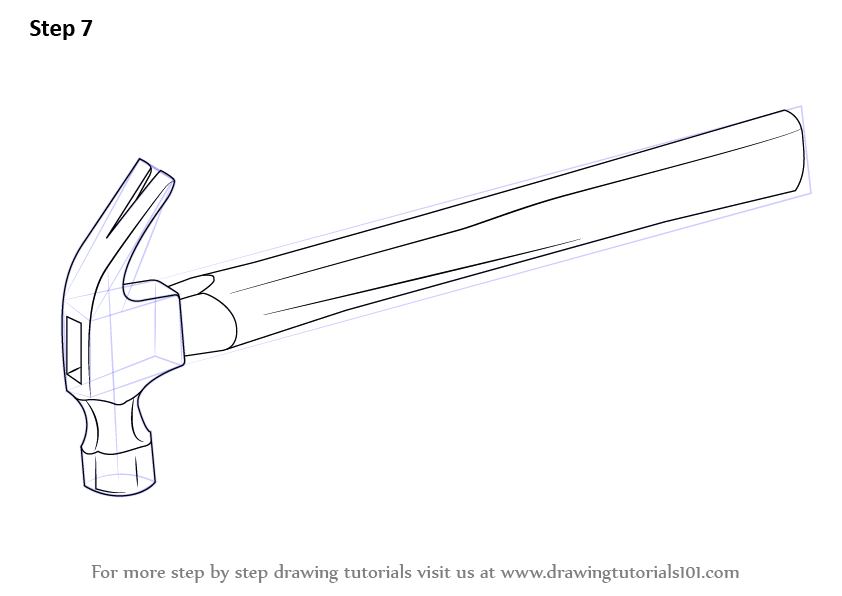
While Upper Part Of This Area Is Shaped Like A Cylinder From This View It Will Look Like A Rectangle So Draw Accordingly.
A little lower from the top, draw a curved line to the right. The lines need not be so long! Make this area slightly narrower as it goes towards the back. Web add the other end of the hammer.