How To Make A Photo Into A Drawing In Photoshop
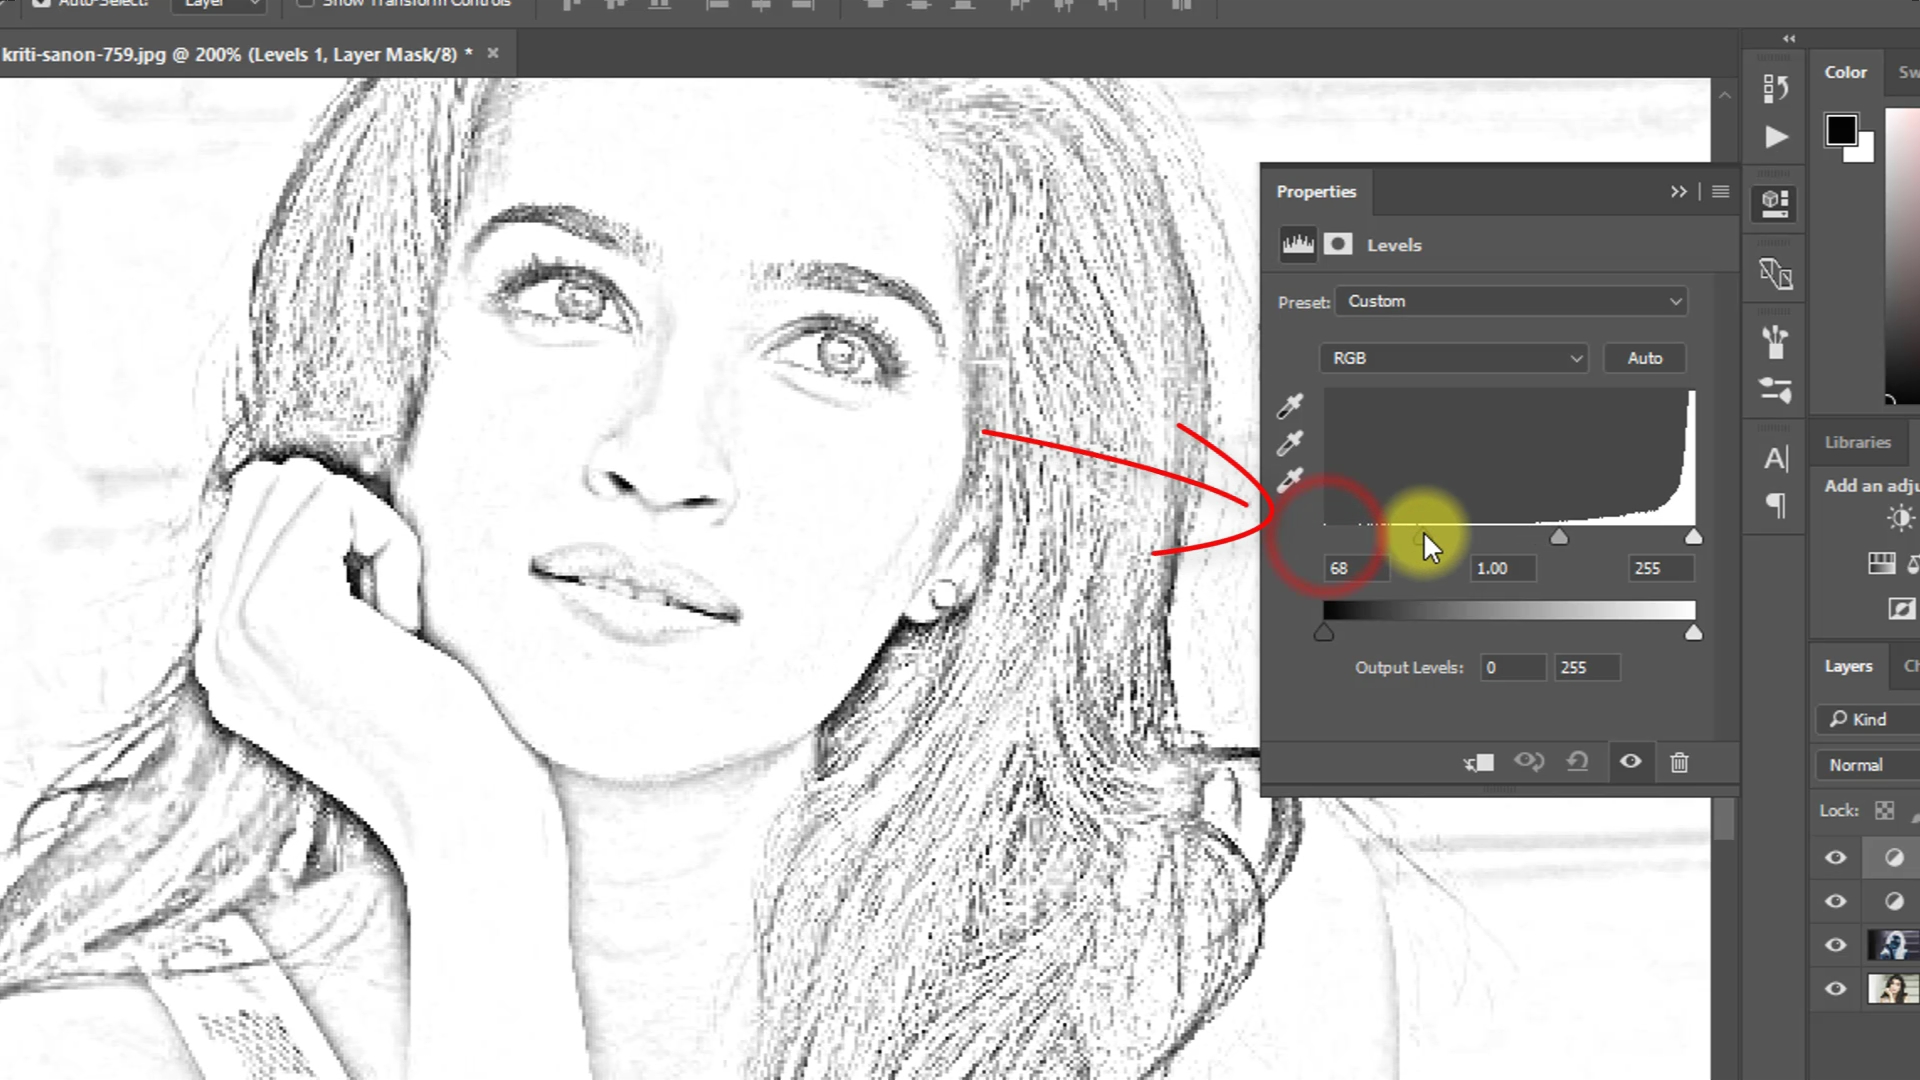
How To Make A Photo Into A Drawing In Photoshop - Web table of contents. To do that, go up to the layer menu in the menu bar along the top of the screen, choose new, then choose layer via copy. Open the image you wish to change into a drawing in photoshop. Press the alt + backspace keys to fill in the selection. However, you’ll see there are sections of the bike’s frame that are very light, like up here by. Then go to image > adjustments > hue/saturation and increase the lightness to make the lines as light as typical pencil strokes. Or, for a faster way to duplicate a layer, simply press ctrl+j (win) / command+j (mac) on your keyboard: We are going to create the fine lines of the outline as well as the smoother shading that is characteristic of a pencil drawing. Add a levels adjustment layer. Change the blend mode of layer 2 from normal to multiply.this will darken the lines in the sketch.
First i import it like usual (choosing the photomatch option). Keep an eye on the image in the document window as. This is our first drawing layer. Web add a gaussian blur. Then, since i only want the image’s subject sketched, i want to remove the background. To create the main line drawing effect first duplicate the smart object by pressing ctrl j (mac: However, you’ll see there are sections of the bike’s frame that are very light, like up here by. Press q or click the quick edit icon to deselect the image. Or, for a faster way to duplicate a layer, simply press ctrl+j (win) / command+j (mac) on your keyboard: The image comes in rotated 90 degrees to the right.
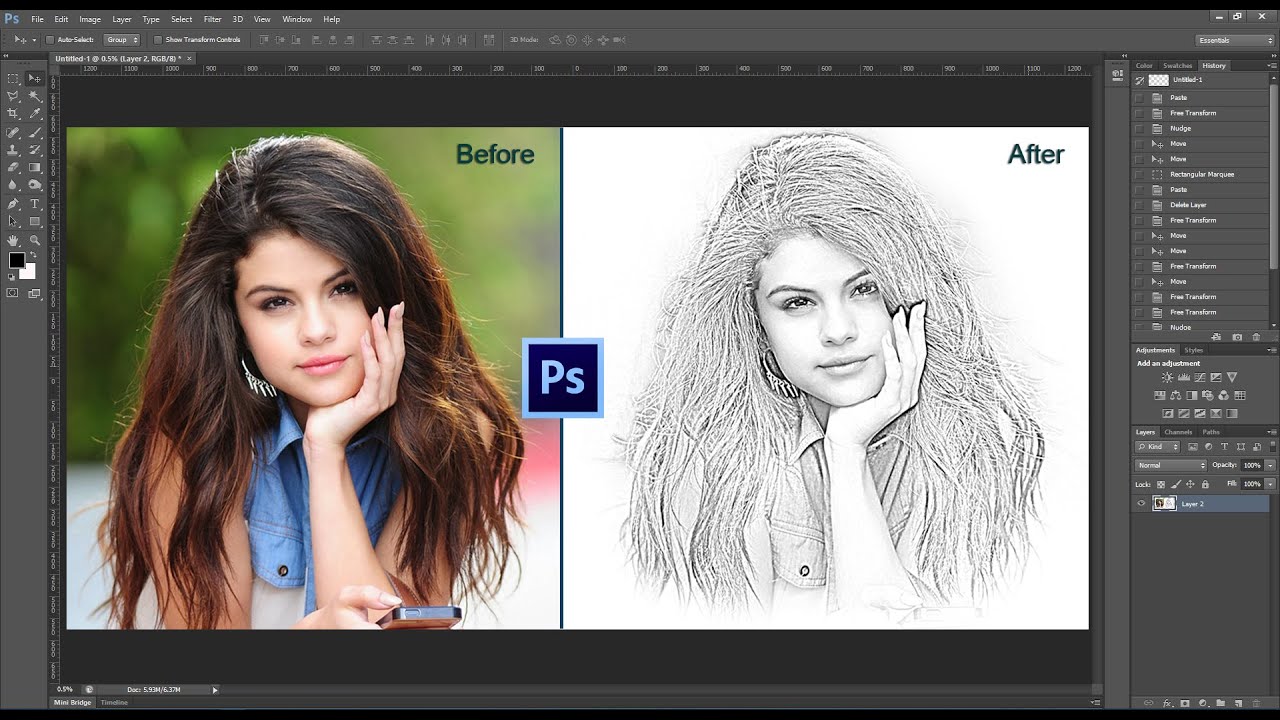
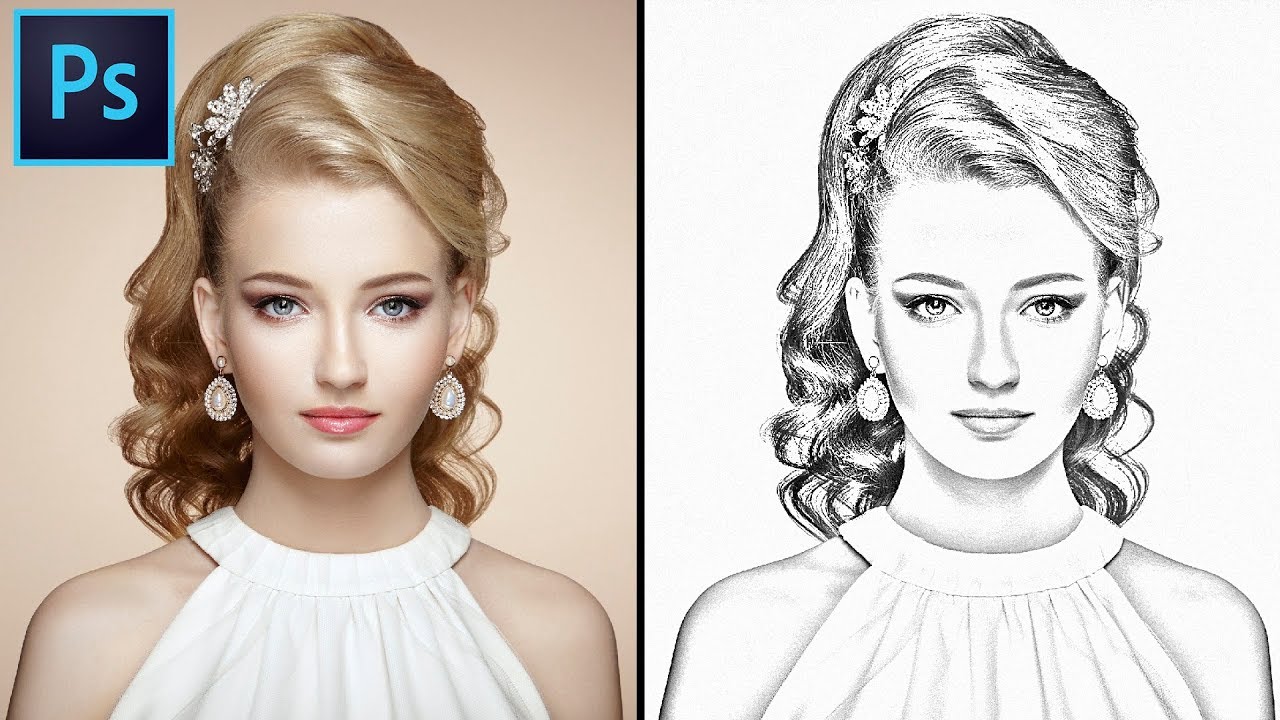
Web in today's adobe photoshop video tutorial we're going to create a pencil sketch effect that quickly converts a photograph into a realistic drawing. If you find the sketch is now too dark, lower the layer's opacity value, which you'll find to the right of the blend mode option. Most photos can easily be turned into pencil drawings in photoshop. Change to linear dodge blend mode and you should see a perfectly white image (use color dodge for sharper edges) as you adjust the blur you will get a different result. To start, you’re going to want to select all of the subject matter that you want to “sketchify.” (this is unnecessary if you’re doing the entire photo.) use a selection tool to select the area you want to turn into a sketch. To do that, go up to the layer menu in the menu bar along the top of the screen, choose new, then choose layer via copy. Then go to image > adjustment > invert. The image comes in rotated 90 degrees to the right. So to keep it safe, we'll make a copy of it. Dragging the background copy layer onto the new layer icon.

How to Turn a Photo into a Pencil Drawing in the new and
Your image should resemble a line drawing. Go to image > adjustments > shadows/highlights. Then, since i only want the image’s subject sketched, i want to remove the background. Next, we need to make a copy of our desaturated layer. So to keep it safe, we'll make a copy of it.
Pencil Sketch on How to Transform Photos into
Web how to turn your photo into a pencil drawing. Add a glowing edges filter. Then, since i only want the image’s subject sketched, i want to remove the background. But when i bring that photo in, it. Web in today's adobe photoshop video tutorial we're going to create a pencil sketch effect that quickly converts a photograph into a.
Turn Your Photo into Sketch Easily in YouTube
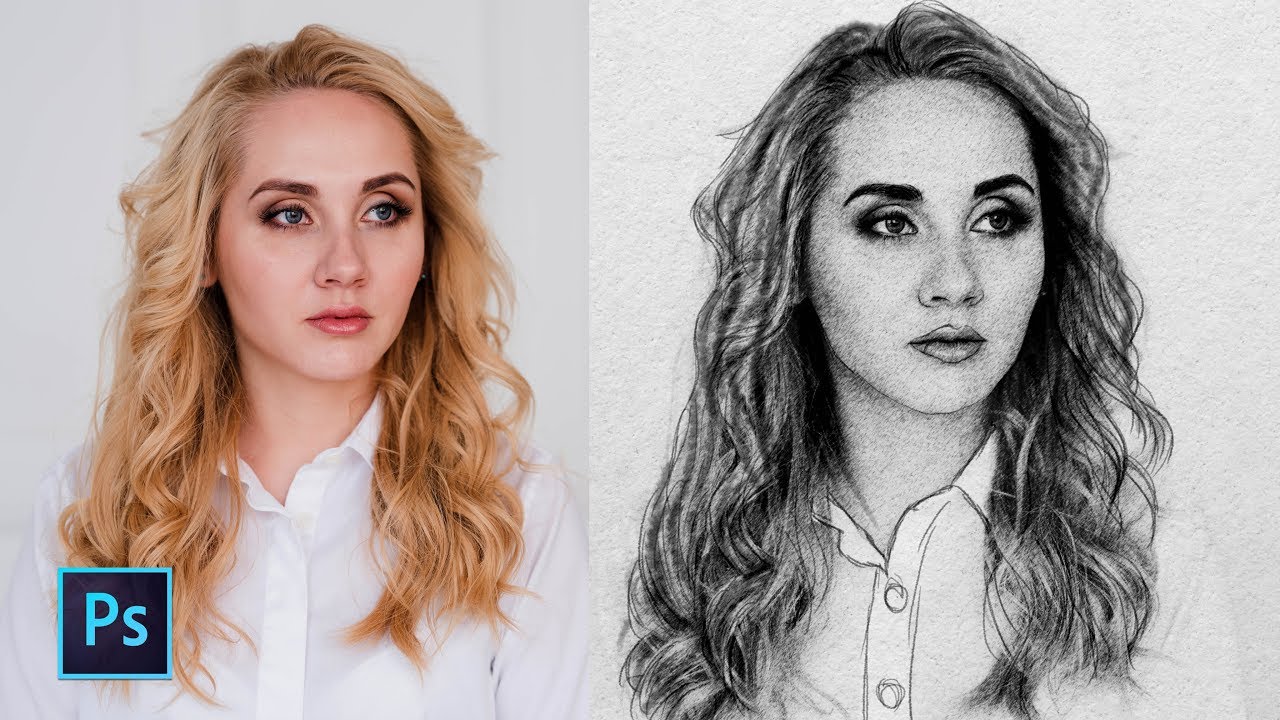
And with the option to add premium features, you can make advanced edits in a snap. Web how to turn a photo into a sketch in photoshop 2022. Web add a gaussian blur. To start, you’re going to want to select all of the subject matter that you want to “sketchify.” (this is unnecessary if you’re doing the entire photo.).
How To Turn Your Photo into Sketch Easily in YouTube
To create the main line drawing effect first duplicate the smart object by pressing ctrl j (mac: Most photos can easily be turned into pencil drawings in photoshop. Web how to turn a photo into a pencil sketch or drawing in photoshop cc and cs6, plus how to create a color sketch effect using the photo's original colors, a si..

How to Turn a Photo into Pencil Drawing Sketch Effect in
We'll start in photoshop's layers panel where the image appears on the background layer: Keep an eye on the image in the document window as. Then go to image > adjustment > invert. Adjust the contrast of your photo. Creating digital drawings can be a fun and.

Converting Your Image To Pencil Sketch Using SmuGG BuGG
The next thing we need to do to convert a photo to a drawing in photoshop is to add a gaussian blur. Click on the background copy layer in the layers panel and, just as we did with the original background layer, drag it down onto the new layer icon: Or use select the layer and use the keyboard shortcut.

How to Turn a Photo into Pencil Drawing Sketch Effect in PS
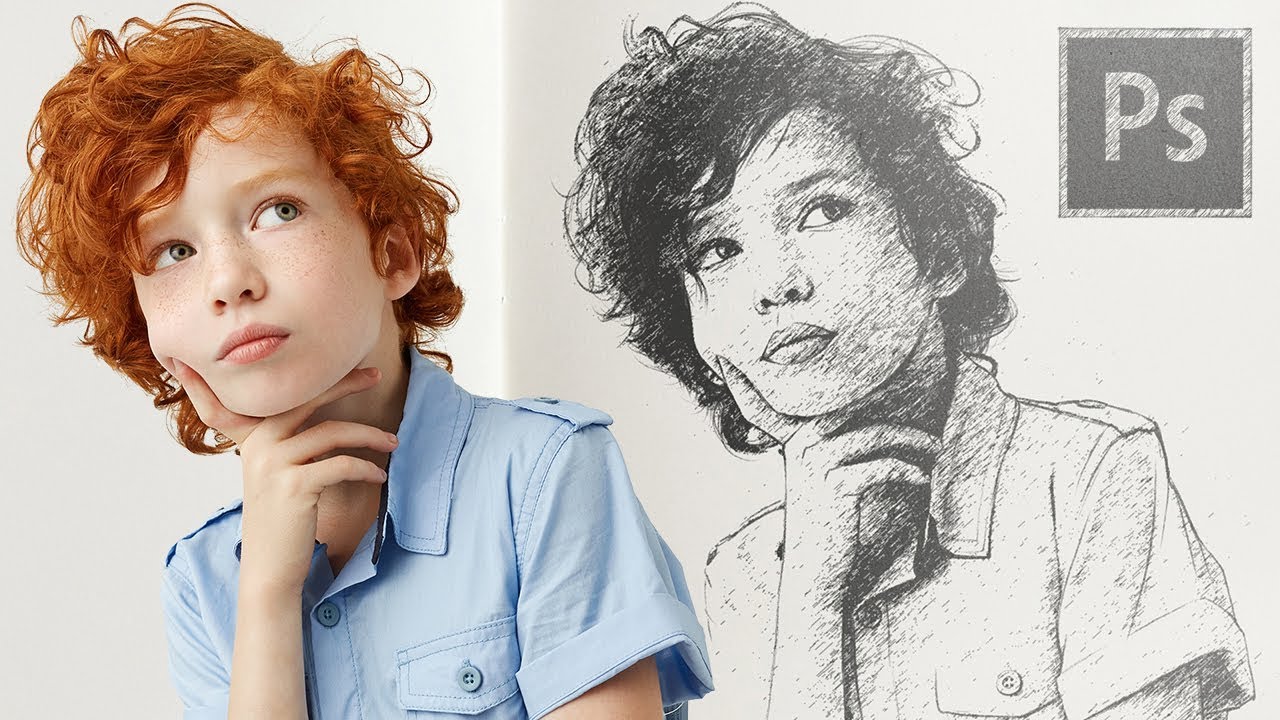
Web create and edit images that make an impression. Web in this tutorial, you will learn how to transform photo of yourself or anyone else into a drawing using photoshop. For the first step, we’re going to adjust the contrast of the photo to optimize it for a line drawing. Add a levels adjustment layer. Press the alt + backspace.
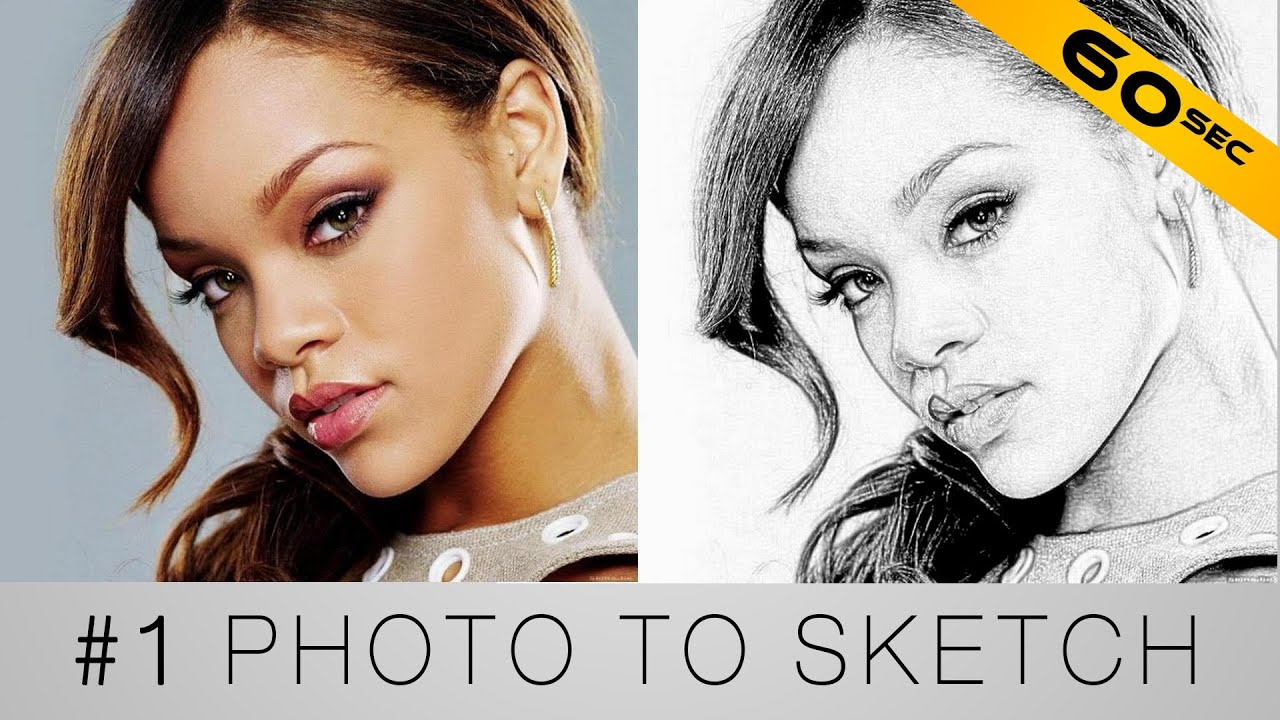
Turn your photo into a sketch in 60 seconds YouTube
Keep an eye on the image in the document window as. Click on the background copy layer in the layers panel and, just as we did with the original background layer, drag it down onto the new layer icon: Web how to turn a photo into a sketch in photoshop 2022. We'll start in photoshop's layers panel where the image.
How to convert you Image into A Pencil Sketch in
So to keep it safe, we'll make a copy of it. We'll start in photoshop's layers panel where the image appears on the background layer: But after many years, i have a much better way of doing it, check out the photo to pencil drawing tutorial here. First i import it like usual (choosing the photomatch option). This will input.
How to Convert Image into Pencil Sketch in CC
Open the image you wish to change into a drawing in photoshop. Then go to image > adjustments > hue/saturation and increase the lightness to make the lines as light as typical pencil strokes. Web in this tutorial, you will learn how to transform photo of yourself or anyone else into a drawing using photoshop. We'll need this image when.
Web In The Layers Panel, Click Normal.
Your image should be masked with red. Web table of contents. We'll start in photoshop's layers panel where the image appears on the background layer: First i import it like usual (choosing the photomatch option).
To Start The Effect, You Need To Open Both Images Onto One Document With The Photo You Want To Sketch At The Top.
The red should vanish, and. For the first step, we’re going to adjust the contrast of the photo to optimize it for a line drawing. Dragging the background copy layer onto the new layer icon. The image comes in rotated 90 degrees to the right.
Click On The Background Copy Layer In The Layers Panel And, Just As We Did With The Original Background Layer, Drag It Down Onto The New Layer Icon:
Change the blend mode of layer 2 from normal to multiply.this will darken the lines in the sketch. We'll need this image when we add color to the sketch later on. And with the option to add premium features, you can make advanced edits in a snap. To do that, go up to the layer menu in the menu bar along the top of the screen, choose new, then choose layer via copy.
Or Use Select The Layer And Use The Keyboard Shortcut Command (.
Then go to image > adjustment > invert. So to keep it safe, we'll make a copy of it. Press q or click the quick edit icon to deselect the image. Add a levels adjustment layer.