Lizard Drawing
Lizard Drawing - Then, detail the lizard's face. From there, we can proceed by drawing an arrowhead shape at one end of the line. Draw a short curved line at one end of the original line, indicating the corner of the smiling mouth. Make sure to create a slight curve in the toes to make them look more realistic. Form the nose and upper part of the mouth using a u shaped line. Contour the lizard, trying to vary the thickness and blackness of the. This is going to establish the flow of the lizard’s body. Get the latest updates, news, and exciting announcements from art for kids hub delivered straight to your inbox! Next, connect the body and head by drawing the neck. Web draw a mouth and toes.
This step by step lesson progressively builds upon each previous step until you get to the final rendering of a lizard. Join the art for kids hub newsletter! This is going to be the head of the lizard. Then, extend another curved line below the nose, forming the lower jaw and overlapping the line of the neck. Web this lesson was originally posted in our art club a while back! At the end of each leg, sketch five small ovals to represent the lizard’s toes. Work on the figure, paying special attention to details and parts. Draw a short curved line at one end of the original line, indicating the corner of the smiling mouth. Whether you’re a parent, teacher, or art enthusiast, our newsletter is packed with fun. Web watch how to draw a lizard.
Draw a short curved line at one end of the original line, indicating the corner of the smiling mouth. Web this lesson was originally posted in our art club a while back! Follow along with the how to draw a lizard drawing guide below by sketching the red portion of each of the six steps, super easy! This step by step lesson progressively builds upon each previous step until you get to the final rendering of a lizard. Join the art for kids hub newsletter! Then, use curved lines to enclose a partial oval above the mouth. Make sure to create a slight curve in the toes to make them look more realistic. Whether you’re a parent, teacher, or art enthusiast, our newsletter is packed with fun. Form the nose and upper part of the mouth using a u shaped line. Draw another oval inside it, completing the eye.
How to Draw a Lizard Easy Drawing Tutorial For Kids
Then, detail the lizard's face. This step by step lesson progressively builds upon each previous step until you get to the final rendering of a lizard. Whether you’re a parent, teacher, or art enthusiast, our newsletter is packed with fun. Follow along with the how to draw a lizard drawing guide below by sketching the red portion of each of.
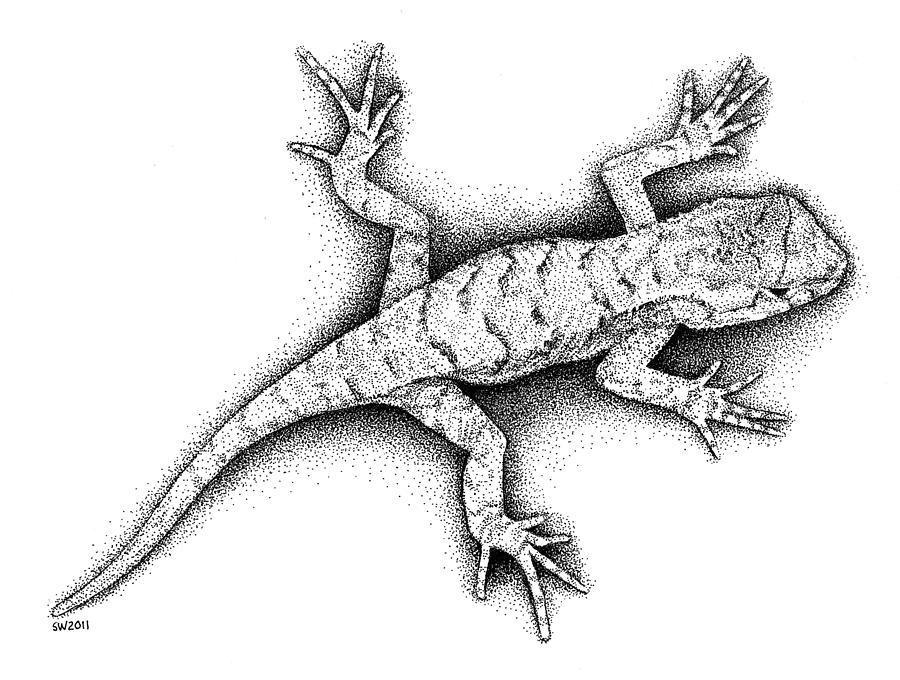
Lizard Drawing by Scott Woyak Fine Art America
Then, extend another curved line below the nose, forming the lower jaw and overlapping the line of the neck. Parents, be sure to hop over to our website and sign your kids up for more exclusive lessons. Follow my step by step drawing tutorial and make your own lizard drawing easy!👇. Draw two pairs of curved lines extending from the.
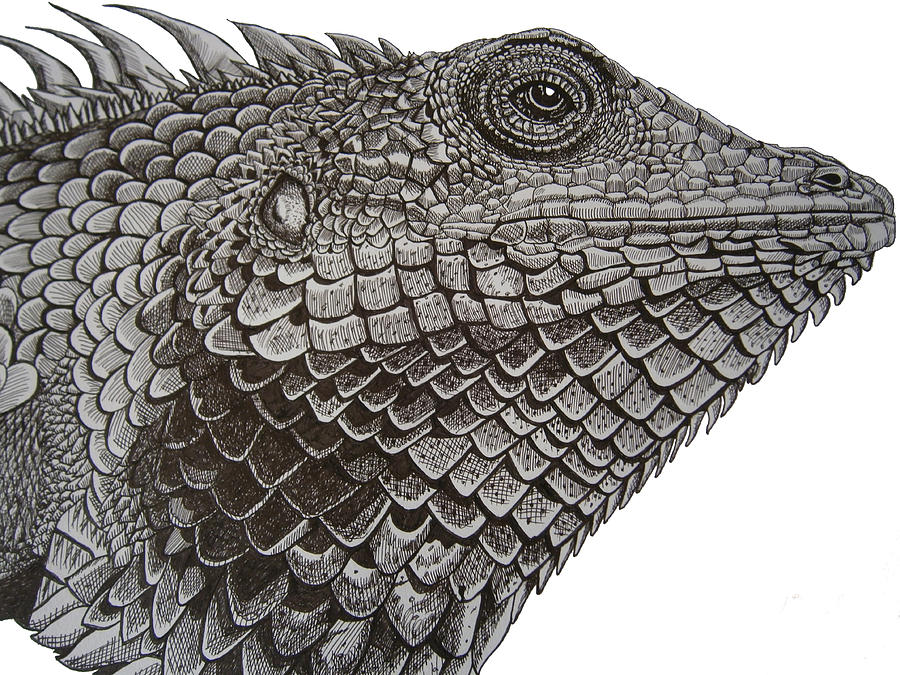
Large Scaled Forest Lizard Drawing by Tracey Gurr BA Hons Pixels
Begin the cartoon lizard outline by drawing a curved line. Draw a short curved line at one end of the original line, indicating the corner of the smiling mouth. Work on the figure, paying special attention to details and parts. Next, connect the body and head by drawing the neck. Using our hb pencils, we want to begin by drawing.

How to Draw a Lizard (with Pictures) wikiHow
Work on the figure, paying special attention to details and parts. Using our hb pencils, we want to begin by drawing a curved line on the page. Get the latest updates, news, and exciting announcements from art for kids hub delivered straight to your inbox! Web this lesson was originally posted in our art club a while back! This is.
How to Draw a Lizard Easy Drawing Art
Contour the lizard, trying to vary the thickness and blackness of the. Lizards have four legs, and each leg has five toes. Then, detail the lizard's face. Work on the figure, paying special attention to details and parts. Draw a short curved line at one end of the original line, indicating the corner of the smiling mouth.

Lizard Drawing — How To Draw A Lizard Step By Step
Then, use curved lines to enclose a partial oval above the mouth. Follow my step by step drawing tutorial and make your own lizard drawing easy!👇. Lizards have four legs, and each leg has five toes. Make sure to create a slight curve in the toes to make them look more realistic. Next, connect the body and head by drawing.
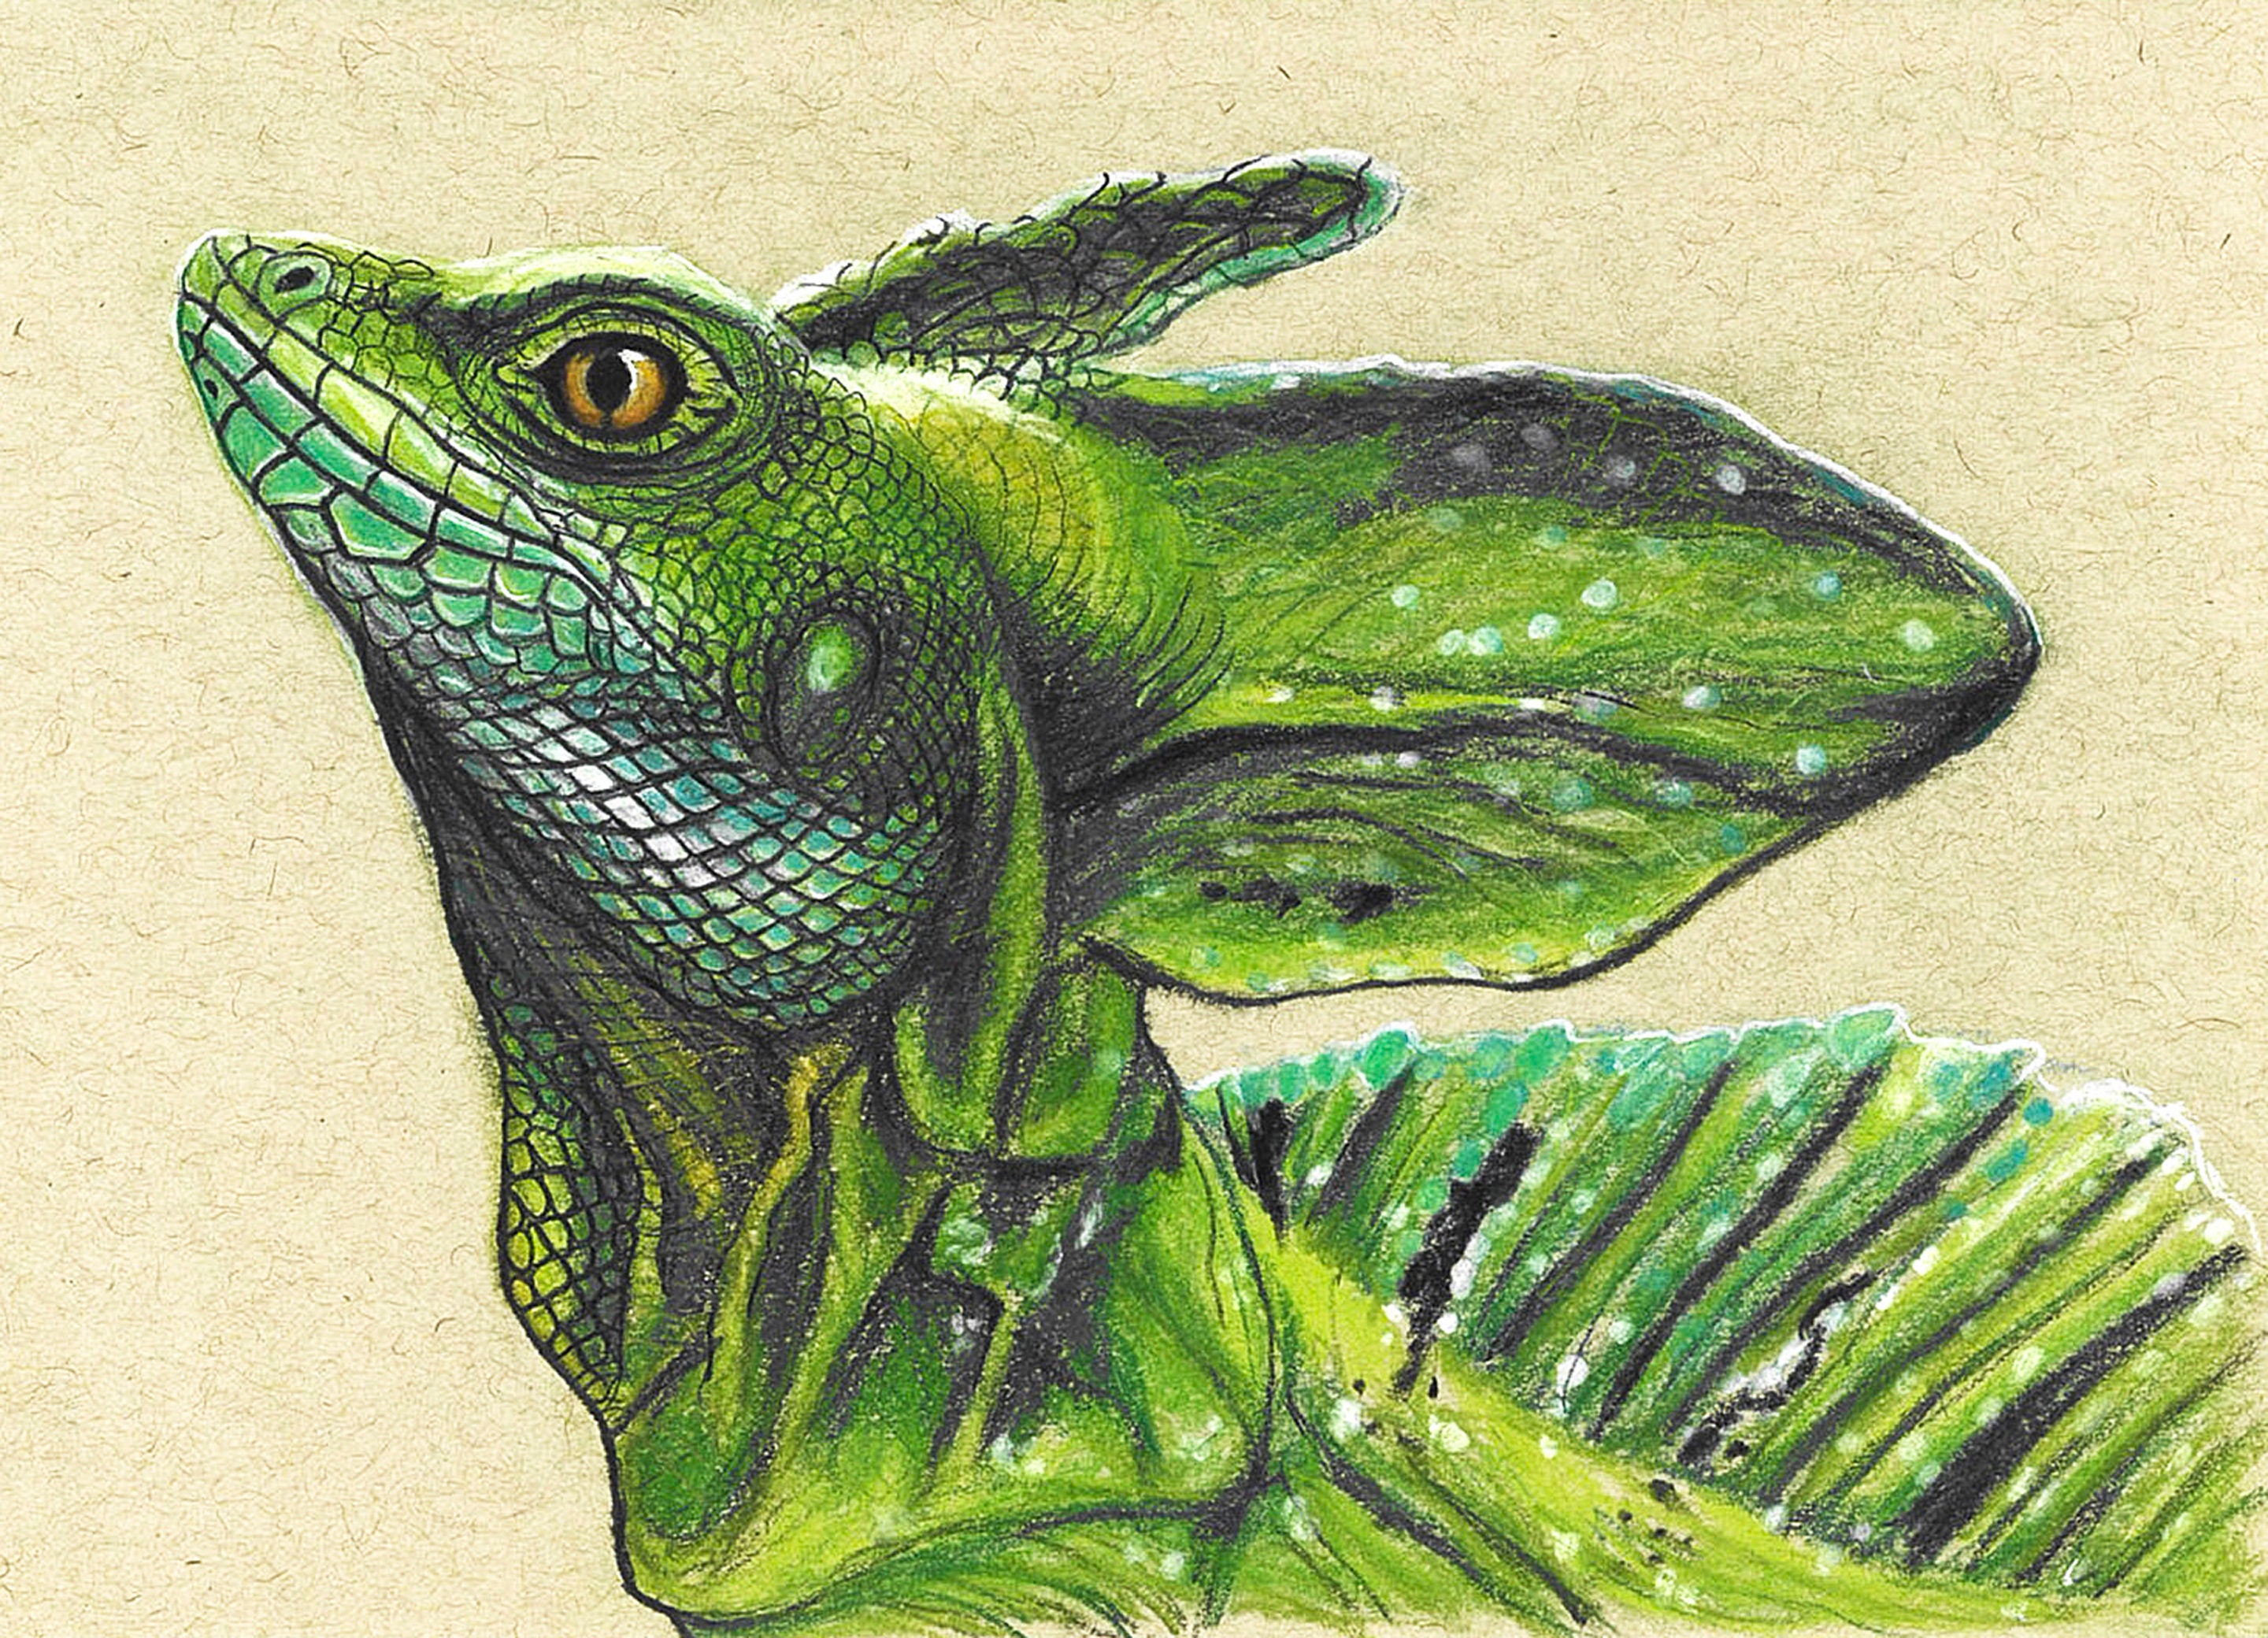
Basilisk Lizard Original Pastel Drawing
Then, detail the lizard's face. Work on the figure, paying special attention to details and parts. Form the nose and upper part of the mouth using a u shaped line. Draw two pairs of curved lines extending from the lizard’s body to create the front and hind legs. This is going to be the head of the lizard.

Easy Lizard Drawing HelloArtsy
Lizards have four legs, and each leg has five toes. Follow my step by step drawing tutorial and make your own lizard drawing easy!👇. Draw another oval inside it, completing the eye. Get the latest updates, news, and exciting announcements from art for kids hub delivered straight to your inbox! Parents, be sure to hop over to our website and.

How to Draw a Lizard With Ink Liners Envato Tuts+
Lizards have four legs, and each leg has five toes. This outlines the gecko's face. Web this lesson was originally posted in our art club a while back! This is going to be the head of the lizard. Draw two circles to define the eyes.
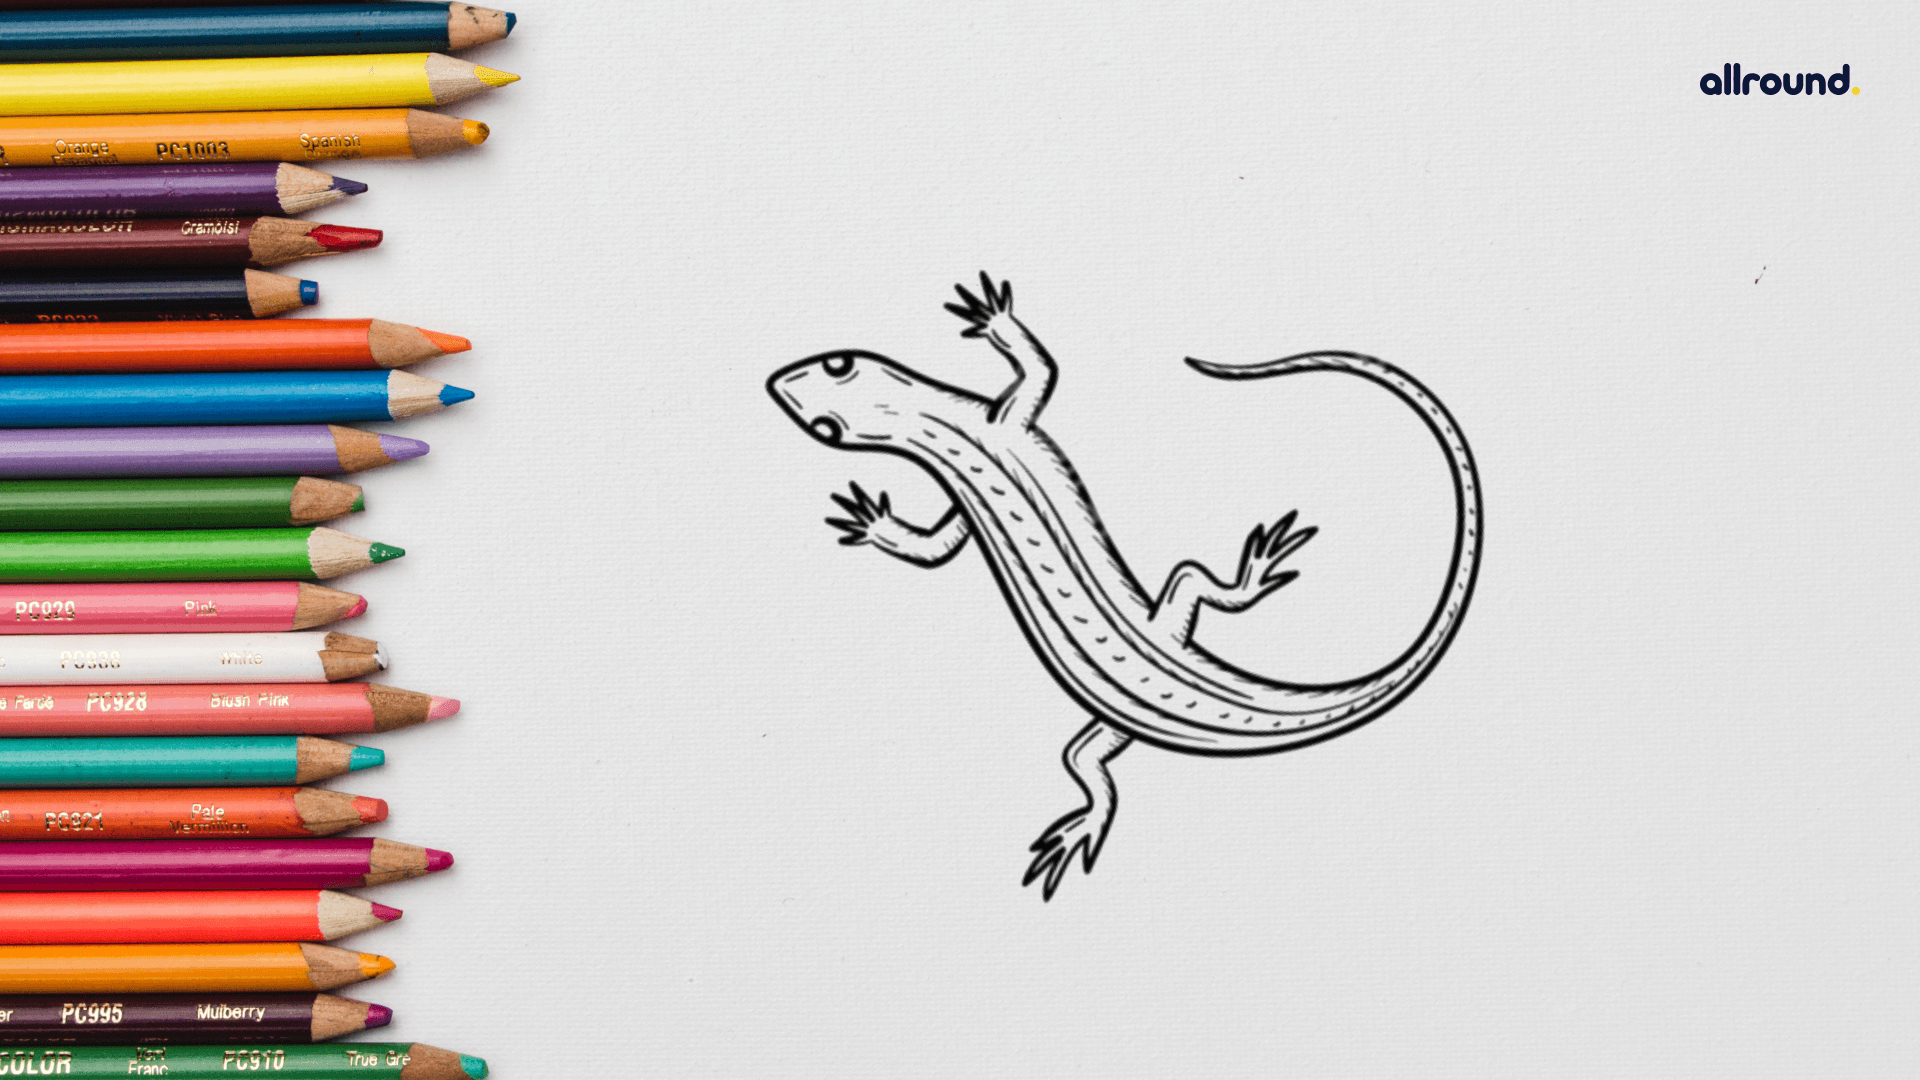
How To Draw A Lizard? Step by Step Drawing Guide for Kids
Join the art for kids hub newsletter! Contour the lizard, trying to vary the thickness and blackness of the. Draw two pairs of curved lines extending from the lizard’s body to create the front and hind legs. Parents, be sure to hop over to our website and sign your kids up for more exclusive lessons. At the end of each.
Draw A Short Curved Line At One End Of The Original Line, Indicating The Corner Of The Smiling Mouth.
Form the nose and upper part of the mouth using a u shaped line. Lizards have four legs, and each leg has five toes. Follow along with the how to draw a lizard drawing guide below by sketching the red portion of each of the six steps, super easy! Make sure to create a slight curve in the toes to make them look more realistic.
Work On The Figure, Paying Special Attention To Details And Parts.
Then, extend another curved line below the nose, forming the lower jaw and overlapping the line of the neck. This outlines the gecko's face. Join the art for kids hub newsletter! Then, detail the lizard's face.
This Is Going To Be The Head Of The Lizard.
Parents, be sure to hop over to our website and sign your kids up for more exclusive lessons. Next, connect the body and head by drawing the neck. Follow my step by step drawing tutorial and make your own lizard drawing easy!👇. Web draw a mouth and toes.
Draw Another Oval Inside It, Completing The Eye.
Using our hb pencils, we want to begin by drawing a curved line on the page. Whether you’re a parent, teacher, or art enthusiast, our newsletter is packed with fun. Get the latest updates, news, and exciting announcements from art for kids hub delivered straight to your inbox! Web in this drawing lesson we’ll show you how to draw a lizard in 6 easy steps.