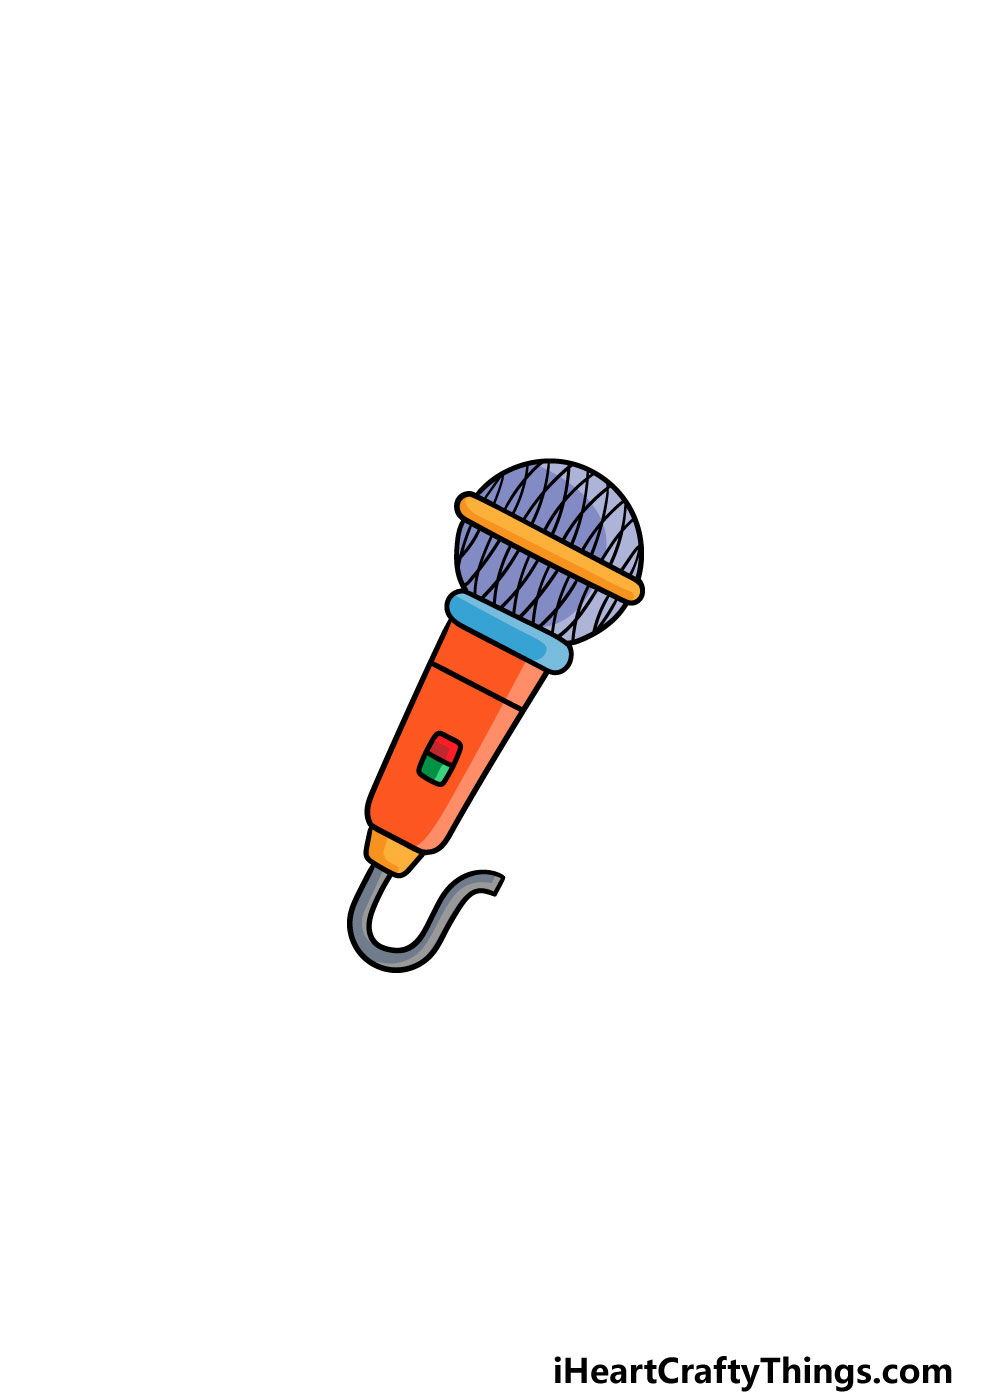
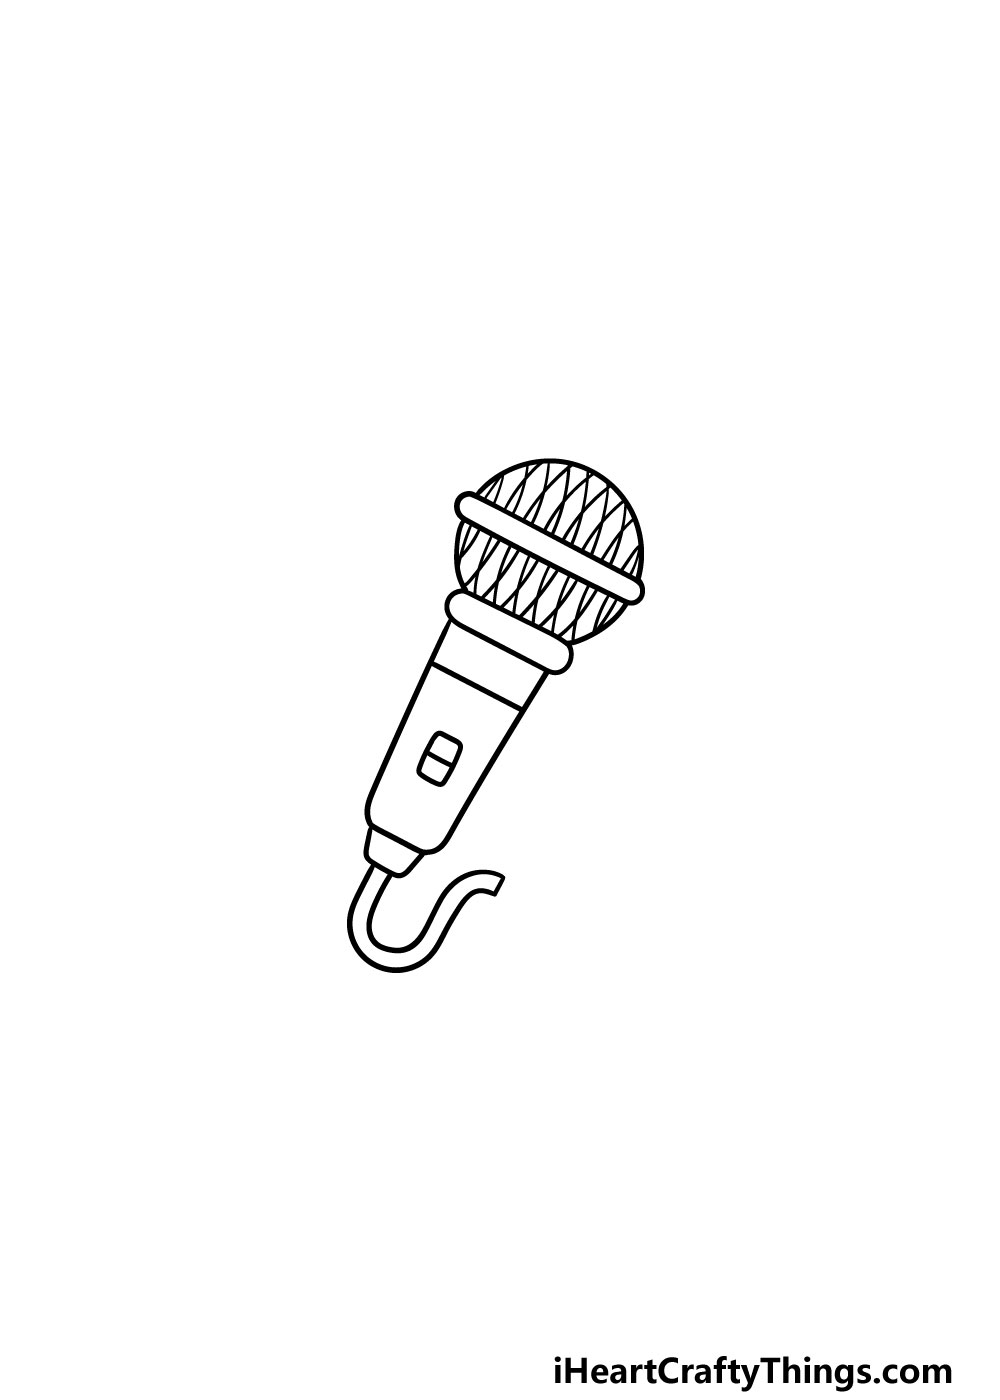
Microphone To Draw
Microphone To Draw - Then, use your ruler to draw an even outline of the mic and add small details such as buttons or a grille. In this video i will walk you step by step through the drawing techniques you will need. Use a tall narrow trapezoid to make the handle of the microphone. Vary the size and shape of the ribs on the grille, and draw a line in the middle to give the mic more dimension. Web stop after your paper is filled. Draw a horizontal line above the middle of the handle and add a small trapezoid beneath the bottom of the handle. Web depict it in the middle of a circle. These will be the handles. Web microphone drawing easy (option 1) above is a round ball, and under them is an elongated handle. Next, we will add a large, smiling mouth with teeth and tongue details within it.
Then, extend a curved line down from. This will be the head of the microphone. At the bottom, we draw the handle’s attachment to the cord in the form of a narrow rectangle (horizontal), to the center of which a small rectangle (vertical) is attached, and the line comes out of it. Web microphone drawing easy (option 1) above is a round ball, and under them is an elongated handle. Now draw two lines coming down from the head of the microphone. Draw a short wide trapezoid wide above and narrow at the gap. Set your timer and start sketching. To finish up, draw a small circle at the bottom of the microphone. Then, cross these with additional curved lines perpendicular to the first. With love,b6artsforkidseasy drawing of microphone for kids.step by step fo.
Begin by making a straight at the angle that you wish to draw the microphone at. Vary the size and shape of the ribs on the grille, and draw a line in the middle to give the mic more dimension. Then, extend a curved line down from. Draw a horizontal line above the middle of the handle and add a small trapezoid beneath the bottom of the handle. Next, we will add a large, smiling mouth with teeth and tongue details within it. This microphone drawing easy made by how2draw easily. Begin by drawing the outline of the microphone. To do some quick sketches of microphones, grab a piece of paper and something to draw with. In this video i will walk you step by step through the drawing techniques you will need. This represents the connector where the microphone is plugged into audio equipment.

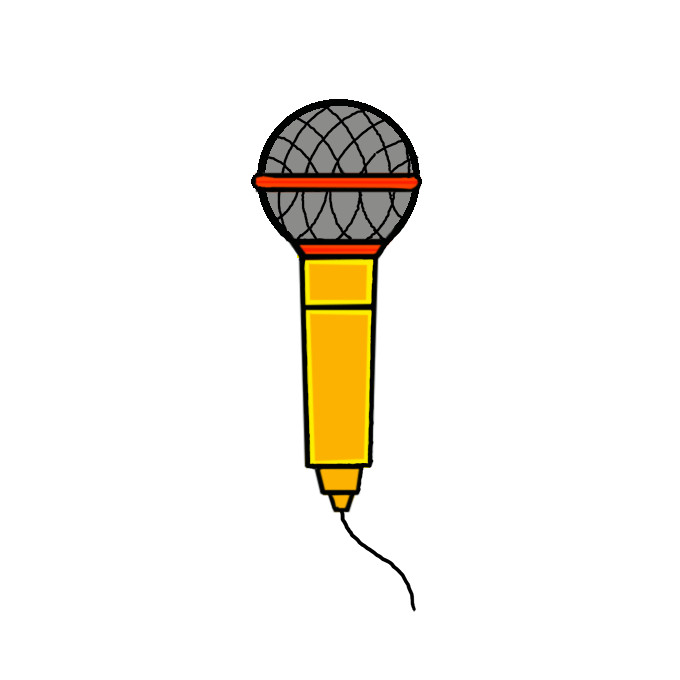
How to Draw a Microphone Really Easy Drawing Tutorial
With love,b6artsforkidseasy drawing of microphone for kids.step by step fo. Begin by drawing the outline of the microphone. Draw a short wide trapezoid wide above and narrow at the gap. Start by making a rectangle. With love, zooshii x subscribe here:

Microphone Drawing Easy, Old School, Vintage, Step by Step
The purpose of this line is to ac as a guide that helps make sure that the microphone drawing does not get bent or skewed in one direction. At the lower end of the circle on the left side, erase a portion of the circle so that there is an opening. Hatch the upper round part of the microphone in.
Microphone Drawing How To Draw A Microphone Step By Step
Draw a grid on the microphone. This will be the microphone’s body. With love,b6artsforkidseasy drawing of microphone for kids.step by step fo. Web let's draw a microphone step by step. Google works fine for this.
How to Draw a Microphone Step by Step Easy Drawing Guides Drawing
Then find some references to draw from. Use a tall narrow trapezoid to make the handle of the microphone. Draw a grid of intersecting lines on the ball. This will be the head of the microphone. First, add two black circles, one inside each eye, for the pupils.

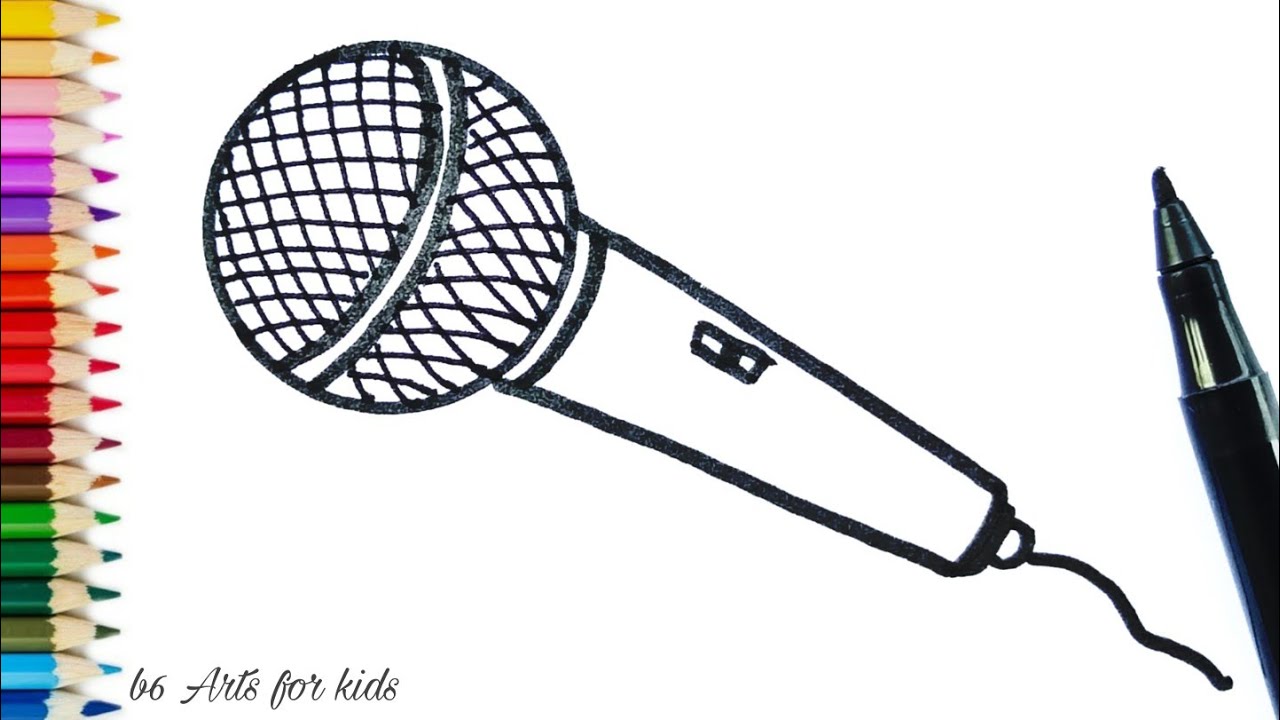
How to draw Microphone step by step. YouTube
Draw a grid on the microphone. Then, draw a larger oval shape at the top of the handle. Google works fine for this. Now that you have the outline of this cartoon microphone drawing done, we can now start adding some facial details onto it. This will also fill up the space that you left at the bottom there.
How To Draw A Microphone Drawing Lesson YouTube
Web let’s learn how to draw a microphone for kidsfollow my step by step microphone drawing and i am sure you are going to enjoy this process.this microphone draw. Web depict it in the middle of a circle. Web learn how to draw a microphone easy step by step with pencil & coloring pages for beginners & kids. In this.
Microphone Drawing How To Draw A Microphone Step By Step
Learn how to draw a mircophone step by step in this drawing lesson! This will be the microphone’s body. Draw a horizontal line above the middle of the handle and add a small trapezoid beneath the bottom of the handle. With love, zooshii x subscribe here: With love,b6artsforkidseasy drawing of microphone for kids.step by step fo.

How to Draw a Microphone Really Easy Drawing Tutorial
At the lower end of the circle on the left side, erase a portion of the circle so that there is an opening. To do so, first draw many curved, parallel lines traveling in a single direction. Pick a method from the above list, or use your own. In this part of your microphone drawing, you will start to draw.

How to Draw a Microphone Really Easy Drawing Tutorial
First, add two black circles, one inside each eye, for the pupils. Web to add detail to your microphone, draw a small circular shape at the bottom of the head. Draw a short wide trapezoid wide above and narrow at the gap. Take an eraser to remove unnecessary lines from the surface of the drawn microphone. This will serve as.
How to Draw a Microphone Easy Drawing Art
At the bottom, we draw the handle’s attachment to the cord in the form of a narrow rectangle (horizontal), to the center of which a small rectangle (vertical) is attached, and the line comes out of it. This will be the microphone’s body. Then, use your ruler to draw an even outline of the mic and add small details such.
Learn How To Draw A Mircophone Step By Step In This Drawing Lesson!
First, add two black circles, one inside each eye, for the pupils. At the lower end of the circle on the left side, erase a portion of the circle so that there is an opening. You can add a few lines or dots inside the circle to indicate the connection points. Then, extend a curved line down from.
Then Towards The Middle Of That Circle, Draw Two Parallel Lines Across That Shape.
Start by making a rectangle. After doing so, draw another long rectangle for your mic’s handle. With love, zooshii x subscribe here: Web learn how to draw a mircophone step by step in this drawing lesson!
At The Bottom, We Draw The Handle’s Attachment To The Cord In The Form Of A Narrow Rectangle (Horizontal), To The Center Of Which A Small Rectangle (Vertical) Is Attached, And The Line Comes Out Of It.
To finish up, draw a small circle at the bottom of the microphone. This represents the connector where the microphone is plugged into audio equipment. Next, we will add a large, smiling mouth with teeth and tongue details within it. Web how to draw a microphone easily
In This Part Of Your Microphone Drawing, You Will Start To Draw The Body Of The Microphone.
Next, draw a smaller rectangle on top of the first one. These will be the handles. Pick a method from the above list, or use your own. How to draw a cartoon microphone (option 3) step one.