Microscopic Drawing
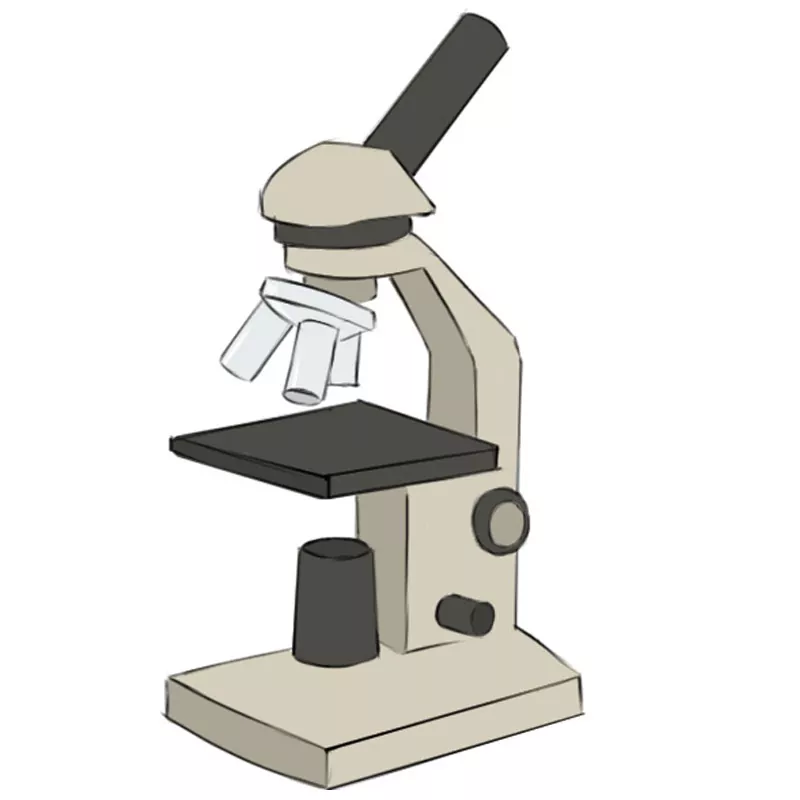
Microscopic Drawing - Web add a small circle on the top of the horizontal rectangle for the lens. Draw the objective lens for this microscope. Web may 8, 2024. This shape will also have some small circles on it. Additionally, you may require some specialized materials such as a camera lucida, a device that projects a superimposed image of the specimen and the paper for tracing. It will take 9 steps in total to complete the drawing. Notice the bend in the middle of each line. Web outline the general shapes: On the bottom part of your paper, sketch two horizontal elongated oblong shapes. It’s is consists of many small tubes.
Click on any image below to view this guide in gallery mode. This may require going between the microscope slide and the drawing in order to get the proportions and shape correct. It will take 9 steps in total to complete the drawing. Add two lines on top of it at a 45° angle to make the eye tube. Additionally, you may require some specialized materials such as a camera lucida, a device that projects a superimposed image of the specimen and the paper for tracing. This example doesn't show the head as clearly as other microscope pictures do, so to do yours better look at a few other microscope images. This shape will also have some small circles on it. Then, we will be drawing a small mirror on a hinge, and this would be used as a light source for the microscope. These two oblongs should have one inch apart. Having one or two curve part and one base.
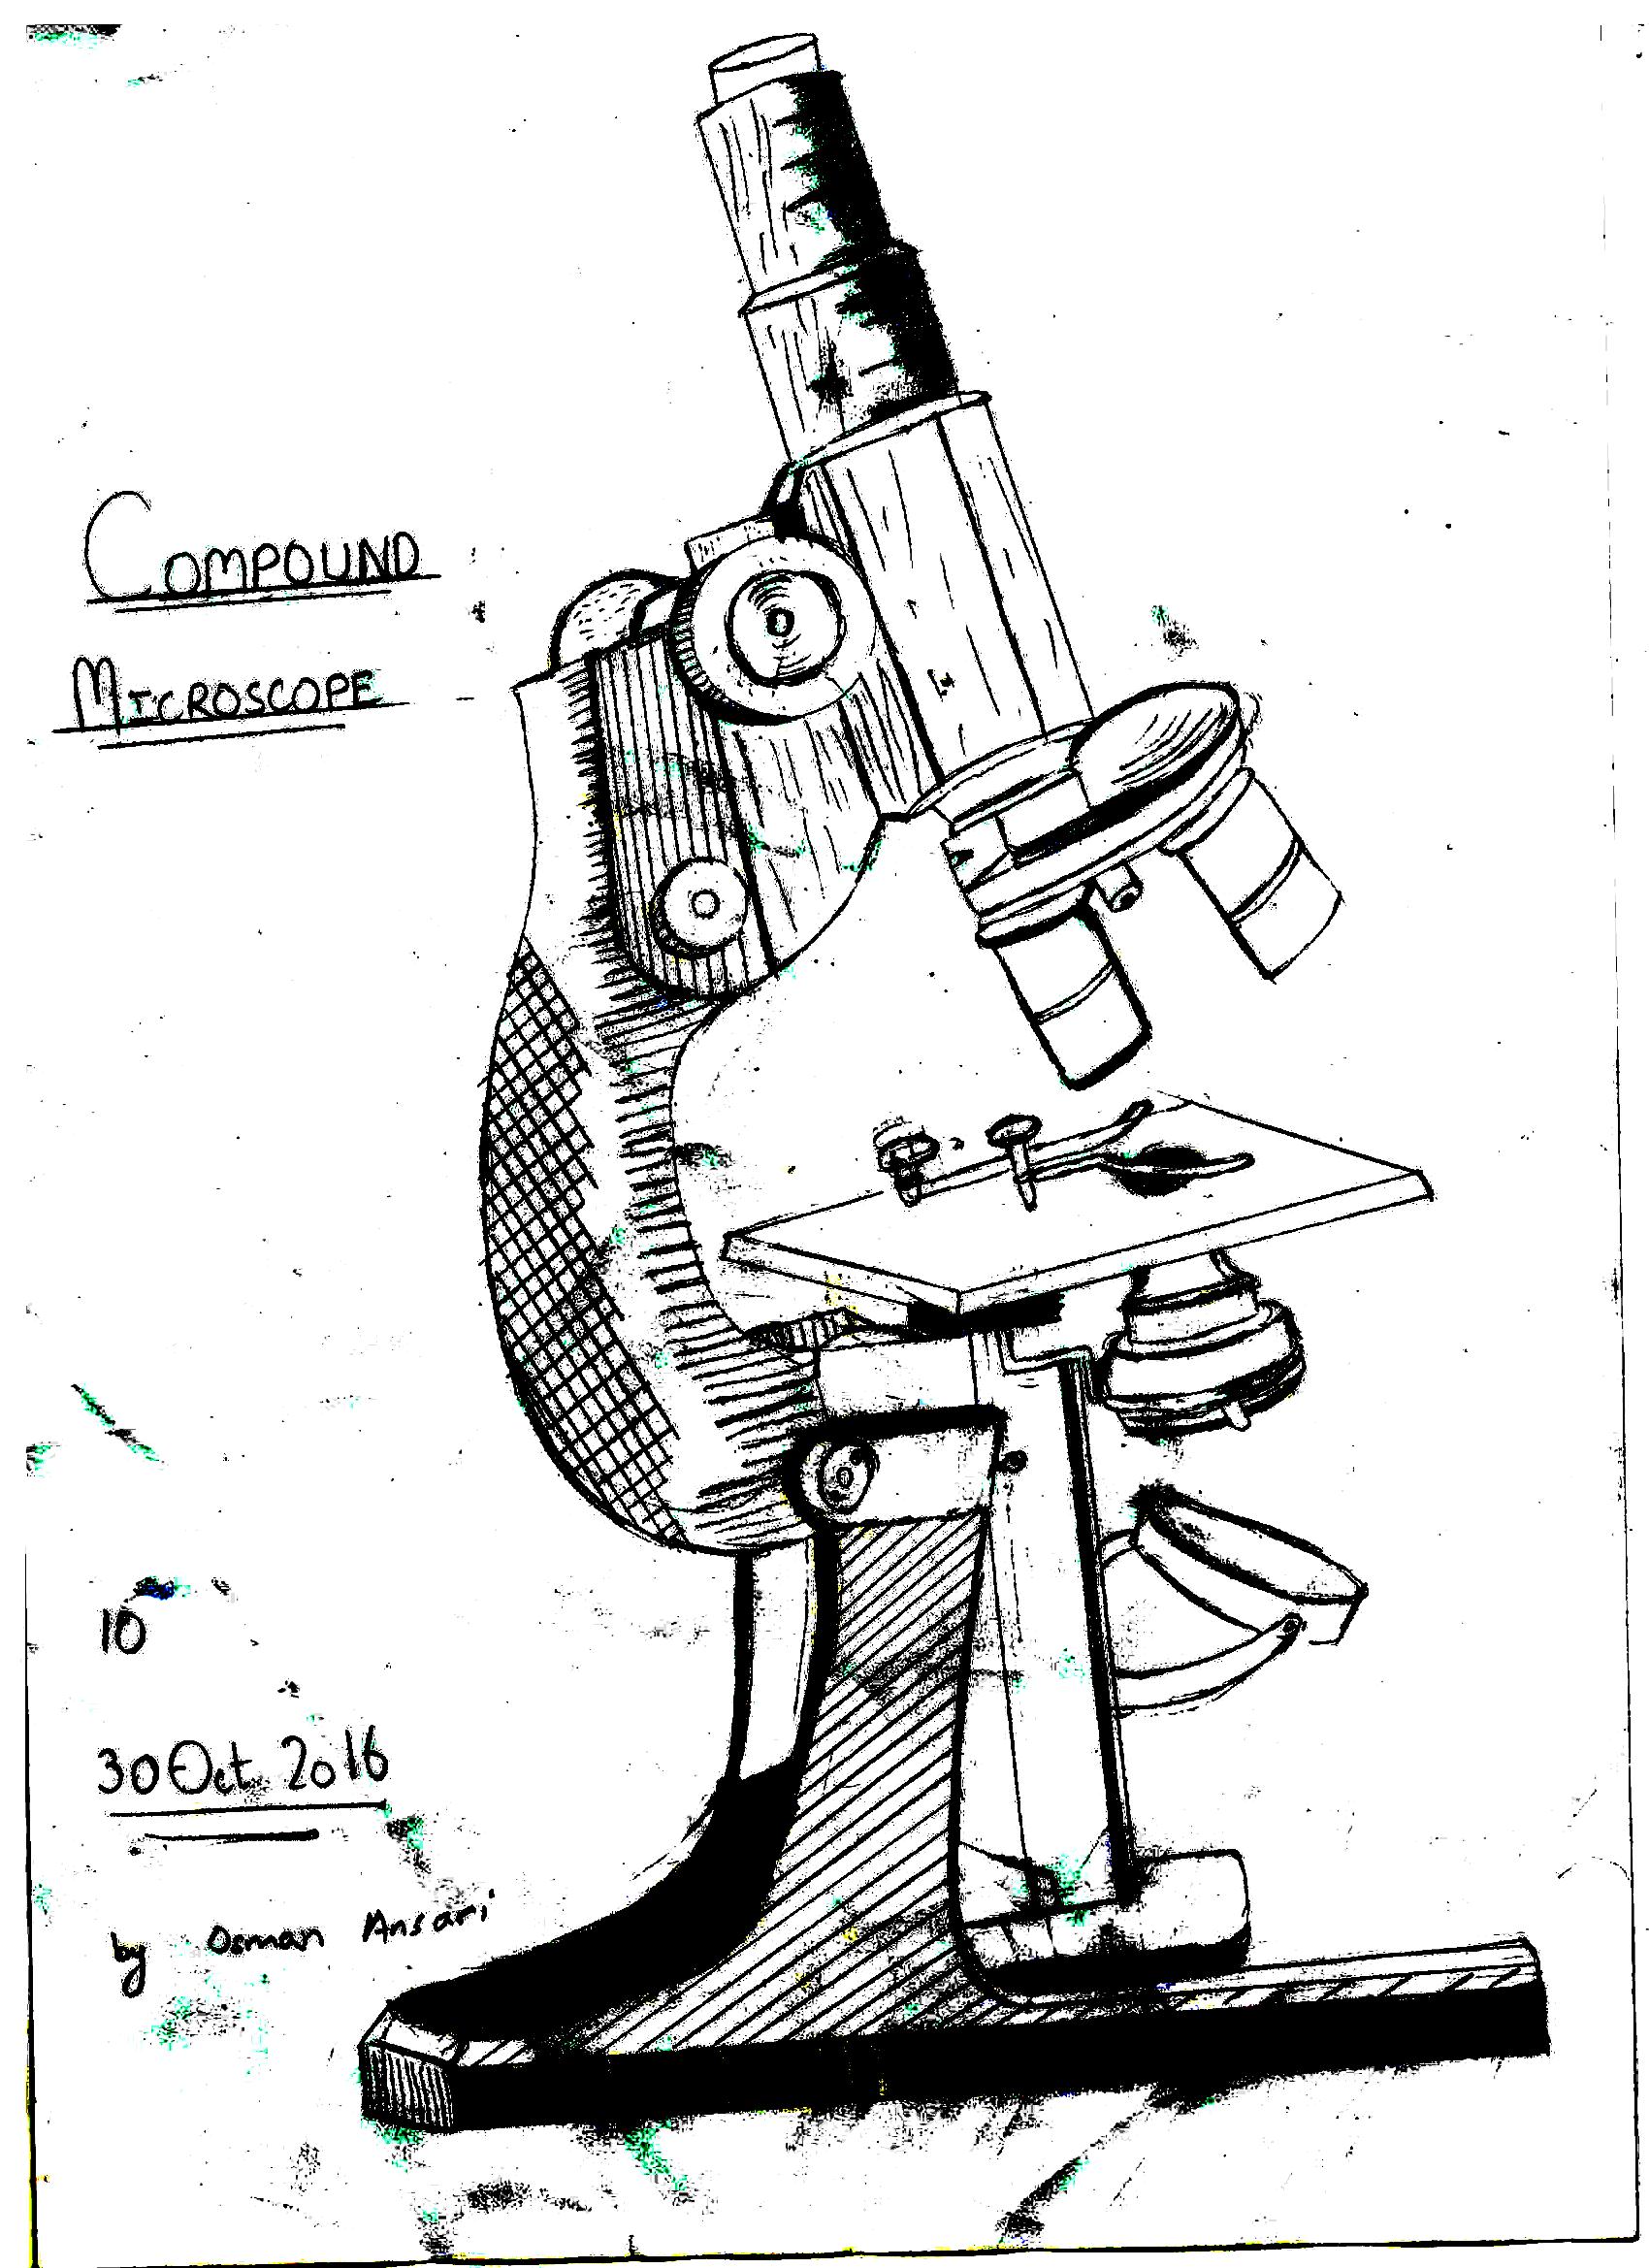
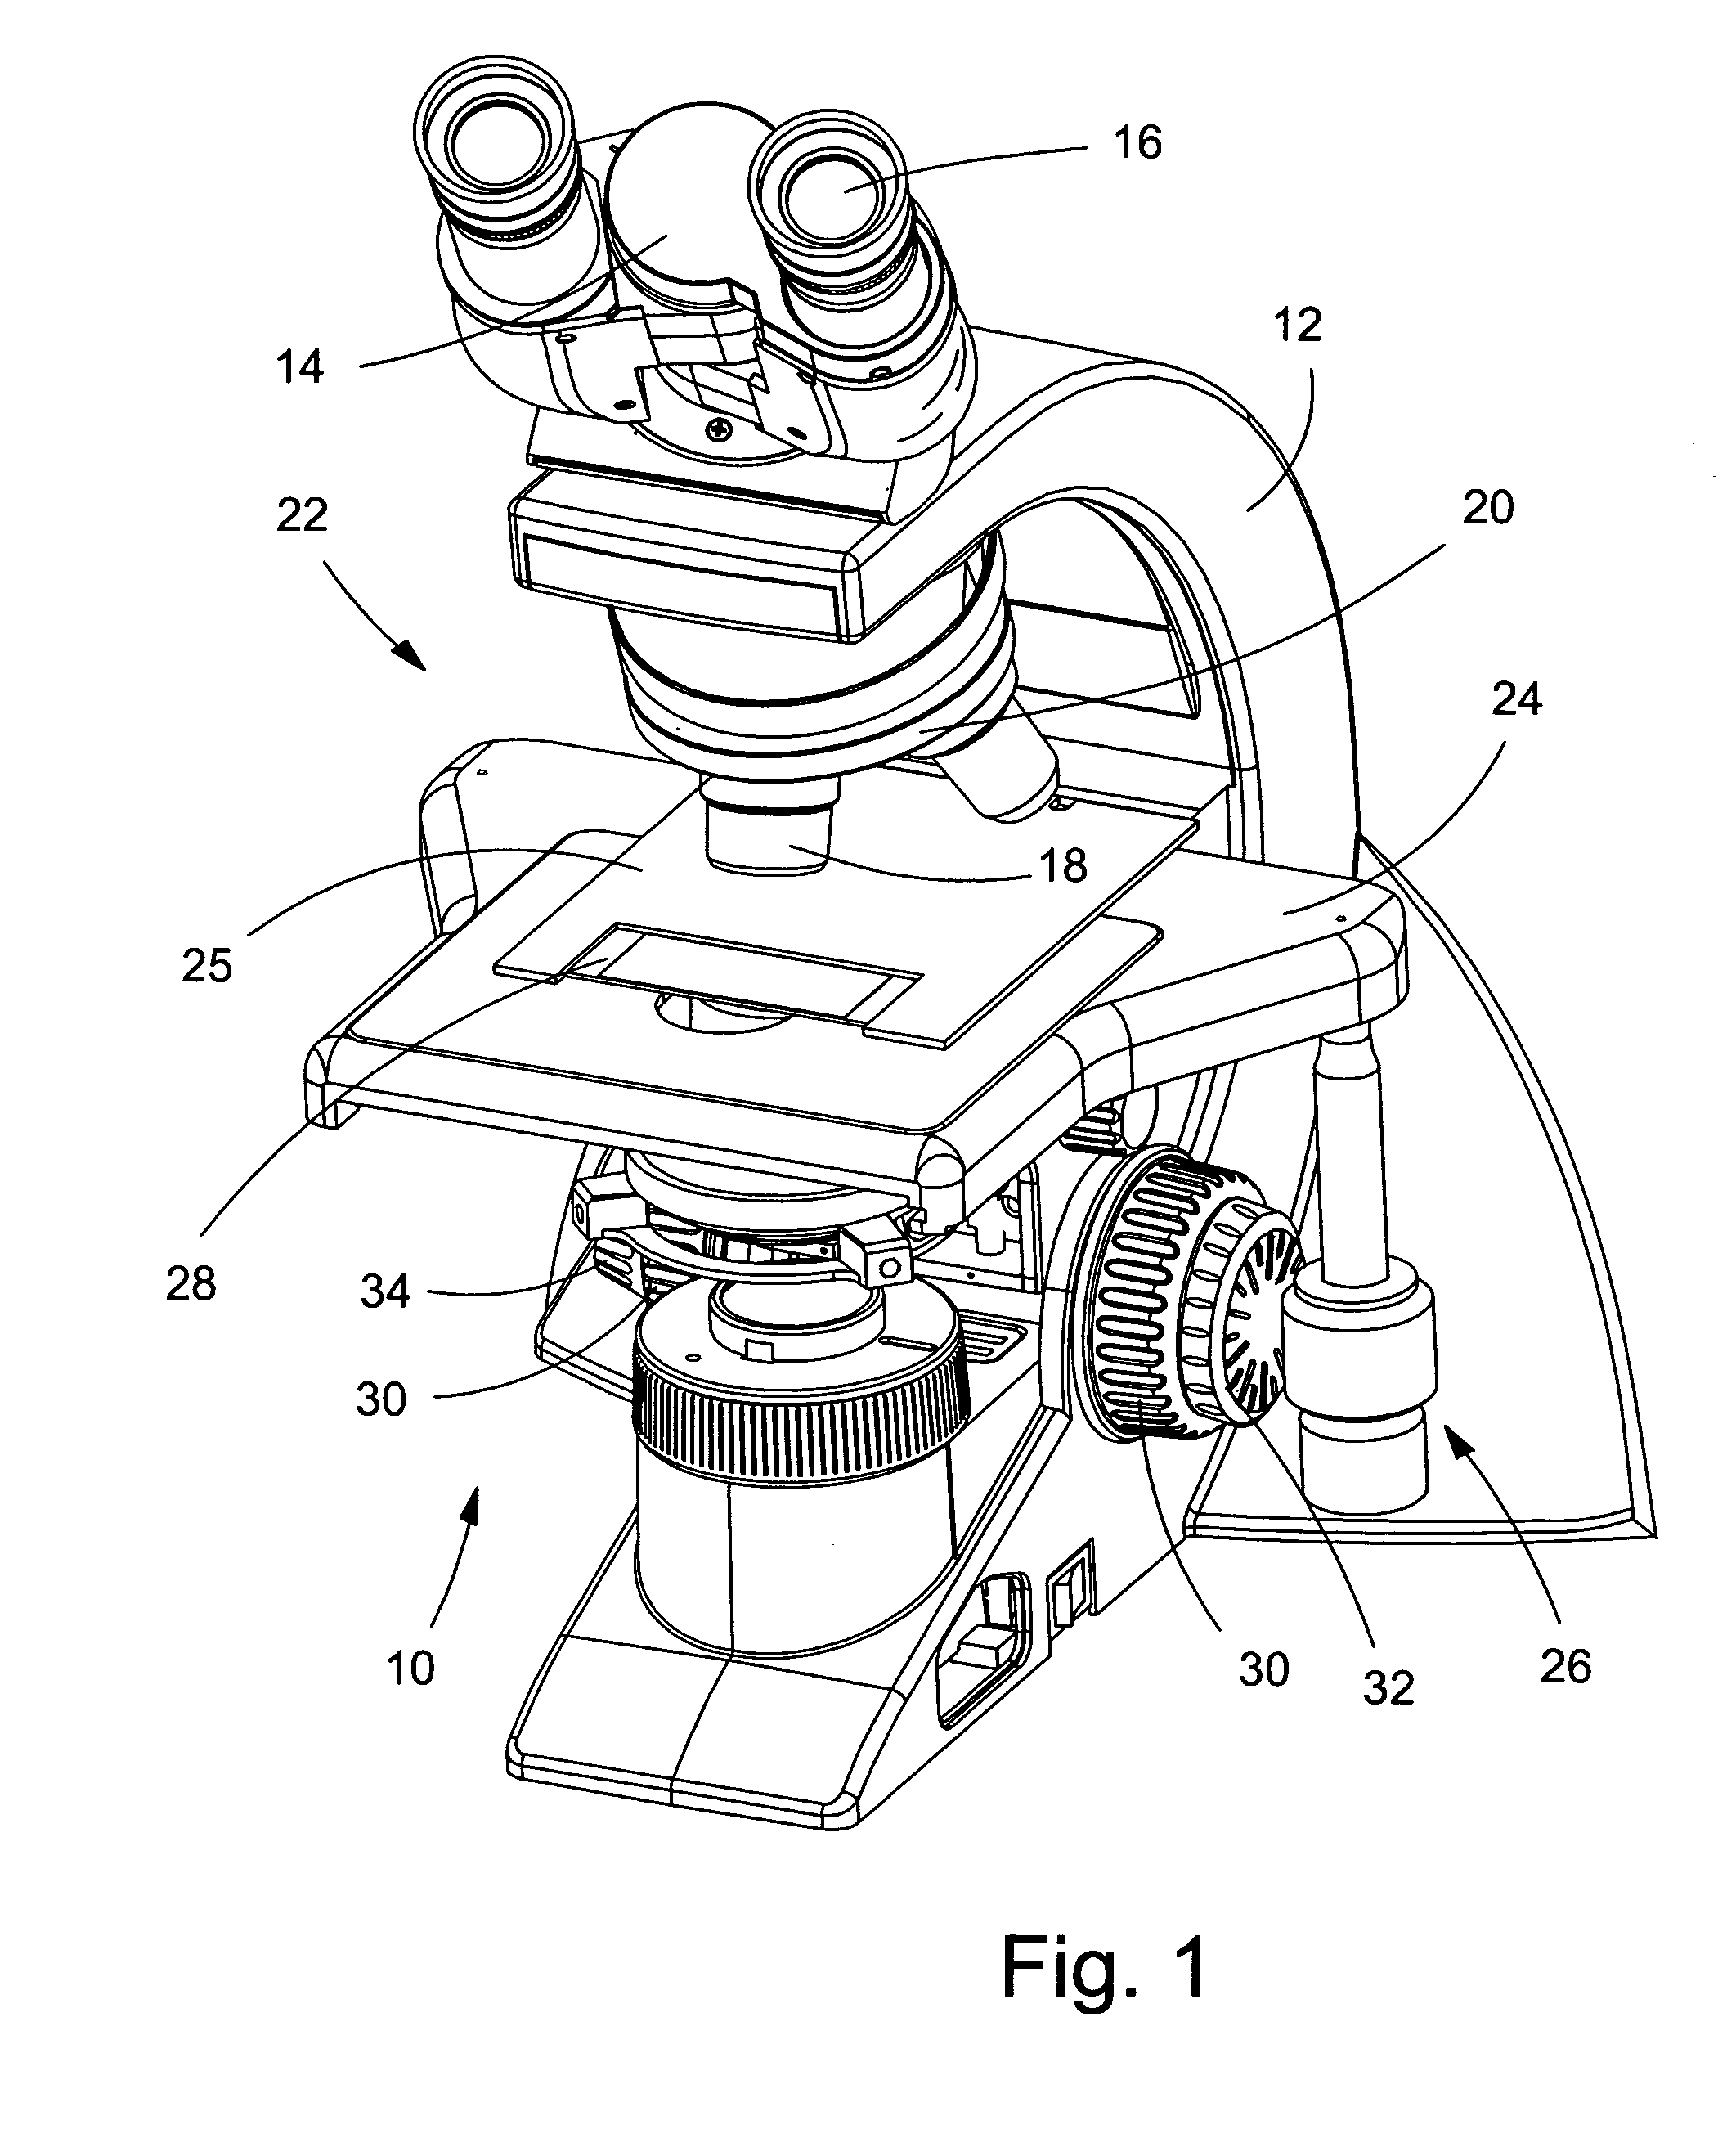
Chelsea chairman todd boehly says the team’s past two and a half games demonstrate signs of the club’s plan “coming together” as head coach mauricio pochettino’s future. Then, we will be drawing a small mirror on a hinge, and this would be used as a light source for the microscope. Web draw a long, thin line extending out of the right side of the microscope and curving up to form a pattern similar to a hook. Attached to the top of the arm, draw the head unit, which connects the nosepiece and lenses with the tube above. Sketch the platform of this microscope. Then, draw three straight, parallel lines. This forms the arm of the microscope. This may require going between the microscope slide and the drawing in order to get the proportions and shape correct. Web in this video we will see how to draw microscope or step by step draw microscope or step by step #microscope #drawing. Web microscope pencil drawings transcend the boundaries of traditional art by bringing the microscopic world to life on paper.
How to Draw a Microscope Easy Drawing Art
Attached to the top of the arm, draw the head unit, which connects the nosepiece and lenses with the tube above. Web add a small circle on the top of the horizontal rectangle for the lens. Web here’s how you can draw a microscope beginning with the arm: Draw a curved line from the base’s bottom right corner to the.
Microscope Drawing at Explore collection of
Attached to the right side of the head from the previous step, draw two curving lines. On the bottom part of your paper, sketch two horizontal elongated oblong shapes. Attached to the tube and arm, draw the focus knob that. Attached to the top of the arm, draw the head unit, which connects the nosepiece and lenses with the tube.
Microscope Drawing Easy at Explore collection of
Web today, we're learning how to draw a cool microscope!👩🎨 join our art hub membership! Then, we will be drawing a small mirror on a hinge, and this would be used as a light source for the microscope. This line represents the microscope’s arm. Web in this video we will see how to draw microscope or step by step draw.

Microscope Drawing, sketching and Value Practice r/learnart
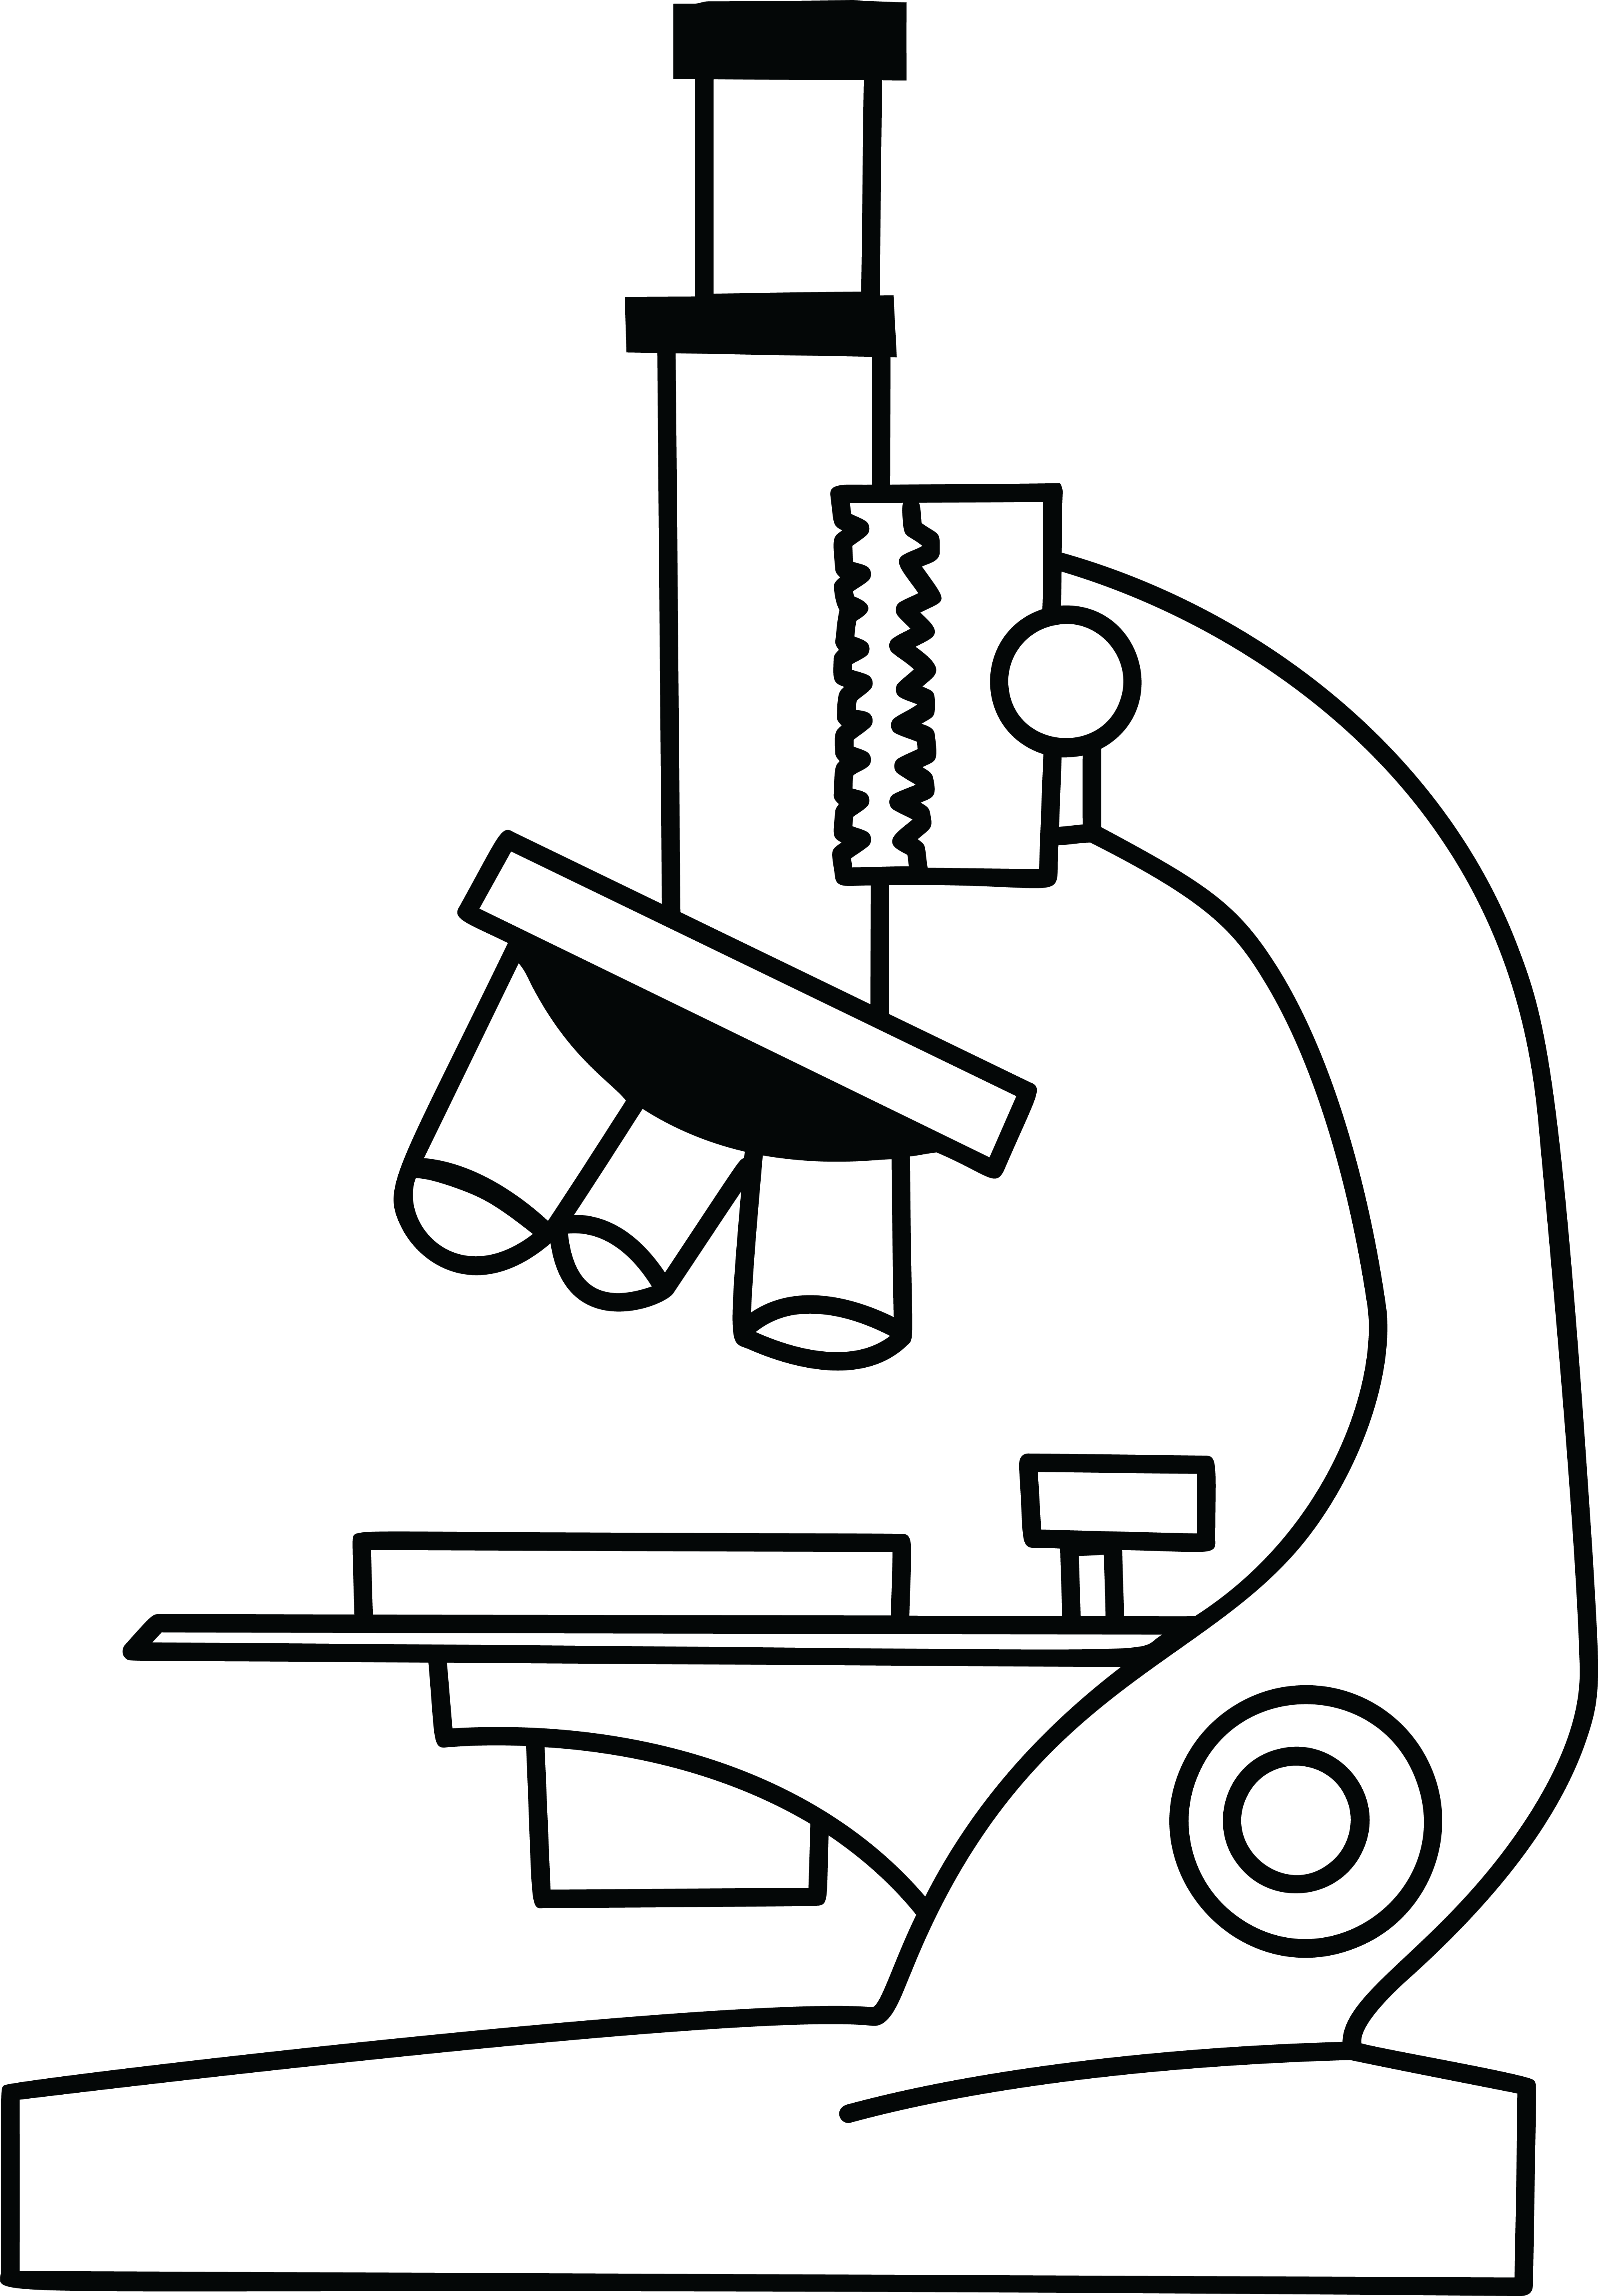
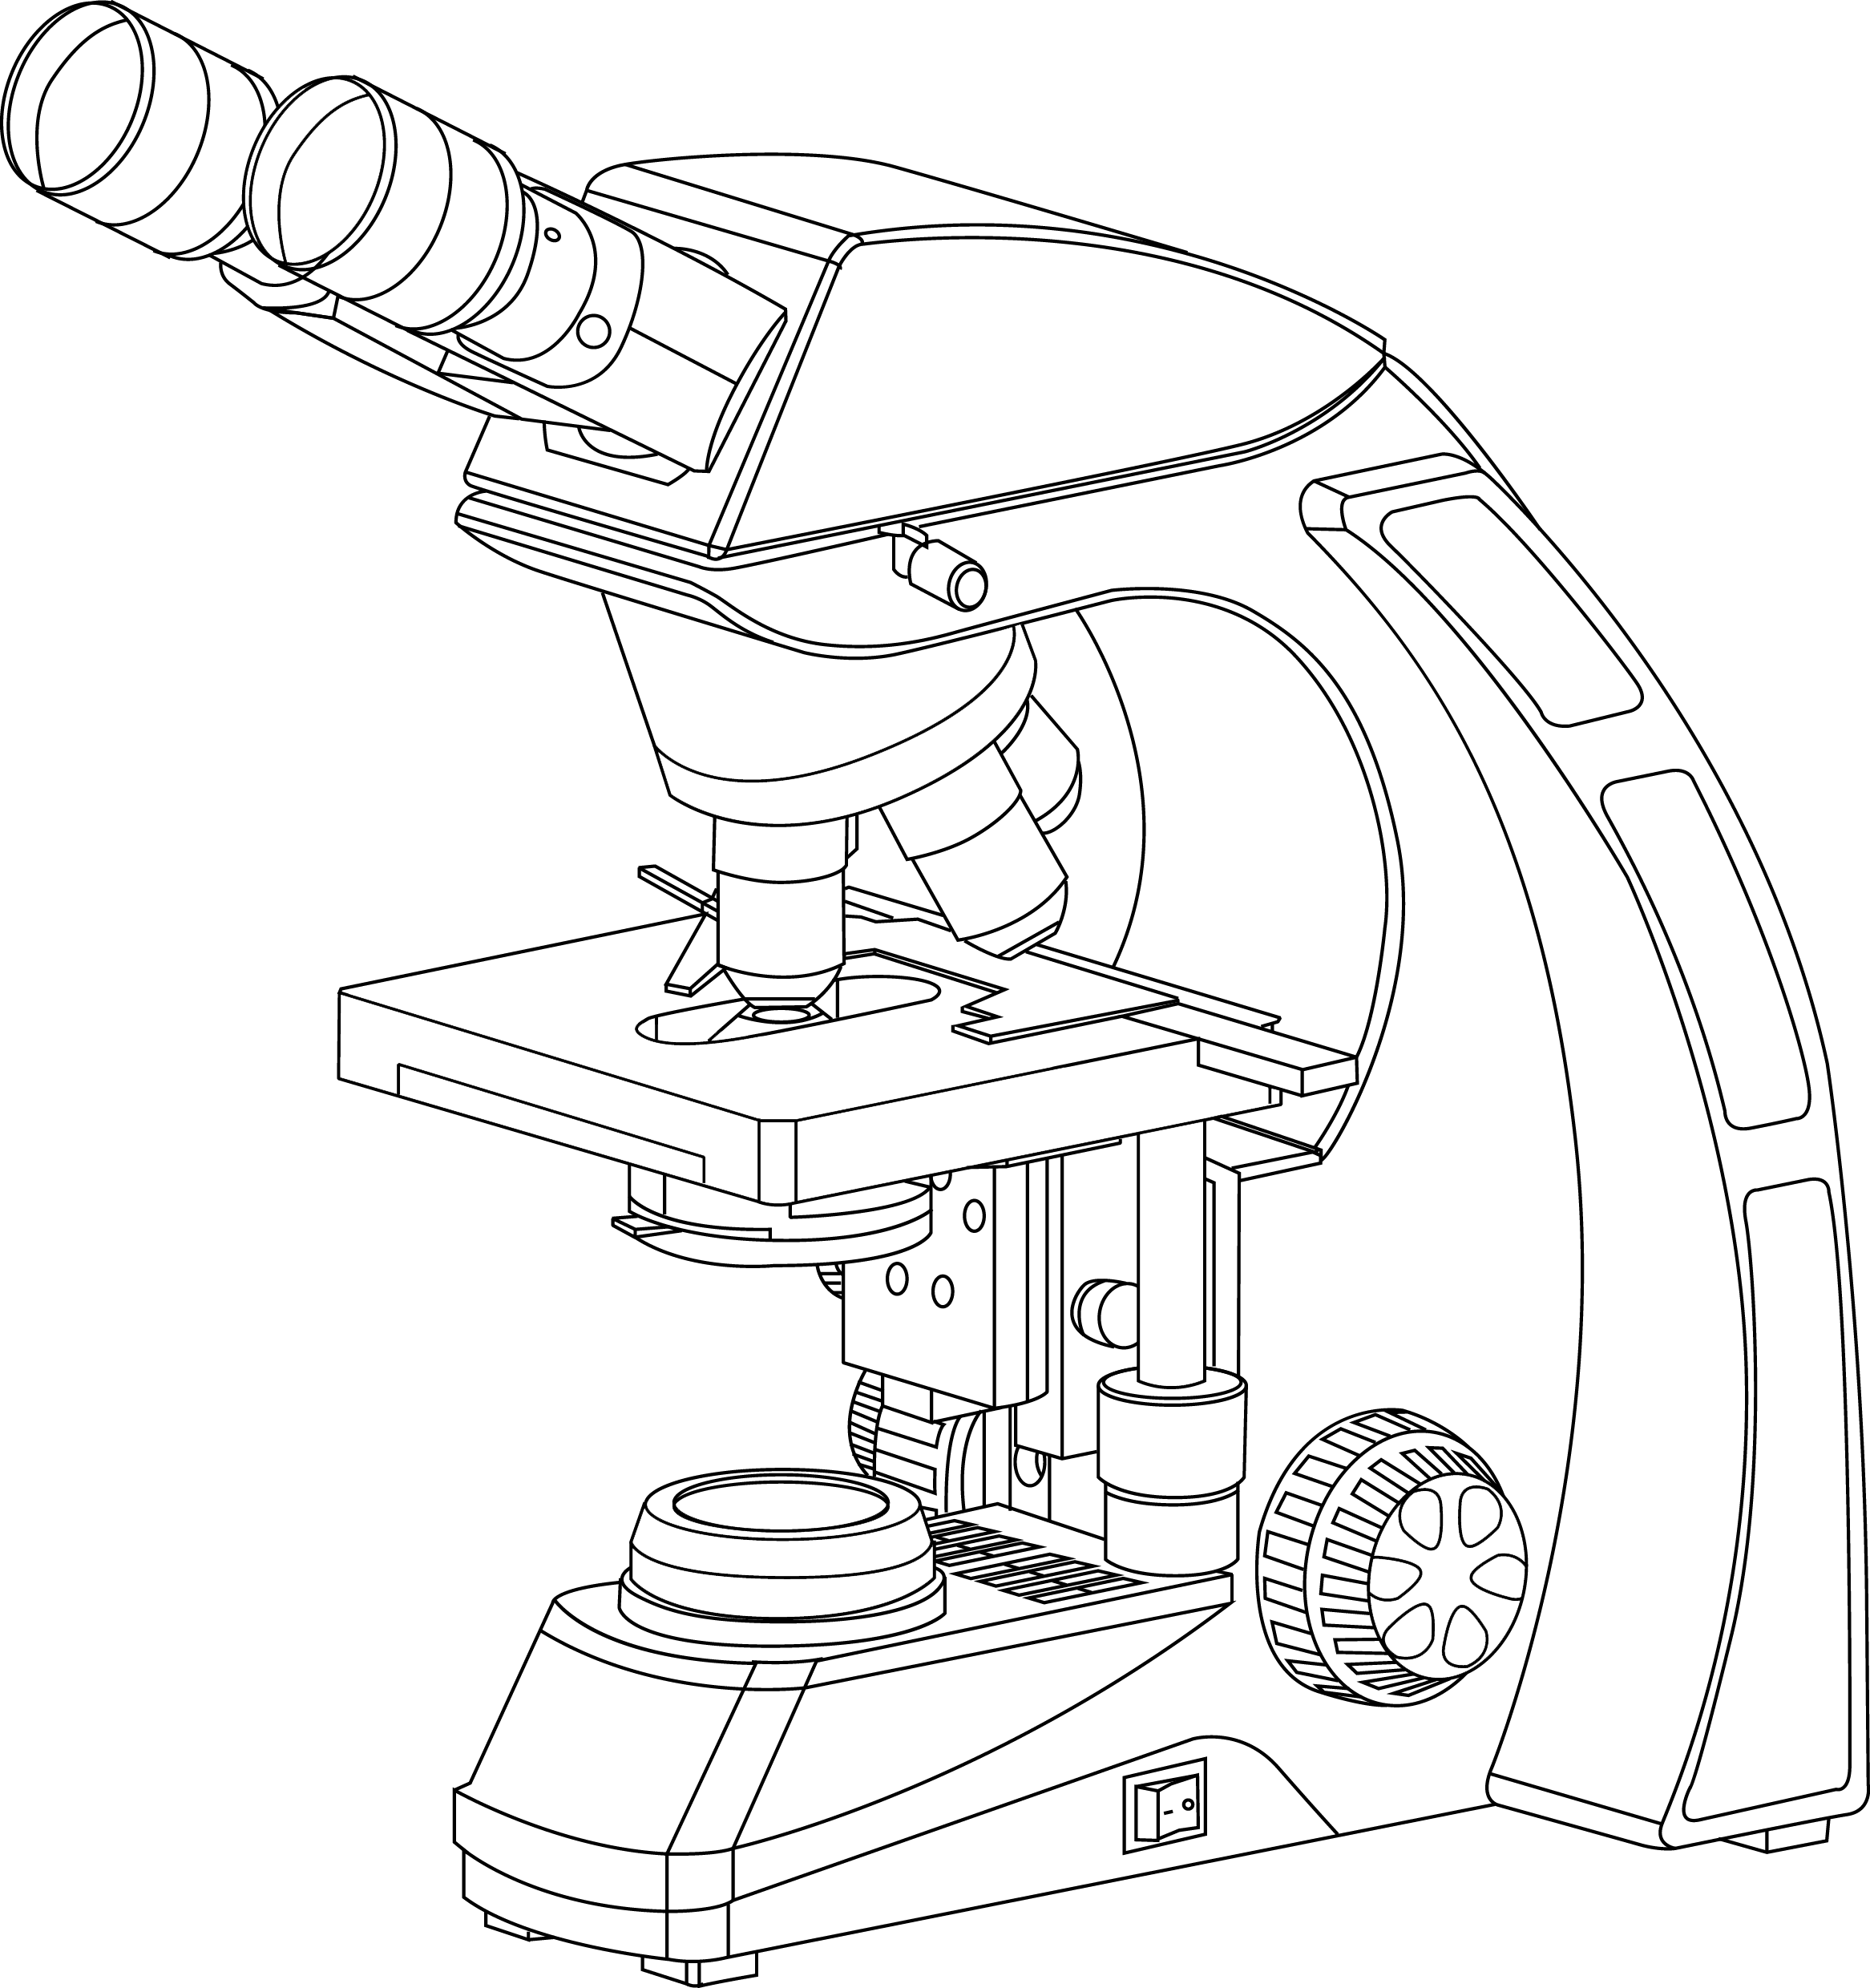
Begin your invention by sketching the base of the microscope. This may require going between the microscope slide and the drawing in order to get the proportions and shape correct. This shape will also have some small circles on it. Notice the bend in the middle of each line. Draw a curved line from the base’s bottom right corner to.

Microscope Drawing Worksheet at Explore collection
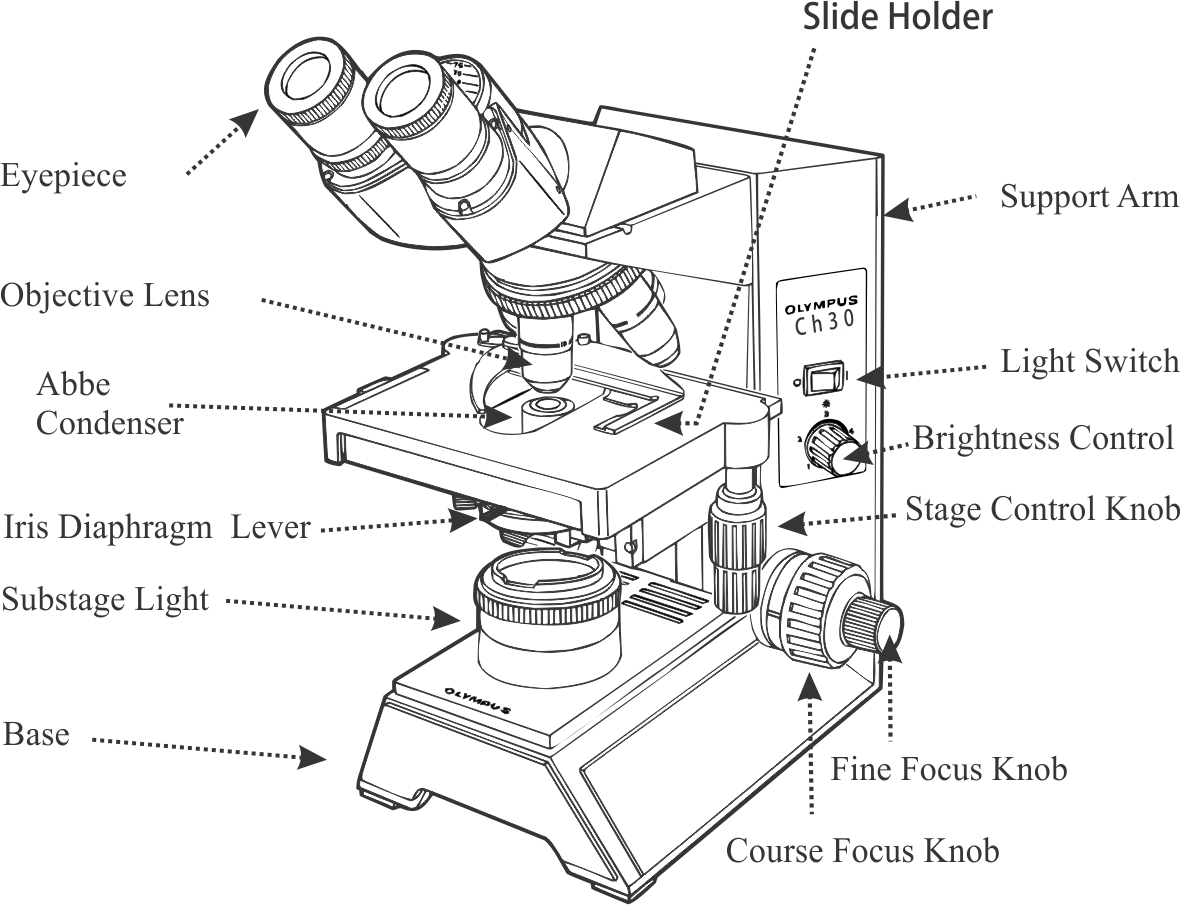
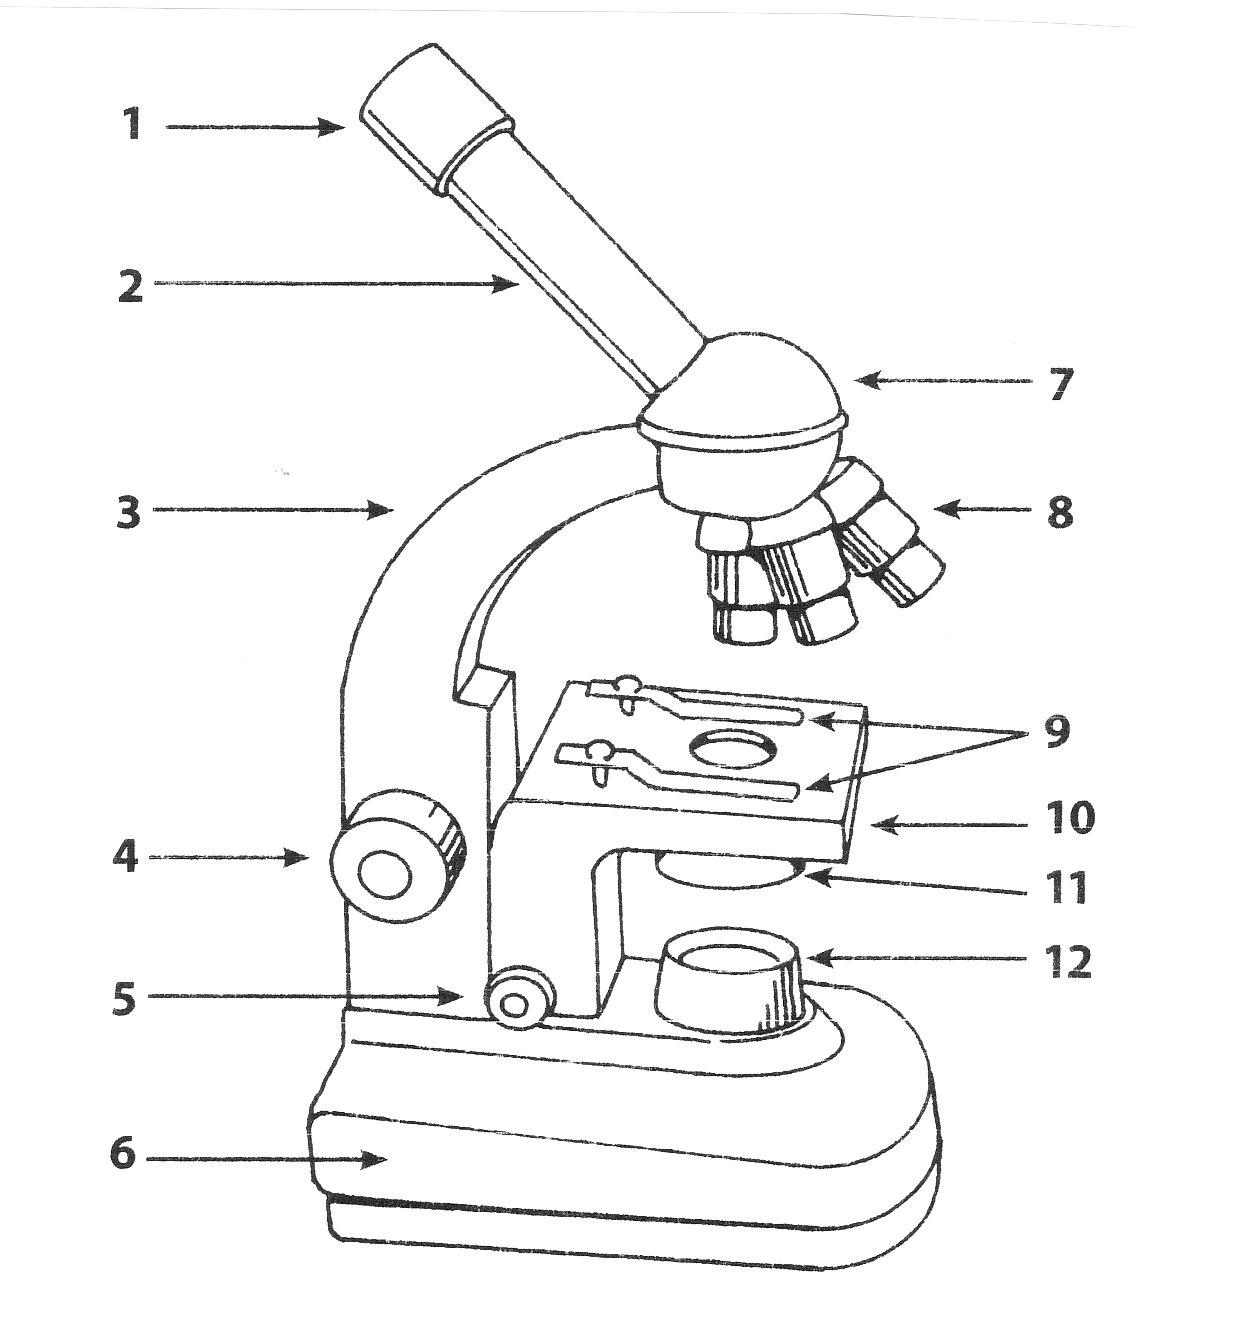
In this tutorial, writing master shows you how to draw a realistic microscope with labels step by step. Before you learn drawing quickly you know some basics understanding of a microscope. Click on any image below to view this guide in gallery mode. Keep you pencil drawings light and adjust the shape as needed. Draw the tube of this microscope.
Free Microscope Drawing, Download Free Microscope Drawing png images
Draw the outline of largest shape onto the paper, making it fit within the quarters. Draw a curved line from the base’s bottom right corner to the top right corner of the first rectangle. Web first, draw a rounded shape underneath the arm and the stage of the microscope. Lay the foundation of the microscope by making two long parallel.
Microscope Drawing Template at Explore collection
We are now going to draw the arm that the microscope uses to swivel back and forth. In this tutorial, writing master shows you how to draw a realistic microscope with labels step by step. This shape will also have some small circles on it. Web may 8, 2024. Draw a small rectangular shape and then attach a thin rectangular.
Microscope Drawing Easy at Explore collection of
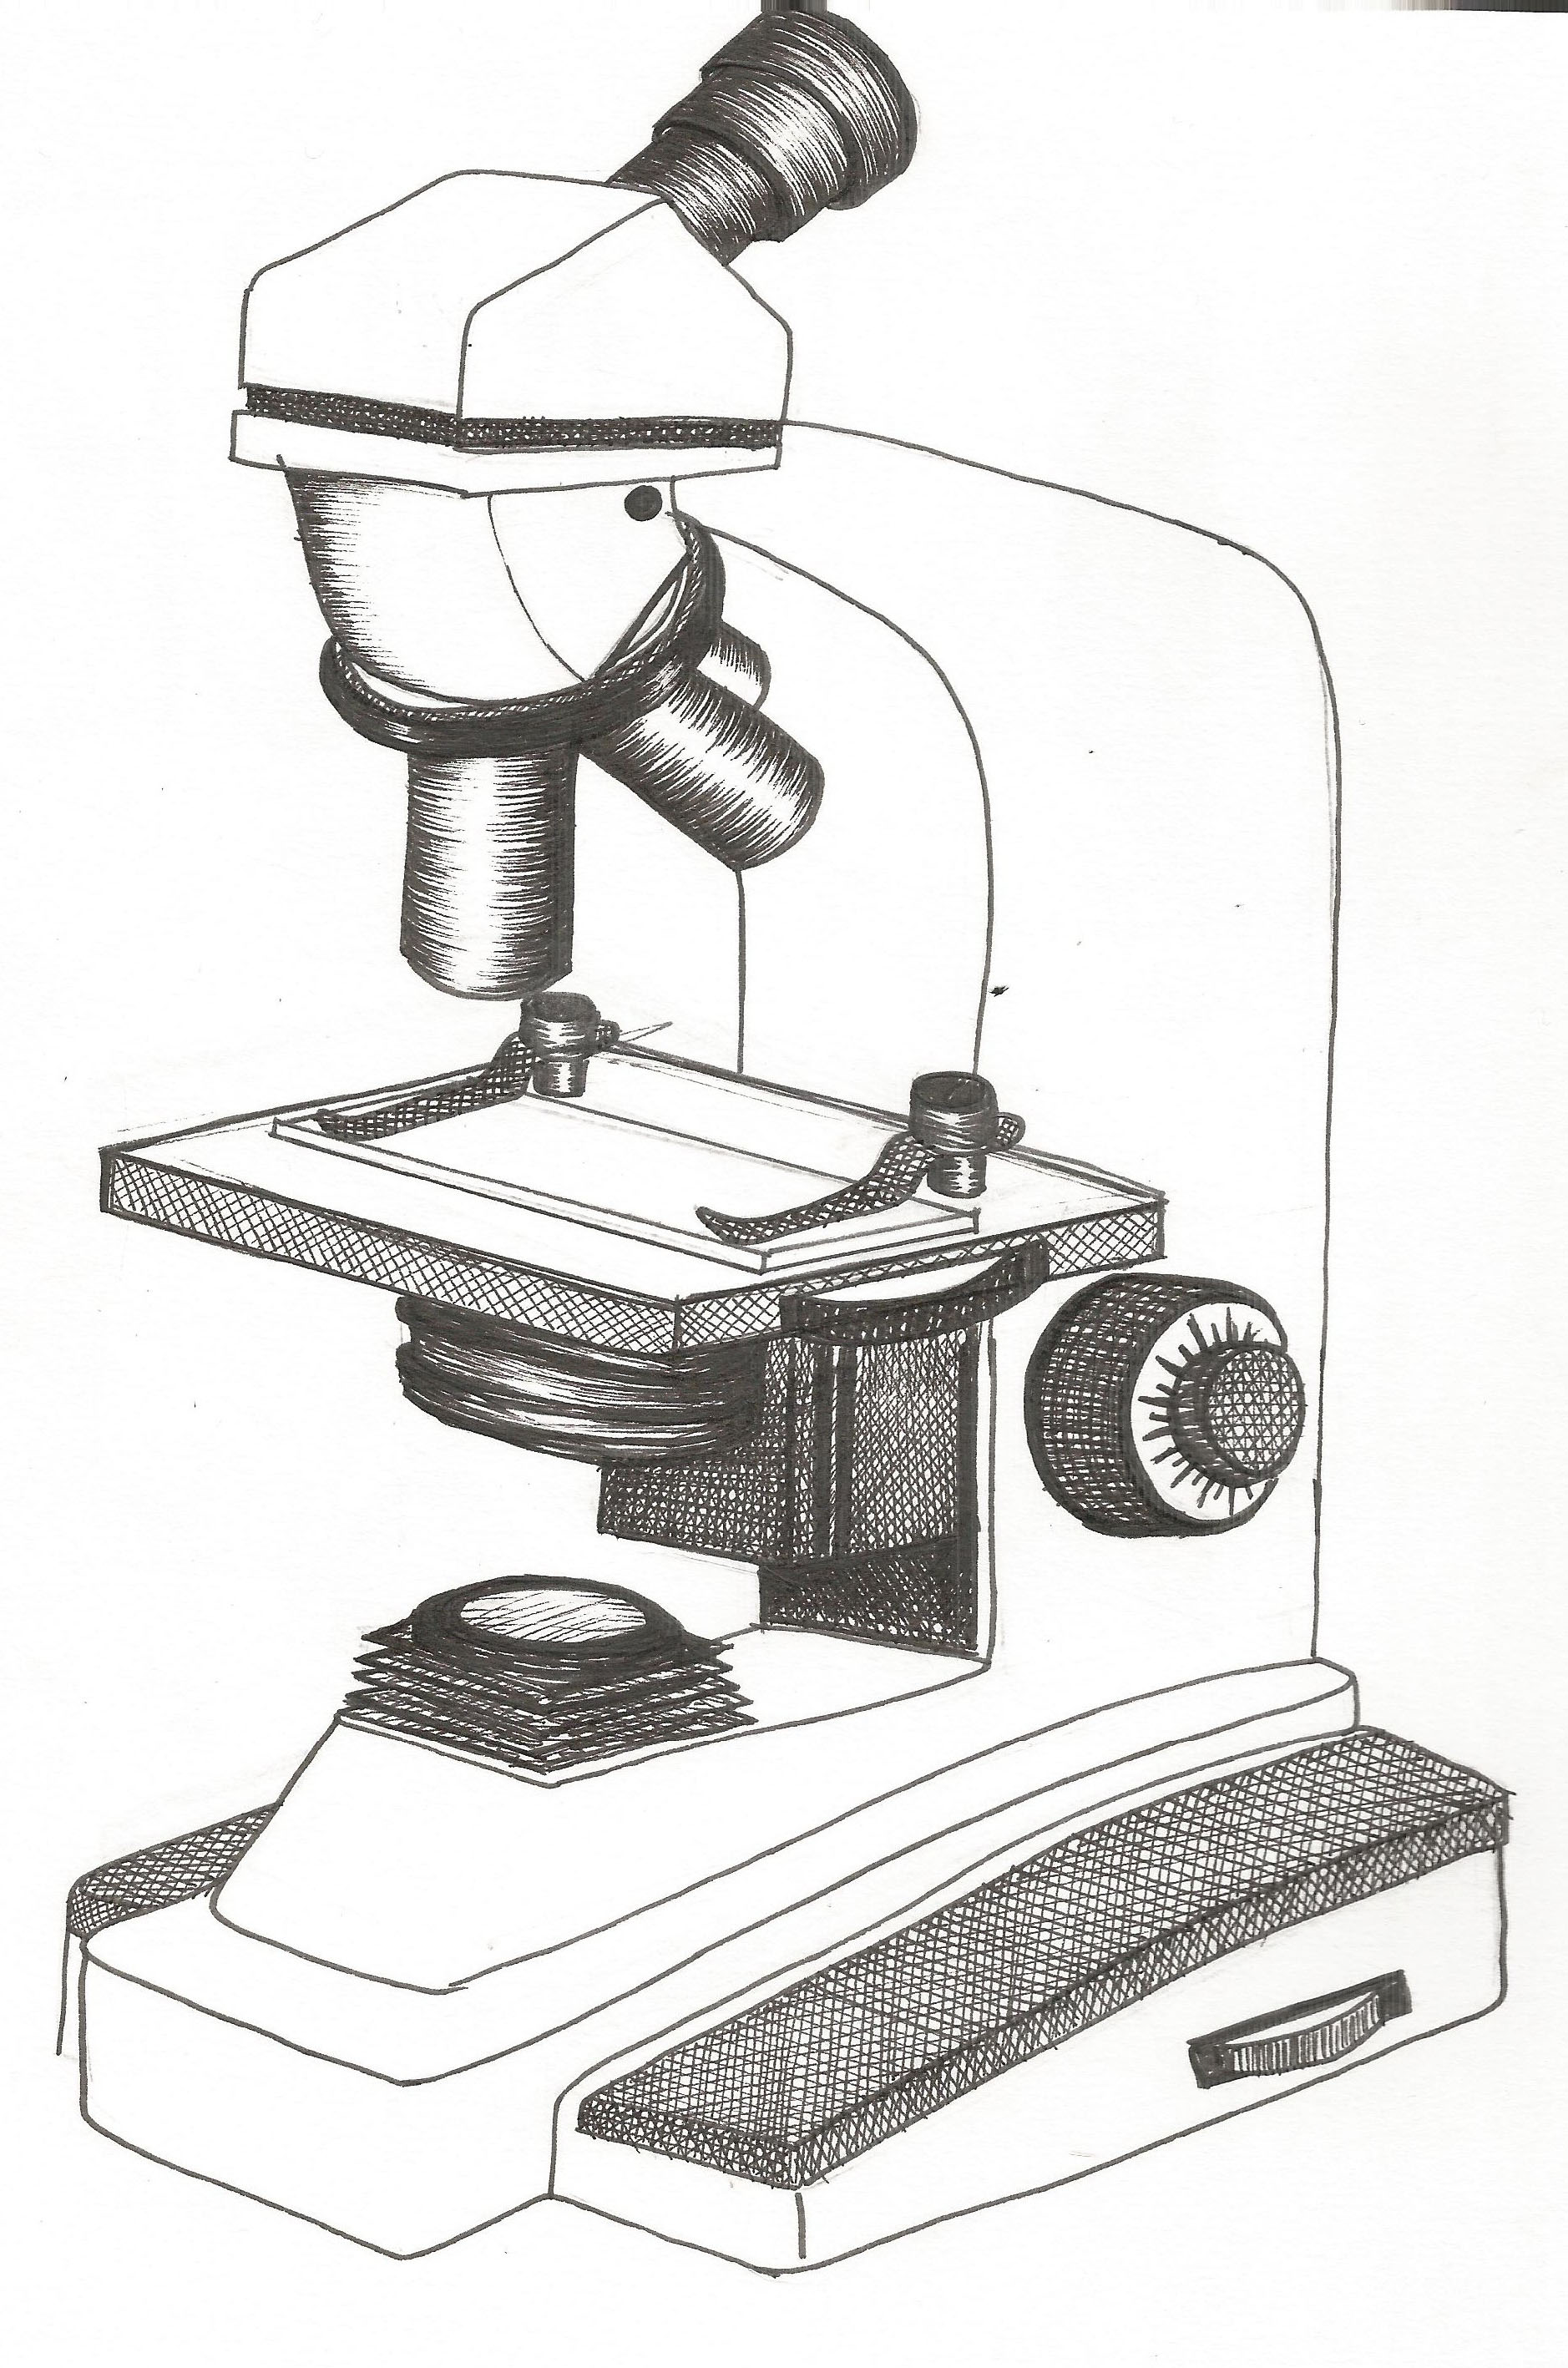
Web today, we're learning how to draw a cool microscope!👩🎨 join our art hub membership! Attached to the top of the arm, draw the head unit, which connects the nosepiece and lenses with the tube above. Pay attention to the details, such as the texture, the color, and the arrangement of the cells or structures. Web outline the general shapes:.
Compound Light Microscope Drawing at Explore
Web here’s how you can draw a microscope beginning with the arm: This shape will also have some small circles on it. Web the first step in drawing microscope images is to observe the specimen carefully. Then, we will be drawing a small mirror on a hinge, and this would be used as a light source for the microscope. Now.
Compound Microscope Sketch at Explore collection
Draw a small rectangular shape and then attach a thin rectangular shape onto it. Begin your invention by sketching the base of the microscope. This line represents the microscope’s arm. It will take 9 steps in total to complete the drawing. Web in this video we will see how to draw microscope or step by step draw microscope or step.
This Line Represents The Microscope’s Arm.
Keep you pencil drawings light and adjust the shape as needed. Lay the foundation of the microscope by making two long parallel lines that will be the arm or body of the microscope. Web this short video discuss the expectations of a microscope observation and drawings and also provides examples of errors to watch out for.teachers: Artists embark on a journey of exploration, using pencils as their tools to capture the essence of microscopic structures, from the delicate patterns of snowflakes to the intricate architecture of diatoms.
Draw The Outline Of Largest Shape Onto The Paper, Making It Fit Within The Quarters.
This shape will also have some small circles on it. Chelsea chairman todd boehly says the team’s past two and a half games demonstrate signs of the club’s plan “coming together” as head coach mauricio pochettino’s future. Web draw a long, thin line extending out of the right side of the microscope and curving up to form a pattern similar to a hook. Pay attention to the details, such as the texture, the color, and the arrangement of the cells or structures.
The Finished Drawing Will Be Embellished With A Tad Bit Of Color Making It A Drawing You Will Be Proud To Show Off!
Below this, draw another curved line, leaving the shape open on one side. Before you learn drawing quickly you know some basics understanding of a microscope. Draw a small rectangular shape and then attach a thin rectangular shape onto it. It’s is consists of many small tubes.
Additionally, You May Require Some Specialized Materials Such As A Camera Lucida, A Device That Projects A Superimposed Image Of The Specimen And The Paper For Tracing.
Start with the base of the microscope. Take your time and look at different parts of the specimen to get an overall idea of its shape, size, and features. Sketch a horizontal line from the bottom of the main body to the arm, representing the stage where the sample is placed. Click on any image below to view this guide in gallery mode.