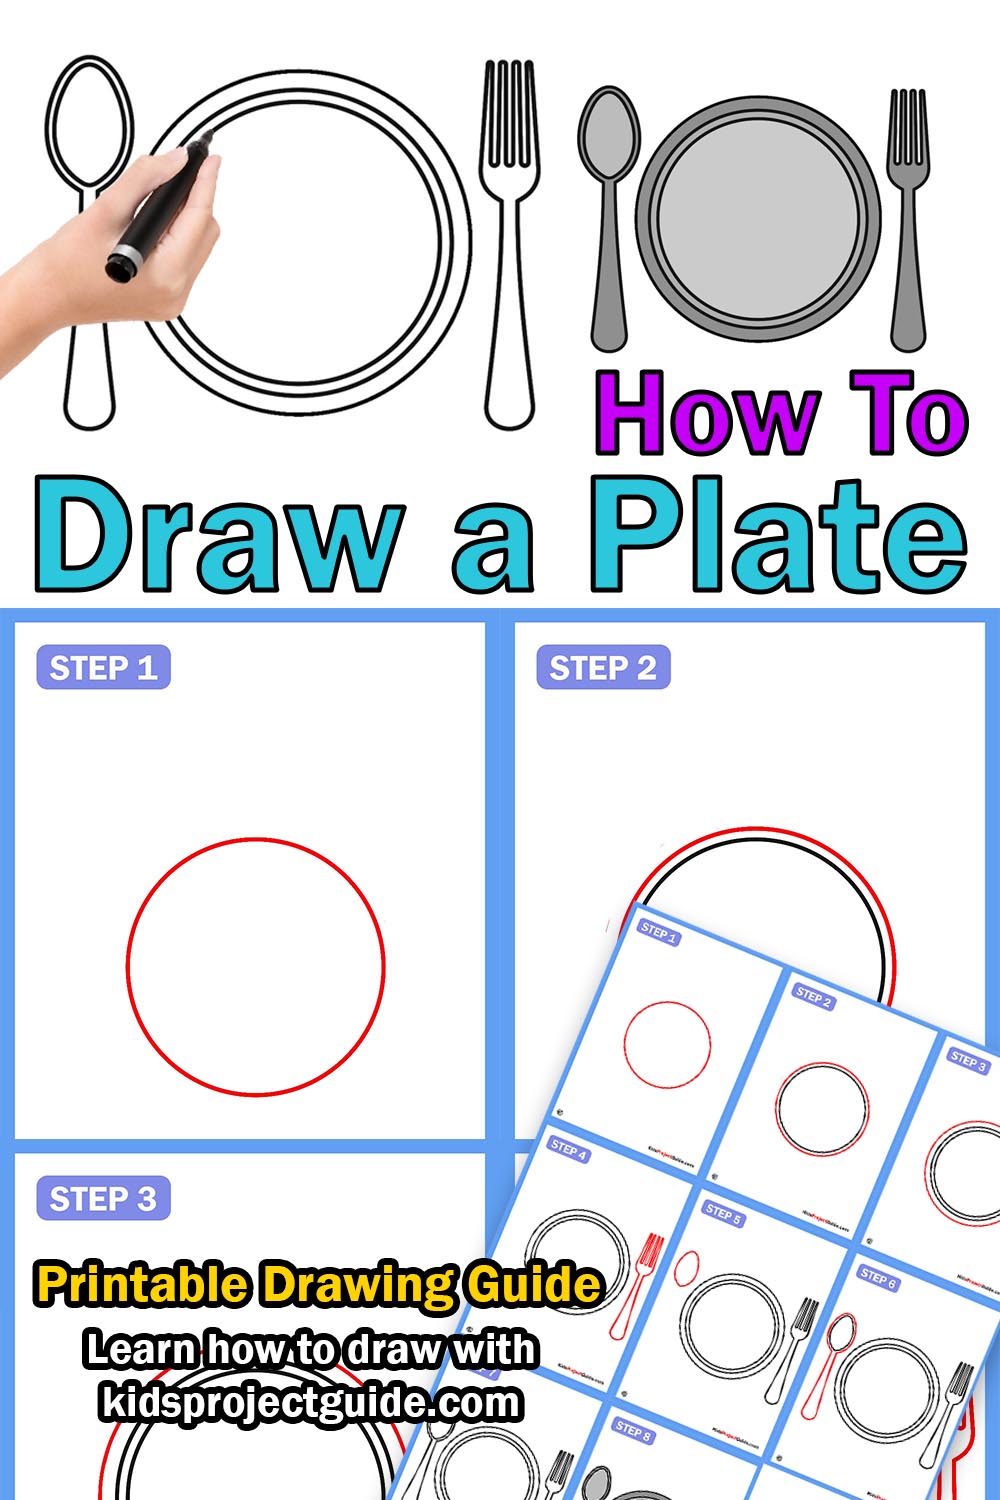
Plate Drawing
Plate Drawing - Web start by drawing a large circle for the body of the plate. How to draw a plate step by step. Web step 4 : Make sure the circle is proportionate to the. To ensure a perfect circle, you can use a compass or trace a circular object such as a lid or a small plate. Continue the same and draw the second, third and fourth prongs. This step is the end of our first design plate now we will draw all the remaining designs. A little above the middle of the oval, we mark the. Now draw another oval outer the oval from the first step, and for this, we will draw a half curve line. Then, divide the plate into two or three sections by drawing additional curved lines that intersect the centerline.
Web continue to draw the outline and draw a smooth, rounded line at the bottom. Sketch out a smooth, thin line on the left side. The fourth one should be similar to the first prong on the left side. Draw some curved lines connecting the second and third circles to give the plate some depth and a 3d. The head of the fork which is used in scooping up food is known as a prong. To create the plate’s rim, draw a smaller circle inside the first one, following its shape. To ensure a perfect circle, you can use a compass or trace a circular object such as a lid or a small plate. This step is the end of our first design plate now we will draw all the remaining designs. Web step 4 : Web how to draw a plate easy step by step for beginners.
Add a third, even smaller circle inside the second one to create the base of the plate. This step is the end of our first design plate now we will draw all the remaining designs. Web ️ ️ ️ ️ get 2 months of skillshare free: Draw the first prong on the left side by drawing two straight lines of similar length and making the ends meet at the top. I didn’t show you how to scratch in this step. Make sure to leave some space around the edge for the food. To ensure a perfect circle, you can use a compass or trace a circular object such as a lid or a small plate. Draw some curved lines connecting the second and third circles to give the plate some depth and a 3d. Now we move on to drawing the second plate. Draw a thin, rounded line inside the plate.
How To Draw A Plate Easy StepByStep Guide
Now we move on to drawing the second plate. Make sure the circle is proportionate to the. A little above the middle of the oval, we mark the. Follow my step by step drawing tutorial and make your own plate drawing easy!👇 s. Draw a thin, rounded line inside the plate.

Plate Drawing at Explore collection of Plate Drawing
Make sure to leave some space around the edge for the food. The fourth one should be similar to the first prong on the left side. Follow my step by step drawing tutorial and make your own plate drawing easy!👇 s. Draw a straight line across the oval for the centerline. Draw a thin, rounded line inside the plate.

Plate Drawing at GetDrawings Free download
Now draw another oval outer the oval from the first step, and for this, we will draw a half curve line. The head of the fork which is used in scooping up food is known as a prong. Draw the first prong on the left side by drawing two straight lines of similar length and making the ends meet at.
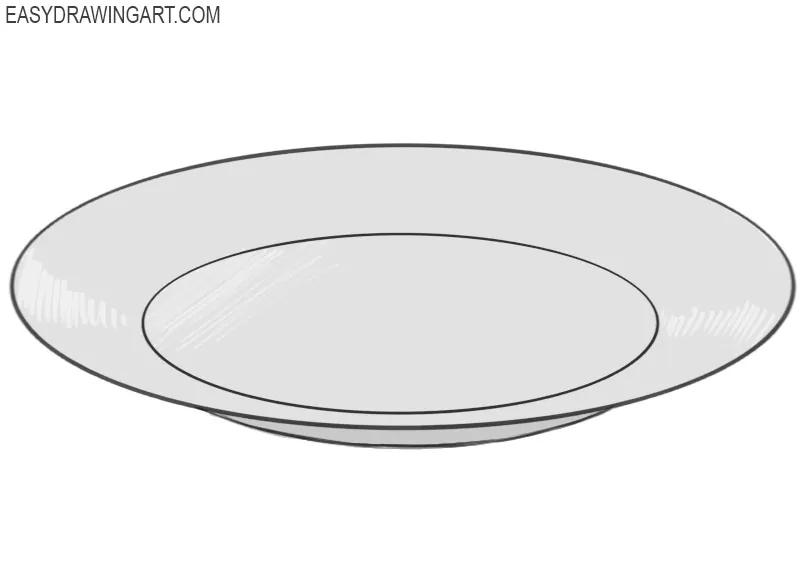
How to Draw a Plate Easy Drawing Art
Web start by drawing a large circle for the body of the plate. Add a third, even smaller circle inside the second one to create the base of the plate. Make sure the circle is proportionate to the. Add the centerline and divide the plate. Web continue to draw the outline and draw a smooth, rounded line at the bottom.
How to Draw a Plate
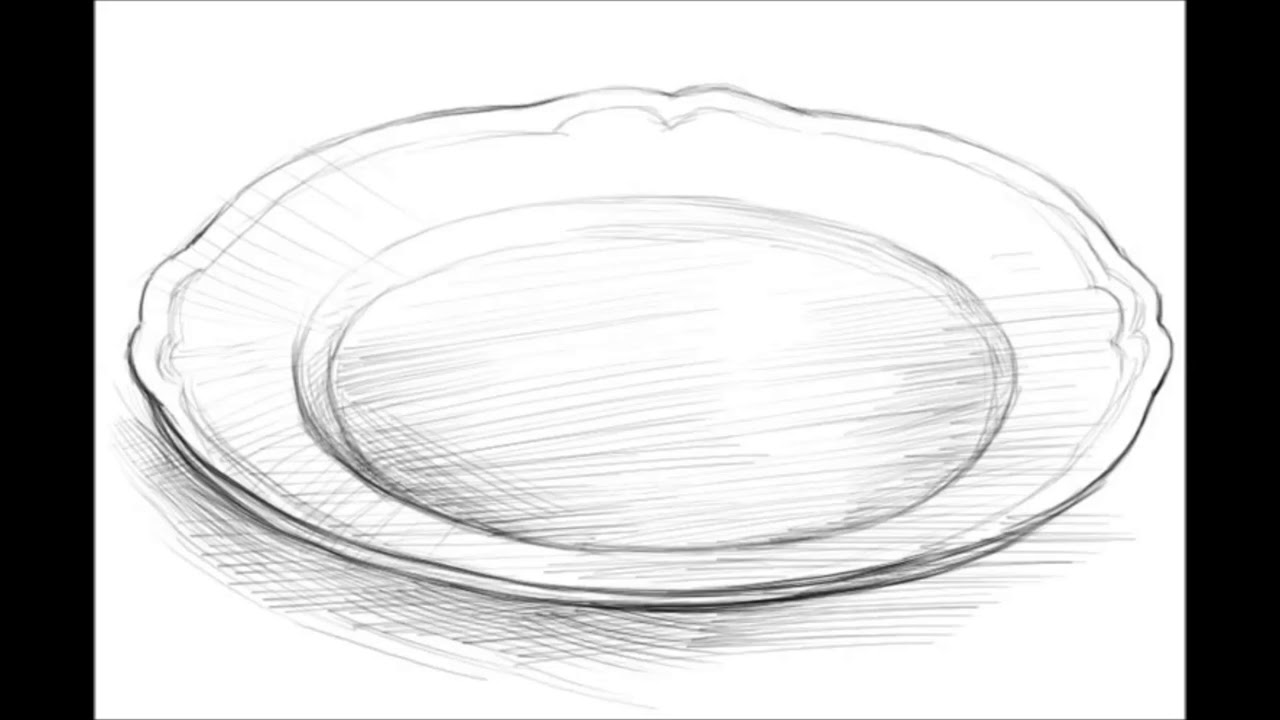
Make sure the circle is proportionate to the. Web continue to draw the outline and draw a smooth, rounded line at the bottom. Web ️ ️ ️ ️ get 2 months of skillshare free: Now we move on to drawing the second plate. Web hi everyone, in this video i show you how to draw a plate step by step.
How To Draw A Plate YouTube
Now we move on to drawing the second plate. Draw the first prong on the left side by drawing two straight lines of similar length and making the ends meet at the top. A little above the middle of the oval, we mark the. I didn’t show you how to scratch in this step. To ensure a perfect circle, you.
How to Draw a Plate Easy Drawing Tutorial For Kids
A little above the middle of the oval, we mark the. Web hi everyone, in this video i show you how to draw a plate step by step 🍽️. Now draw another oval outer the oval from the first step, and for this, we will draw a half curve line. Draw a thin, rounded line inside the plate. I didn’t.

Download premium png of Hand drawn plate and cutlery set transparent
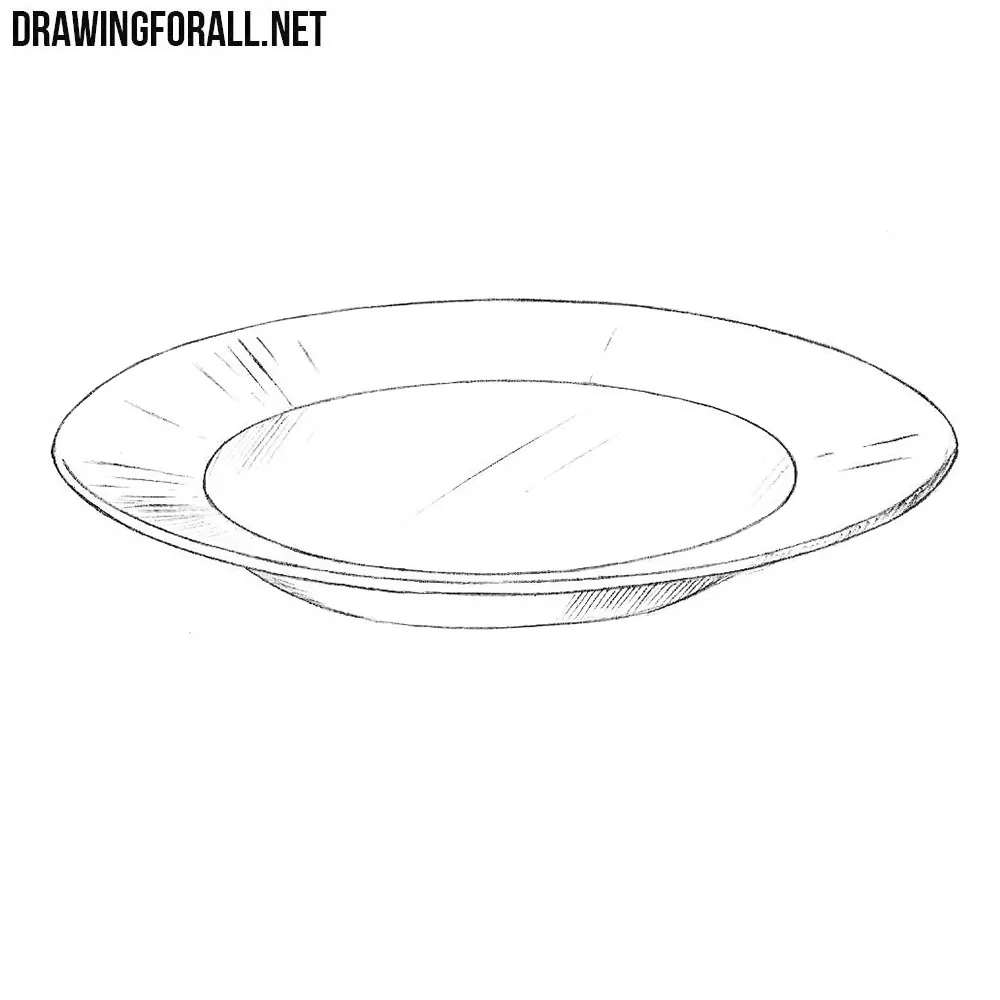
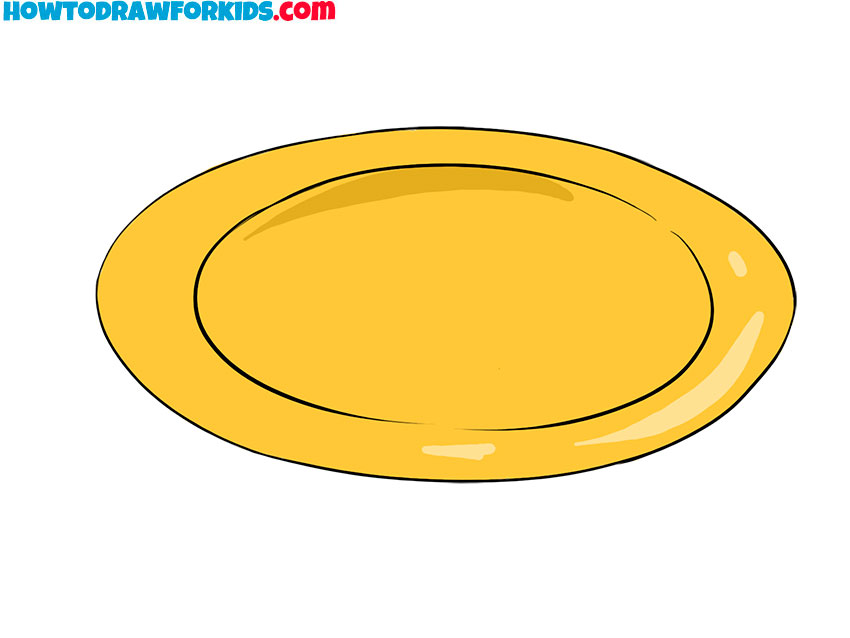
Draw a straight line across the oval for the centerline. The head of the fork which is used in scooping up food is known as a prong. Web start by drawing an oval shape to outline the plate. Continue drawing the inner outline. Web how to draw a plate easy step by step for beginners.

Plate Drawing at Explore collection of Plate Drawing
Make sure to leave some space around the edge for the food. Add the centerline and divide the plate. Draw a straight line across the oval for the centerline. Draw the first prong on the left side by drawing two straight lines of similar length and making the ends meet at the top. Now we move on to drawing the.
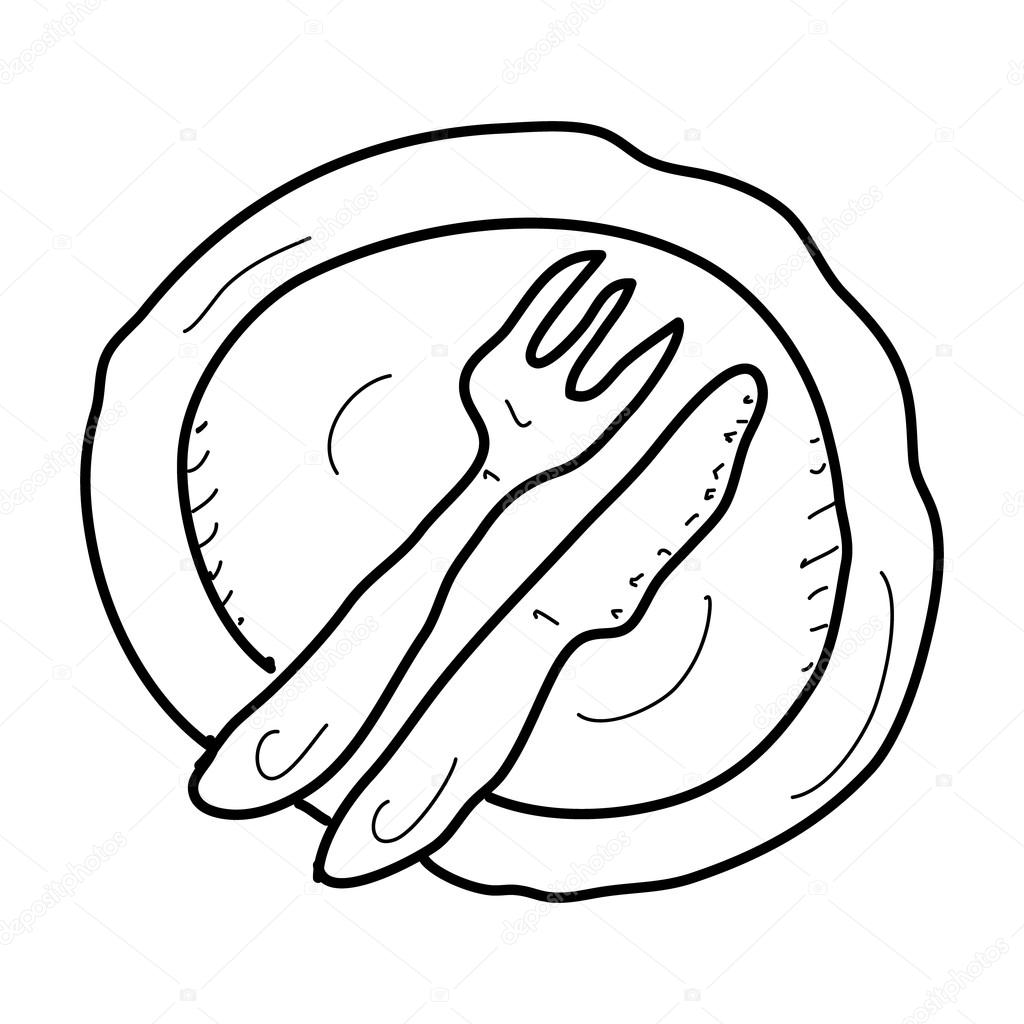
Plate Drawing at GetDrawings Free download
Then, divide the plate into two or three sections by drawing additional curved lines that intersect the centerline. Draw a thin, rounded line inside the plate. Repeat the previous step and draw an inner path on the right side. Sketch out a smooth, thin line on the left side. I didn’t show you how to scratch in this step.
Web How To Draw A Plate Easy Step By Step For Beginners.
Then, divide the plate into two or three sections by drawing additional curved lines that intersect the centerline. Now draw another oval outer the oval from the first step, and for this, we will draw a half curve line. You can sketch or color to your liking. Make sure to leave some space around the edge for the food.
The Head Of The Fork Which Is Used In Scooping Up Food Is Known As A Prong.
Draw a thin, rounded line inside the plate. Now we move on to drawing the second plate. Draw the first prong on the left side by drawing two straight lines of similar length and making the ends meet at the top. Web start by drawing a large circle for the body of the plate.
This Oval Should Be Slightly Outer Than The Center Of The First Oval.
Start by drawing a circle in the center of your paper. Web step 4 : Continue the same and draw the second, third and fourth prongs. Make sure the circle is proportionate to the.
Web ️ ️ ️ ️ Get 2 Months Of Skillshare Free:
Draw a straight line across the oval for the centerline. This step is the end of our first design plate now we will draw all the remaining designs. Follow my step by step drawing tutorial and make your own plate drawing easy!👇 s. Add the centerline and divide the plate.