Polor Bear Drawing
Polor Bear Drawing - Outline the general shape of the head, the muzzle and the upper body of the polar bear. Web draw the polar bear with the pen tool. You can use the same technique in step 5 to follow the contours of the polar bear using the pen tool. You can create the head of the polar bear by simply drawing an irregular circle shape with two semicircles on each side above the head forming the ears. Define the shapes of the rest of the legs. The next step is to sketch out all of the details for your drawing. Well done, now that you’ve completed how to draw a polar bear, considering adding some shading or coloring to make your polar bear look realistic! For a more realistic tutorial, check out this video: Draw in the polar bear claws and details in the face. On either side of the head, draw two rounded triangle shapes for the ears, add an inner outline using curved lines.
Web here are the five scariest offenses the bears will have to defend in 2024. Draw a curved line to form the mouth, and connect it to the nose using a short line. Follow these images and you'll be able to draw a polar bear like a pro! Begin by drawing the polar bear's eyes. The rock salt acts as a resist, absorbing the paint to leave lighter spots that are surrounded by darker pigment. Then add small ears to the top of the head. Polar bears have thick, heavy coats, so you'll want to keep these limbs fairly wide. Work on the figure by adding a hip, eyes, nose and ears. Let us draw a polar bear in 5 steps. For example, the eyes can just be a couple of circles.
For example, the eyes can just be a couple of circles. You can create the head of the polar bear by simply drawing an irregular circle shape with two semicircles on each side above the head forming the ears. Then add small ears to the top of the head. In this second step of our guide on how to draw a cartoon polar bear, we will draw the chest and front legs of the bear. Add two rectangles slanting forward, slightly tapered toward the bottom, one on each side of the large oval. Polar bears have thick, heavy coats, so you'll want to keep these limbs fairly wide. Start by draw an oval shape for polar bear’s head in the centre of your paper. According to the 33rd team's. On the other hand, use darker pencils to add shadows, especially in. Work on the figure by adding a hip, eyes, nose and ears.

How to Draw a Polar Bear YouTube
Web this is a simplified cartoon version of a polar bear. Home » how to draw » 5 steps to draw a polar bear. Use curved lines to outline the shape of the eyes. Web learn how to draw a realistic polar bear! You can make your polar bear as simple or as complex as you want.

How to DRAW a Cute POLAR BEAR EASY YouTube
Web to make your polar bear drawing really pop, it’s important to add highlights and shadows. Web the fascinating polar bear is the subject of our drawing in this article. Pay attention to the different sizes and shapes contained in the example drawing of the polar bear. Then add small ears to the top of the head. Draw a curved.
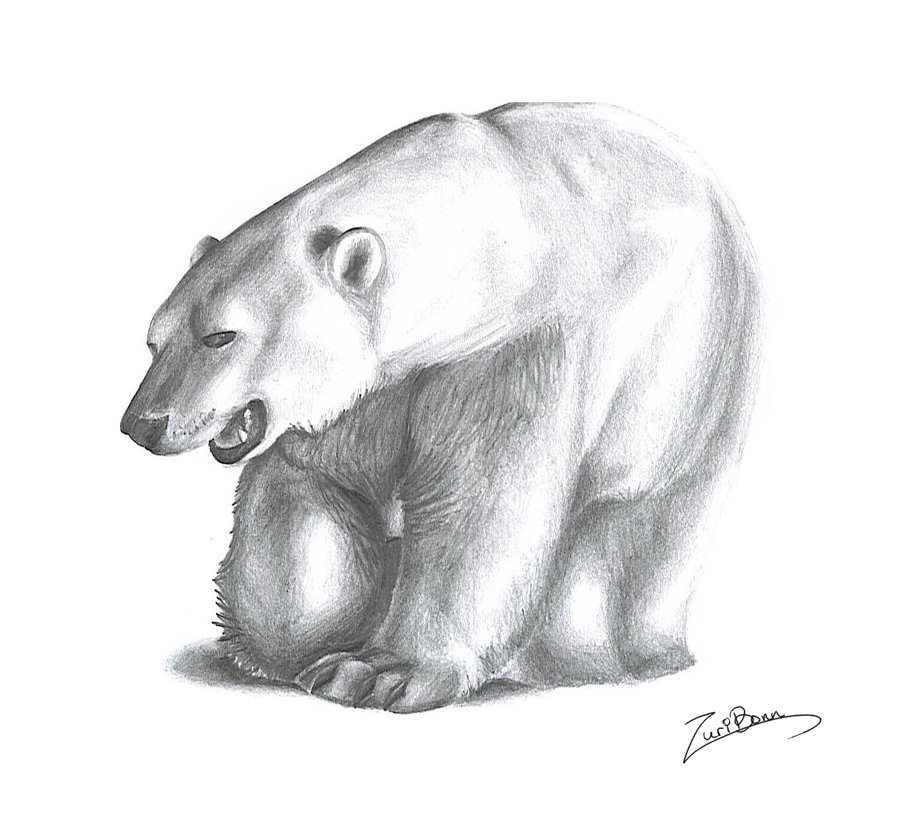
Polar Bear Drawing, Pencil, Sketch, Colorful, Realistic Art Images
You can create the head of the polar bear by simply drawing an irregular circle shape with two semicircles on each side above the head forming the ears. Web add a rounded triangle to the bottom of the oval for the head. Let us draw a polar bear in 5 steps. Draw a curved line above each eye, indicating eyebrows..

How to Draw a Polar Bear Cub in a Few Easy Steps EasyDrawingGuides
Web to make your polar bear drawing really pop, it’s important to add highlights and shadows. Notice how the lower line of one eye extends to form the top of the nose. Have fun with this step and draw scribbles and zigzag lines to draw the fur. Start with the polar bear's head. Draw a square which will act as.
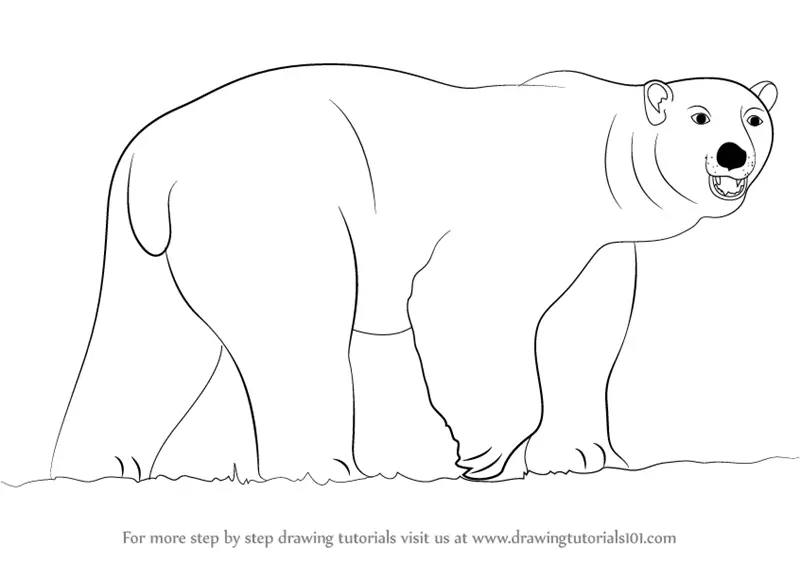
Learn How to Draw a Polar Bear (Zoo Animals) Step by Step Drawing
The pencil lines in each step is outlined in blue so you can identify the most recent shapes that you should be working on. Let us draw a polar bear in 5 steps. Start by draw an oval shape for polar bear’s head in the centre of your paper. Enclose an oval shape around the nose using two curved lines..
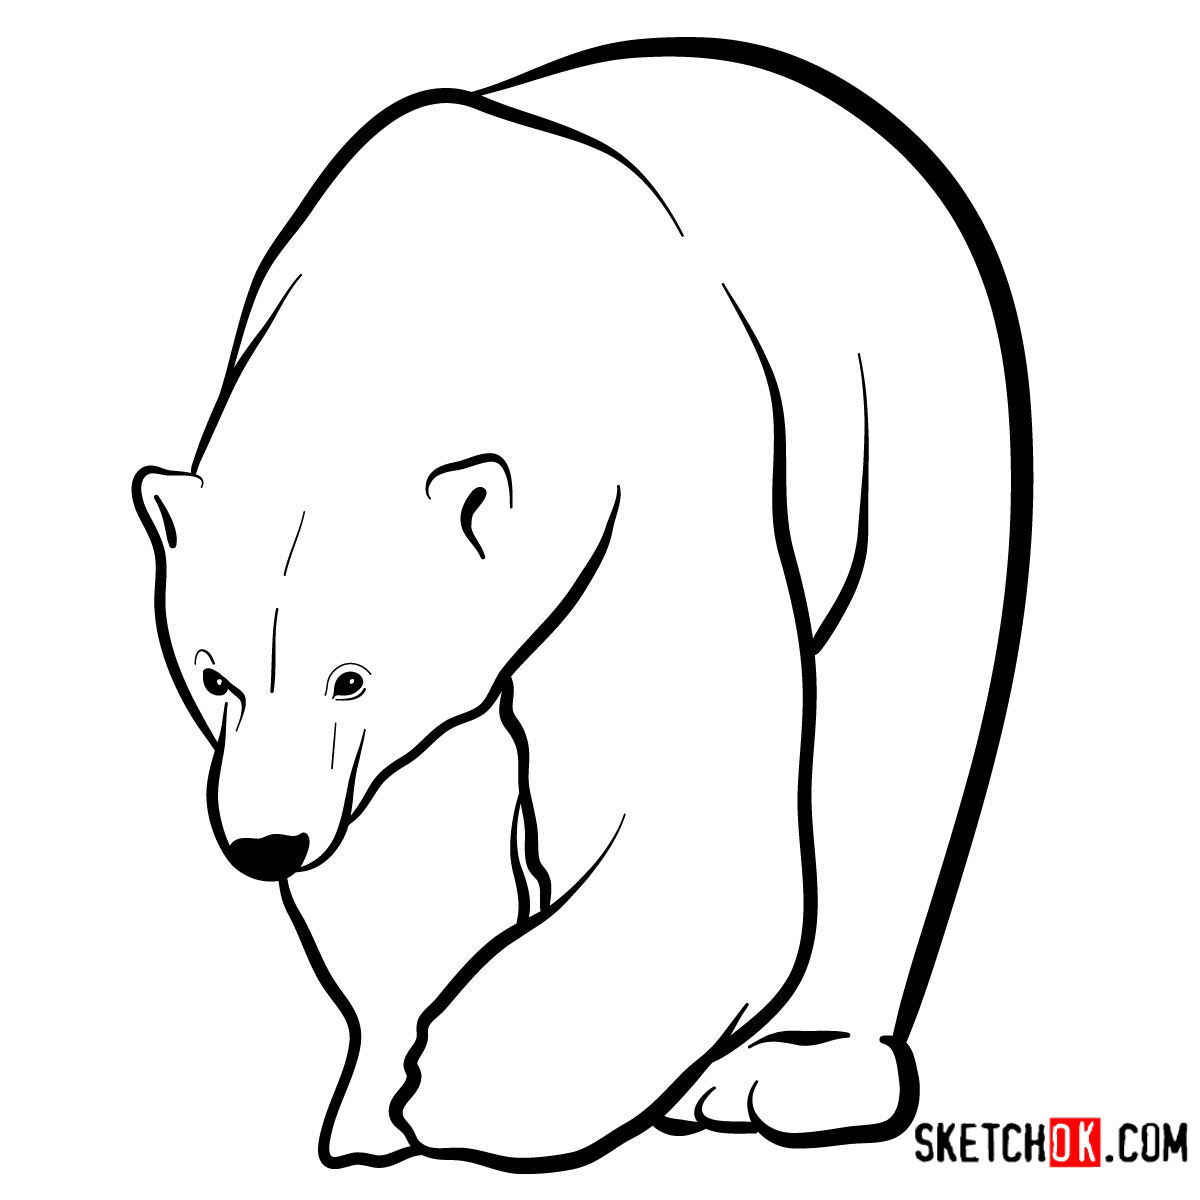
How to draw a Polar bear Wild Animals Sketchok easy drawing guides
Draw in the polar bear claws and details in the face. Let us draw a polar bear in 5 steps. Draw a curved line above each eye, indicating eyebrows. Web add a rounded triangle to the bottom of the oval for the head. Well done, now that you’ve completed how to draw a polar bear, considering adding some shading or.

How To Draw A Polar Bear Step By Step YouTube
Well done, now that you’ve completed how to draw a polar bear, considering adding some shading or coloring to make your polar bear look realistic! Next, we'll add the hind legs. This is such a fun art process to combine with our polar bear drawing and is an easy way for the children to create a lovely wintery backdrop for.
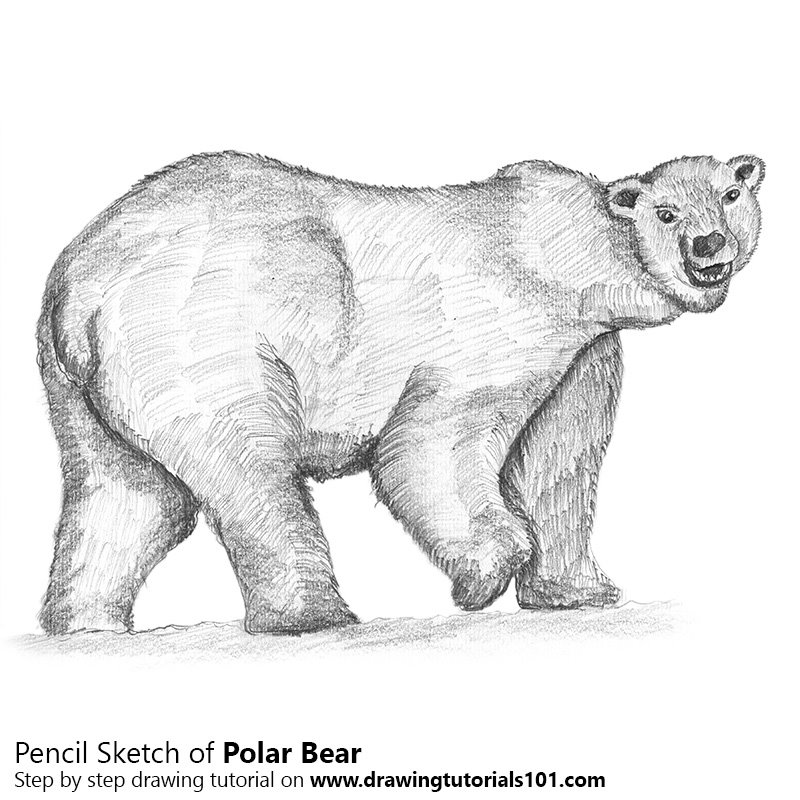
Polar Bear Pencil Drawing How to Sketch Polar Bear using Pencils
Web to make your polar bear drawing really pop, it’s important to add highlights and shadows. Follow these images and you'll be able to draw a polar bear like a pro! Notice how the lower line of one eye extends to form the top of the nose. Use curved lines to outline the shape of the eyes. There is a.

How to Draw Polar Bear HelloArtsy
Enclose an oval shape around the nose using two curved lines. Afterward, draw the hind leg that is further away in a more straight position. Begin by drawing the polar bear's eyes. Web to make your polar bear drawing really pop, it’s important to add highlights and shadows. Define the shapes of the rest of the legs.

How to Draw a Cartoon Polar Bear Really Easy Drawing Tutorial
Web here are the five scariest offenses the bears will have to defend in 2024. The lions were fifth in points and third in yards in 2023 and they brought everybody back, including. Let us draw a polar bear in 5 steps. Begin by drawing an outline of the polar bear’s head on the upper portion of your paper. Use.
Define The Shapes Of The Rest Of The Legs.
Polar bears have thick, heavy coats, so you'll want to keep these limbs fairly wide. Web add a rounded triangle to the bottom of the oval for the head. These rectangles and triangles define the polar. Enclose an oval shape around the nose using two curved lines.
You Can Draw His Head In An Oval Shape.
On the other hand, use darker pencils to add shadows, especially in. Then, draw a thick curved line above each eye to indicate the eyebrows. The chest will be rather simple, and you can use a small curved line extending from the base of the head. So, using the circle we drew in step 3, sketch a slightly bent leg with a large paw.
Let Us Draw A Polar Bear In 5 Steps.
You can use the same technique in step 5 to follow the contours of the polar bear using the pen tool. Home » how to draw » 5 steps to draw a polar bear. Start by draw an oval shape for polar bear’s head in the centre of your paper. For example, the eyes can just be a couple of circles.
Shade A Circle Or Partial Circle Within Each Eye To Form The Pupil.
Work on the figure by adding a hip, eyes, nose and ears. On either side of the head, draw two rounded triangle shapes for the ears, add an inner outline using curved lines. Next, refine your shapes by adjusting the paths with the node tool. This area is the bear's chin and neck.