Realistic Full Body Deer Drawing
Realistic Full Body Deer Drawing - 1 from forest to paper: Construct the legs by creating a linear structure. This will represent the hoof on each leg. Draw the neck and front legs. Add details to the head. Add the body to your realistic deer drawing; Begin with a circle for the head and add an oval shape for the body. Two of these circles are of the same size and represent the front and rear limbs and the deer’s body. Draw the outline of the deer. Connect the head and body with a curved line to represent the neck.
Continue this step onto the back legs and add a thigh curve overlapping the rear body. From the right edge of the heart shape create a curved line going downward, then continue that line horizontally, finally curving. Web start by sketching out the basic shape of the deer’s head and body. Outline the general shape of the head and the upper body of the deer. How to finish a realistic deer drawing; Web draw a deer head step 1. After you've drawn the legs, it's time to add the deer's hooves. Draw the legs of your deer illustration. Focus on their distinct body shape and majestic horns. Create a blocky heart shape.
Start shading the body by identifying the areas of shadow and light on the reference images. Finish the head by adding antlers on top. They can do so on their own. Erase inner lines of the head. Outline the general shape of the head and the upper body of the deer. To begin this step, start with the front legs of your deer. Draw the hind legs and tail. Focus on their distinct body shape and majestic horns. Add details to the background. To avoid such a mistake, we need to plan the body before adding any details.

The WhiteTailed Deer Deer drawing, Deer painting, Deer art
Visualize the deer in your head, then sketch it lightly on the canvas or paper. They can do so on their own. To draw a deer head start with a circle. Then, draw two circles for the eyes and add a dot inside each circle to represent the pupils. From the right edge of the heart shape create a curved.
Deer, Realism, charcoal and pencil r/drawing
Create a blocky heart shape. Add the ears and antlers to your deer illustration; Begin with a circle for the head and add an oval shape for the body. On either side of that blocky heart shape, create a leaf shape, one thinner than the other. Color the fur and antlers.

Deer realistic colorful handdrawn portrait Vector Image
The drawing is quite simple, and can be easily done by kids. Then, draw two circles for the eyes and add a dot inside each circle to represent the pupils. Draw the outline of the deer. Start shading the body by identifying the areas of shadow and light on the reference images. How to draw a realistic deer sketch.
Download Full Body Deer Drawings Buck HQ PNG Image FreePNGImg
Draw a curved line for the deer’s snout and add a small curved line below it to indicate the mouth. Draw the legs of your deer illustration. Add the body to your realistic deer drawing; From the right edge of the heart shape create a curved line going downward, then continue that line horizontally, finally curving. Add details to the.

How to Draw a Deer Step by Step for Beginners
Deer drawing easy, so where to start. Begin with a circle for the head and add an oval shape for the body. Draw the hind legs and tail. Then, draw two circles for the eyes and add a dot inside each circle to represent the pupils. Start shading the body by identifying the areas of shadow and light on the.

Realistic Deer Drawing 🦌 Deer drawing, Colored pencil artwork
To start, draw the base of the deer outline. Continue this step onto the back legs and add a thigh curve overlapping the rear body. Web this deer drawing has long horns, and a small fluffy tail. Add details to the background. Create a blocky heart shape.
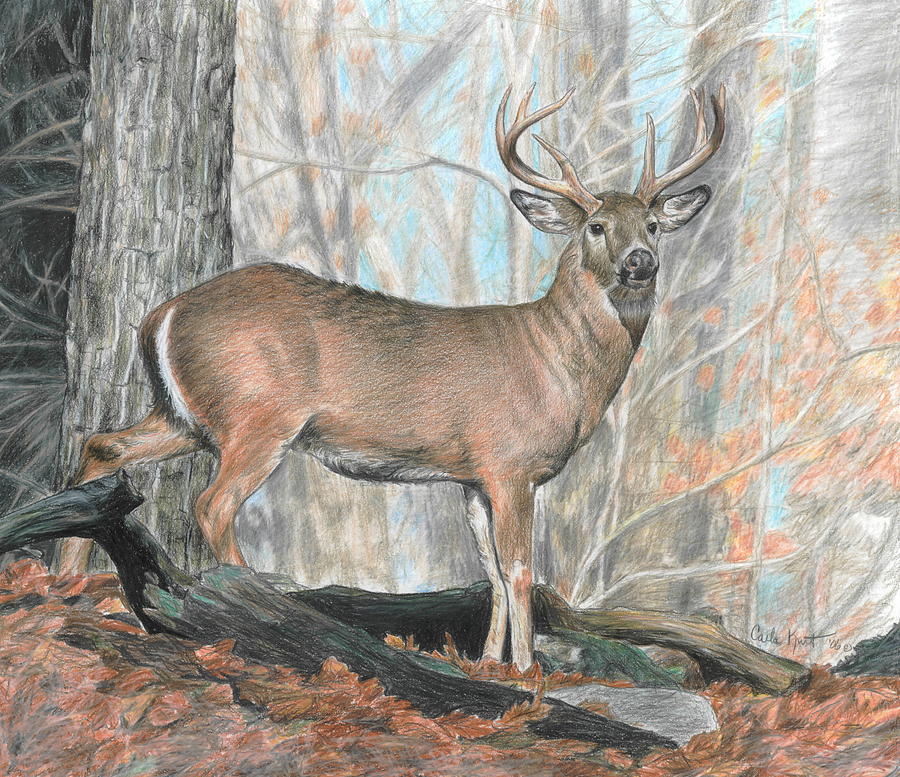
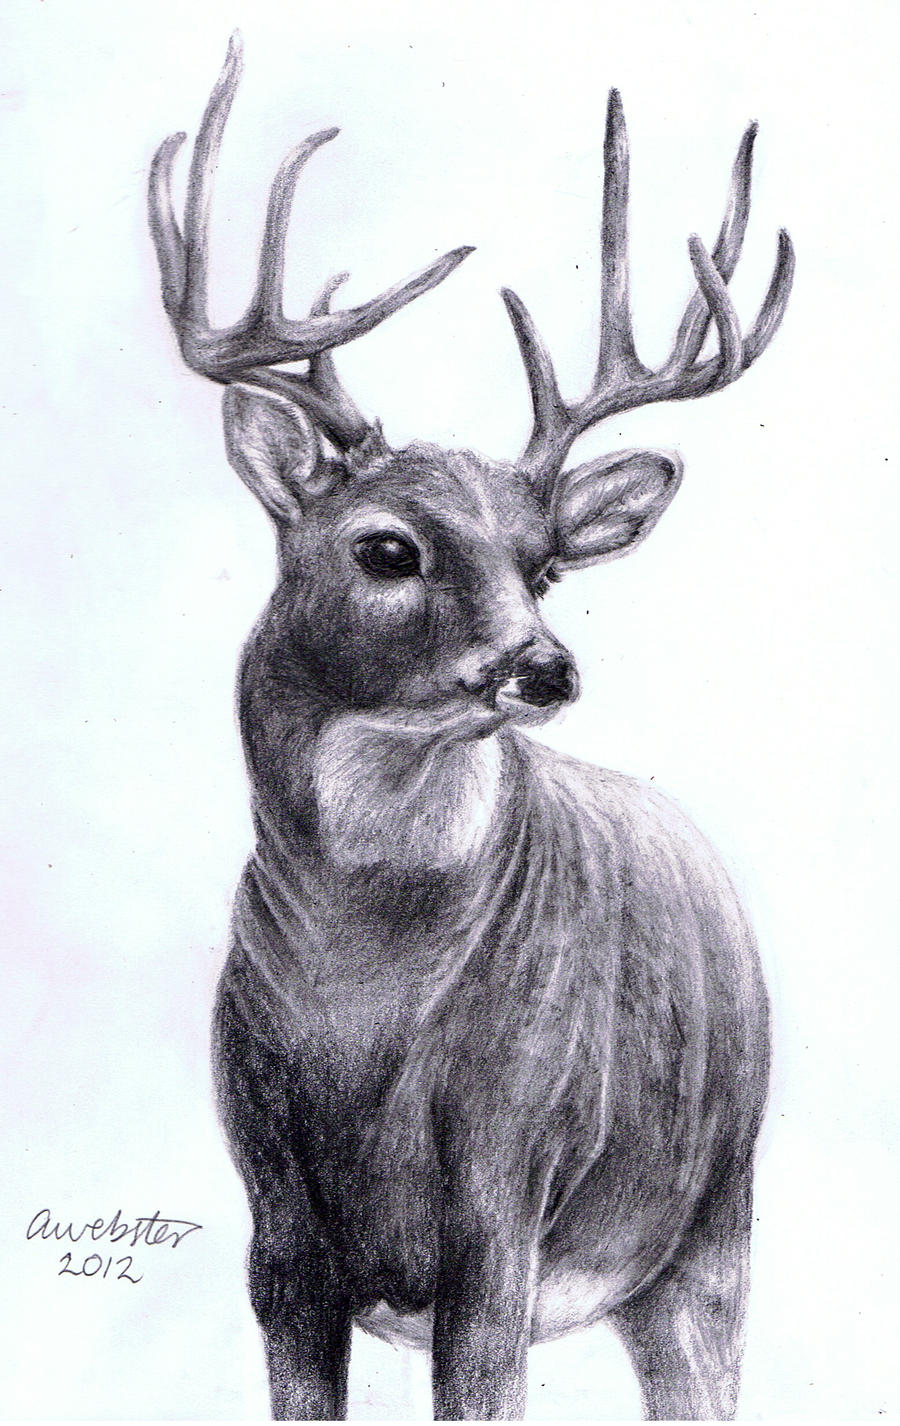
Whitetail Buck Drawing by Carla Kurt
Erase inner lines of the head. Connect the head and body with a curved line to represent the neck. Outline the general shape of the head and the upper body of the deer. The tutorial itself is ideal for preschoolers and kindergarteners. To begin this step, start with the front legs of your deer.
Igor Lukyanov Graphic Artist Illustrator Portraitist Deer Drawing
Shade an inverted, curved triangle for the nose, then use curved lines for the snout and top of the head. Finally, add in the fur. Outline the general shape of the head and the upper body of the deer. Draw a square which will act as the frame of the deer portrait. Draw a line between the middle of the.

Deer Pencil Drawings at Explore collection of Deer
First, plan out your drawing. How to draw a realistic deer sketch. First, you’ll want to start with a simple outline of your deer. Begin the deer outline by sketching the animal's face. Start with the basic outlines of the fur and then fill it in.
Realistic Deer by annoKat on DeviantArt
Web this deer drawing has long horns, and a small fluffy tail. Color the fur and antlers. To avoid such a mistake, we need to plan the body before adding any details. Web start by sketching out the basic shape of the deer’s head and body. Draw the hind legs and tail.
After You've Drawn The Legs, It's Time To Add The Deer's Hooves.
Begin the deer outline by sketching the animal's face. Start with the basic outlines of the fur and then fill it in. Finish the head by adding antlers on top. How to draw a realistic deer sketch.
Erase Inner Lines Of The Head.
Draw the deer’s eyes, nose, and mouth. Connect the head and body with a curved line to represent the neck. Now draw a smaller circle (mouth) in the corner created by the tangents. To draw a deer head start with a circle.
The Third, Slightly Smaller Circle, Represents The Head.
First, you’ll want to start with a simple outline of your deer. Web how to draw a deer's torso; Construct the legs by creating a linear structure. Focus on their distinct body shape and majestic horns.
Use A Range Of Pencil Grades To Achieve A Smooth Gradient From Light To Dark.
This will represent the hoof on each leg. Web #howtodraw #realisticpencildrawing easy way to draw a realistic deer for beginners step by step.how to draw realistic deer with pencil step by step tutorial. Add details to the background. Two of these circles are of the same size and represent the front and rear limbs and the deer’s body.