Realistic Waterfall Drawing
Realistic Waterfall Drawing - Web start by drawing what we will call the “base rock” on the left side of the waterfall. This tutorial will guide you in creating stunning watermasses and landmarks. 15:36 step 3 blocking in dark foliage Make the lines progressively smaller as they near the bottom of the page. Begin adding foliage to your drawing. Use a dark pencil or pen to draw in the outline of the rocks. Web watch how to draw a waterfall landscape. Web do you know my new exclusive channel of acrylic painting techniques, demonstrations and lessons? Whether you’re a parent, teacher, or art enthusiast, our newsletter is packed with fun. Add the detail and texture of flowing water to the waterfall.
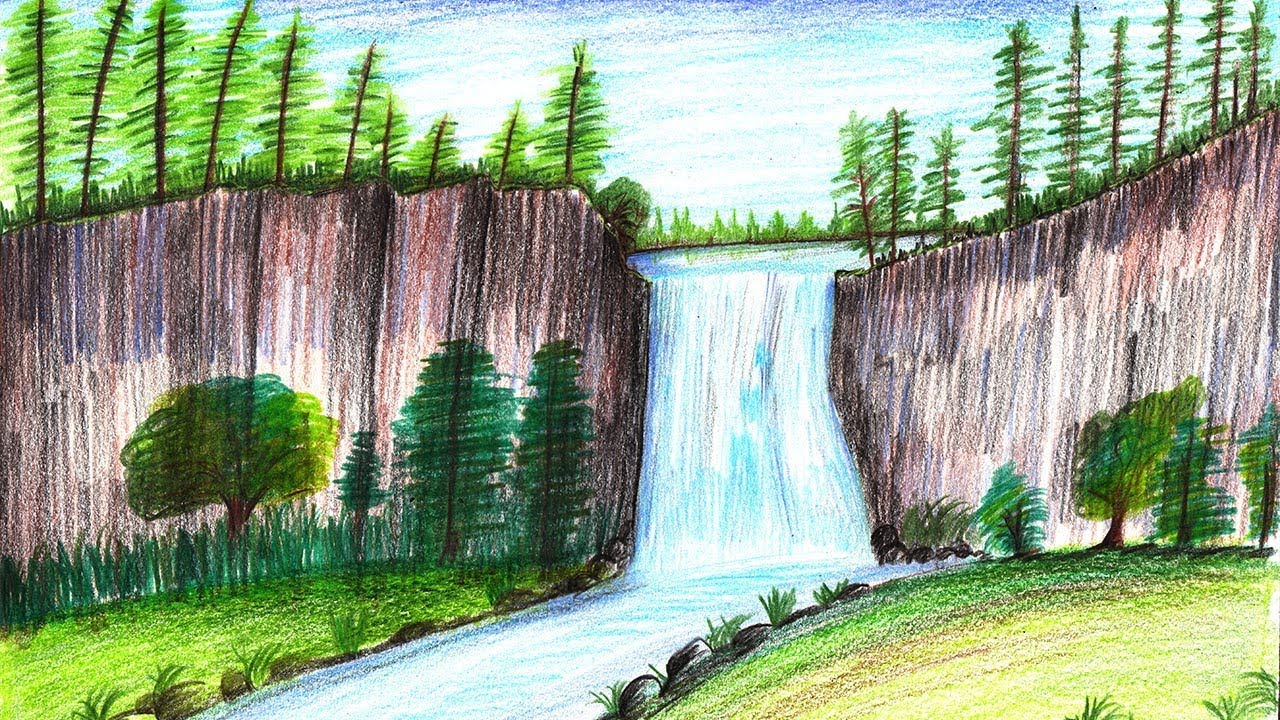
This tutorial will guide you in creating stunning watermasses and landmarks. Next, it’s time to add in the water. Then, start filling in the rocks with different shades of gray. Start by drawing a curved line to represent the top of the waterfall. 15:36 step 3 blocking in dark foliage Then, fill in the details with more line work and shading. Web in this lesson, we're learning how to draw a beautiful waterfall landscape! Add four groups of parallel lines and one single line on the left side of the image. Showing how to draw a waterfall and stream. Achieving the right balance of light and shadow, capturing the movement of water, and creating realistic textures can be difficult.
Web for a more realistic and lifelike waterfall, you can try using water colors. Now it’s time to bring the waterfall to life by adding details to the flowing water. Add four groups of parallel lines and one single line on the left side of the image. Make sure to leave some white space in between the different shades to create a realistic look. How to draw, summer tagged with: Draw more thin lines with the tip of your pencil, especially near the top and along the sides. Web draw realistic waterfalls. Start by sketching the outline, and then slowly build up the colors and shapes of the waterfall, blending colors together to create an even more realistic appearance. 05:49 step 2 sketch in main structure. Water colors work best on a thicker paper that can hold the moisture and give you more control.

Waterfall, Ania Przybylko on ArtStation at
Add details to the waterfall. Then, fill in the details with more line work and shading. Web start by drawing what we will call the “base rock” on the left side of the waterfall. Web in this lesson, we're learning how to draw a beautiful waterfall landscape! At the bottom of the waterfall, draw a number of wavy, curved lines.
Waterfall Pencil Drawing at Explore collection of
At the bottom of the waterfall, draw a number of wavy, curved lines in a circular pattern. Web link to my patreon page: Web add one to start the conversation. Get the latest updates, news, and exciting announcements from art for kids hub delivered straight to your inbox! Draw various curved lines to represent the base rock.

How To Draw Waterfalls, Realistic Waterfall, Step by Step, Drawing
As a matter of fact, the more uneven the lines are, the more realistic the rock formation looks! Web how to draw a realistic waterfall with pencil | pencil drawing techniques (subtitled on screen) #easydrawing #freedrawingandpaintinlessons #knowingdrawingacademy #josemanuelgallegogarcia in today’s drawing tutorial, we will see how to draw a waterfall in pencil, step by step, very easy and with many.

Waterfall Realistic Background Vector Illustration 2273663 Vector Art
At the bottom of the waterfall, draw a number of wavy, curved lines in a circular pattern. Web how to draw a realistic waterfall with pencil | pencil drawing techniques (subtitled on screen) #easydrawing #freedrawingandpaintinlessons #knowingdrawingacademy #josemanuelgallegogarcia in today’s drawing tutorial, we will see how to draw a waterfall in pencil, step by step, very easy and with many drawing..
How to Draw a Waterfall in a Beautiful Landscape Let's Draw Today
Make sure to leave some white space in between the different shades to create a realistic look. At the bottom of the waterfall, draw a number of wavy, curved lines in a circular pattern. Web welcome to our creative corner, where we'll take you on an artistic journey into the world of waterfalls. Water colors work best on a thicker.
How to Draw a Beautiful Waterfall Step by Step very easy YouTube
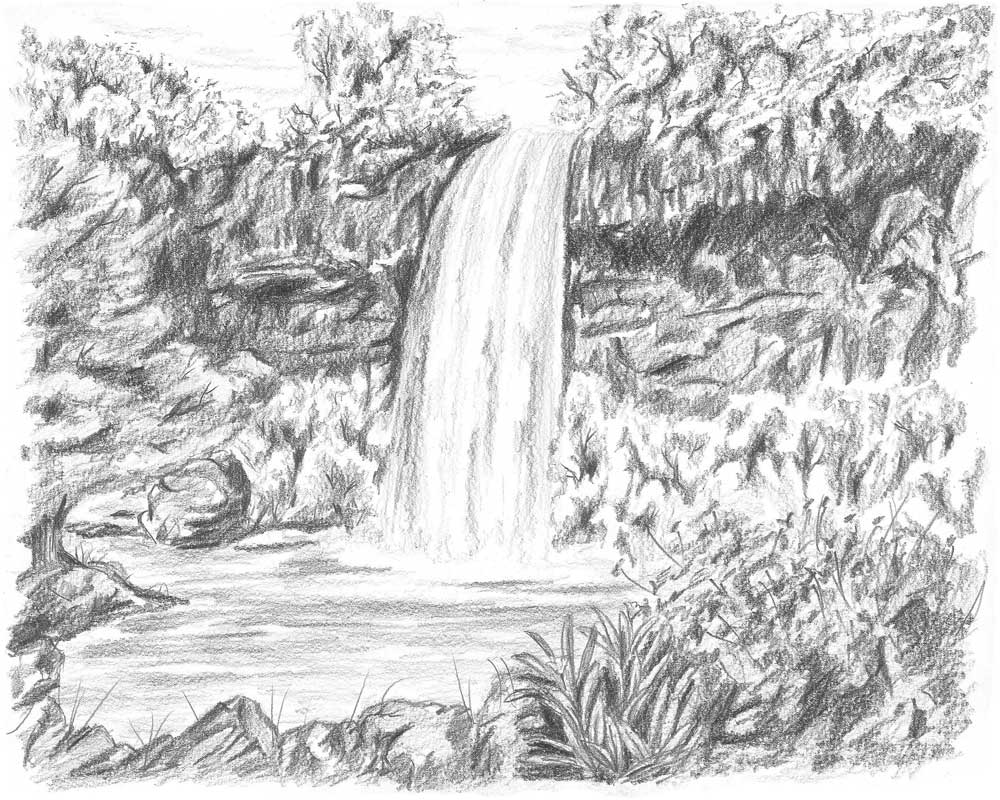
To start, lightly sketch your waterfall with a pencil. By giving the features in the foreground the most detail, we emphasize the quality of objects being visible nearby. Web link to my patreon page: Web in this new pencil drawing tutorial, we are going to learn how to draw a waterfall, a beautiful landscape with a waterfall. Drawing a realistic.

Hyper Realistic Waterfall Painting with Intricate Detail · Creative Fabrica
15:36 step 3 blocking in dark foliage Start by sketching the outline, and then slowly build up the colors and shapes of the waterfall, blending colors together to create an even more realistic appearance. Web for a more realistic and lifelike waterfall, you can try using water colors. Drawing a realistic and easy waterfall doesn’t have to be complex. Add.

How To Draw A Waterfall A StepByStep Guide IHSANPEDIA
By giving the features in the foreground the most detail, we emphasize the quality of objects being visible nearby. Draw various curved lines to represent the base rock. This will make the entire scene more cohesive and complete. Web do you know my new exclusive channel of acrylic painting techniques, demonstrations and lessons? Web make sure that you work on.

How to draw a waterfall step by step Drawing Techniques, Drawing
Add more lines for areas with more foam and spray. Water colors work best on a thicker paper that can hold the moisture and give you more control. Web sketch over some of the thicker, wavy lines with the side of your pencil’s graphite. Web adding a background can help to bring the waterfall scene to life. Web how to.

How To Draw Waterfalls, Realistic Waterfall, Step by Step, Drawing
Web how to draw a realistic waterfall and a stream. Web in this lesson, we're learning how to draw a beautiful waterfall landscape! Start by sketching the outline, and then slowly build up the colors and shapes of the waterfall, blending colors together to create an even more realistic appearance. Add more lines for areas with more foam and spray..
I Really Hope This Is.
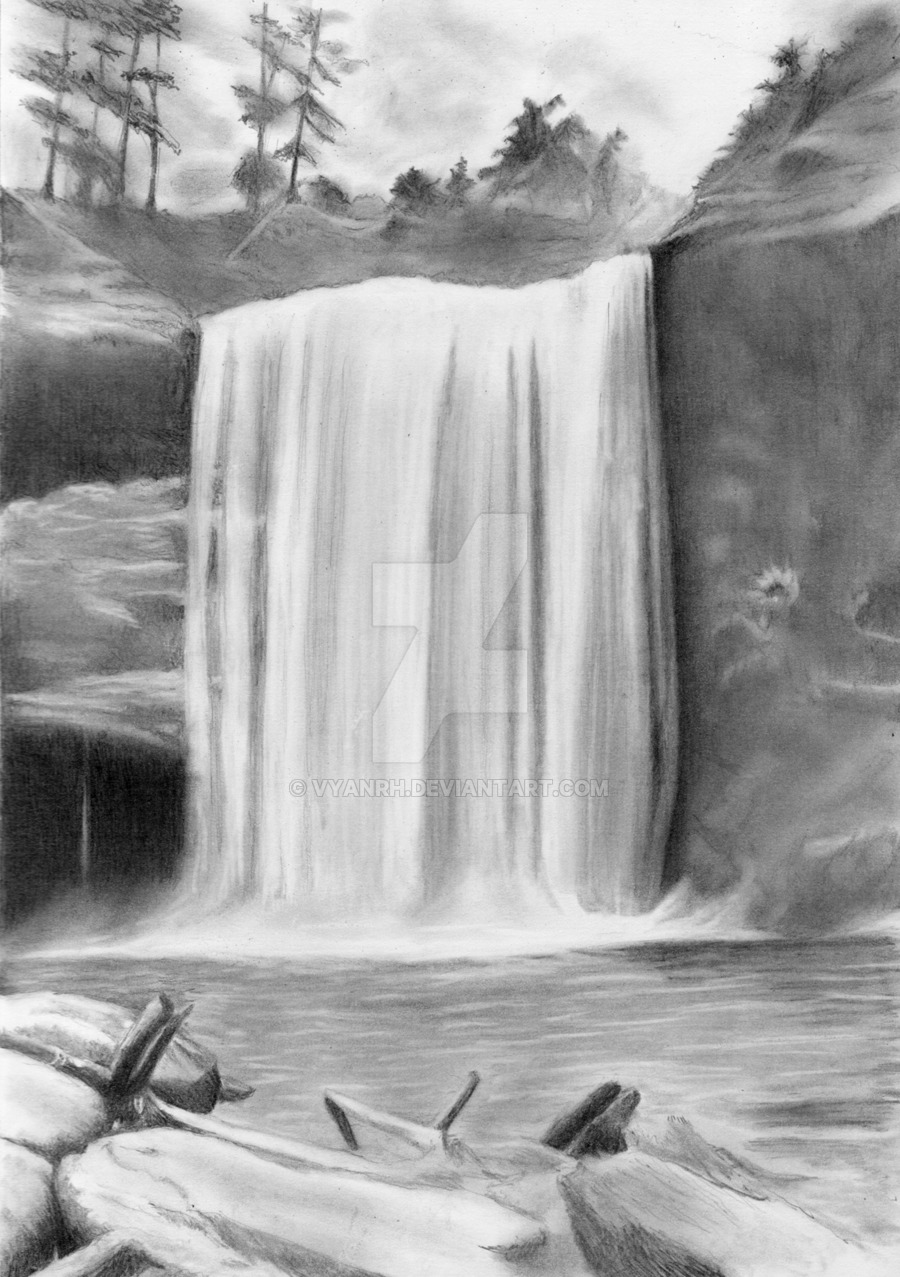
Learn how to draw realistic waterfalls in this tutorial, featuring the ledgefalls system in which waterfalls and water features such as this one are actually built. Use a 4b pencil to shade the cliff along the left edge of. Web start by adding in the rocky edges of the waterfall. Drawing a waterfall can pose technical challenges, especially for beginners.
Web In This New Pencil Drawing Tutorial, We Are Going To Learn How To Draw A Waterfall, A Beautiful Landscape With A Waterfall.
Start by lightly sketching the motion of the water with horizontal lines. At the bottom of the waterfall, draw a number of wavy, curved lines in a circular pattern. Next, it’s time to add in the water. Web in this lesson, we're learning how to draw a beautiful waterfall landscape!
Web Add One To Start The Conversation.
By giving the features in the foreground the most detail, we emphasize the quality of objects being visible nearby. Web make sure that you work on the details within the foreground, as this is an essential part of creating a realistic waterfall drawing. Begin adding foliage to your drawing. Showing how to draw a waterfall and stream.
Start By Drawing A Curved Line To Represent The Top Of The Waterfall.
Now it’s time to bring the waterfall to life by adding details to the flowing water. Join the art for kids hub newsletter! Web draw a trapezoid on the bottom left of the image. Web start by drawing what we will call the “base rock” on the left side of the waterfall.