Simple Microscope Drawing
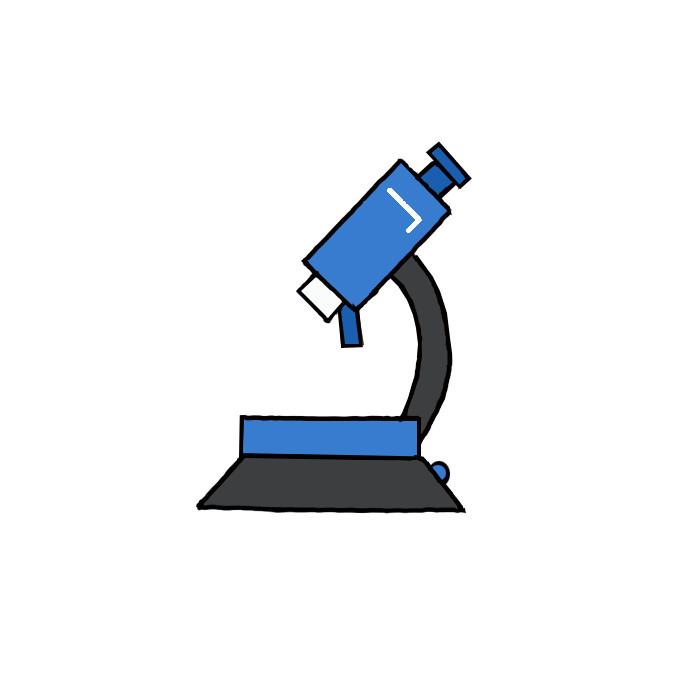
Simple Microscope Drawing - These two oblongs should have one inch apart. This forms the arm of the microscope. Web this last method is a simple tutorial on drawing a microscope, beginning with the topmost part: On the bottom part of your paper, sketch two horizontal elongated oblong shapes. Sketch the platform of this microscope. This line represents the microscope’s arm. Web add a small circle on the top of the horizontal rectangle for the lens. We draw only two rays and we get the point of the image and now we know that other rays will meet at that point only so, we don't draw all of them. Continue follow my channel and like, share,comm. At that point, the image is formed.
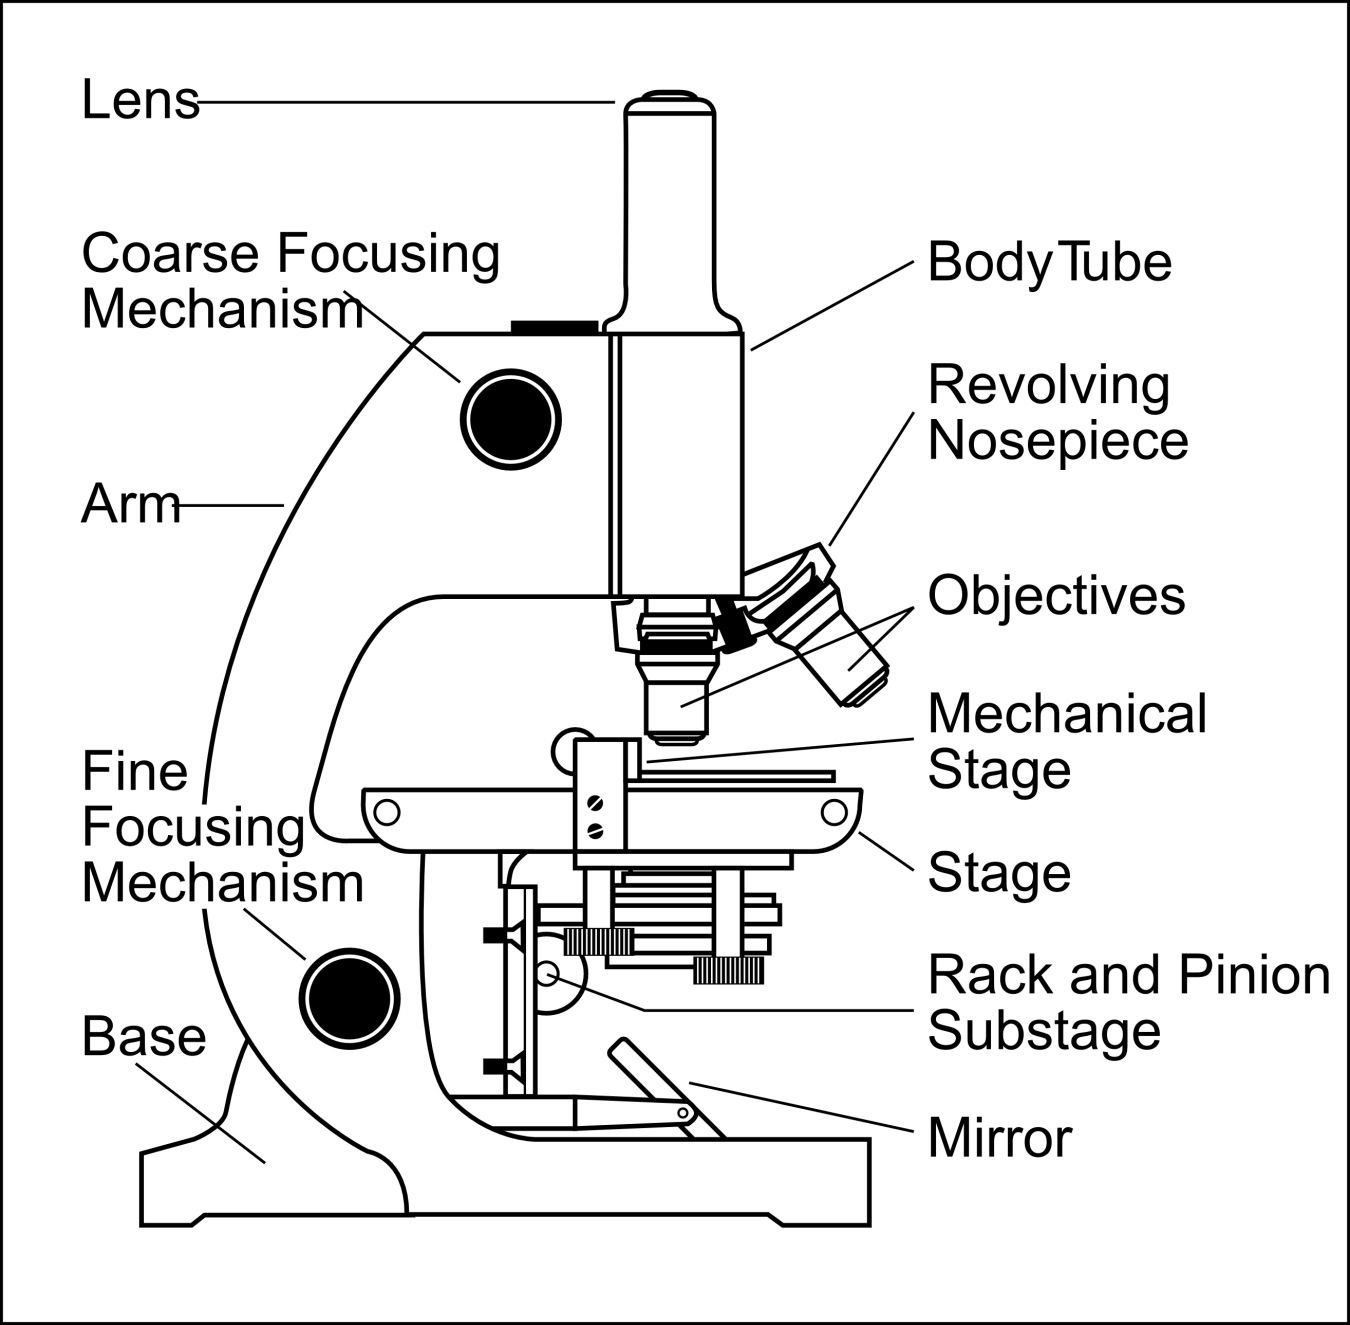
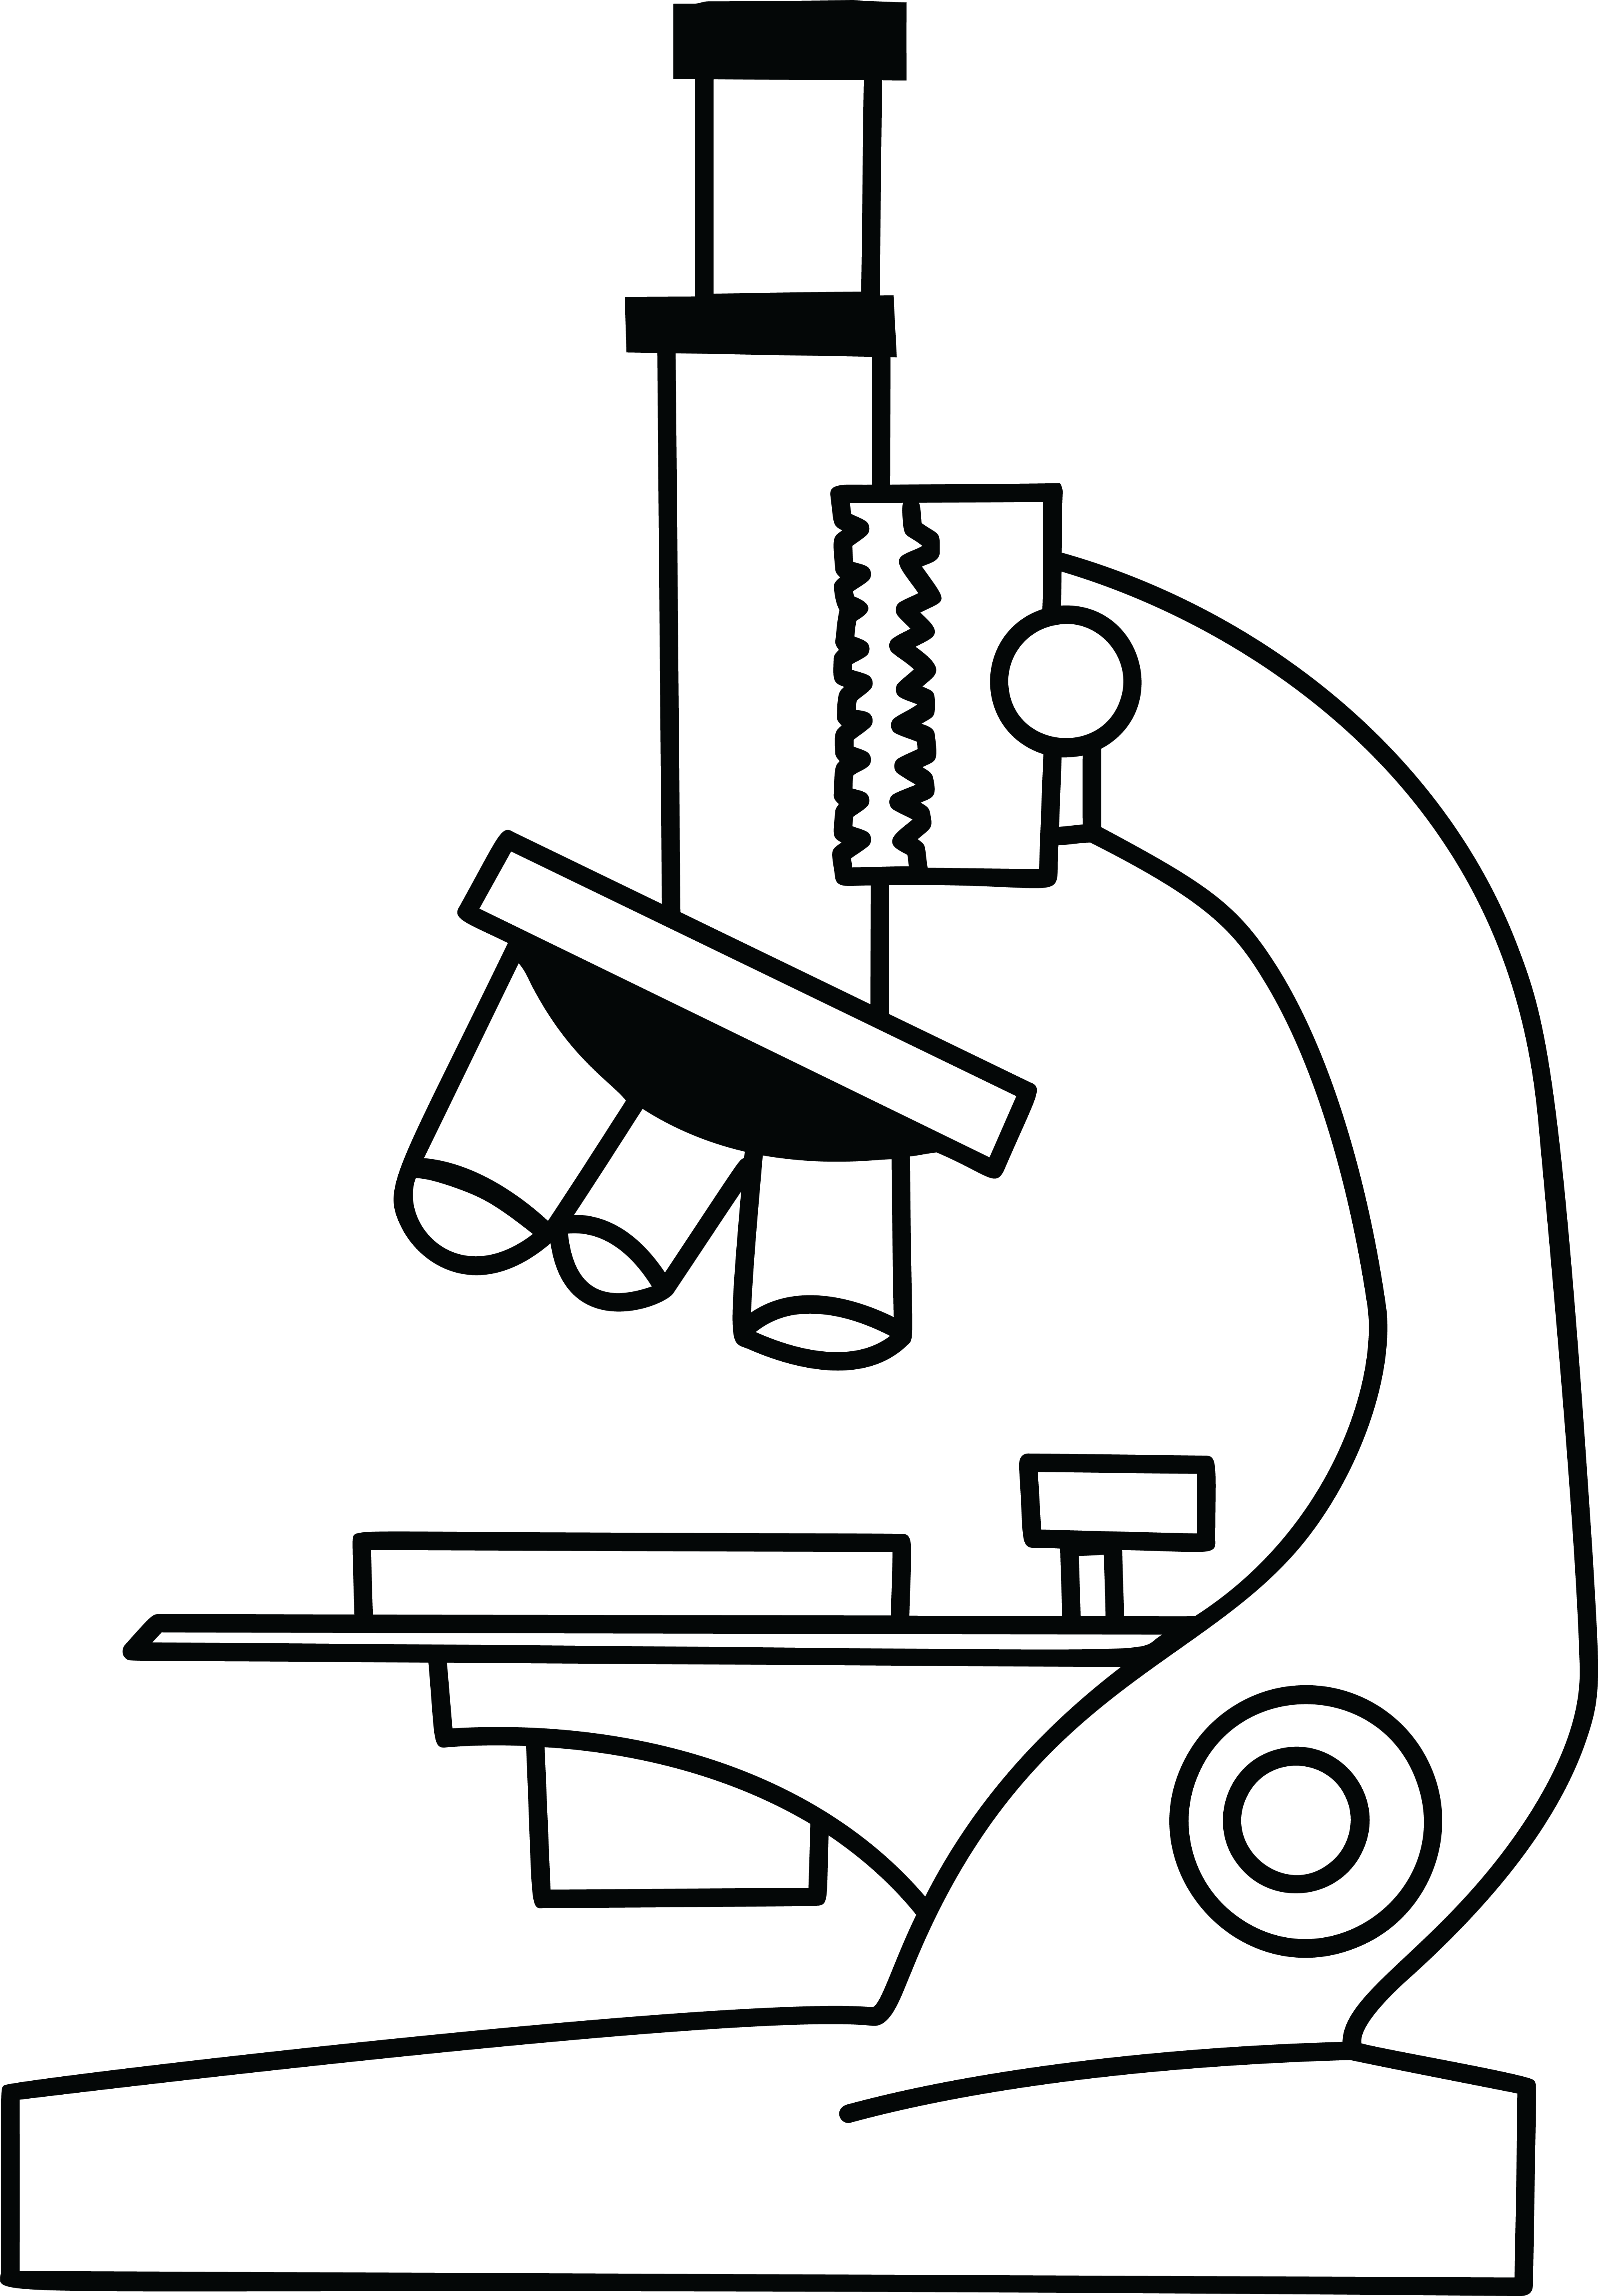
We draw only two rays and we get the point of the image and now we know that other rays will meet at that point only so, we don't draw all of them. Draw a small rectangular shape and then attach a thin rectangular shape onto it. It is a double convex lens with a short focal length that is mounted in a lens holder. Simple microscope is a scientific instrument used to magnify microscopic objects so that they are visible to the unaided eye. Continue follow my channel and like, share,comm. Attached to the top of the arm, draw the head unit, which connects the nosepiece and lenses with the tube above. Web parts of the optical parts are as follows: Begin by finding the central point of your drawing area. All drawing steps are included here which make it fun and simple to follow! Use a curved line to enclose a rounded shape beneath the head.
This shape will also have some small circles on it. Connect them at the bottom using curved lines. Having one or two curve part and one base. At that point, the image is formed. Use a curved line to enclose a rounded shape beneath the head. Take your time and look at different parts of the specimen to get an overall idea of its shape, size, and features. Web in this video i'm going to draw the diagram of a simple microscope diagram easily and step by step#microscope #abhishekeducare #simplemicroscope Web ready to take your drawing skills to the next level? Web add a small circle on the top of the horizontal rectangle for the lens. Draw the eyepiece for this microscope.
How to Draw a Microscope Step by Step Easy Drawing Guides Drawing
Draw the eyepiece for this microscope. We draw only two rays and we get the point of the image and now we know that other rays will meet at that point only so, we don't draw all of them. Start with the base of the microscope. This shape will also have some small circles on it. Simple microscope is a.
Microscope Drawing Easy at Explore collection of
Attached to the top of the arm, draw the head unit, which connects the nosepiece and lenses with the tube above. Connect them at the bottom using curved lines. A great way to s. Begin by finding the central point of your drawing area. Draw the objective lens for this microscope.

How to Draw a Microscope Really Easy Drawing Tutorial
These two oblongs should have one inch apart. There is a blank copy at the end of the video to review on your own. We draw only two rays and we get the point of the image and now we know that other rays will meet at that point only so, we don't draw all of them. Web in this.
Simple Microscope Drawing at GetDrawings Free download
Web the magnification power of a simple microscope is expressed as: Then, we will be drawing a small mirror on a hinge, and this would be used as a light source for the microscope. It is a double convex lens with a short focal length that is mounted in a lens holder. In reality, an infinite number of rays originate.

Simple Microscope Drawing at GetDrawings Free download
M = 1 + d/f. Draw the arm of this microscope. Web in this video i'm going to draw the diagram of a simple microscope diagram easily and step by step#microscope #abhishekeducare #simplemicroscope Sketch a horizontal line from the bottom of the main body to the arm, representing the stage where the sample is placed. On the bottom part of.
How to Draw a Microscope Easy Drawing Art
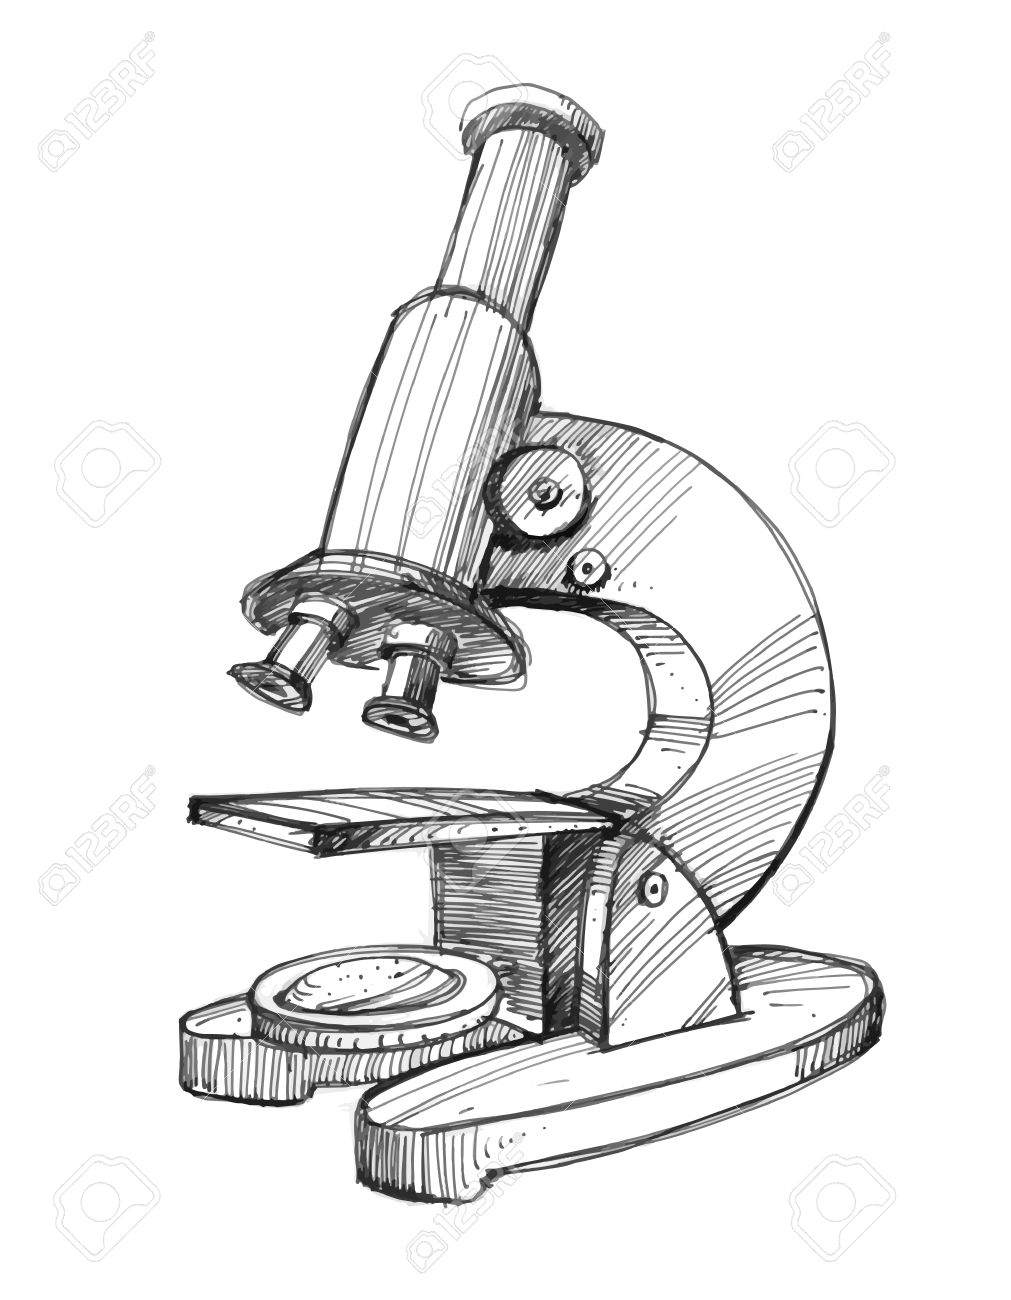
Draw it on a higher point on the page, as it is the topmost part of the microscope. Web to draw a microscope, begin by mapping out its structure in three dimensions, start adding in the characteristic details, and shade one side of it to give it. Web the first step in drawing microscope images is to observe the specimen.
Simple Microscope Drawing at GetDrawings Free download
Then, we will be drawing a small mirror on a hinge, and this would be used as a light source for the microscope. Web in this video i go over a microscope drawing that is easy with label. It is to be noted that. This example doesn't show the head as clearly as other microscope pictures do, so to do.

How to Draw a Microscope Really Easy Drawing Tutorial
The magnification power of a simple microscope is about 10, meaning that the specimen. Having one or two curve part and one base. Find the central point of your page and make a tilted cylindrical shape pointing upwards. Pay attention to the details, such as the texture, the color, and the arrangement of the cells or structures. Begin by finding.

How to Draw a Microscope Step by Step Easy Drawing Guides Drawing
Draw the eyepiece for this microscope. This shape will also have some small circles on it. Draw the objective lens for this microscope. Web ready to take your drawing skills to the next level? Pay attention to the details, such as the texture, the color, and the arrangement of the cells or structures.
Microscope Drawing Easy at Explore collection of
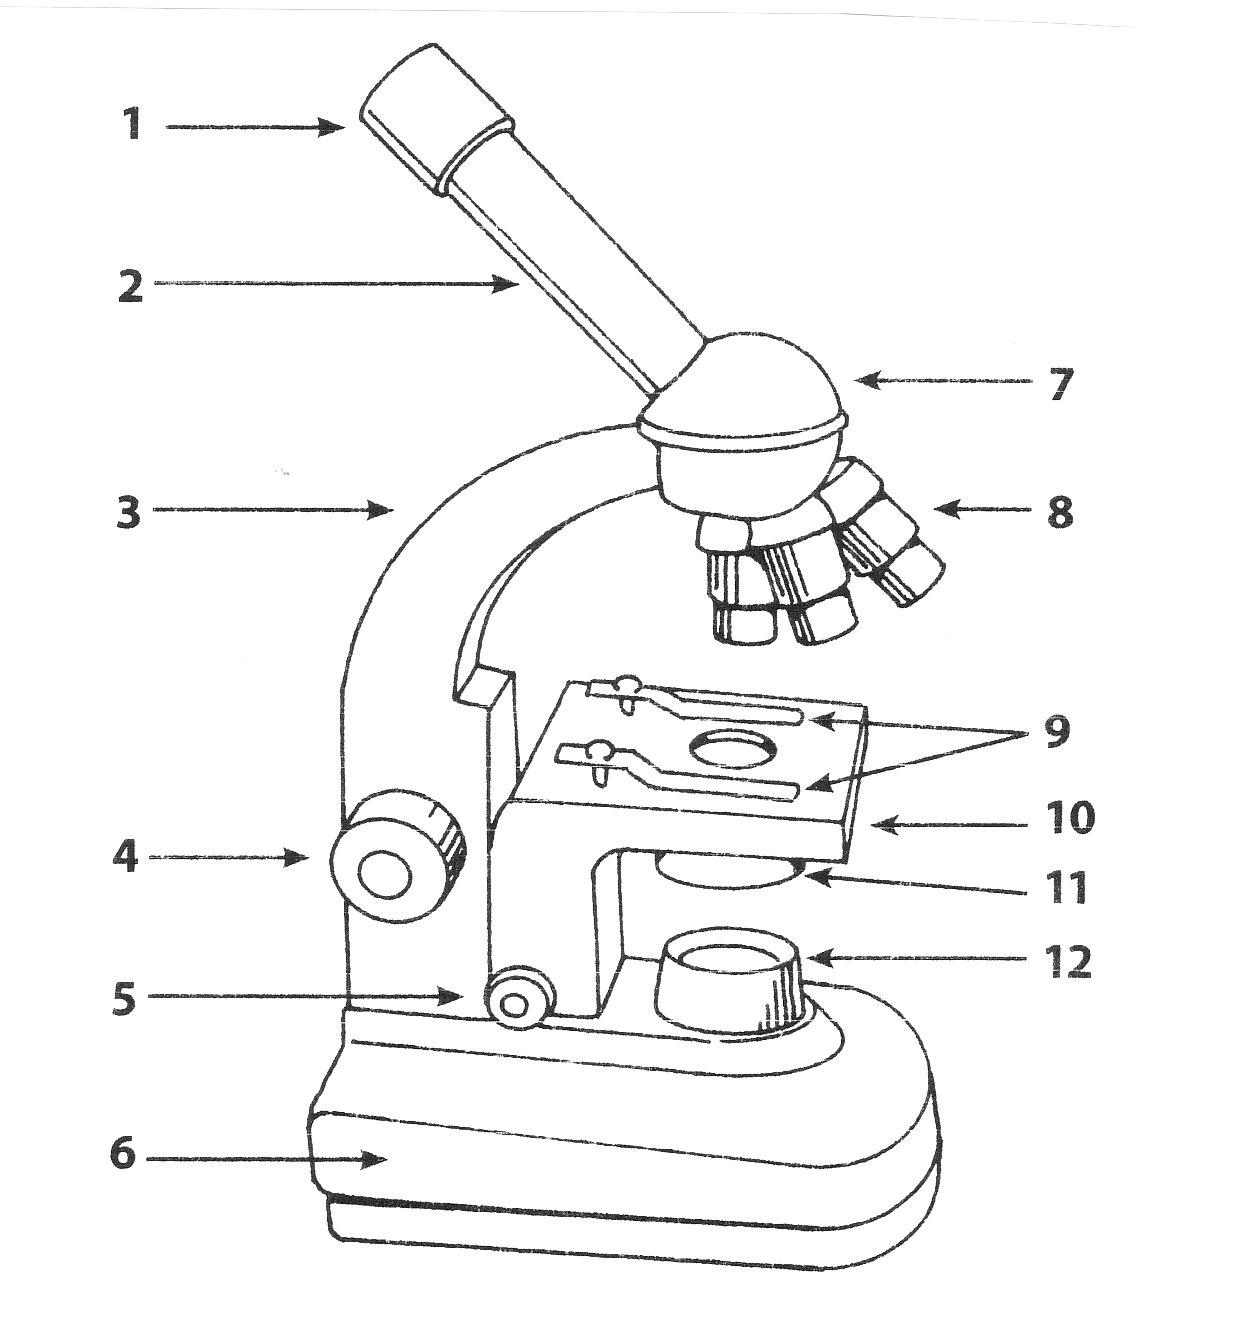
Web parts of the optical parts are as follows: Begin by finding the central point of your drawing area. All drawing steps are included here which make it fun and simple to follow! Begin your invention by sketching the base of the microscope. Below this, draw another curved line, leaving the shape open on one side.
Web Ready To Take Your Drawing Skills To The Next Level?
This example doesn't show the head as clearly as other microscope pictures do, so to do yours better look at a few other microscope images. Continue follow my channel and like, share,comm. Web this last method is a simple tutorial on drawing a microscope, beginning with the topmost part: Web parts of the optical parts are as follows:
Begin Your Invention By Sketching The Base Of The Microscope.
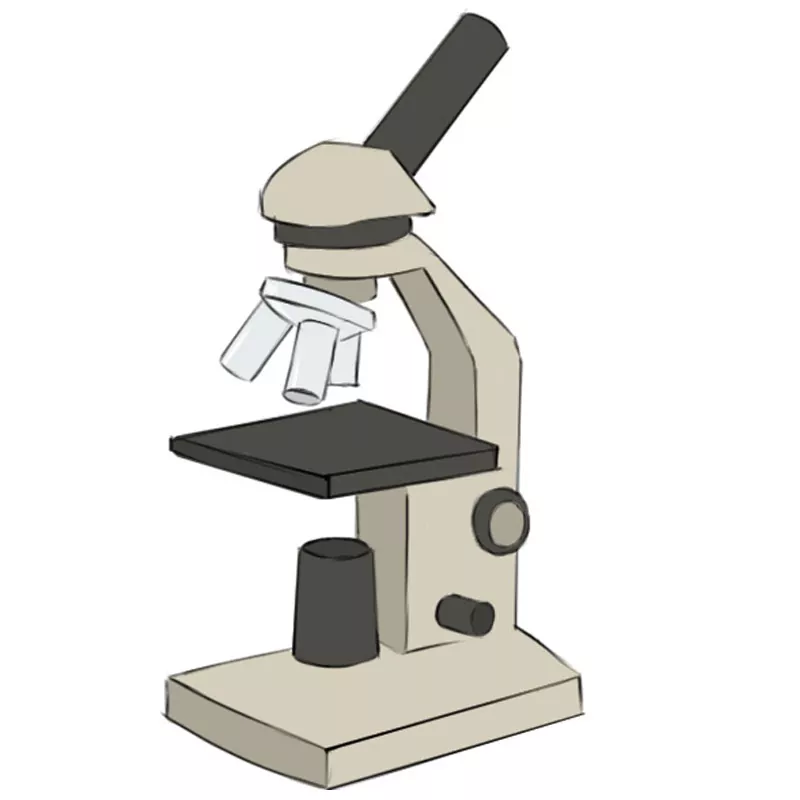
Web a simple microscope is a magnifying glass that has a double convex lens with a short focal length. Notice the bend in the middle of each line. Sketch the platform of this microscope. It is a double convex lens with a short focal length that is mounted in a lens holder.
It Is To Be Noted That.
This line represents the microscope’s arm. Web add a small circle on the top of the horizontal rectangle for the lens. It’s is consists of many small tubes. Web this easy microscope drawing tutorial is perfect for fairly young students looking to get started with drawing and shading.
In Reality, An Infinite Number Of Rays Originate From The Object But They All Meet At The Same Point.
Pay attention to the details, such as the texture, the color, and the arrangement of the cells or structures. Web to draw a microscope, begin by mapping out its structure in three dimensions, start adding in the characteristic details, and shade one side of it to give it. Begin by finding the central point of your drawing area. Sketch a horizontal line from the bottom of the main body to the arm, representing the stage where the sample is placed.