Tom And Jerry Cartoon Drawing
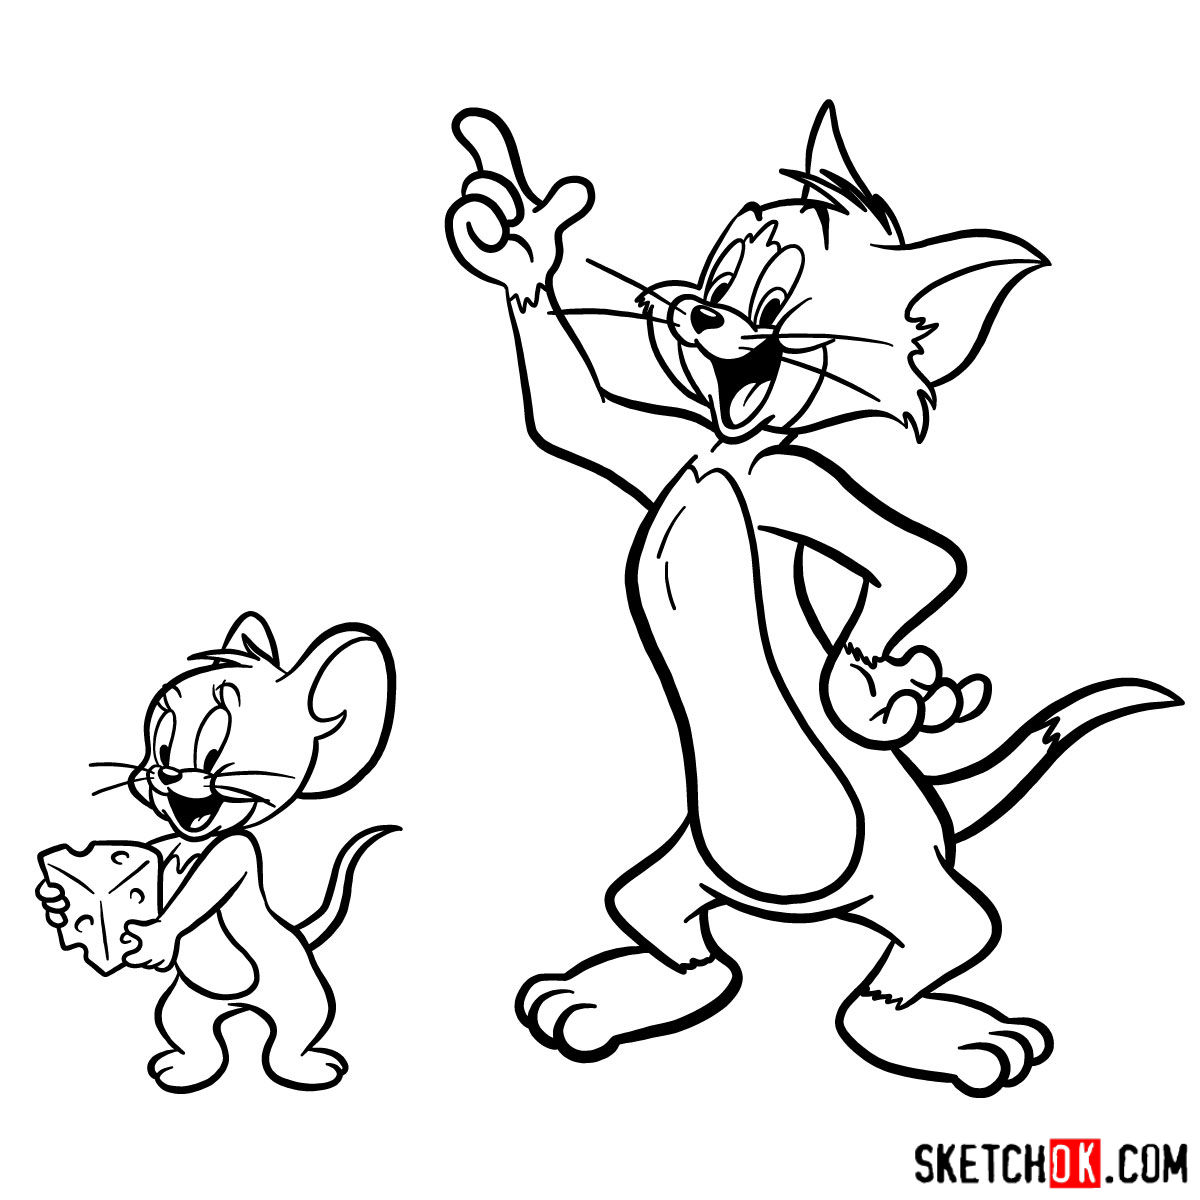
Tom And Jerry Cartoon Drawing - However, be sure to wait for the ink to dry completely before erasing the pencil sketch to. The last image in the guide provides a color reference to assist you in the coloring process. Web the guide comprises 11 steps, beginning with the basic structure of jerry’s sketch. Reruns of the cartoon series are frequently broadcast on cartoon network, making it a favorite of both children and adults. Inking enhances the sketch’s visibility and permanence, but remember to wait until the ink dries before gently erasing the pencil lines to avoid smudges. Draw jerry’s arms and legs as thin, curved lines. Use two lines for the upper arm and two for the lower. Use curved lines to draw the back and palm of the hand, and u shaped lines for the fingers. Web after completing the sketch, you can choose to ink your drawing. Web draw two circles for tom’s hands, and add four fingers on each hand.
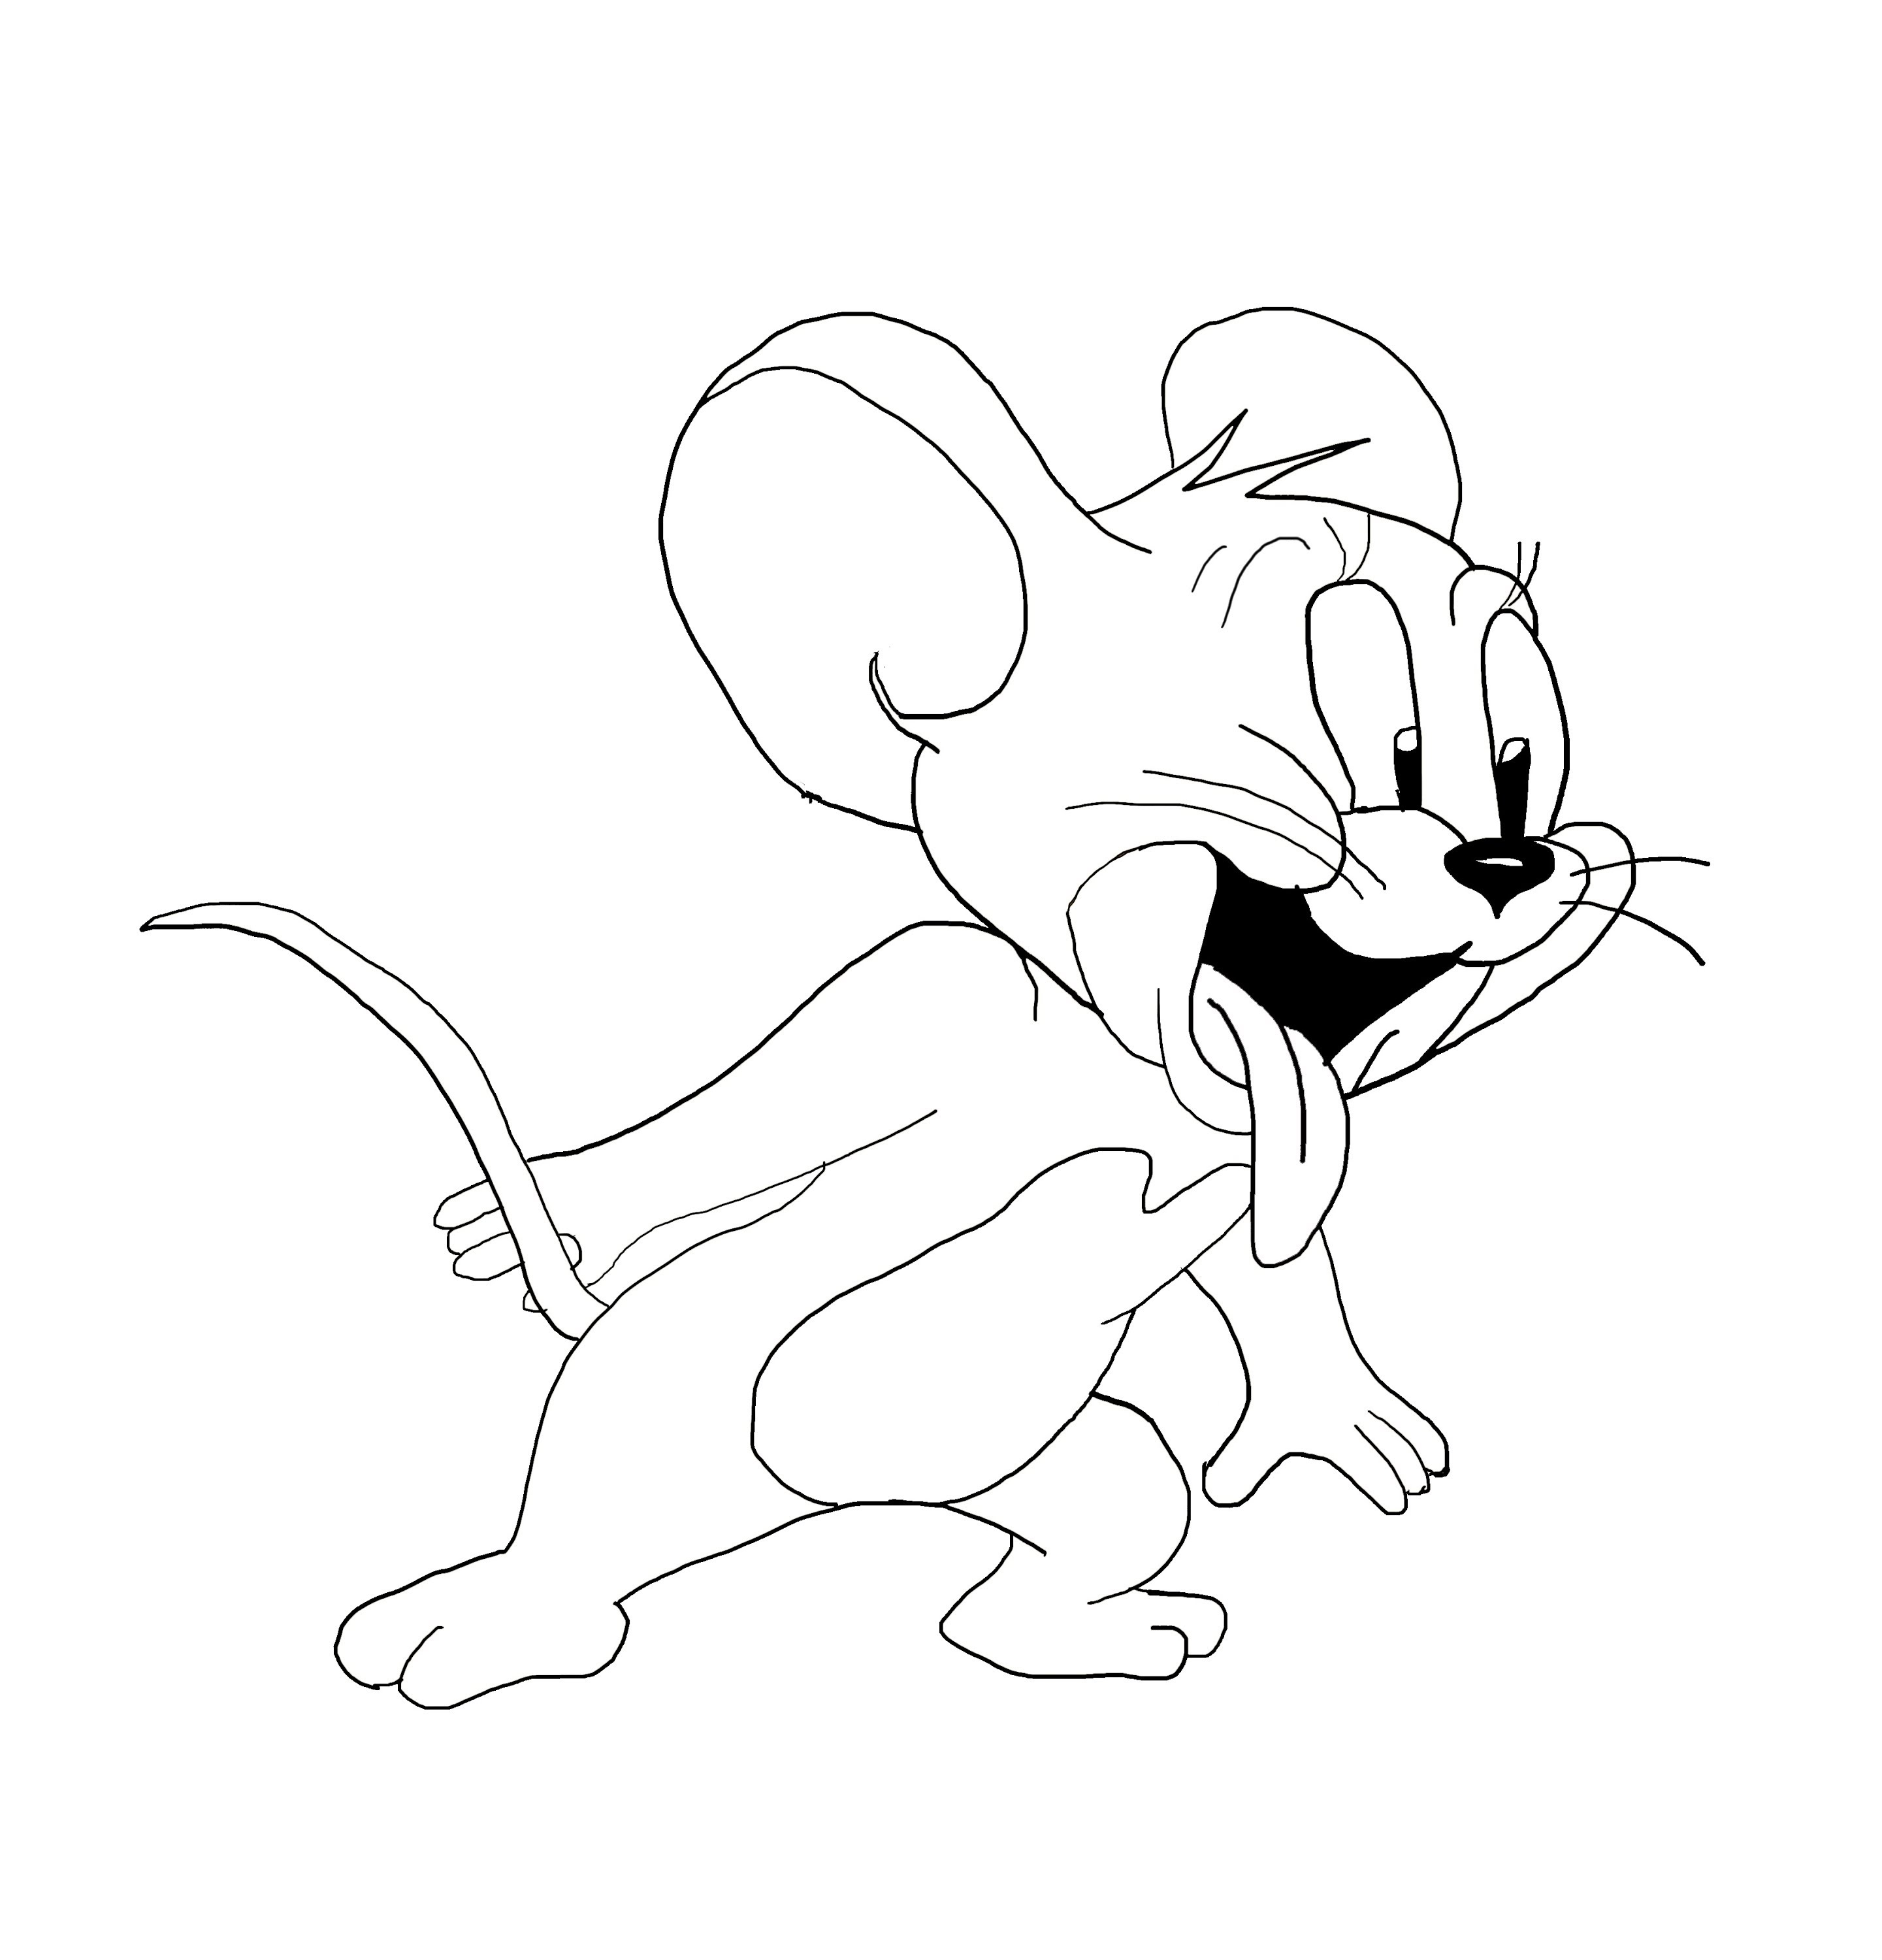
Draw a zigzag line at the wrist. Draw jerry’s arms and legs as thin, curved lines. Use curved lines to draw the back and palm of the hand, and u shaped lines for the fingers. Once you’ve completed your sketch, you may choose to ink it. For jerry, draw a small circle for his head and a larger circle for his body. For jerry, draw a smaller oval for the body and a slightly elongated oval for the head. Web after completing the sketch, you can choose to ink your drawing. Web draw two circles for tom’s hands, and add four fingers on each hand. Inking enhances the sketch’s visibility and permanence, but remember to wait until the ink dries before gently erasing the pencil lines to avoid smudges. Draw tom's arm, erasing as necessary.
This short lesson will teach you to draw tom and jerry in 8 simple steps—perfect for beginners and youngsters. Web the guide comprises 11 steps, beginning with the basic structure of jerry’s sketch. Inking enhances the sketch’s visibility and permanence, but remember to wait until the ink dries before gently erasing the pencil lines to avoid smudges. However, be sure to wait for the ink to dry completely before erasing the pencil sketch to. Pay attention to the different sizes and shapes within the artwork of the tom and jerry. Web learn how to draw tom and jerry in this easy and fun tutorial. Web after completing the sketch, you can choose to ink your drawing. Remember to keep your lines light and easily erasable. The last image in the guide provides a color reference to assist you in the coloring process. Draw a zigzag line at the wrist.

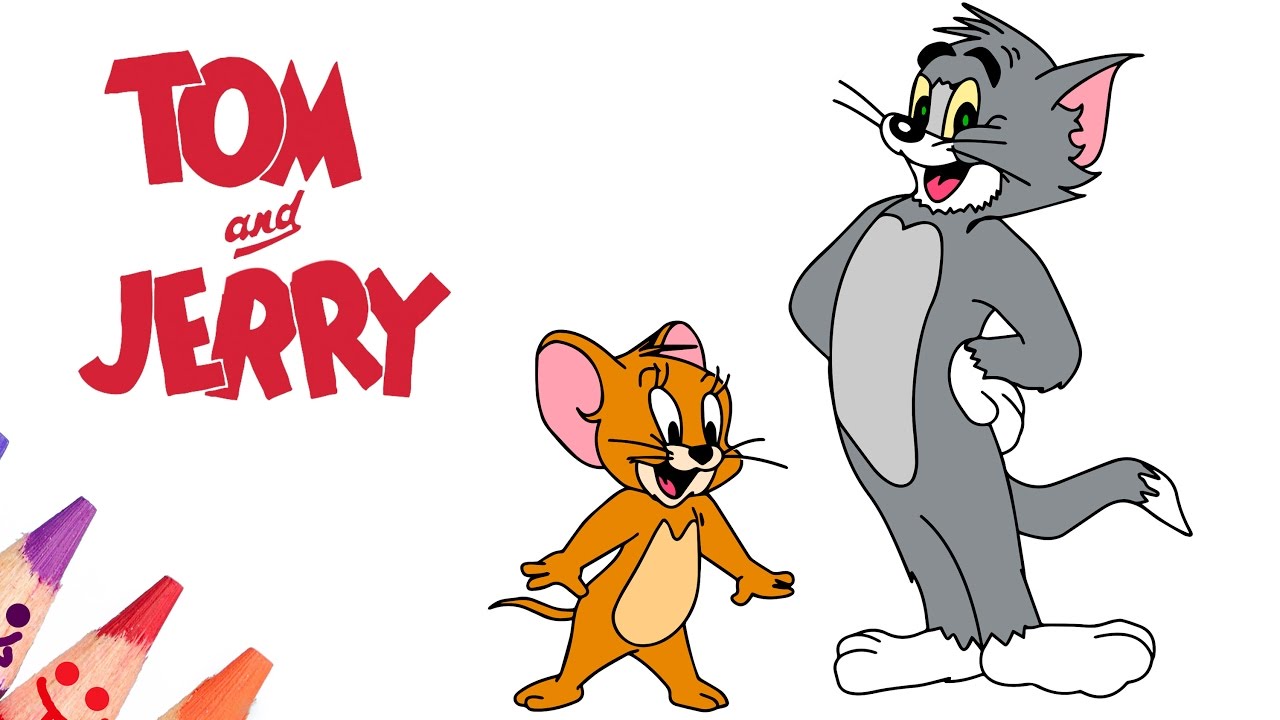
How To Draw Tom and Jerry Coloring Books For Kids Cartoon YouTube
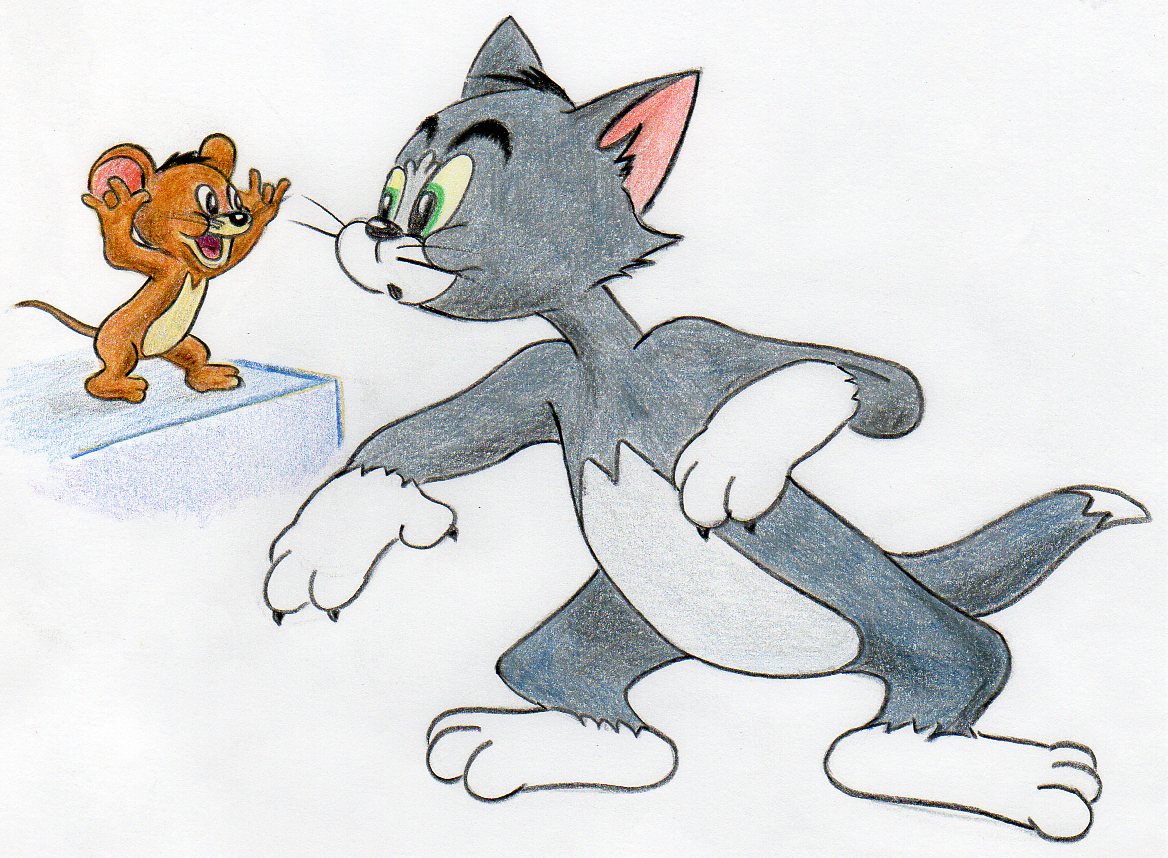
Web in this post, we will learn to draw cartoon characters tom and jerry with your drawing materials. This short lesson will teach you to draw tom and jerry in 8 simple steps—perfect for beginners and youngsters. Web draw two circles for tom’s hands, and add four fingers on each hand. Web for tom, start with a large oval for.
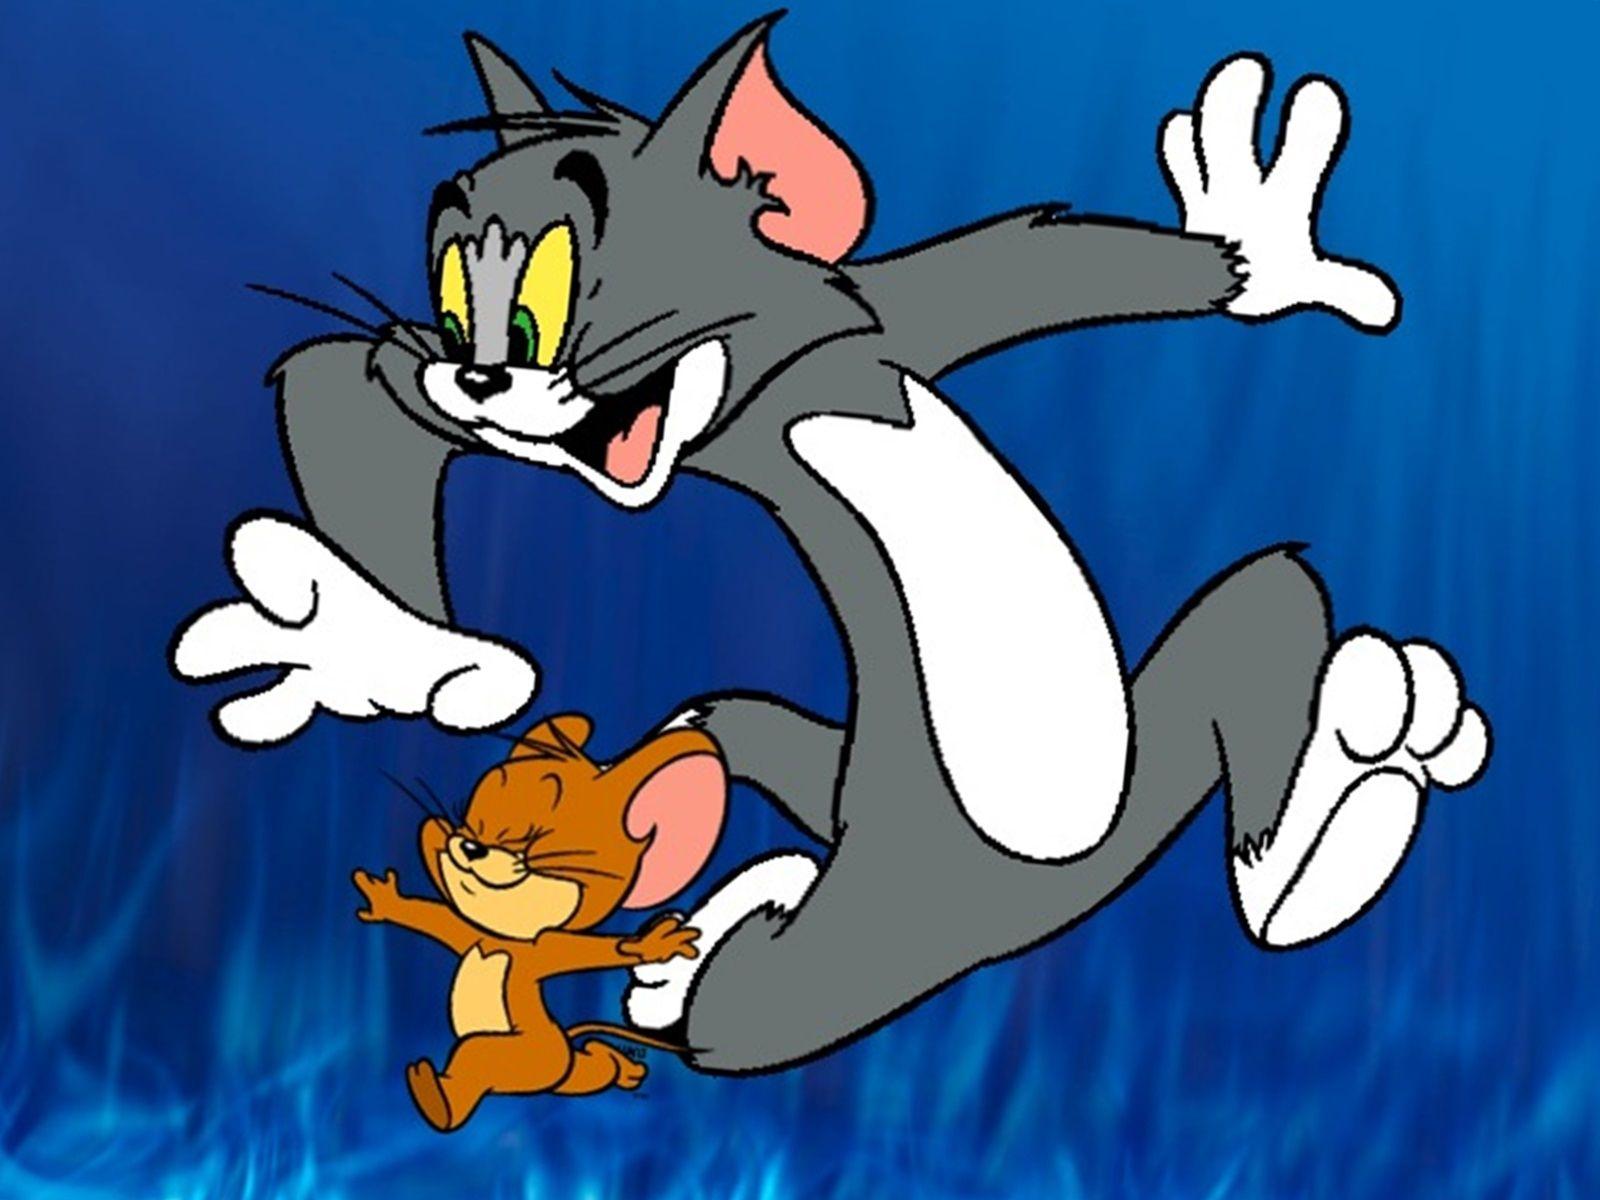
Tom and Jerry Cartoon Wallpapers Top Free Tom and Jerry Cartoon
Draw tom's arm, erasing as necessary. For jerry, draw a small circle for his head and a larger circle for his body. Once you’ve completed your sketch, you may choose to ink it. This short lesson will teach you to draw tom and jerry in 8 simple steps—perfect for beginners and youngsters. Use curved lines to draw the back and.
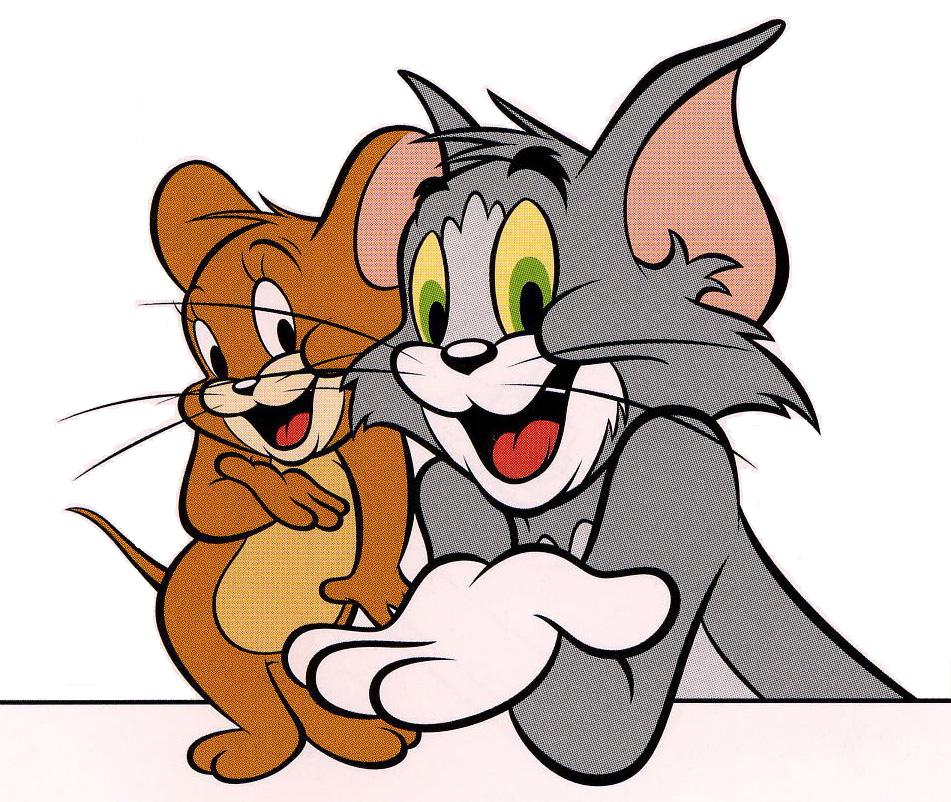
Tom And Jerry Drawing at Explore collection of Tom
Reruns of the cartoon series are frequently broadcast on cartoon network, making it a favorite of both children and adults. Web learn how to draw tom and jerry in this easy and fun tutorial. Use curved lines to draw the back and palm of the hand, and u shaped lines for the fingers. Draw tom's arm, erasing as necessary. Join.
Tom Jerry Cartoon drawing free image download
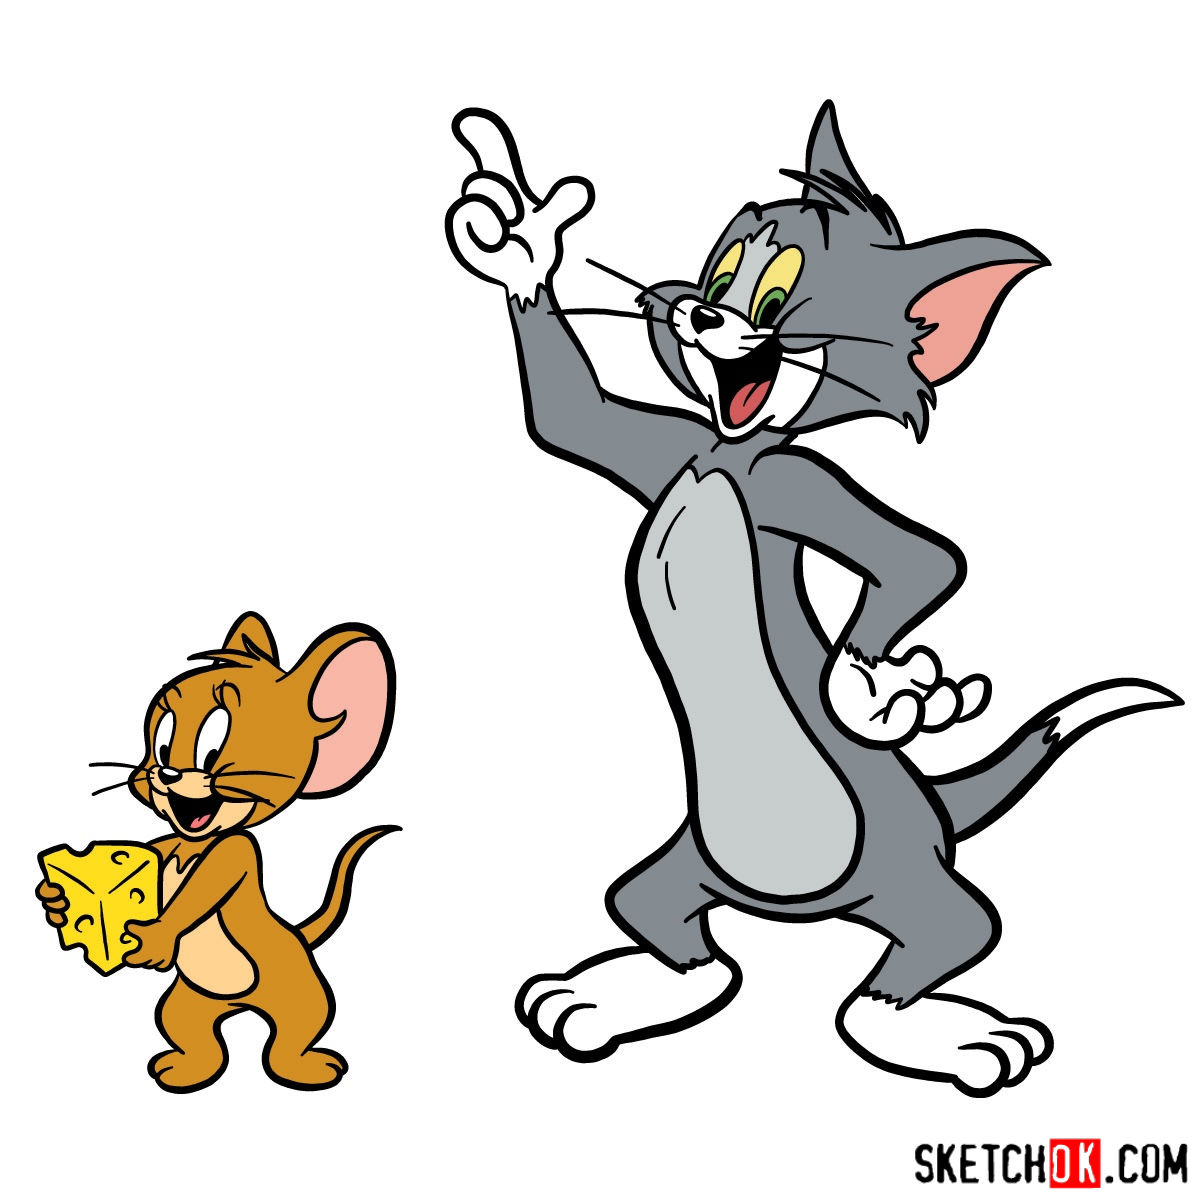
For jerry, draw a smaller oval for the body and a slightly elongated oval for the head. Web the guide comprises 11 steps, beginning with the basic structure of jerry’s sketch. Draw tom's arm, erasing as necessary. The last image in the guide provides a color reference to assist you in the coloring process. The new lines in each step.
Tom And Jerry Drawing Free download on ClipArtMag
Notice how they overlap at the bent elbow. Use curved lines to draw the back and palm of the hand, and u shaped lines for the fingers. Web the guide comprises 11 steps, beginning with the basic structure of jerry’s sketch. Web draw two circles for tom’s hands, and add four fingers on each hand. Follow the step by step.

Learn How to Draw Tom and Jerry (Tom and Jerry) Step by Step Drawing
However, be sure to wait for the ink to dry completely before erasing the pencil sketch to. Notice how they overlap at the bent elbow. Draw a curved line for tom’s belly, and add three toes to each foot. Web draw two circles for tom’s hands, and add four fingers on each hand. Use curved lines to draw the back.
Draw Tom And Jerry. Famous Cartoon Characters Tutorial.
Draw jerry’s arms and legs as thin, curved lines. Web in this post, we will learn to draw cartoon characters tom and jerry with your drawing materials. Reruns of the cartoon series are frequently broadcast on cartoon network, making it a favorite of both children and adults. Web after completing the sketch, you can choose to ink your drawing. Follow.
How to draw Tom and Jerry together Sketchok easy drawing guides
Pay attention to the different sizes and shapes within the artwork of the tom and jerry. Notice how they overlap at the bent elbow. Reruns of the cartoon series are frequently broadcast on cartoon network, making it a favorite of both children and adults. This short lesson will teach you to draw tom and jerry in 8 simple steps—perfect for.

How to Draw Tom from Tom and Jerry Really Easy Drawing Tutorial
Use curved lines to draw the back and palm of the hand, and u shaped lines for the fingers. Draw tom's arm, erasing as necessary. Web about press copyright contact us creators advertise developers terms privacy policy & safety how youtube works test new features nfl sunday ticket press copyright. Pay attention to the different sizes and shapes within the.
Tom and Jerry Drawing, Pencil, Sketch, Colorful, Realistic Art Images
Web in this post, we will learn to draw cartoon characters tom and jerry with your drawing materials. Web about press copyright contact us creators advertise developers terms privacy policy & safety how youtube works test new features nfl sunday ticket press copyright. Remember to keep your lines light and easily erasable. Add guidelines to position the facial features accurately..
Add Guidelines To Position The Facial Features Accurately.
Remember to keep your lines light and easily erasable. Draw tom's arm, erasing as necessary. The last image in the guide provides a color reference to assist you in the coloring process. Use two lines for the upper arm and two for the lower.
Follow The Step By Step Instructions And Enjoy Your Own Cartoon Masterpiece.
Reruns of the cartoon series are frequently broadcast on cartoon network, making it a favorite of both children and adults. Web draw two circles for tom’s hands, and add four fingers on each hand. The new lines in each step is outlined in blue so you can identify the most recent shapes that you should be illustrating. Draw a zigzag line at the wrist.
However, Be Sure To Wait For The Ink To Dry Completely Before Erasing The Pencil Sketch To.
Use curved lines to draw the back and palm of the hand, and u shaped lines for the fingers. Web after completing the sketch, you can choose to ink your drawing. Web for tom, start with a large oval for the body and a smaller circle for the head. Web the guide comprises 11 steps, beginning with the basic structure of jerry’s sketch.
Pay Attention To The Different Sizes And Shapes Within The Artwork Of The Tom And Jerry.
Once you’ve completed your sketch, you may choose to ink it. Draw jerry’s arms and legs as thin, curved lines. Join our community of aspiring artists and get. Notice how they overlap at the bent elbow.