Easy To Draw Hammer
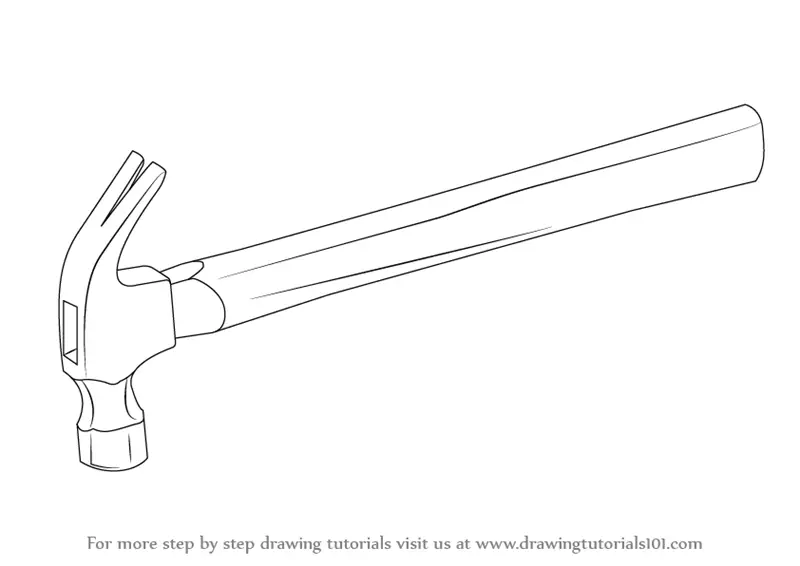
Easy To Draw Hammer - At the top of the handle line, draw a rectangle shape that represents the hammerhead. The angle of the hammer will make it so that we can see the flatter underside of this claw, as shown in our. Draw a line connecting the tip. First, use some more curved lines to draw the second half of the claw for the head. This will give the hammer a more realistic appearance. Onto the shape from the previous step add the bottom part of the hammer head. Going out of the back of head add the handle. Below the rectangle add another section that is just a thin strip that gets narrower as it. Web hi everyone, in this video i show you how to draw a hammer step by step 🔨 hammer drawing easy. At this stage, sketch out a straight line.
This will give the hammer a more realistic appearance. Follow my step by step drawing tutorial and make your own ham. The angle of the hammer will make it so that we can see the flatter underside of this claw, as shown in our. Draw the other side of the hammer and the handle as shown. First, use some more curved lines to draw the second half of the claw for the head. Below the rectangle add another section that is just a thin strip that gets narrower as it. The top of the rectangle should be slightly wider than the bottom and have rounded corners. Going out of the back of head add the handle. Web continue the lines and draw the part of the hammer that is used to drive nails. Add the rest of the handle.
Going out of the back of head add the handle. Add the rest of the handle. The top of the rectangle should be slightly wider than the bottom and have rounded corners. Draw one long line and depict the end of the handle with a short. For the last part of the hammer’s head draw the area at the back that has the opening for the handle (called the eye). Follow my step by step drawing tutorial and make your own ham. First, use some more curved lines to draw the second half of the claw for the head. The angle of the hammer will make it so that we can see the flatter underside of this claw, as shown in our. Web hi everyone, in this video i show you how to draw a hammer step by step 🔨 hammer drawing easy. Onto the shape from the previous step add the bottom part of the hammer head.
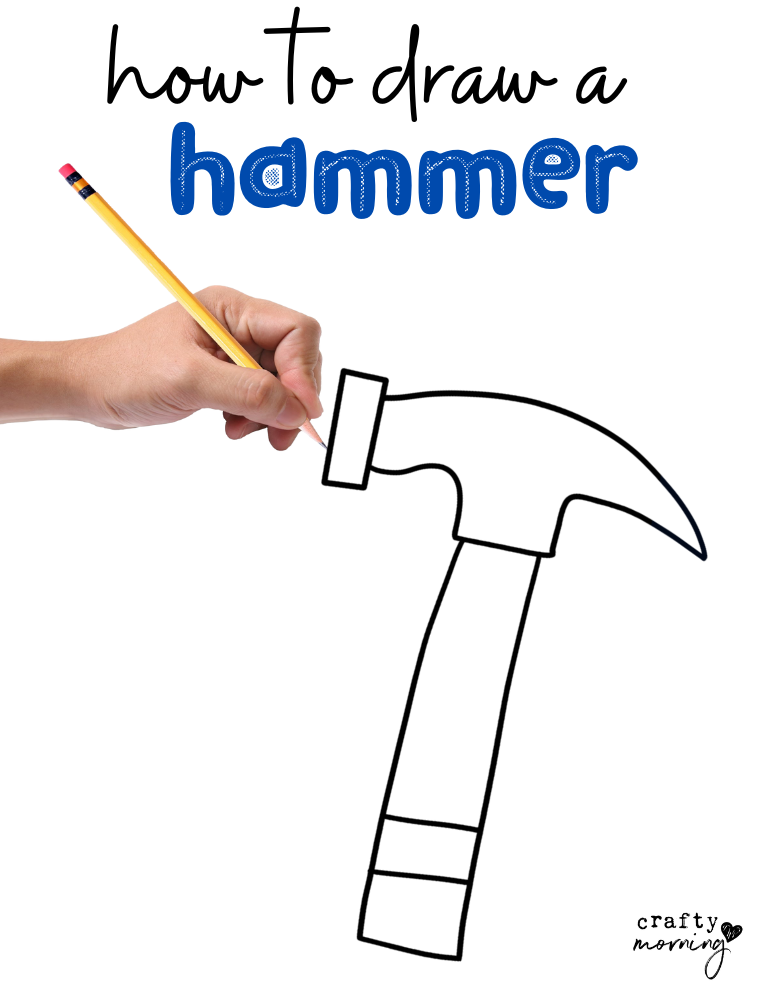
How to Draw a Hammer (Easy Tutorial) Crafty Morning
The angle of the hammer will make it so that we can see the flatter underside of this claw, as shown in our. A little lower from the top, draw a curved line to the right. Going out of the back of head add the handle. First, use some more curved lines to draw the second half of the claw.
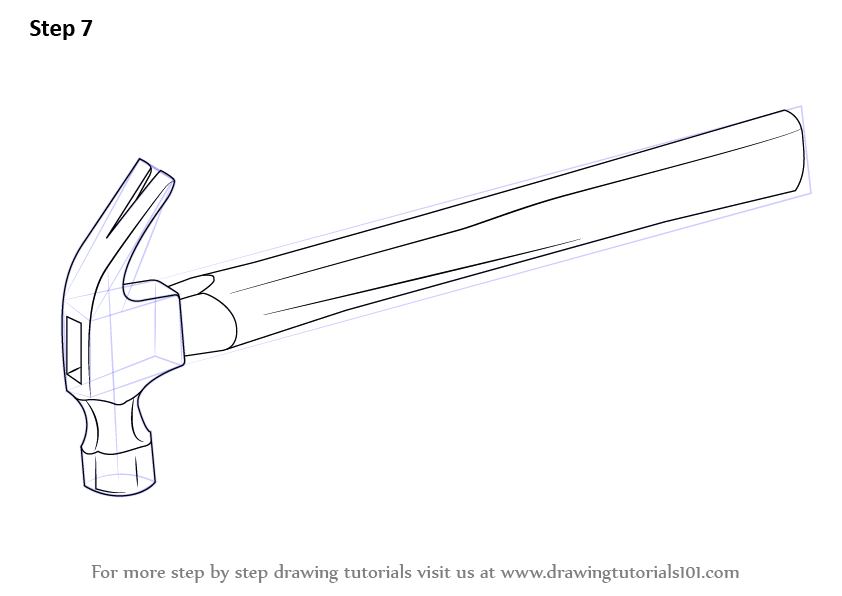
Learn How to Draw a Hammer (Tools) Step by Step Drawing Tutorials
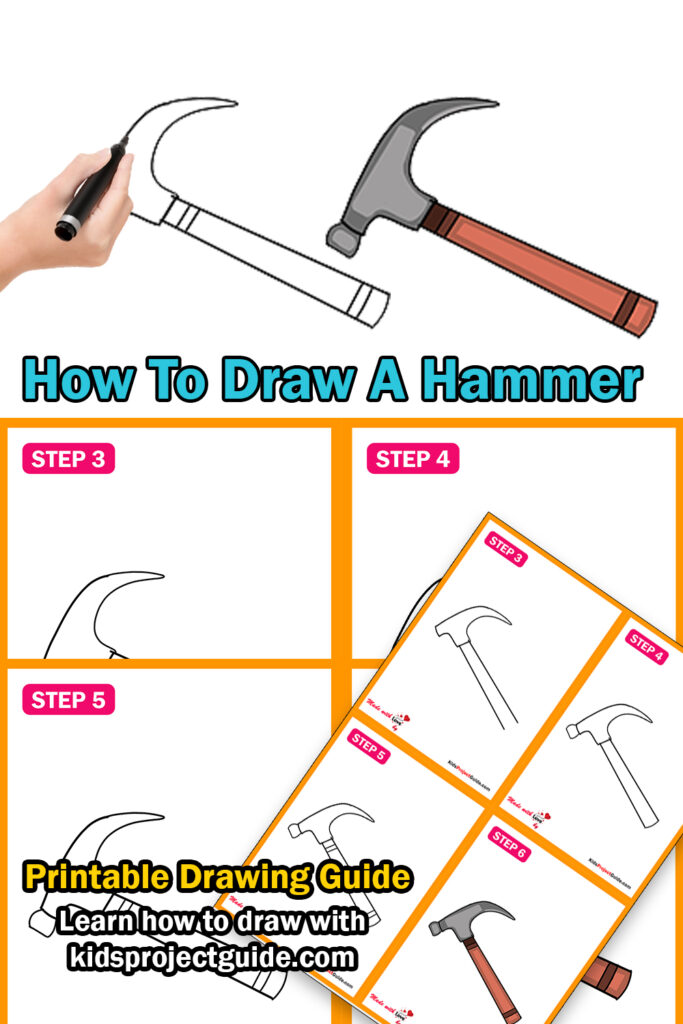
Web make sure to check out all our other easy drawings for kids too! A little lower from the top, draw a curved line to the right. This will give the hammer a more realistic appearance. Web let’s learn how to draw a hammer easyfollow my step by step drawing of hammer and i am sure you will be able.
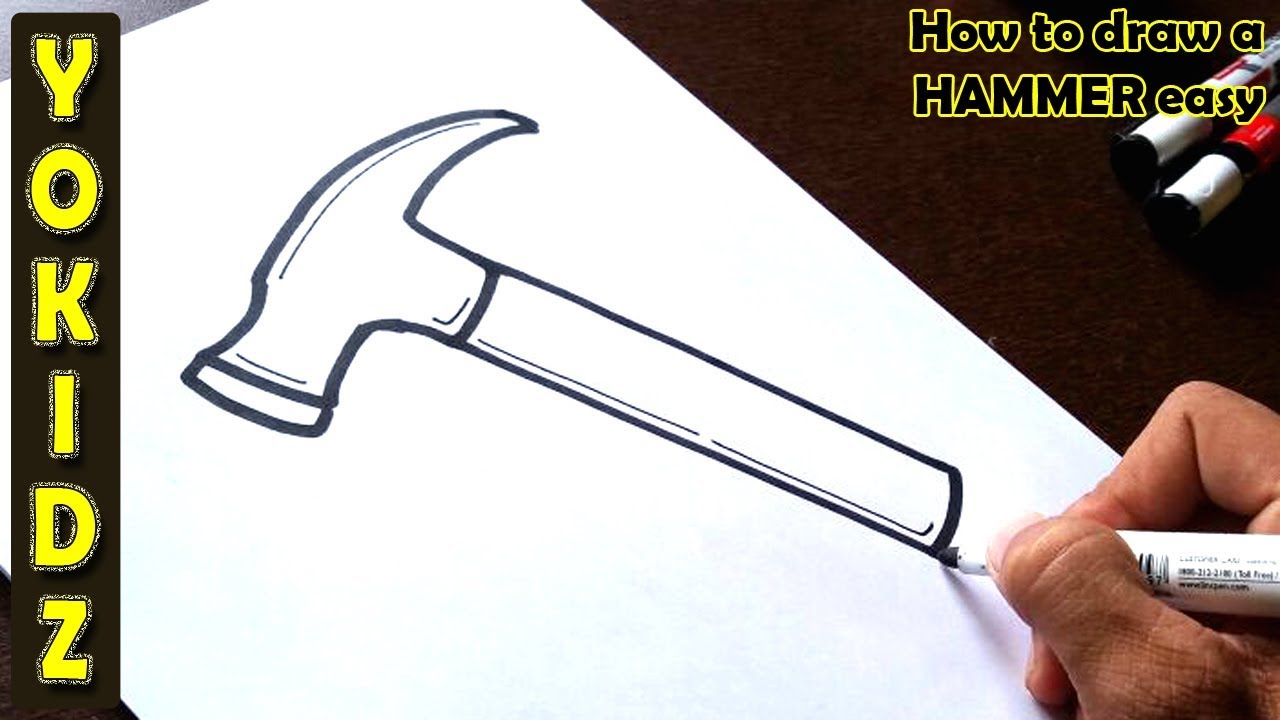
How to draw a HAMMER easy YouTube
Web a quick tutorial about how to draw the hammer in 7 easy steps! Step by step hammer drawing tutorial. Web continue the lines and draw the part of the hammer that is used to drive nails. At this stage, sketch out a straight line. Web hi everyone, in this video i show you how to draw a hammer step.
How to Draw a Hammer Easy Drawing Tutorial For Kids
Draw the other side of the hammer and the handle as shown. Step by step hammer drawing tutorial. This will give the hammer a more realistic appearance. At the top of the handle line, draw a rectangle shape that represents the hammerhead. For the last part of the hammer’s head draw the area at the back that has the opening.

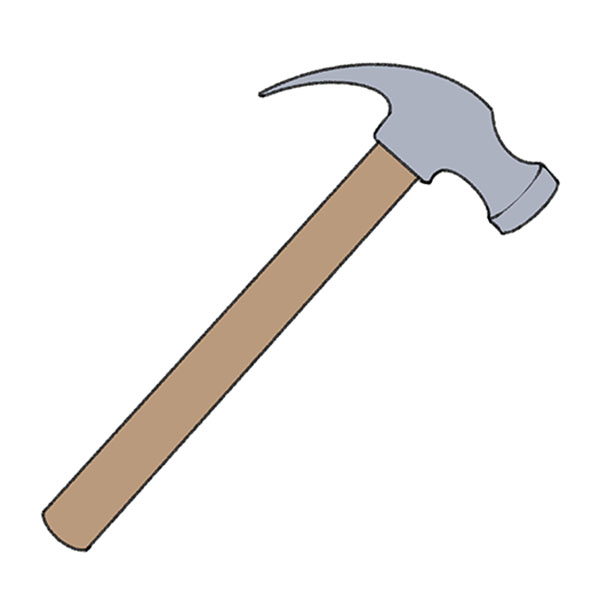
Easy to Draw Hammer Easy to Draw Tools Cliff Whowlead
Web make sure it is long enough to fit the size of the hammer you want to draw. Follow my step by step drawing tutorial and make your own ham. Web continue the lines and draw the part of the hammer that is used to drive nails. Web hi everyone, in this video i show you how to draw a.
Learn How to Draw a Hammer (Tools) Step by Step Drawing Tutorials
Hammer, tools, handtools, how to draw tools. Web continue the lines and draw the part of the hammer that is used to drive nails. Draw the impact part of the hammer. Below the rectangle add another section that is just a thin strip that gets narrower as it. Make this area slightly narrower as it goes towards the back.

How to draw hammer easily tools drawing and colouring for kids YouTube
Web let’s learn how to draw a hammer easyfollow my step by step drawing of hammer and i am sure you will be able to draw in the same manner.this is a very easy h. Going out of the back of head add the handle. Leave a little room from the bottom of the rectangle and draw a curved like.
How To Draw A Hammer Easy StepByStep Guide
At the top of the handle line, draw a rectangle shape that represents the hammerhead. Onto the shape from the previous step add the bottom part of the hammer head. Add the rest of the handle. Web continue the lines and draw the part of the hammer that is used to drive nails. Below the rectangle add another section that.
How to draw a Hammer in easy steps for children. beginners YouTube
The top of the rectangle should be slightly wider than the bottom and have rounded corners. Web make sure it is long enough to fit the size of the hammer you want to draw. Draw the impact part of the hammer. Draw the other side of the hammer and the handle as shown. Depict two parallel lines to draw the.

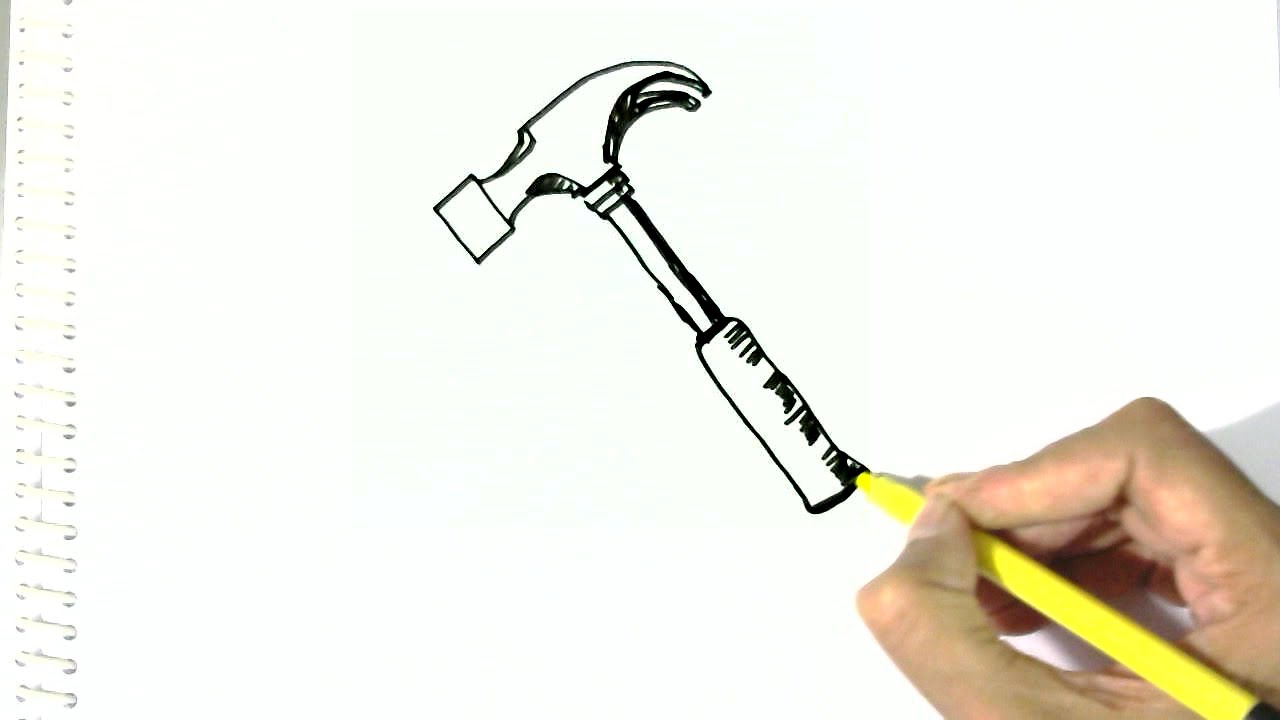
How To Draw A Hammer Step By Step 🔨 Hammer Drawing Easy YouTube
Web continue the lines and draw the part of the hammer that is used to drive nails. Onto the shape from the previous step add the bottom part of the hammer head. Step by step hammer drawing tutorial. Web hi everyone, in this video i show you how to draw a hammer step by step 🔨 hammer drawing easy. This.
Draw The Impact Part Of The Hammer.
Web continue the lines and draw the part of the hammer that is used to drive nails. Web make sure it is long enough to fit the size of the hammer you want to draw. At this stage, sketch out a straight line. Hammer, tools, handtools, how to draw tools.
Leave A Little Room From The Bottom Of The Rectangle And Draw A Curved Like Out And Down.
Web hi everyone, in this video i show you how to draw a hammer step by step 🔨 hammer drawing easy. At the top of the handle line, draw a rectangle shape that represents the hammerhead. Below the rectangle add another section that is just a thin strip that gets narrower as it. Add the rest of the handle.
This Will Give The Hammer A More Realistic Appearance.
First, use some more curved lines to draw the second half of the claw for the head. Onto the shape from the previous step add the bottom part of the hammer head. The angle of the hammer will make it so that we can see the flatter underside of this claw, as shown in our. Draw one long line and depict the end of the handle with a short.
Follow My Step By Step Drawing Tutorial And Make Your Own Ham.
Web make sure to check out all our other easy drawings for kids too! For the last part of the hammer’s head draw the area at the back that has the opening for the handle (called the eye). Going out of the back of head add the handle. A little lower from the top, draw a curved line to the right.